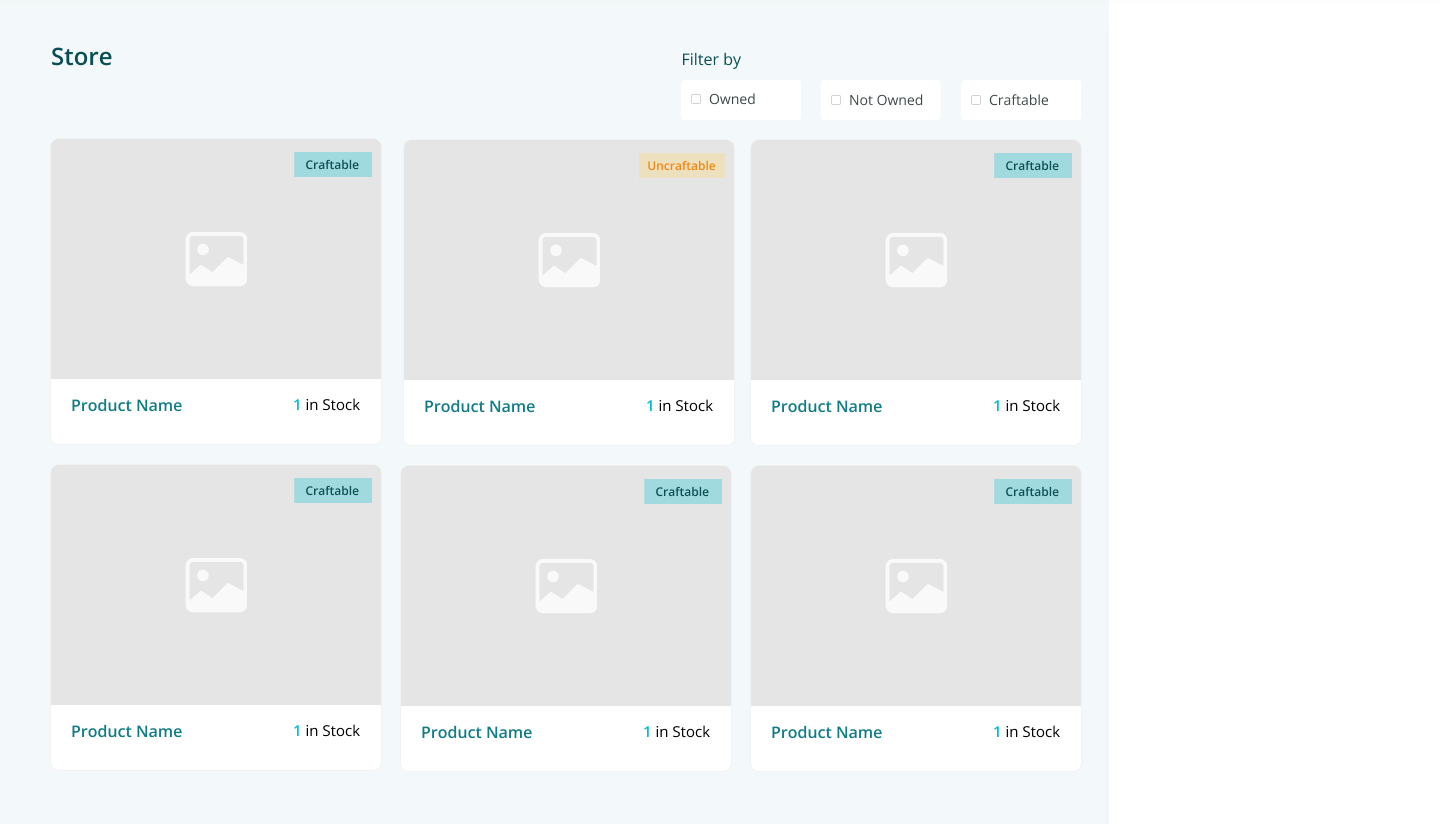
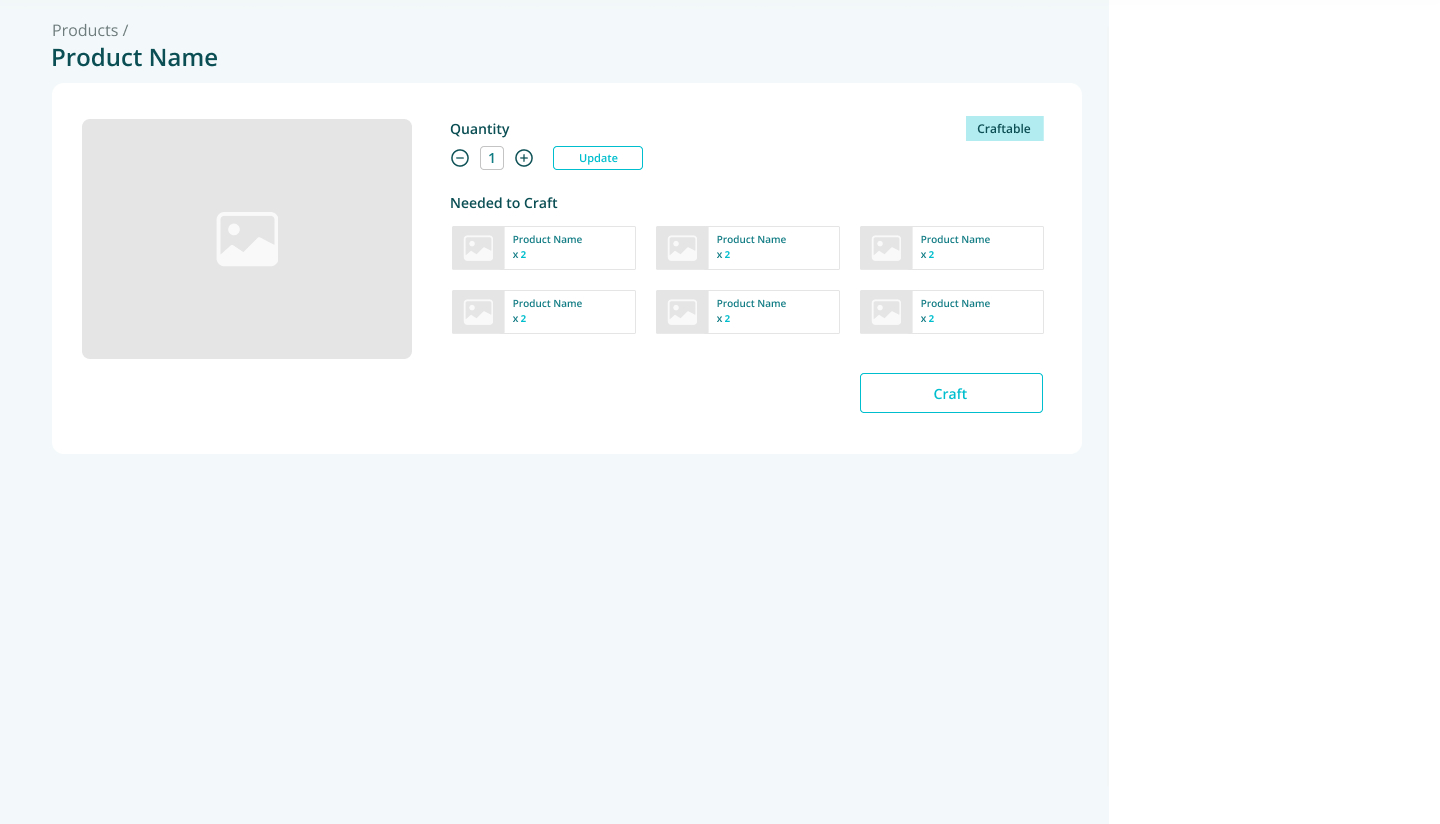
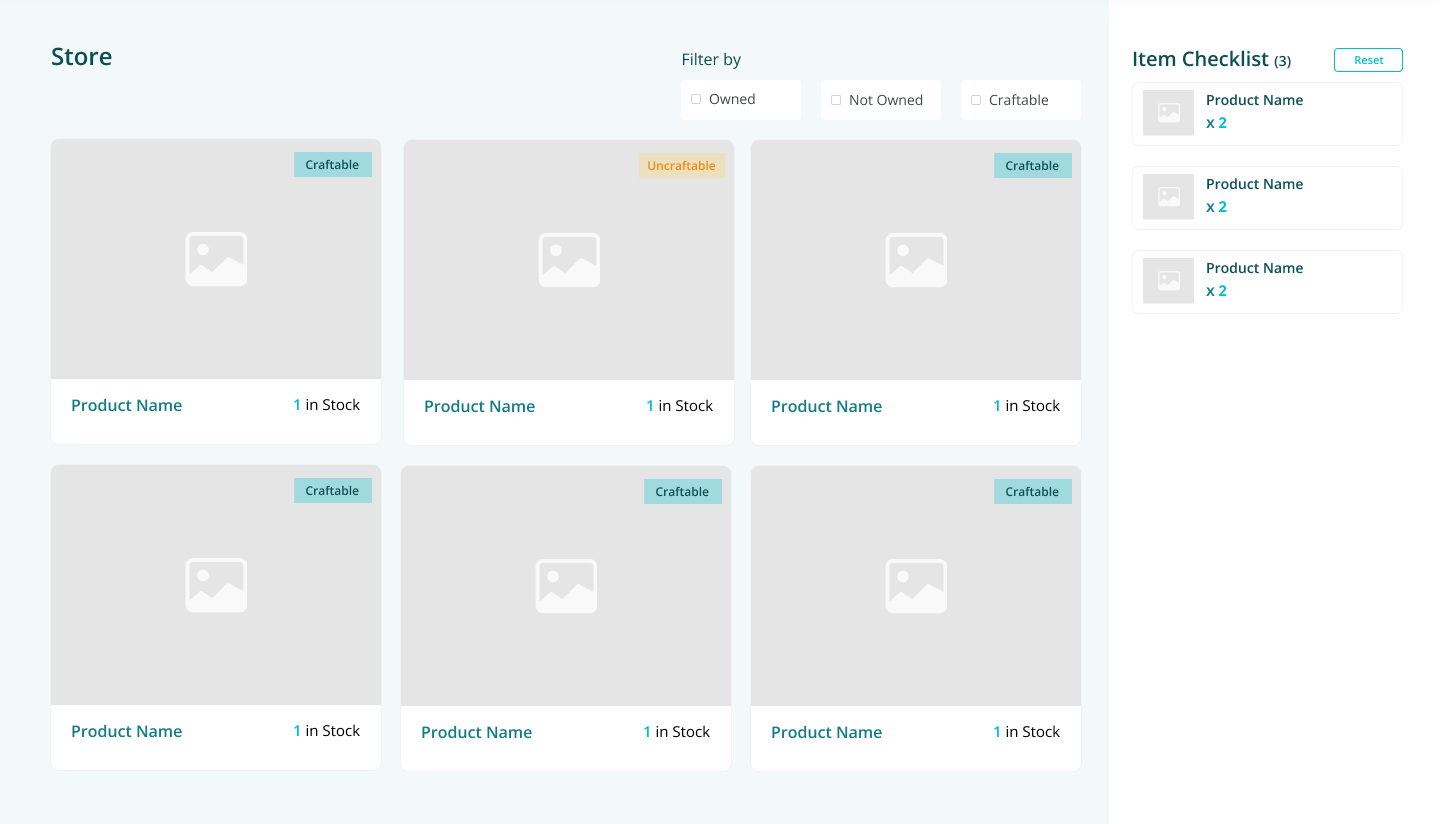
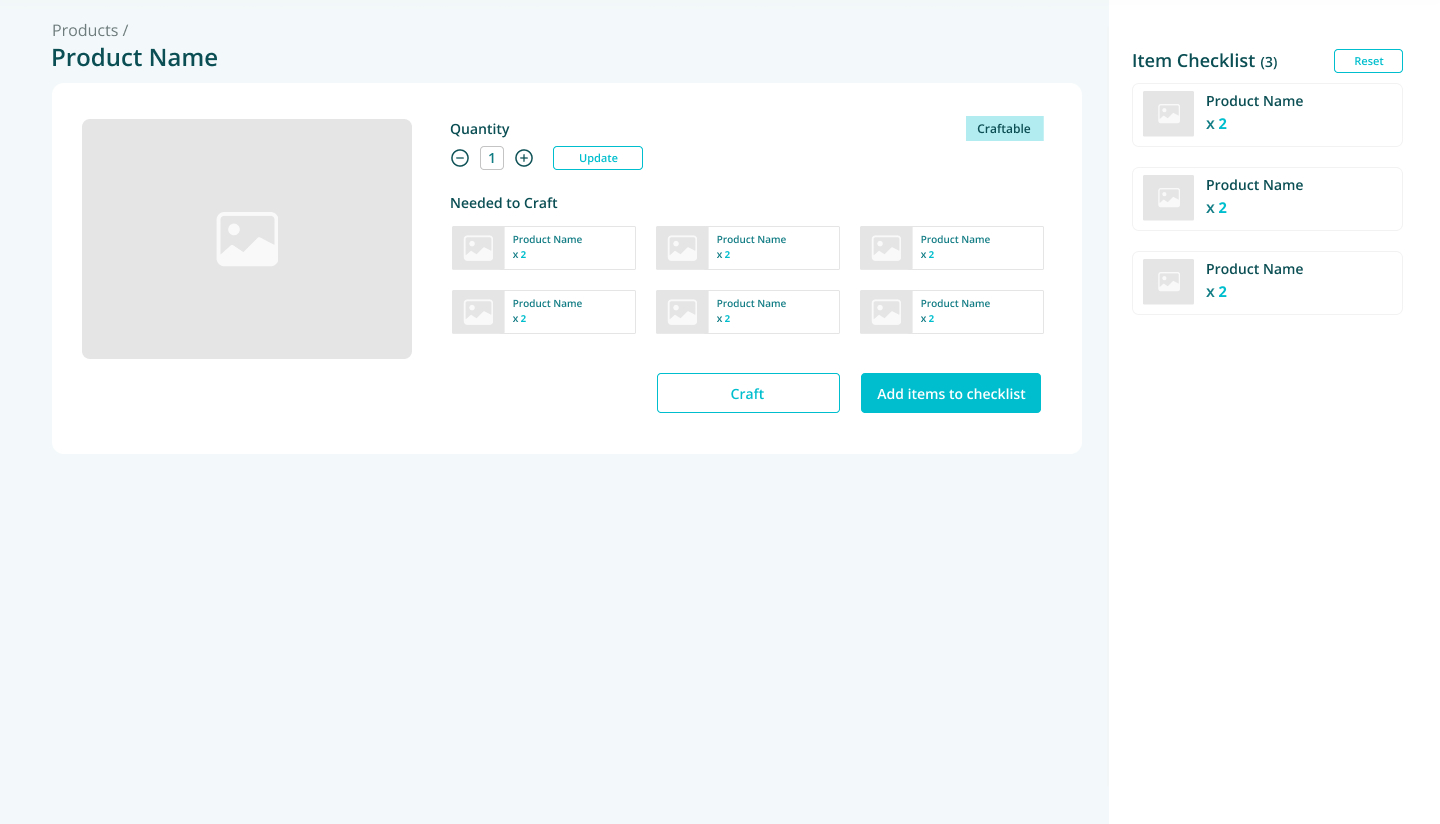
Using this project as a base, write an application to manage an inventory. There are products, filters, an iten checklist, and interactions between all three.
Go through the following steps to complete the exercise. Try to be close to the expected interfaces (visually and functionally). You can make decisions (visual or technical); if you do, we’ll ask you to explain why.
To review this exercise, we’ll look at: the interfaces, your code, and your Git history.
It does not need to be perfect but should represent your ability. If you feel stuck, send us the link to your repository. Don’t waste your time working for free on a problem you might not be able to solve.
Good luck!
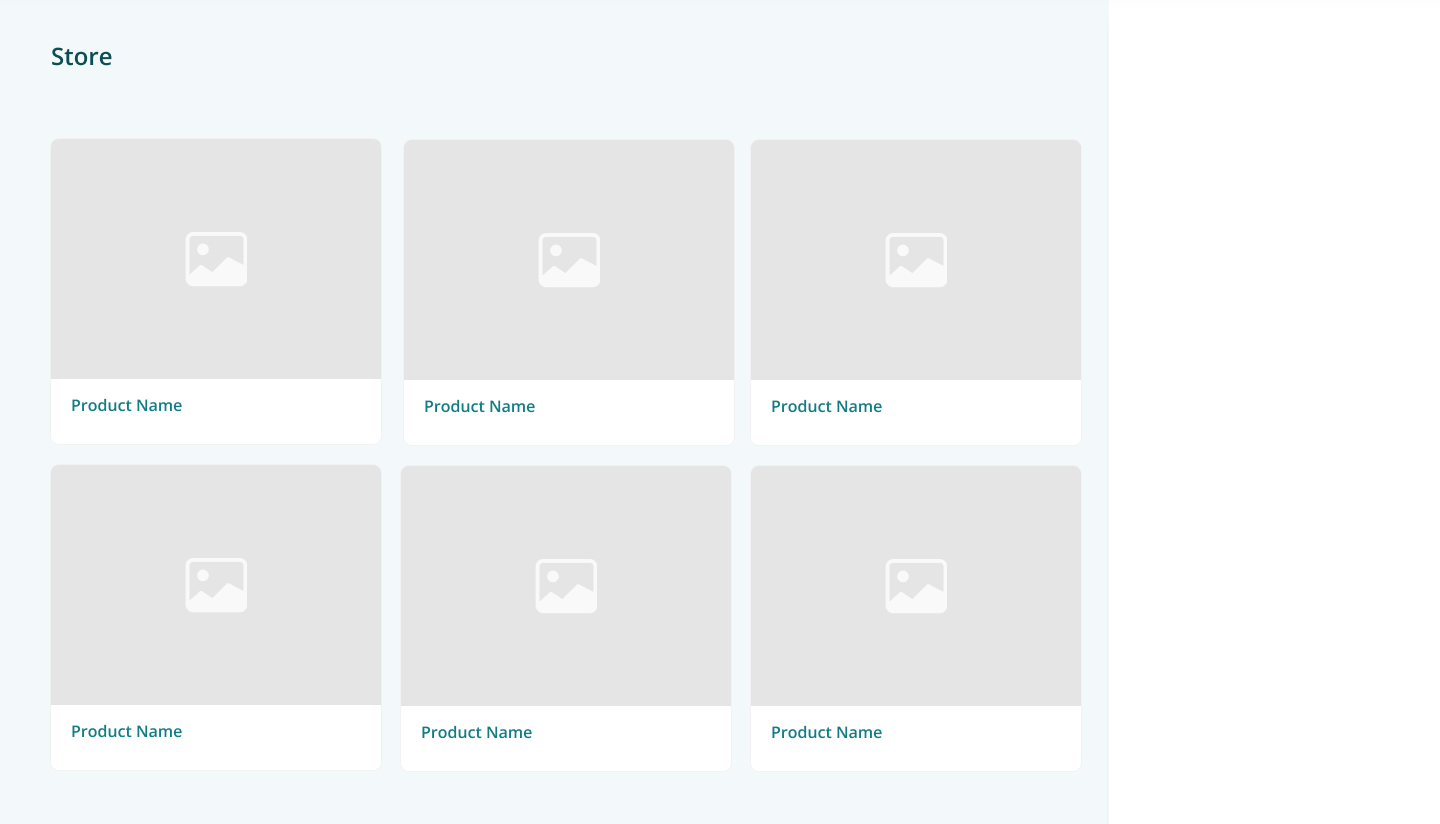
One page should display the products. Show them in a collection of product cards, a.k.a.: a grid. Each card should have the picture and the name of the product.
Data are provided by an API: /api/products
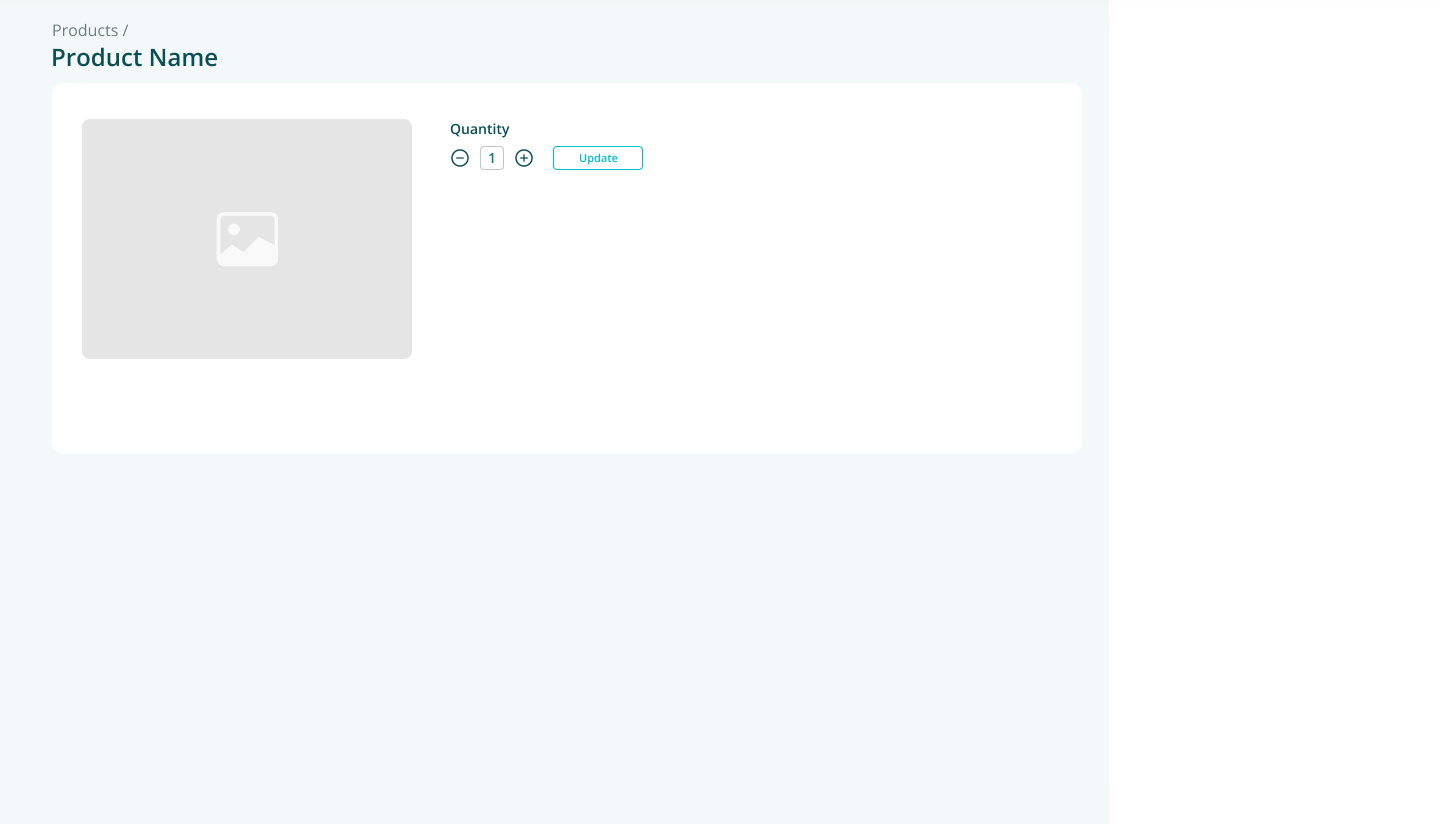
When the user selects a product, he should be able to access a form to indicate how many copies of this product he has.
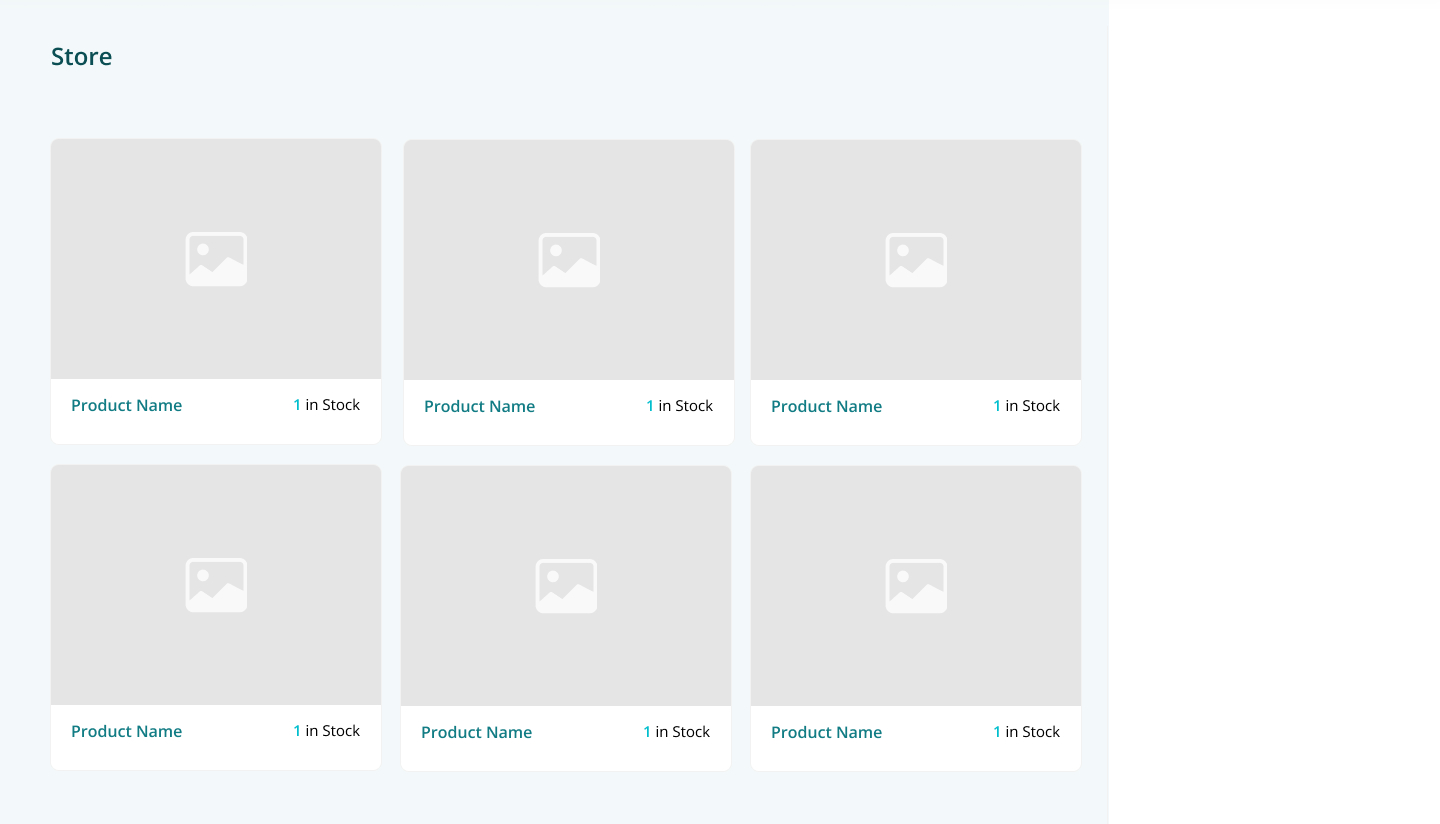
The product card will display the quantity of the product currently in stock.
This project does not handle database; the API only provides hardcoded data and doesn’t support mutations. This is a Frontend Developer test, we don’t ask you to use databases or improve the API. However, the user should be able to recover his information when coming back.
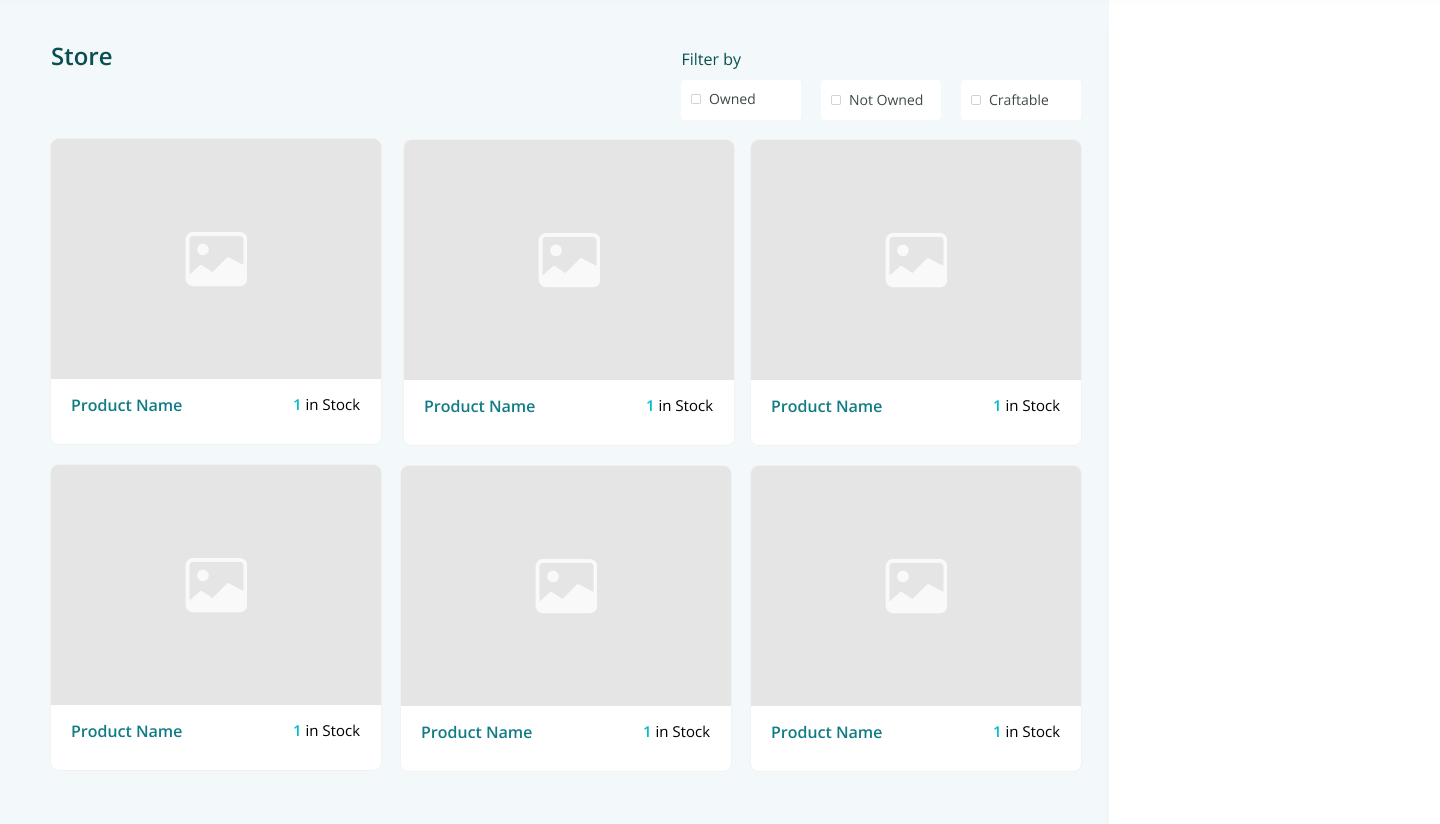
Add an option to filter the product collection. The user should be able to filter by:
- only the products he currently has
- only the products he doesn’t have
- only the products he can craft
Some products can be crafted from other products. The API provides, for each product, a list of materials needed to craft it. When the material list is empty, the product is a basic product that can be bought directly. (see also the following steps for more context)
Some products can be crafted from other products. When the user selects “craftable” products, he should be able to click on a button to craft them:
- the quantity of selected products should be increased
- the quantity of materials should be decreased
The product should be automatically deselected after crafting.
Create an item checklist showing:
- the name of the product
- the quantity needed
- a checkbox to let the user indicates he bought the product
When the user selects “uncraftable” products, he should be able to click on a button to add their materials to the item checklist:
- items should be merged in the list; if it is needed in several products, the total quantity should be summed from its parts
- only basic products (products without materials) can be added to the item checklist
When a product is checked, the quantity should be automatically added to the stock and the product should disappear from the list
This is a Next.js project bootstrapped with create-next-app.
It’s also a GitHub template project. Click on “Use this template” button to create your own project. Then clone it locally to start working.
- Install the deps
yarn install. - Start the development server
yarn dev. - Open http://localhost:3000 with your browser to see the result.
You can start editing the page by modifying pages/index.tsx. The page auto-updates as you edit the file.
API routes can be accessed on http://localhost:3000/api/products. This endpoint can be edited in pages/api/products.ts.
The pages/api directory is mapped to /api/*. Files in this directory are treated as API routes instead of React pages.
