✨ This is a starter template for Google Apps Script project. Easily develop Google Workspace™ and Editor add-ons for Google Docs, Sheets, Slides etc. Use any frontend framework supported by Vite (React, Vue, Svelte etc.)
- Note: This README is a work in progress and may not yet be complete.
- Introduction
- Setup Guide
- Local Development
- Staging and Production Deployment
- Authors
- Acknowledgments
Google Apps Script is a cloud-based JavaScript platform that lets you integrate with and automate tasks across Google products.
This repo is a starter template that you can use to build Google Workspace and Editor add-ons directly from Visual Studio Code.
This Google Apps Script starter template built using the following tools and libraries
- NodeJS v16 (v14 not tested)
- pnpm - installation guide
- Enable Google Apps Script API. Open https://script.google.com/home/usersettings to enable.
- Install mkcert
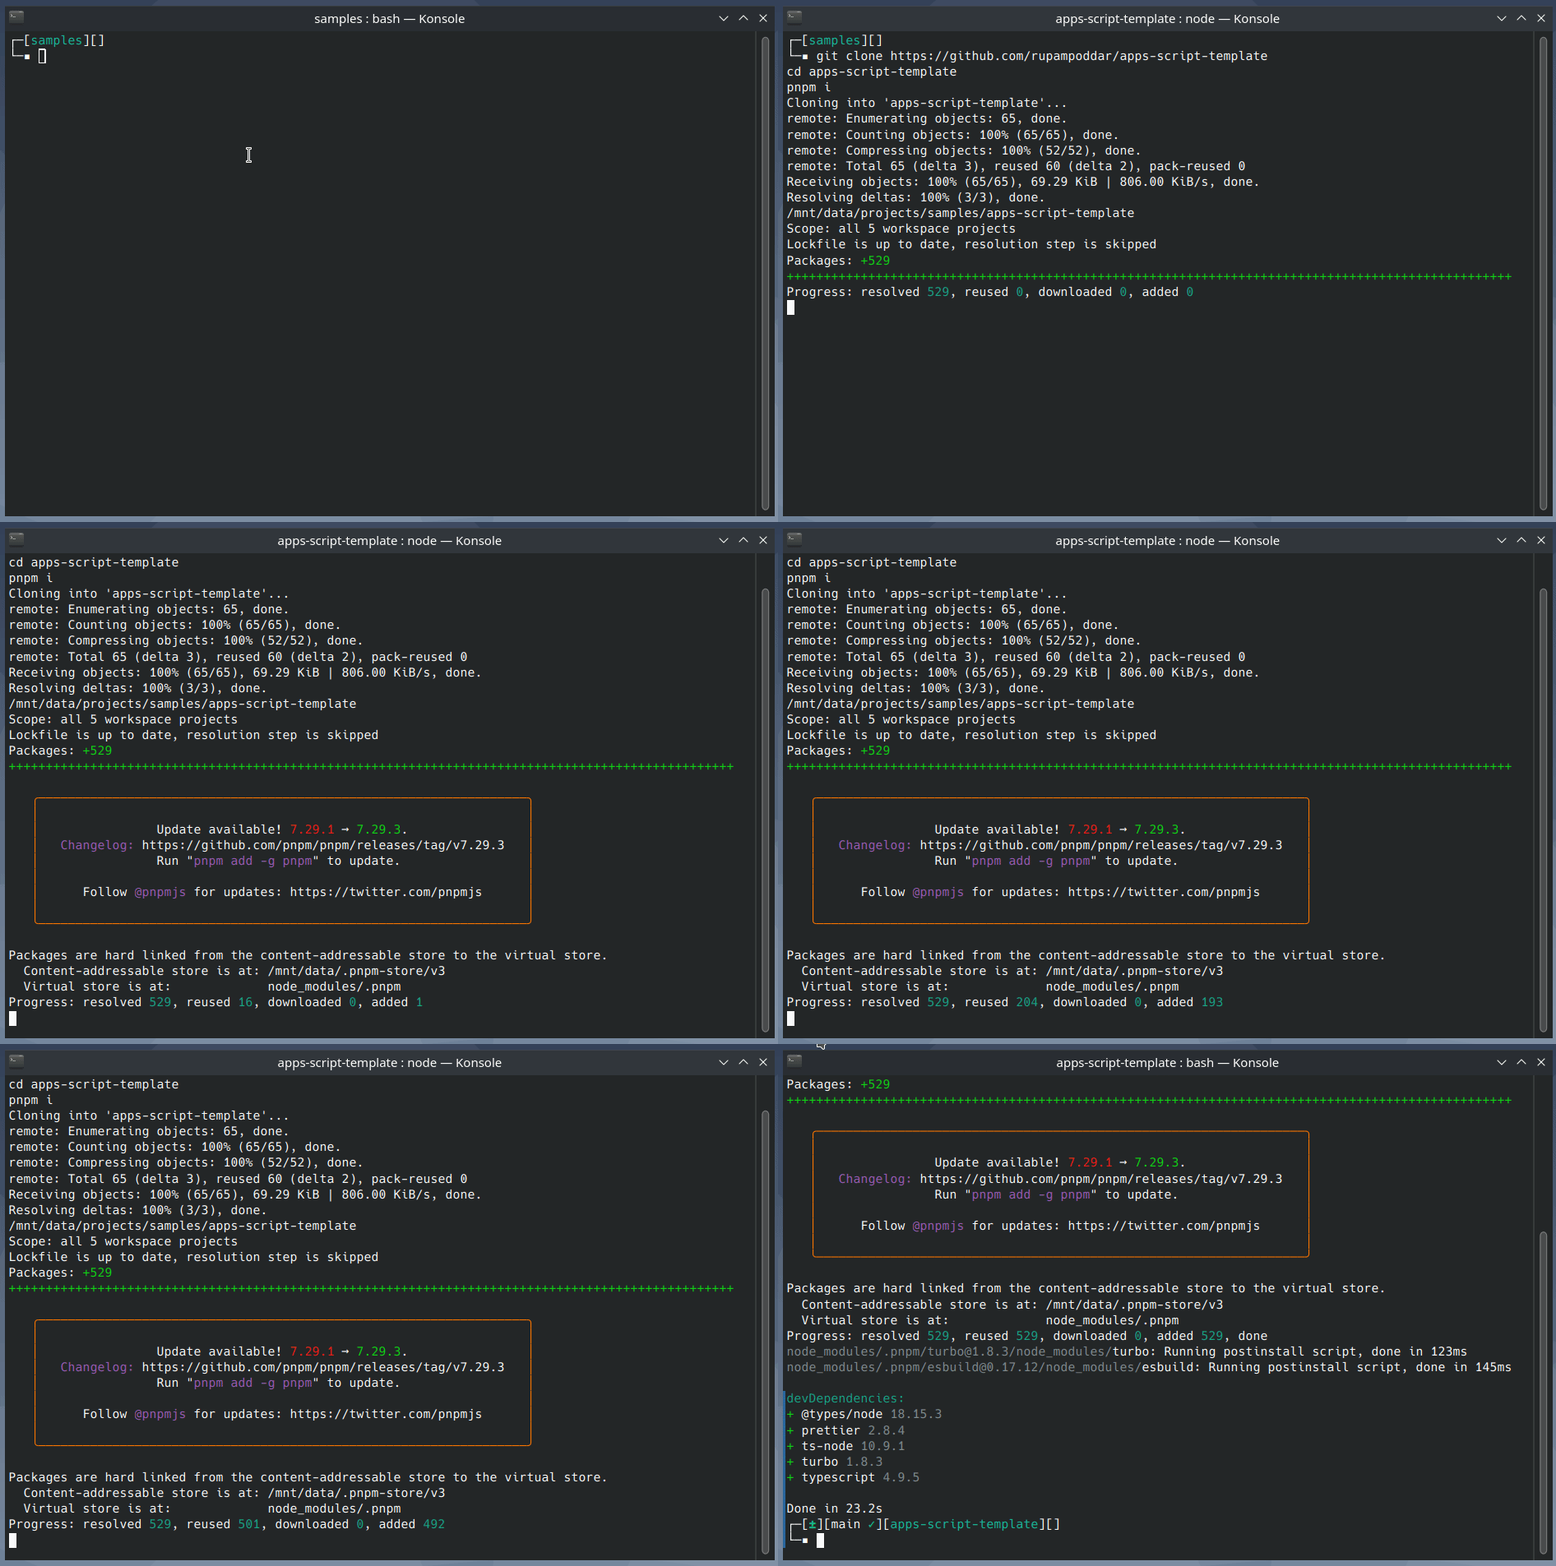
Clone this repository and install the dependencies with pnpm.
git clone https://github.com/rupampoddar/apps-script-template
cd apps-script-template
pnpm iNext, login to Clasp.
# login
pnpm clasp login

# check status
pnpm clasp login --statusGo to apps/gas-backend folder and rename the following files:
.clasp.development.json.example➡️.clasp.development.json.clasp.staging.json.example➡️.clasp.staging.json.clasp.production.json.example➡️.clasp.production.json
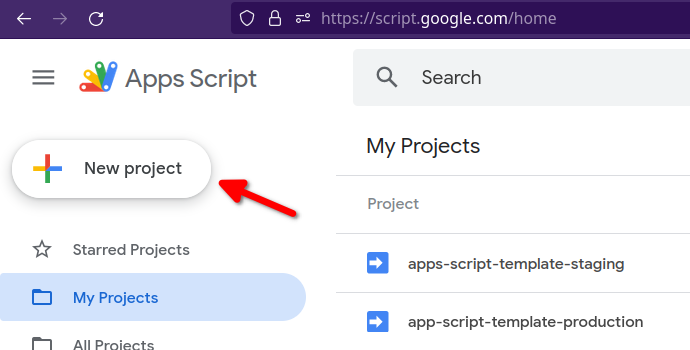
Next, create two Apps Script projects. One for development/staging and another for production.
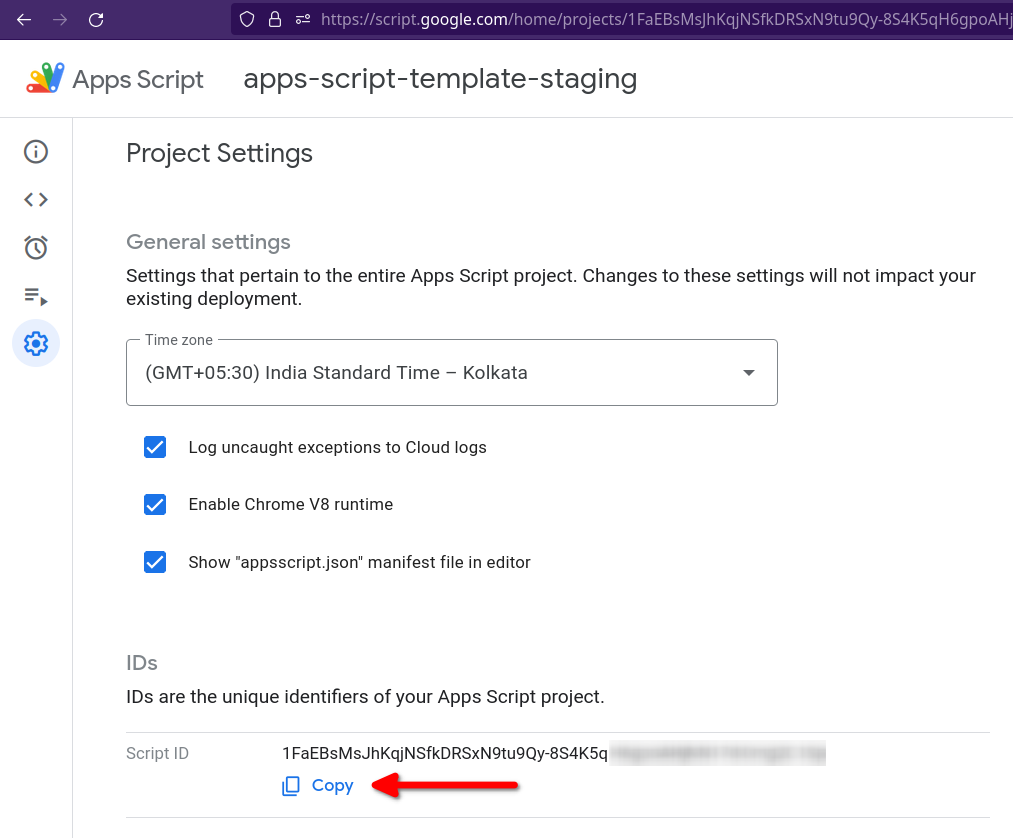
Copy the Script ID from your staging project and save it in the following files:
apps/gas-backend/.clasp.development.jsonapps/gas-backend/.clasp.staging.json
Similarly, copy the Script ID from your production project and save it in the following file:
apps/gas-backend/.clasp.production.json
// example
{
  "scriptId": "1FaEBsMsJhKqjNS...",
  "rootDir": "dist/"
}Go to apps/gas-root folder and rename the following files:
.env.example➡️.env.env.development.example➡️.env.development.env.staging.example➡️.env.staging.env.production.example➡️.env.production
CDN is used to host and serve gas-frontend assets in staging/production.
This repo is pre-configured to use Cloudflare Pages as a CDN.
-
Create a Cloudflare account.
-
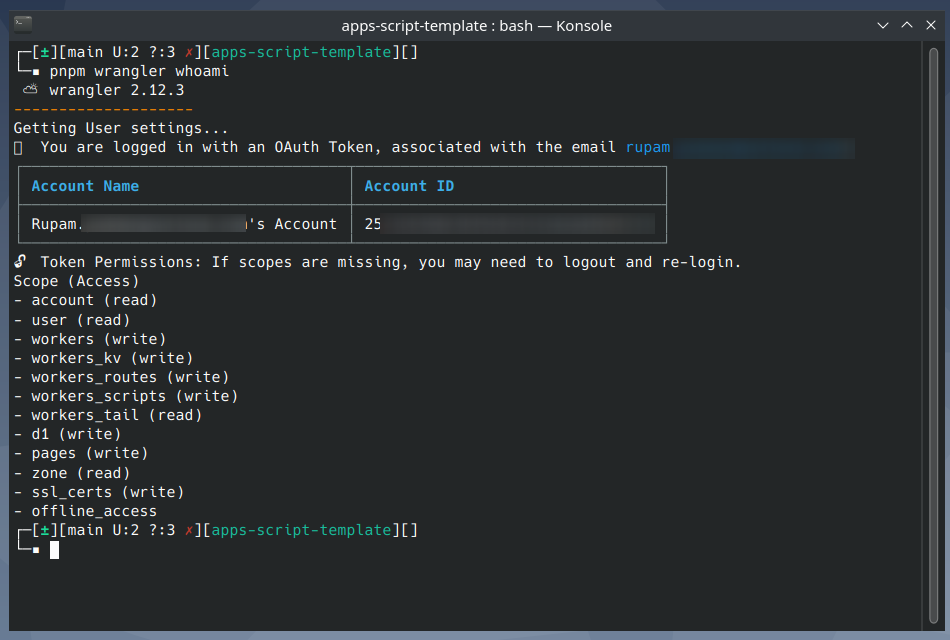
Next, login to Cloudflare using Wrangler CLI.
# run commands from the project root

# login to cloudflare
pnpm wrangler login

# get account details
pnpm wrangler whoami
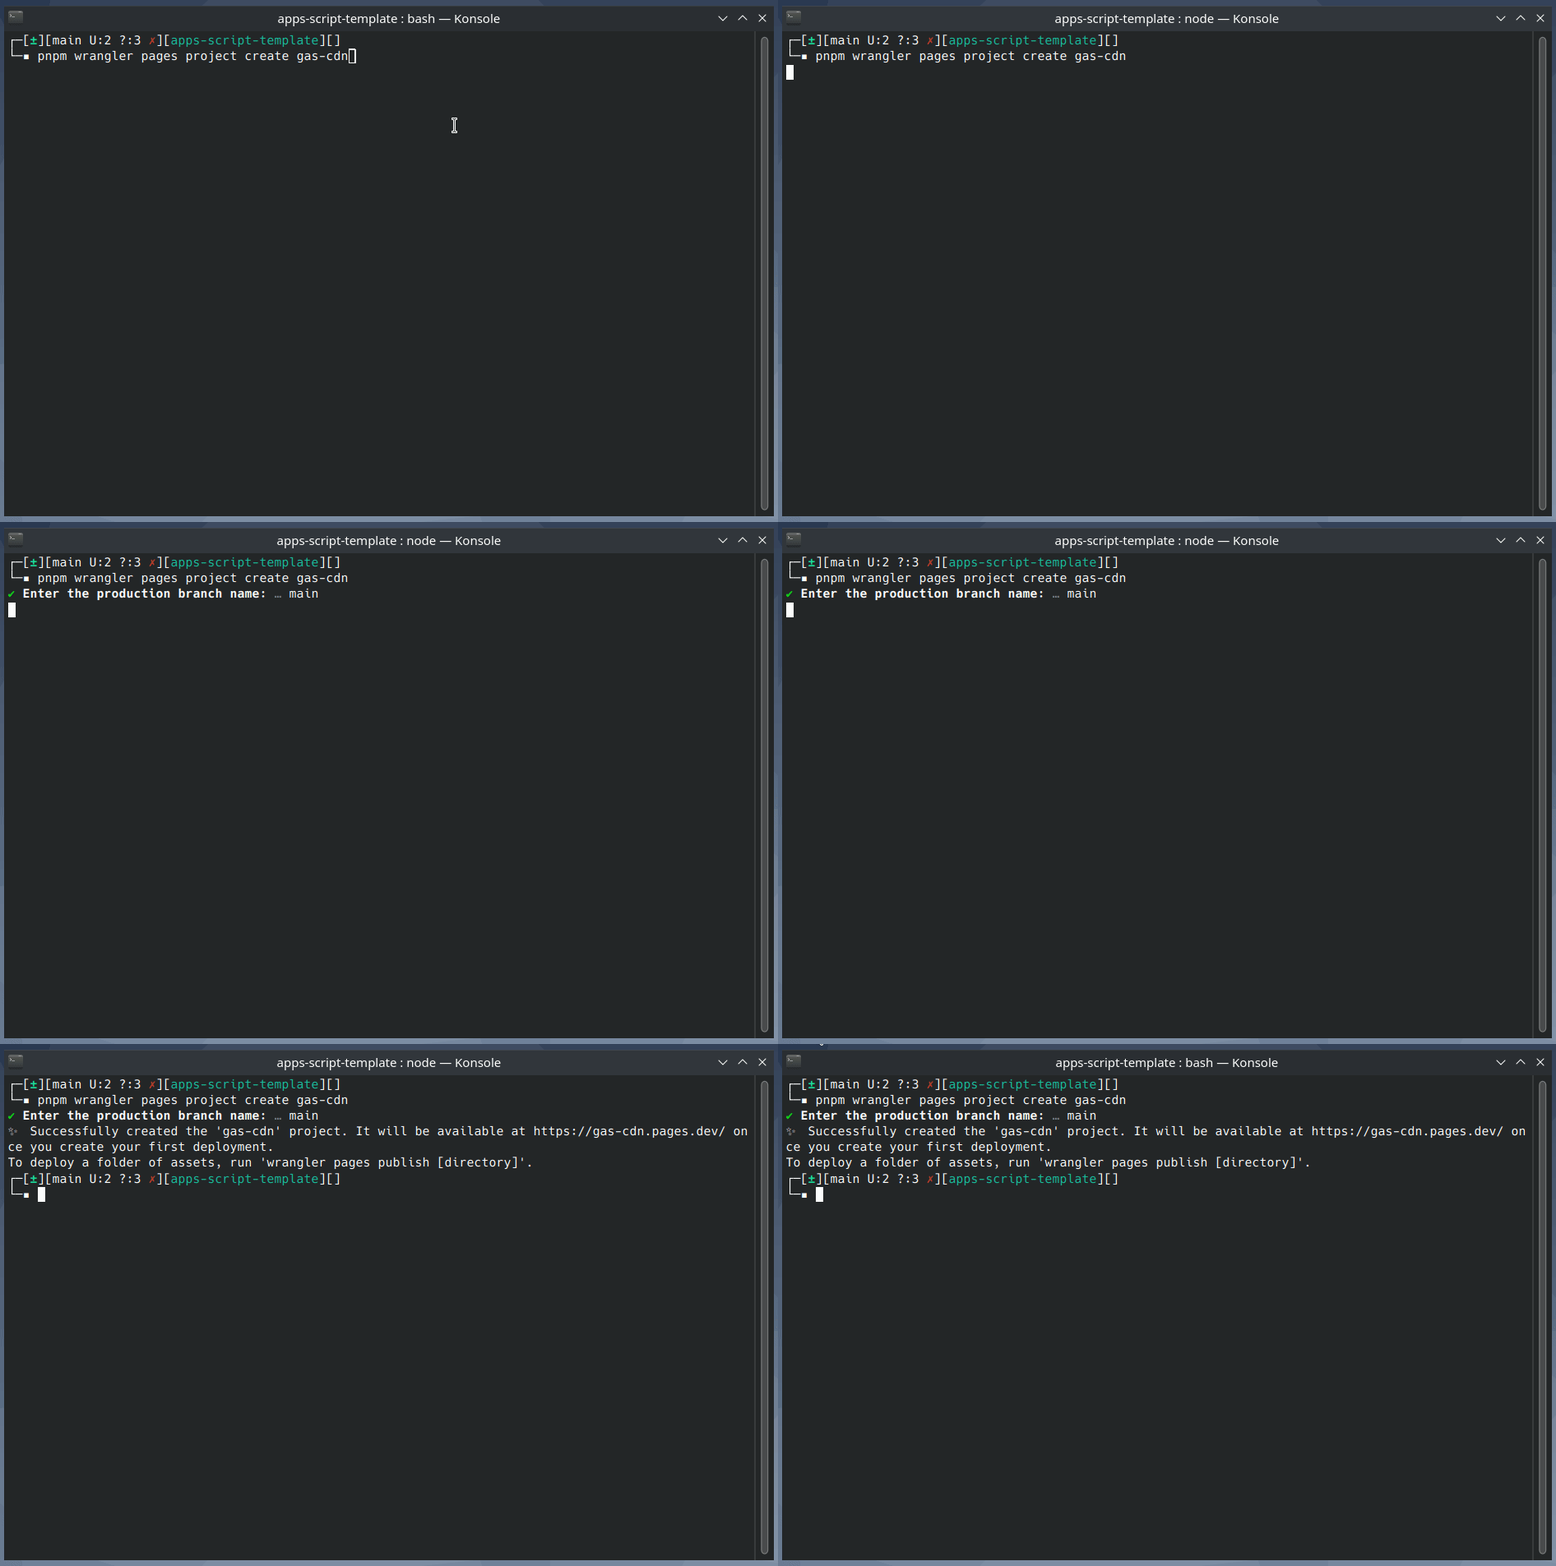
- Next, create a new Cloudflare Pages project.
pnpm wrangler pages project create project-name- Copy your Cloudflare Account ID and the Cloudflare Pages project name (e.g.
gas-cdn) and update the file -apps/gas-cdn/package.json
// replace YOUR_CF_ACC_ID and CF_PAGES_PROJECT_NAME
{
  "scripts": {
    "deploy:staging": "CLOUDFLARE_ACCOUNT_ID=<YOUR_CF_ACC_ID> wrangler pages publish ./public --project-name=<CF_PAGES_PROJECT_NAME> --branch=main",
    "deploy:production": "CLOUDFLARE_ACCOUNT_ID=<YOUR_CF_ACC_ID> wrangler pages publish ./public --project-name=<CF_PAGES_PROJECT_NAME> --branch=main"
  }
}- Copy the Cloudflare Pages project hostname (e.g.
https://gas-cdn.pages.dev) and save it in the following files:
apps/gas-root/.env.developmentapps/gas-root/.env.stagingapps/gas-root/.env.production
PUBLIC_CDN_HOST=https://gas-cdn.pages.devYou can use different Cloudflare Pages projects for staging and production. For simplicity I'm using the same project.
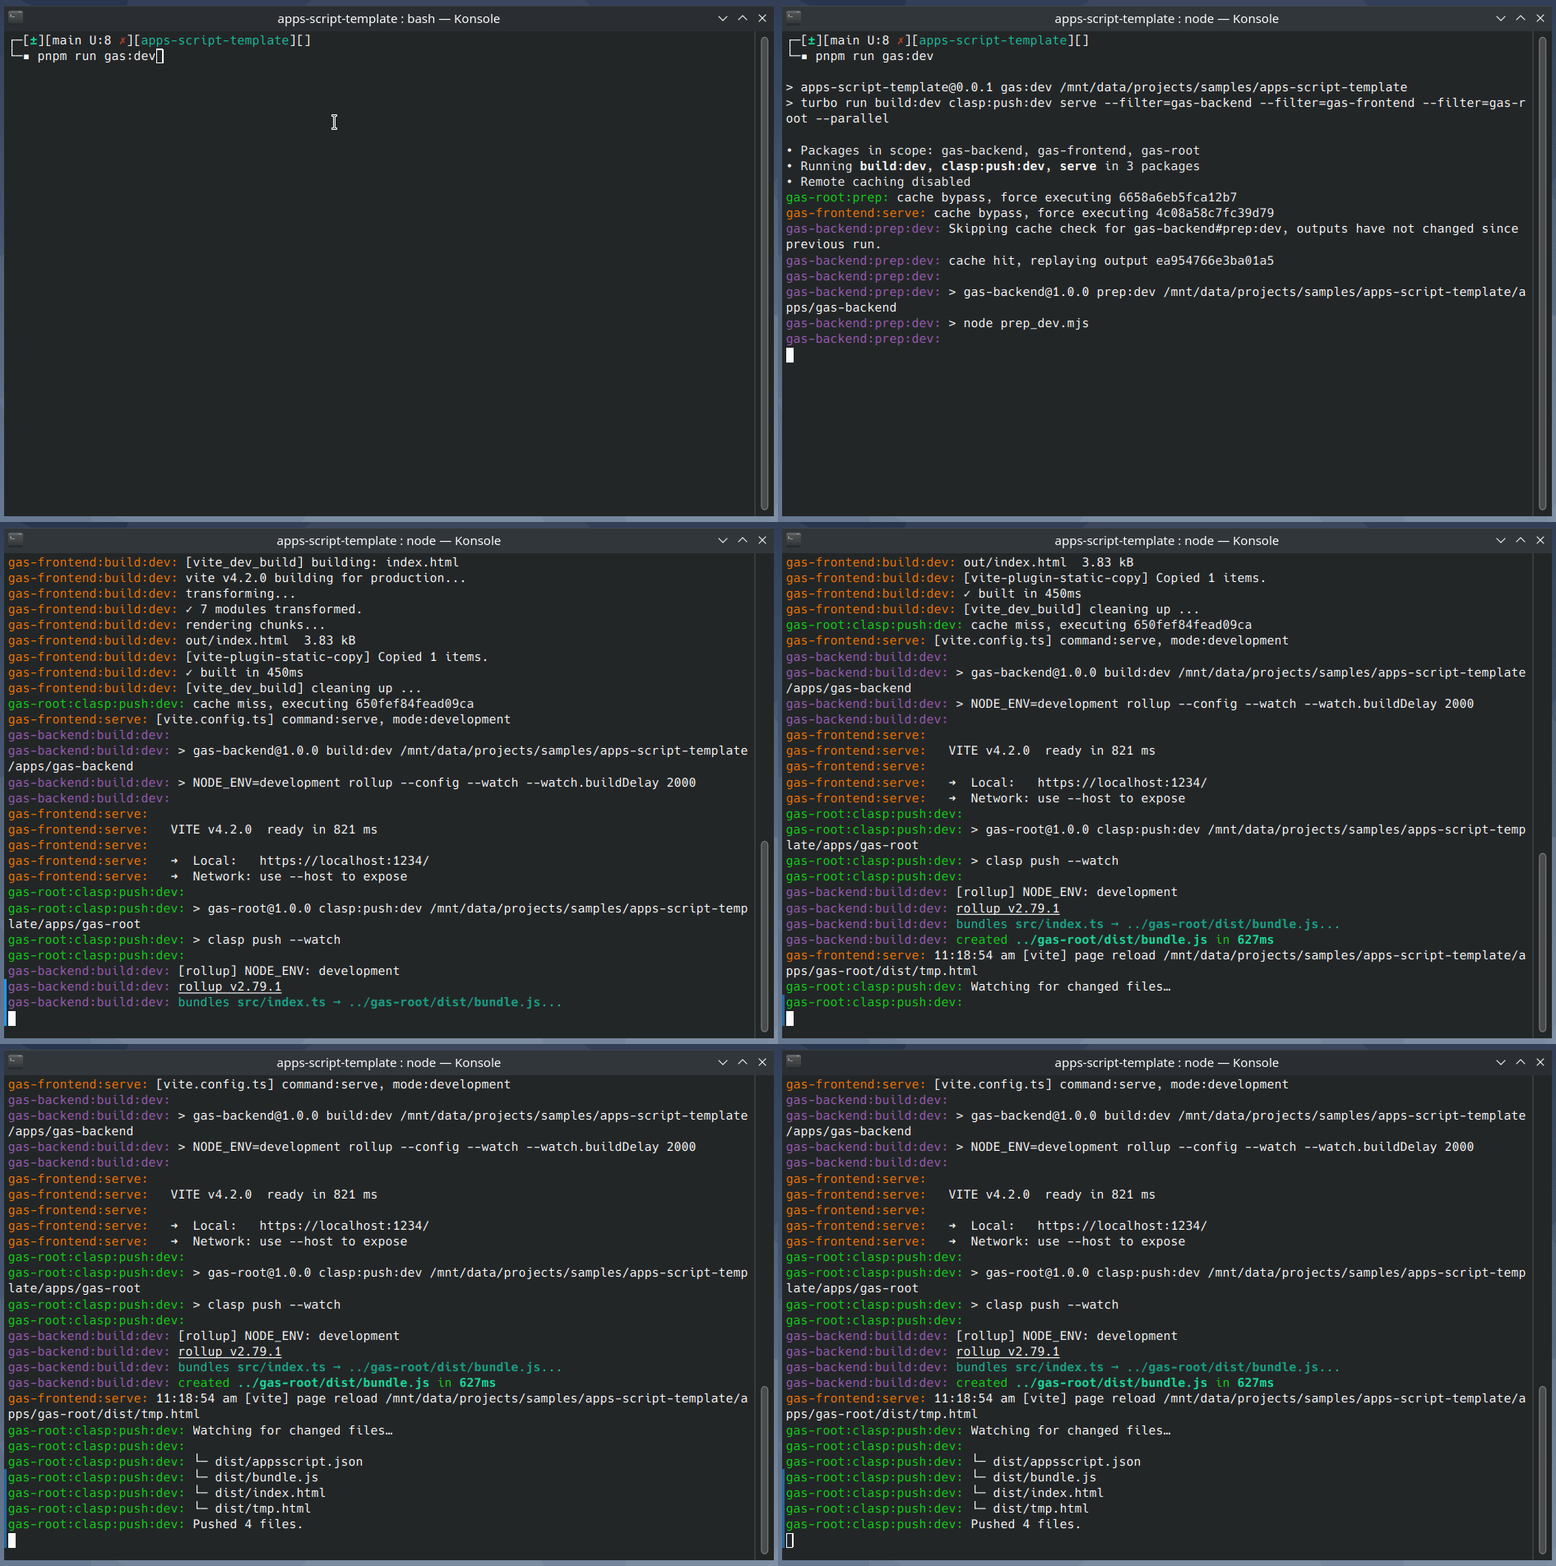
From the project root, run the following command
pnpm run gas:devOpen the apps script project in your browser and create a test deployment.
Now, you can make changes to both gas-frontend and gas-backend files and it will be synced automatically in the background.
From the project root, run the following command
pnpm run gas:deploy:staging- Rupam Poddar @rupam0x
This project is hugely inspired by and partially adapted from React-Google-Apps-Script. Check it out if you are more comfortable with webpack and npm.
