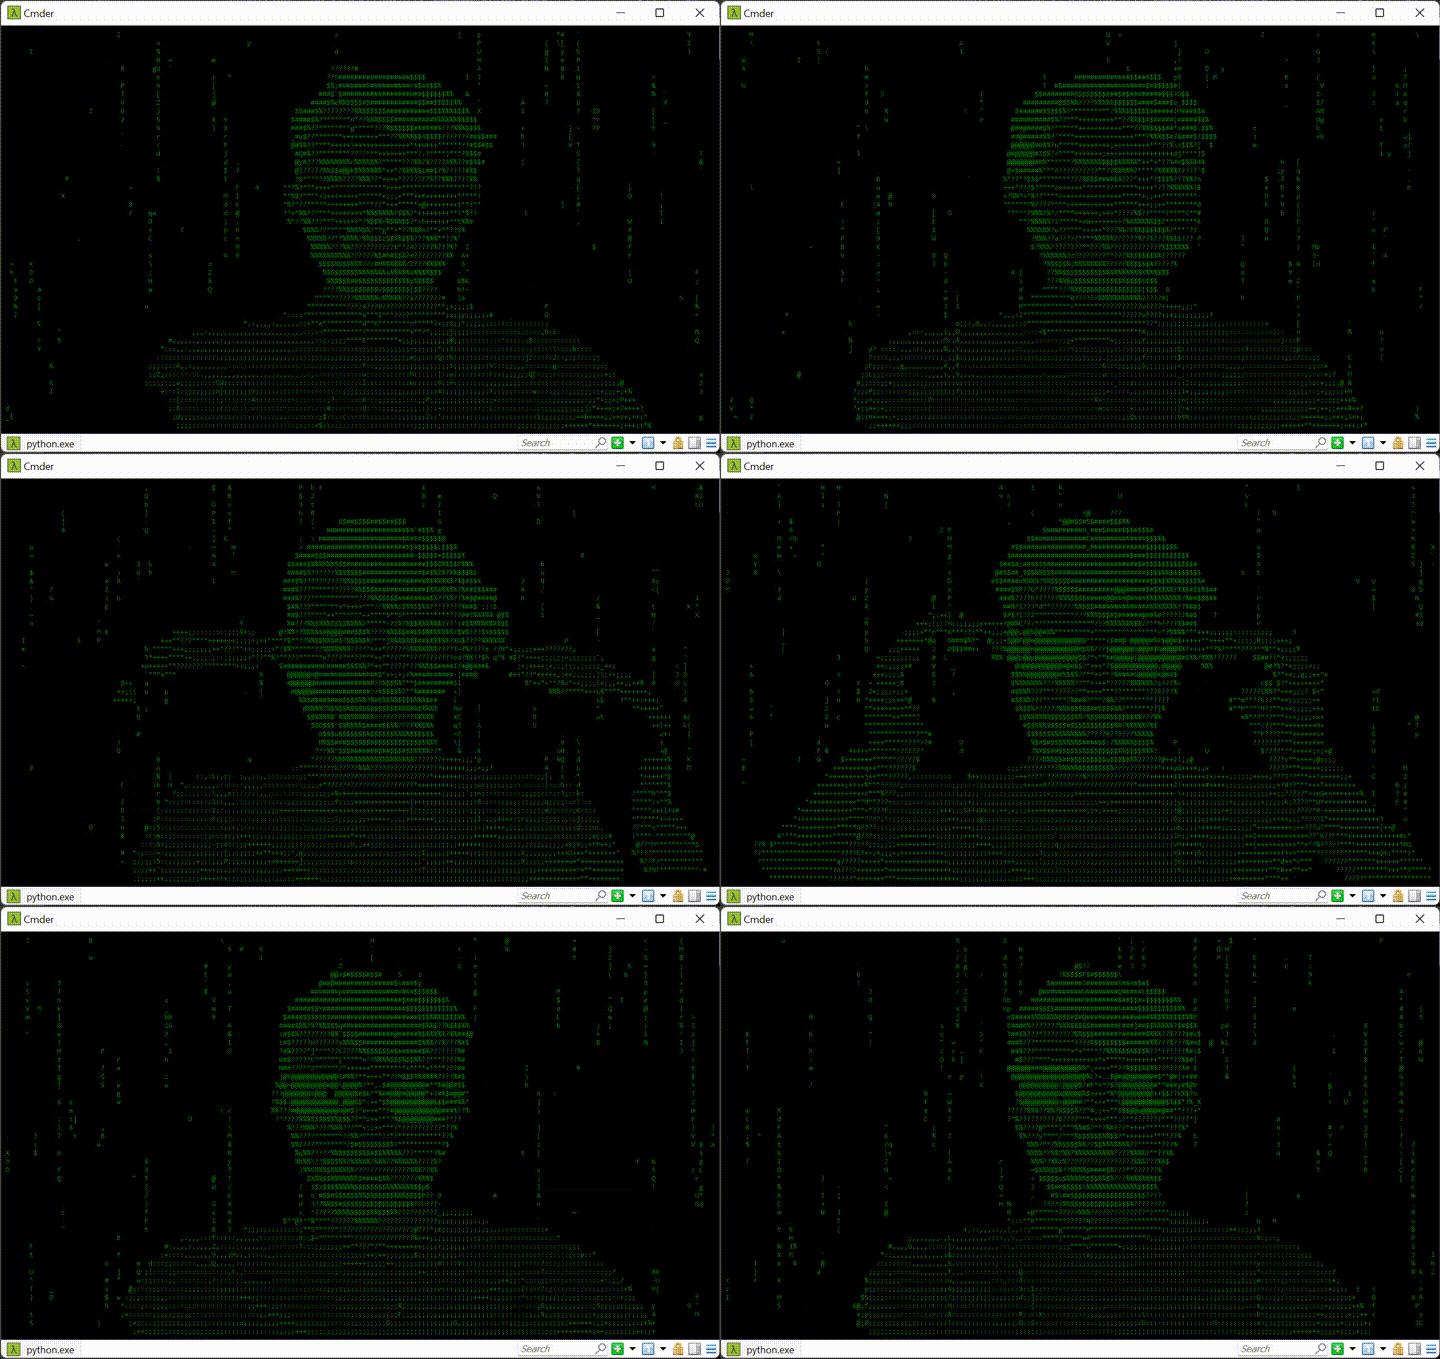
This package displays your webcam video feed in the console.
Take your next video conference from within the matrix!
Make sure you have Python and pip installed. Installation using pip:
$ pip install matrix-webcam  # make sure it's in your PATH for it to run, alternatively use sudo
$ matrix-webcam
Installing and running it from source:
$ git clone https://github.com/joschuck/matrix-webcam.git
$ cd matrix-webcam
$ python -m pip install .
$ matrix-webcam
Tip: Shrink your font size, it will look even more hacky
usage: matrix-webcam [-h] [-l LETTERS] [-p PROBABILITY] [-u UPDATES_PER_SECOND]

options:
-h, --help            show this help message and exit
-d DEVICE, --device DEVICE
                    Sets the index of the webcam if you have more than one webcam.
-l LETTERS, --letters LETTERS
                    The number of letters produced per update.
-p PROBABILITY, --probability PROBABILITY
                    1/p probability of a dispense point deactivating each tick.
-u UPDATES_PER_SECOND, --updates-per-second UPDATES_PER_SECOND
                    The number of updates to perform per second.
Yes! You can for example use OBS Studio ~~ together with the Virtual Cam plugin ~~ . Notice: obs-studio have officially provided virtual camera feature since version 26.0.0 , you can use it without installing this plugin. Then all you need to do is select the virtual webcam in Teams/Zoom/Skype.
First we need to make sure you have the v4l2loopback kernel module to create V4L2 loopback devices setup. This module allows you to create "virtual video devices". Normal (v4l2) applications will read these devices as if they were ordinary video devices, but the video will not be read from e.g. a capture card but instead it is generated by another application. It should be available in your distro's package manager. Under Ubuntu install it using:
$ sudo apt install -y v4l2loopback-dkms v4l2loopback-utils
Now we need to create a virtual v4l2 device (exclusive_caps=1 and YUV2 conversion is required by Chromium for the device to be recognized):
$ sudo modprobe v4l2loopback devices=1 video_nr=42 card_label="Virtual Camera" exclusive_caps=1 max_buffers=2
Now we need to find the xid if the terminal window we will launch matrix-webcam in using
$ xdotool getactivewindow
79869947  # sample output
Optionally resize the terminal window to something reasonable from another terminal and then launch matrix webcam
$ wmctrl -i -r 79869947 -e 0,300,300,1280,720 # in another terminal (2)
Now launch matrix-webcam
$ matrix-webcam # in the terminal that was just resized
Now launch the virtual device in terminal (2) - you need Gstreamer for this, check the link on how to install it
$ gst-launch-1.0 ximagesrc xid=79869947 ! video/x-raw,framerate=30/1 ! videoconvert ! video/x-raw,format=YUY2 ! v4l2sink device=/dev/video42
That's it, your webcam should show up in Chromium, Teams, etc.!
I'd recommend creating a new virtual environment (if you are under Ubuntu install it using sudo apt install python3-venv using
$ python3 -m venv venv/
$ source venv/bin/activate
Then install the dependencies using:
$ pip install -e .[dev,deploy]
Setup pre-commit, too:
$ pre-commit install
- Add Virtual webcam documentation for Linux/Gstreamer
- add webcam selection
- Move to opencv-python-headless
- add tests
This project is licensed under the MIT License (see the LICENSE file for details).


