weshipit.today is a French-based React Native engineering and consulting company. You don’t have time to learn all the details of mobile app development?
Let’s build together and book a call with us weshipit.today.
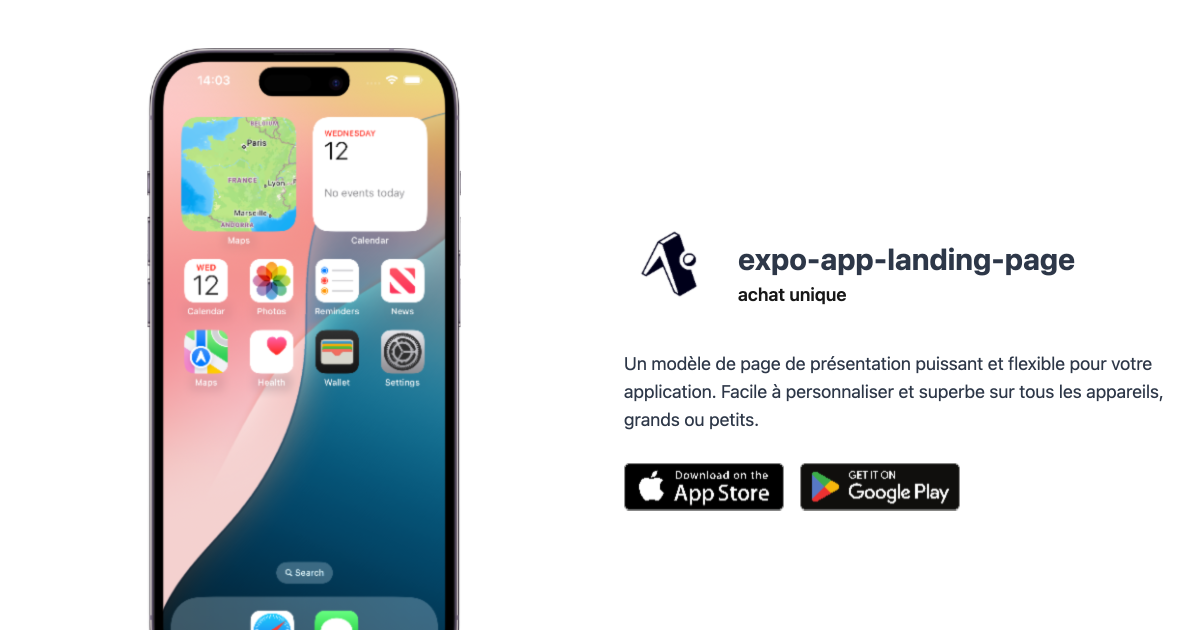
This project is designed to help you create a landing page for your Expo application. It provides a simple and customizable solution for showcasing your app.
Demo: mobile-landing.expo.app
Create a new Expo app using the template:
npx create-expo -t https://github.com/flexbox/mobile-landing/ <project-mobile-landing>Install dependencies:
yarn       # or npm install
yarn start # or npm start- Update your iOS and android configuration in
app.config.ts.
- If you provide your App Store ID, the app will automatically fetch your app data (name, description, screenshots).
- In case the automatic fetch fails, you can still manually configure all the data.
- Update landing page content on
constants/landing.ts. - Run
yarn generate-ogto generate a screenshot of your landing page, then manually move the generated image from your downloads folder to thepublicdirectory.
The app can fetch App Store data in two ways:
-
Dynamic mode (development): When running in development, the app will try to fetch data from the App Store API if no static data is available.
-
Static mode (production): For production deployments, the app uses pre-fetched data stored in a local JSON file.
To manually fetch and update the App Store data:
yarn fetch-appstore-dataThis will create a JSON file at assets/data/appStore.json with your app's data.
When you run yarn deploy, this command is automatically executed before deployment to ensure you have the latest data.
- Create an account at expo.dev
- Install the cli
npm install -g eas-cli - Login to your account
eas login
yarn preview # or npm run previewRelease to production
yarn deploy # or npm run deployThe app includes a changelog page that can be enabled or disabled. To manage the changelog:
- Open
constants/landing.ts - Find the
changelogconfiguration object - Set
enabled: trueto show the changelog page, orenabled: falseto hide it - Add your versions and changes in the following format:
{
  version: "2.0.0",
  date: "2024-03-15",
  changes: [
    {
      type: "feature", // Can be: feature, improvement, fix
      description: "Description of the change"
    }
  ]
}
The changelog page will automatically show your changes with appropriate styling for each type of change:
- 🟣 Feature: New features
- 🔵 Improvement: Enhancements to existing features
- 🔴 Fix: Bug fixes and corrections
