👋 👋 👋 👋 👋 👋 👋 👋
This is repo contains content for the developer onboarding workshop. Over the coming weeks, we will have multiple sessions together that will include Workshops, self-guided training and online classrooms.
👀 🚨
The main hub for us is the Miro board, a link to the board was distributed this morning and will be shared via E-Mail. Please E-Mail me if you can't find the link or don't have access to the Miro board.
We will start with a light introduction, going through the objectives over the next few weeks and introducing OpenShift.
📫 Content and Links
📋 Tasks
- Confirm your Miro board access
- Get yourself a developer sandobox
🥅 Goals
- Being able to describe what OpenShift is
- Not being afraid of what's ahead
The 🥅 for this week is to understand what a container is, how it differs from traditional application, and how a container works.
You can find a 💡 full script for this session here. The script gives a little bit more background to the presentation, includes a small quiz, and expands on the slides.
If you are interested in the 📑 PDF to the presentation, please find this here.
All hands-on exercises are available via the online lab section. More on this below.
-
[mandatory] 💪 👶
Read through the linked material for week 2 and make sure you understand the differences between: image, container, image registry and container runtime.
-
[mandatory] 💪 👶
Do the following hands-on labs:
-
[mandatory, except the last step] 💪 🥷
-
Open a RHEL sandbox environment in the lab section.
-
Run ❗
yum update -y❗, this will update your system to the latest versions, unfortunately this takes 5-7 min, keep reading whole your system updates -
Make sure that
buildahandpodmanare installed in your environment. You can useyum install <name>for this -
Check how many
buildah imagesyou have present on your host -
Use this Dockerfile and this amazing node.JS application to build a new image. You can create the 3 relevant files with
vi Dockerfile,vi app.jsandvi package.jsonand copy the content overHint:
buildah bud -f Dockerfile -t <image-name> . -
Revise the Dockerfile and understand what is happening, the following resource will help you
-
Use
podmanto list your local images. Use the image you have created with buildah tocreateandstarta container. Use the podman docs if needed -
On which port did your container start?
-
🔑 Rather than using the Dockerfile, can you build an image using
buildahCLI commands?
-
The 🥅 for this week is to understand what Kubernetes is, how Kubernetes works and what you absolutely must understand as a developer. This week is a step up from last week and will require additional reading. 💥 Please spend some time outside of the theory and practical session on revising the theory.
You can find a 💡 full script for this session here. The script gives more background to the presentation and expands on the slides - it also includes references to additional reading.
If you are interested in the 📑 PDF to the presentation, please find this here.
This week is tough 💪 , no doubt. You will have to go through the theory more than once and do a good amount of reading.
But let's finally get to the fun 🤠 part!
You should have requested your OpenShift Developer Sandbox over the past 2 weeks, please access it now.
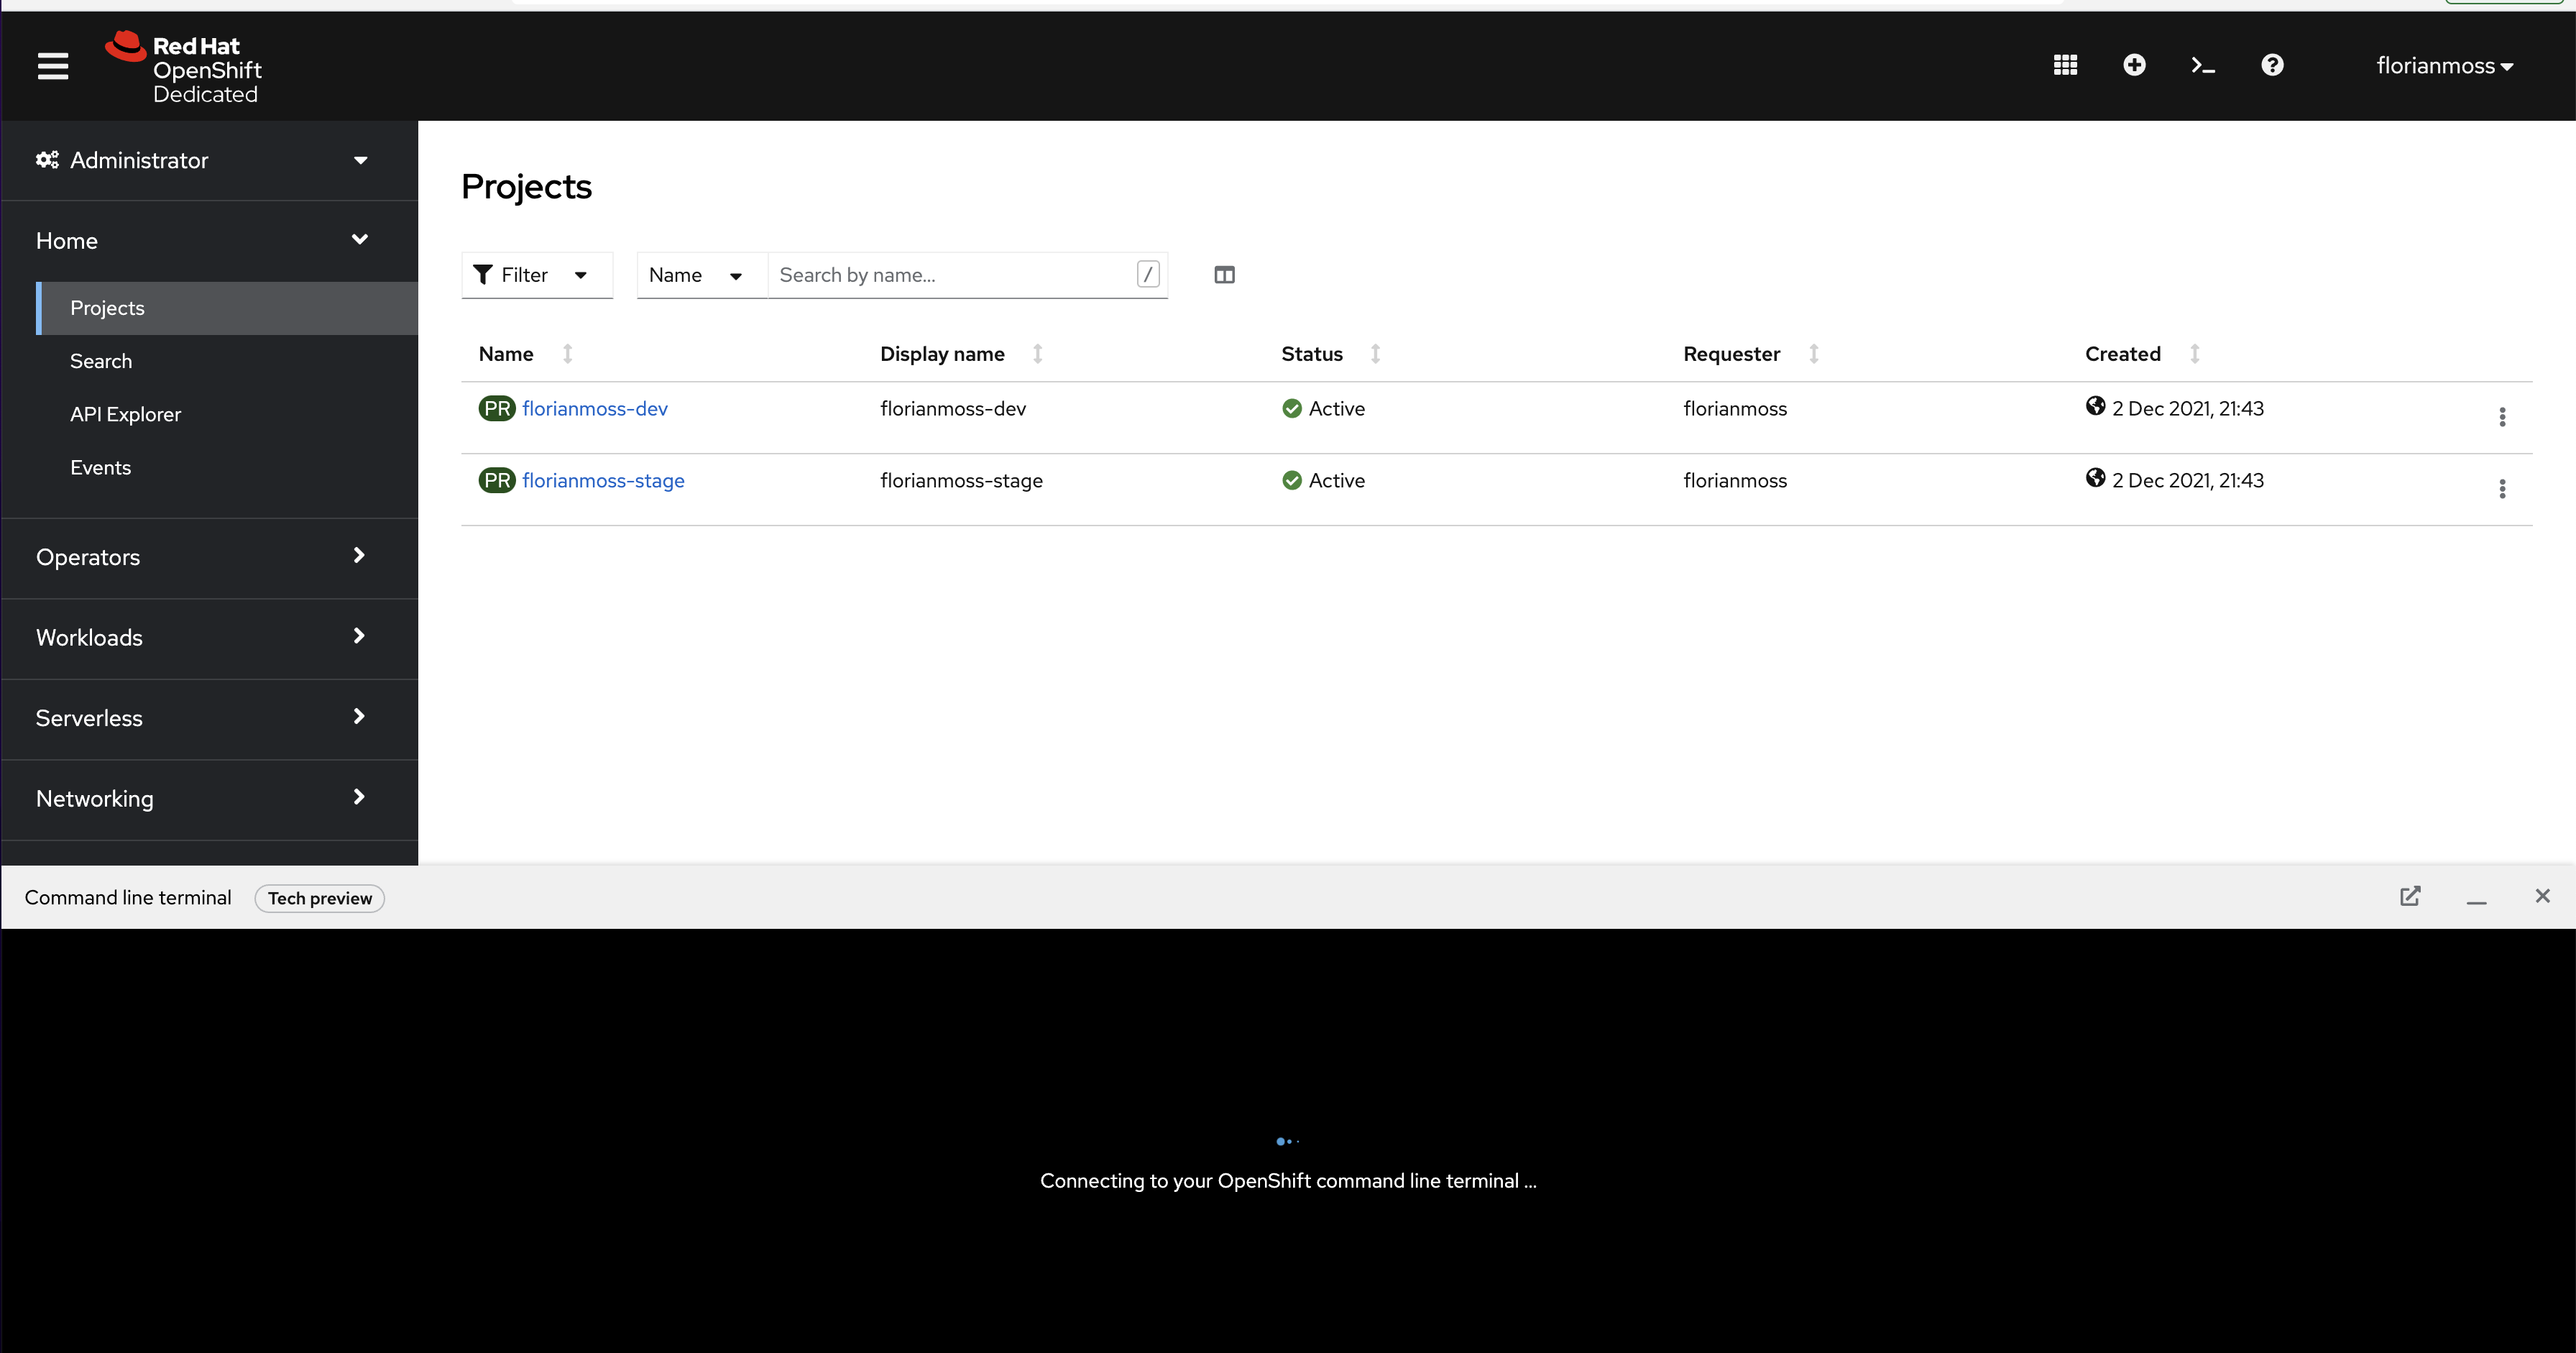
In the top right, please select the Terminal icon (left from the "?"). You will see that a terminal opens at the bottom of your screen.
Expand the terminal by dragging it up.
-
Some basis kubectl commands
- Run
kubectl --helpand have a look at the options available to you. - Check which namespace you are currently using:
kubectl config view --minify | grep namespace: - Deploy your first container in a pod:
kubectl run nginx --image=nginx - Confirm that the pod deployed successfully:
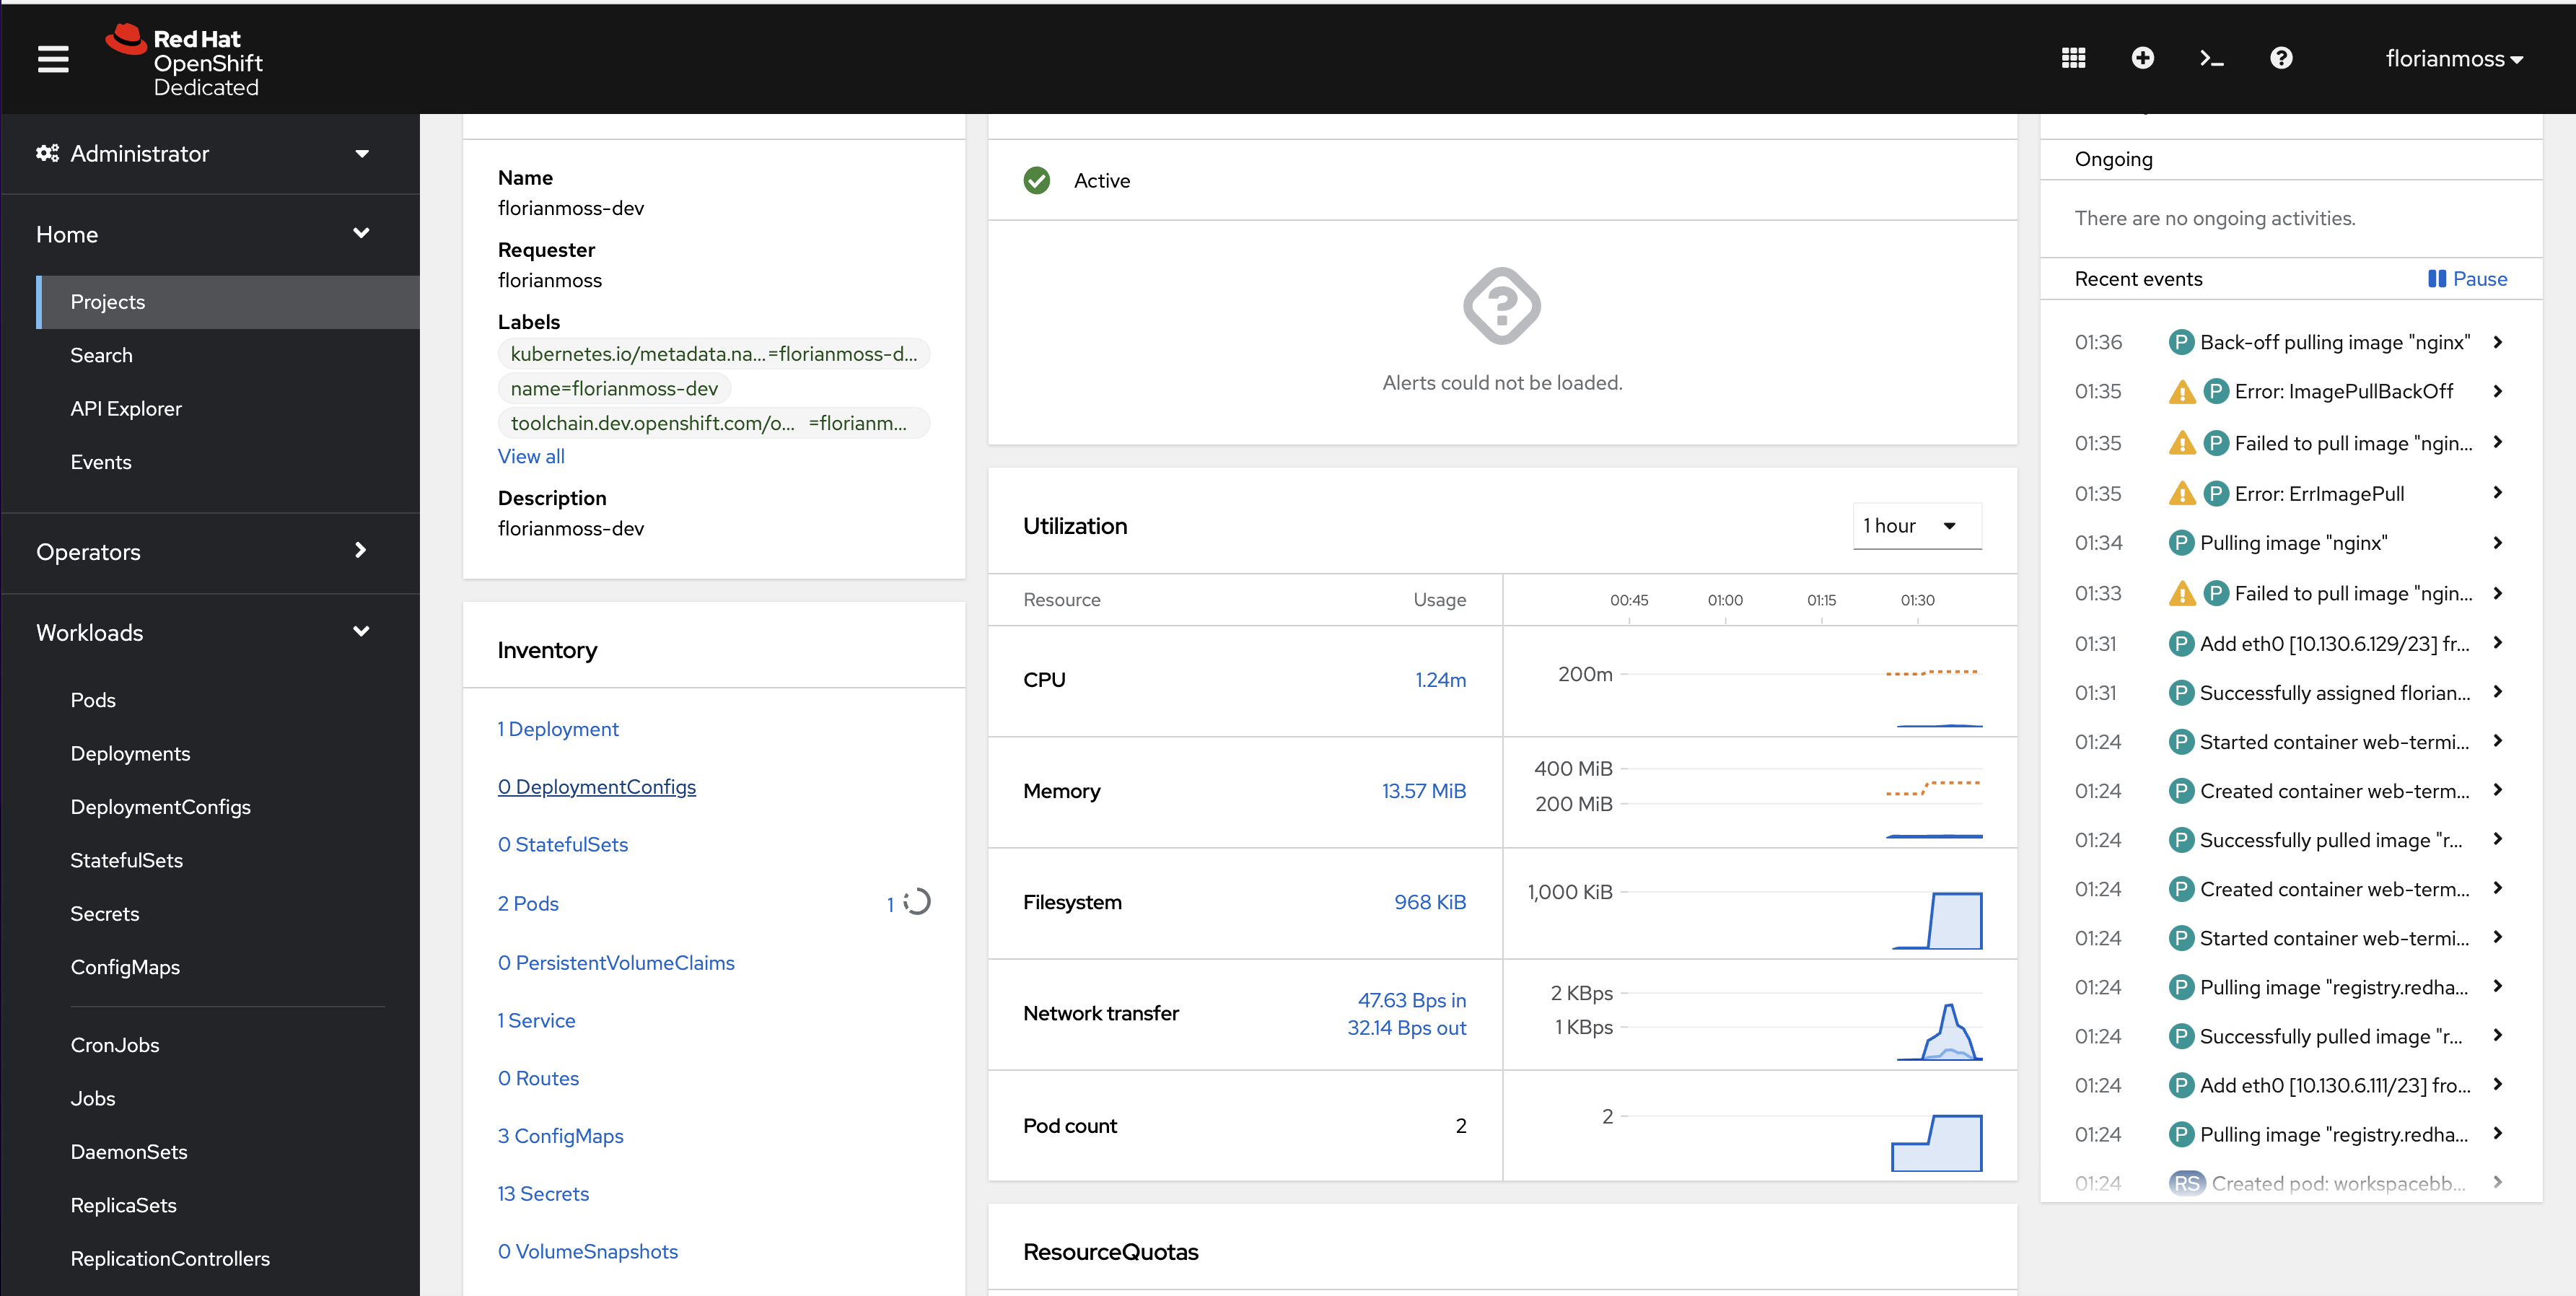
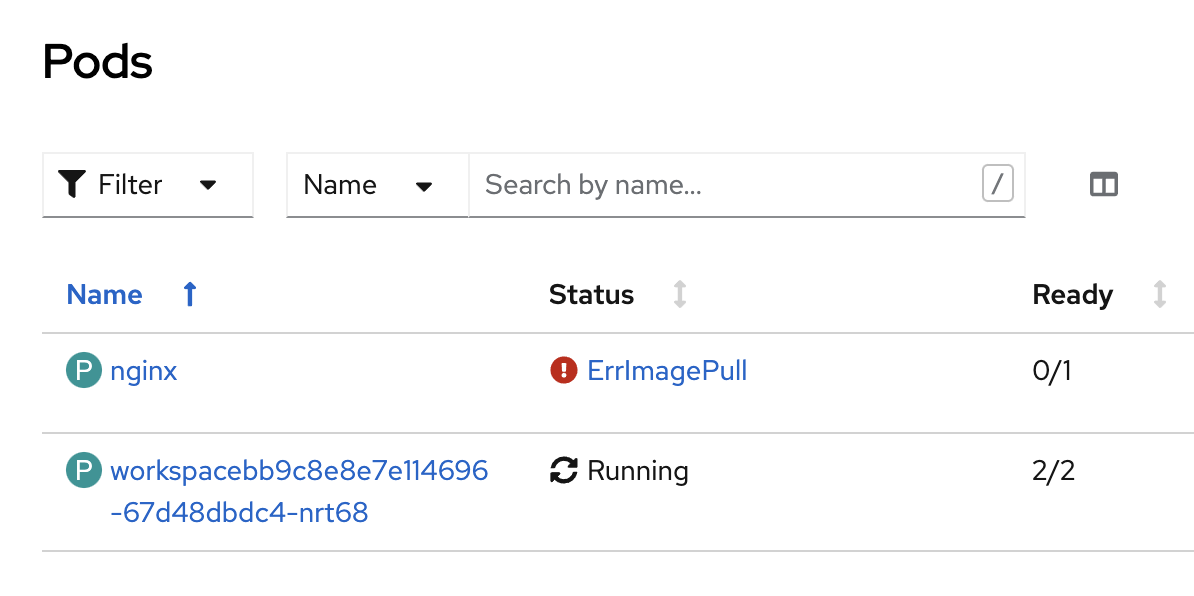
kubectl get pods - What do you see in the status? Minimise the terminal first. Select
Project->username-dev->Pods(scroll down)
Select the
nginxpod and click onEvents.Damn, it looks like we tried pulling an image from docker.com but they don't like that anymore!
- Run
-
Deploying a Pod
- We can easily avoid this issue by deploying an image that we are pulling from a different registry, like quay.io:
kubectl run hello-world --image=quay.io/redhattraining/hello-world-nginx - Now, list all Pods in your current namespace
- We have never actually written a YAML file for this, that's why we want to review what we just created:
kubectl run hello-world --image=quay.io/redhattraining/hello-world-nginx - Are there any resource restriction applied to our pod? Such as memory or CPU constraints?
- Delete the pod
hello-worldthat we created earlier
- We can easily avoid this issue by deploying an image that we are pulling from a different registry, like quay.io:
-
Createing a Deployment
- Use the following YAML specification to deploy your first
Deployment, make use of thekubectl apply -f <file>.yamlcommand:
- Use the following YAML specification to deploy your first
apiVersion: apps/v1
kind: Deployment
metadata:
  name: nginx-deployment
  labels:
    app: nginx
spec:
  strategy:
    type: RollingUpdate
    rollingUpdate:
      maxUnavailable: 50%
  replicas: 4
  selector:
    matchLabels:
      app: nginx
  template:
    metadata:
      labels:
        app: nginx
    spec:
      containers:
      - name: nginx
        image: quay.io/redhattraining/hello-world-nginx:latest
        ports:
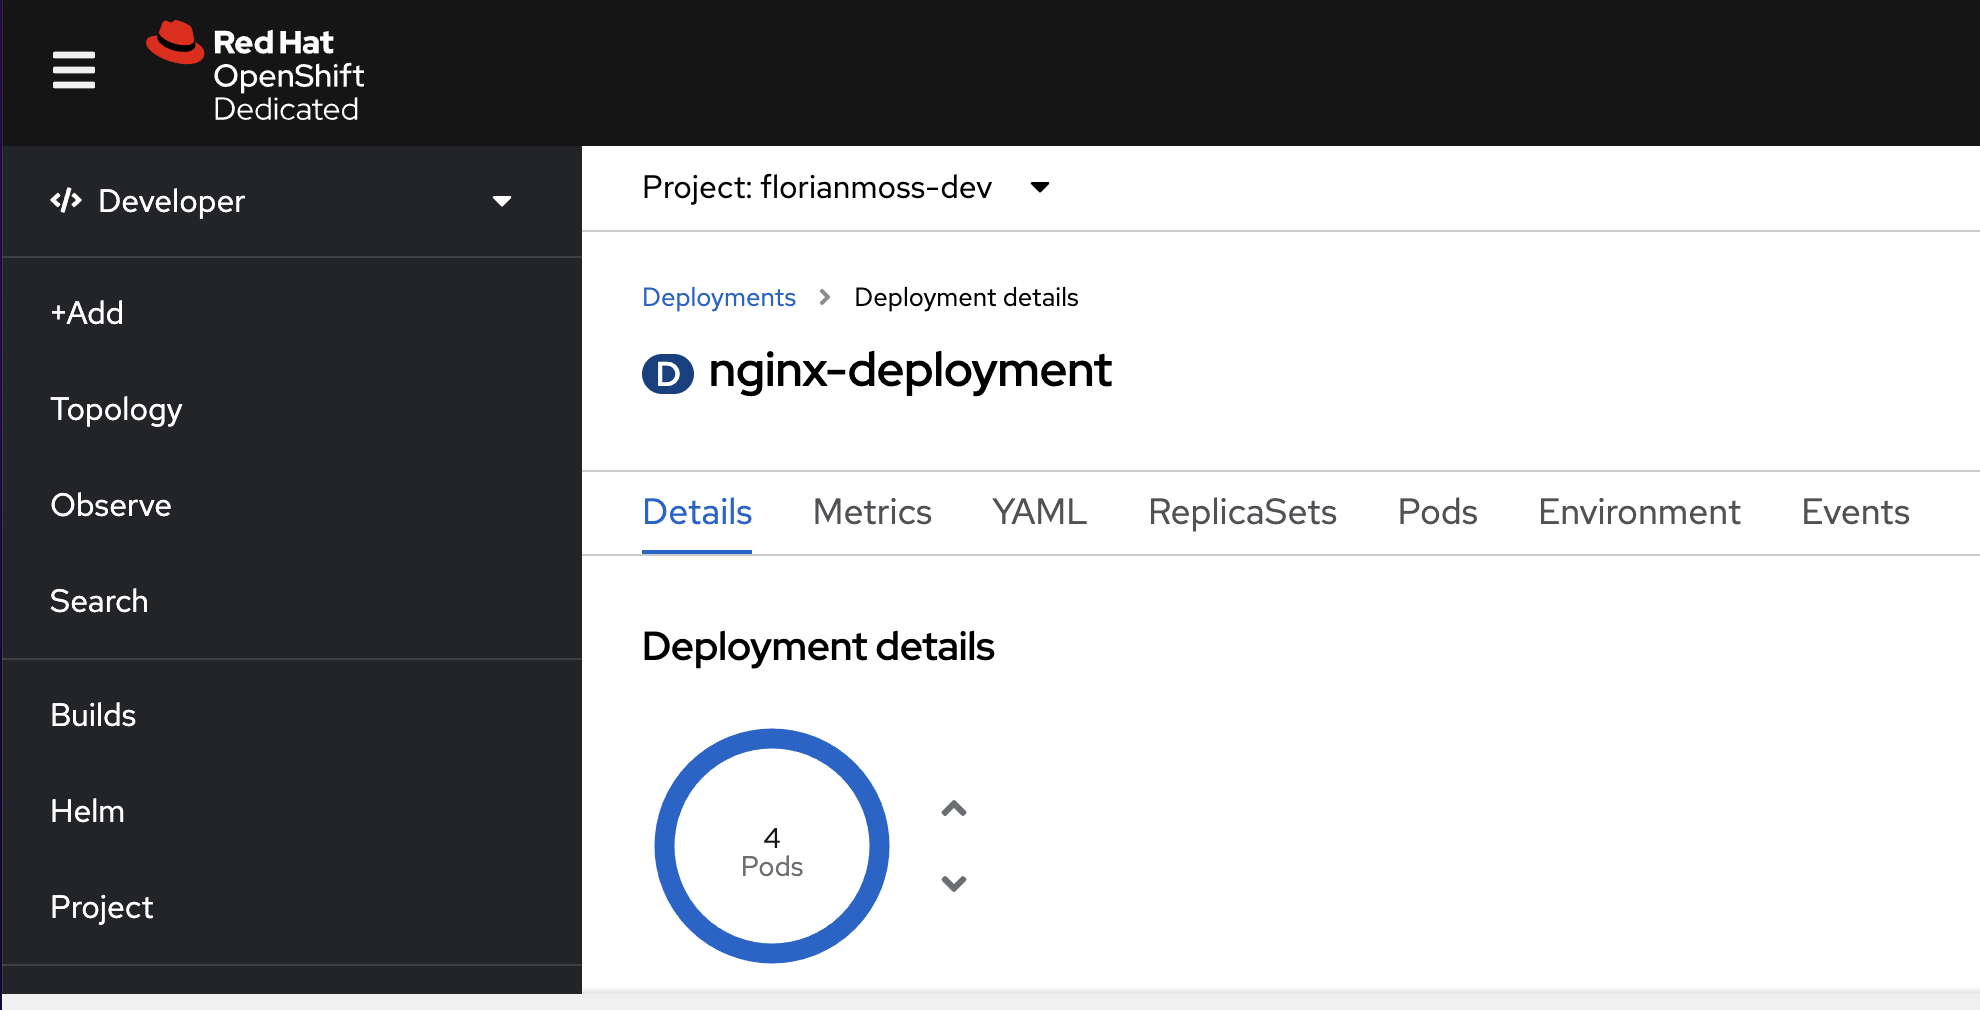
- containerPort: 80- Minimize your terminal and have a look around, visually inspect the new Deployment in the GUI
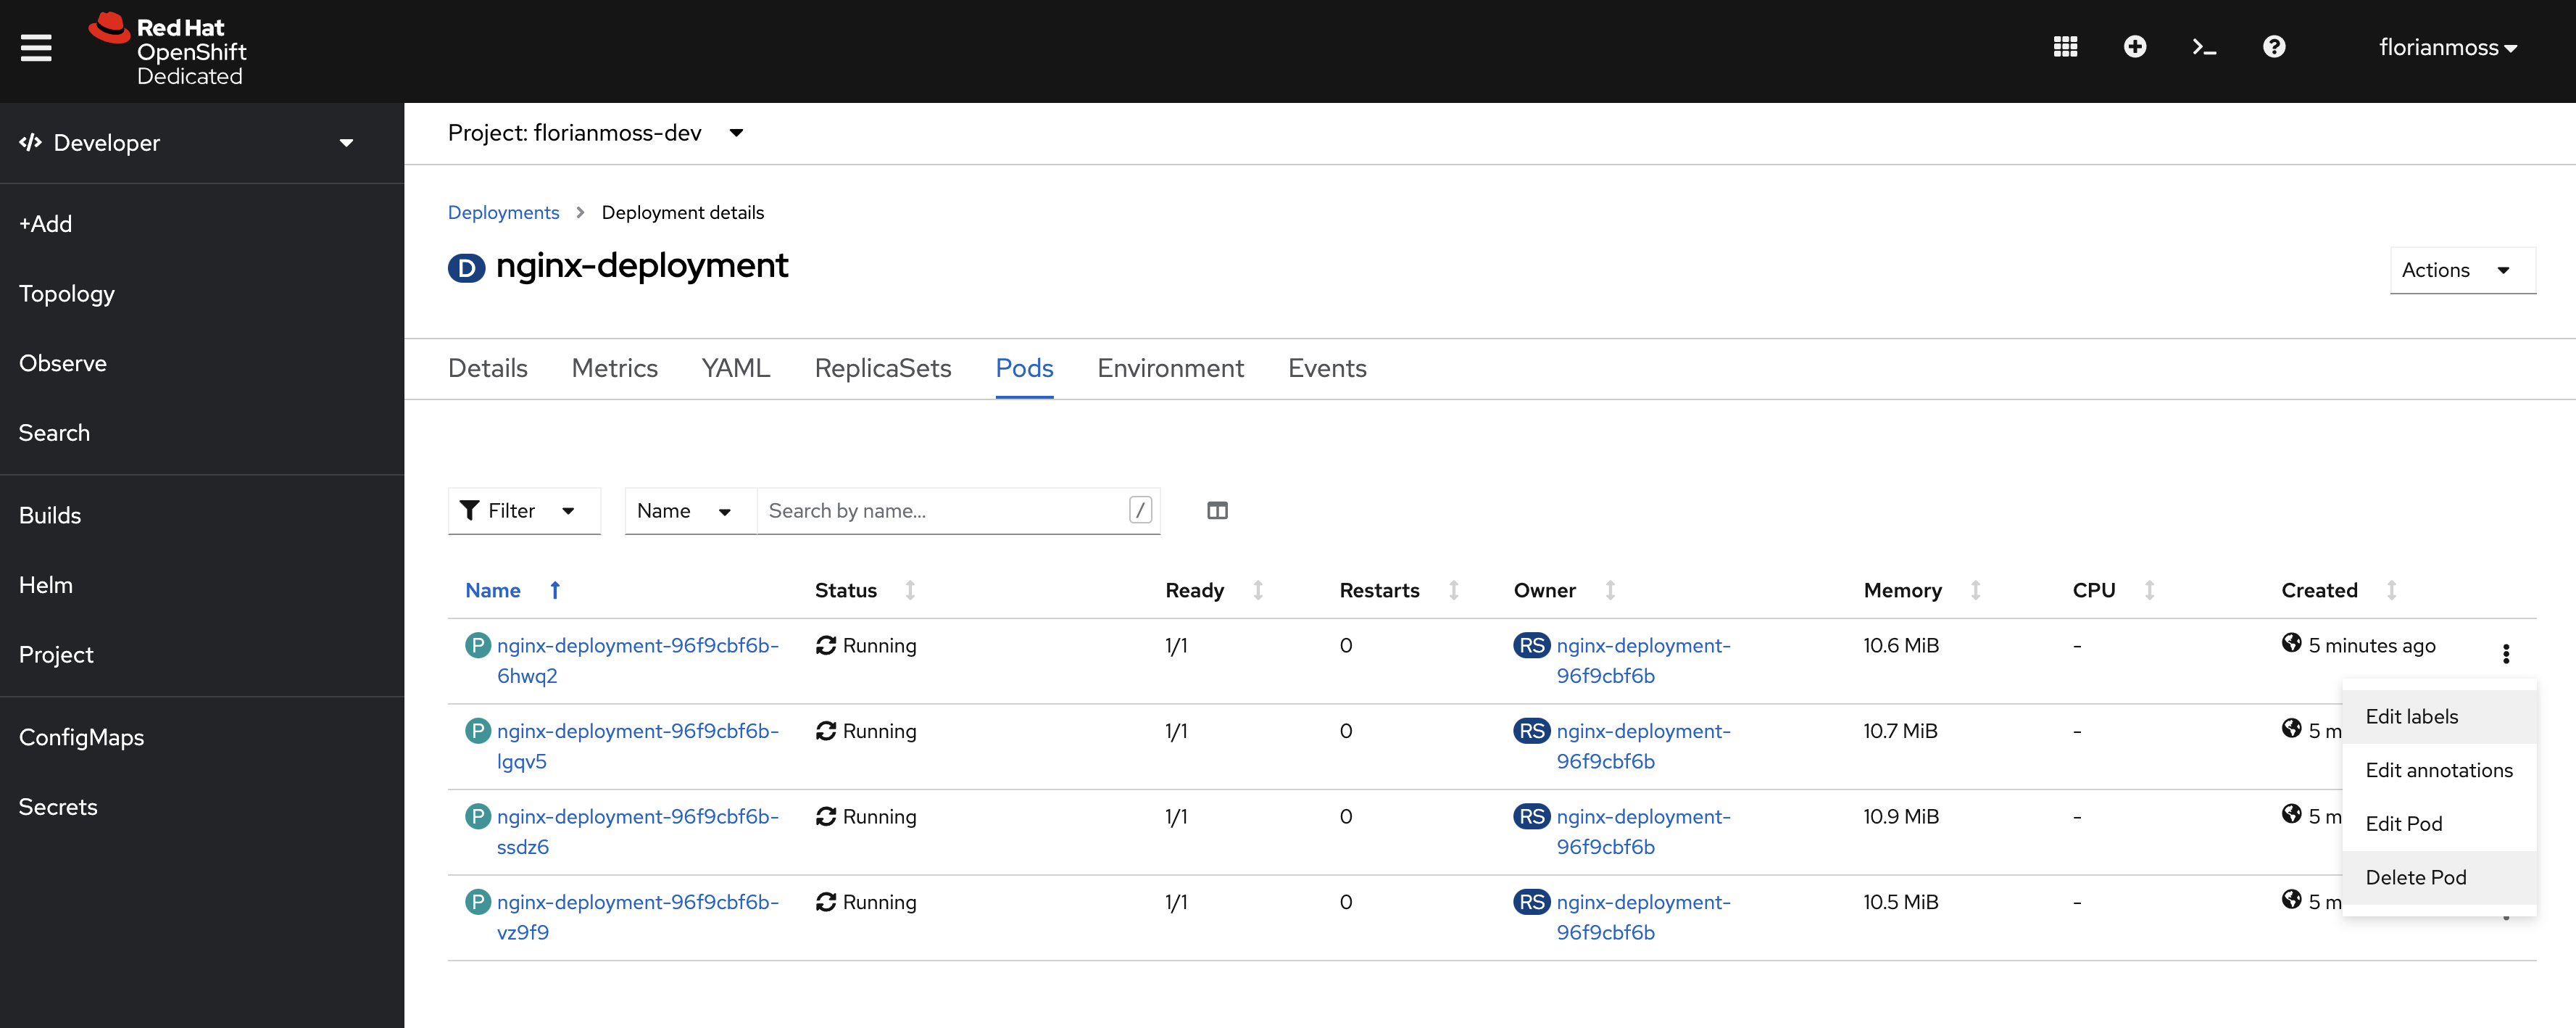
- Manually delete one of the pods as seen in the image below. What do you think is gonna happen?
-
Can you explain why we have still 4 pods running?
-
Change the deployment config to 5 replicas (you can use the terminal or OpenShift GUI). Verify that 5 containers are running.
- Creating a Database and Backend Service
- For the final exercise we will bring a few things together, Deployments, Environment Variables and ConfigMaps.
Our target deployment looks like this:

It consists of a PostgreSQL database and nodeJS service that list the car details.
-
Deploy a Database
-
oc new-app postgresql-persistent --name dbapp --param DATABASE_SERVICE_NAME=aadb --param POSTGRESQL_USER=developer --param POSTGRESQL_PASSWORD=developer --param POSTGRESQL_DATABASE=aadb -
Check out the Environment variables:
POSTGRESQL_USER POSTGRESQL_PASSWORD POSTGRESQL_DATABASE -
Run
oc get podsand confirm that the DB is running -
Open the OpenShift UI, select the DeploymentConfig
aadbin the Topology, open the Pods section, select the only pod availabe and go to terminal, you are now connected to the inside of the running pod. We can use this to insert data into our database:
psql -U developer -d aadb

CREATE TABLE cars (
	car_id serial PRIMARY KEY,
	brand VARCHAR ( 50 ) NOT NULL,
	make VARCHAR ( 50 ) NOT NULL,
	price VARCHAR ( 50 ) NOT NULL,
	image VARCHAR ( 500 ) NOT NULL
);

INSERT INTO cars (brand, make, price, image) VALUES ('Audi', 'A5', '55.000', 'https://motoringmatters.ie/wp-content/uploads/2019/09/audi-a5_03.jpg');

INSERT INTO cars (brand, make, price, image) VALUES ('BMW', '4 Series', '58.000', 'https://cdn1.buyacar.co.uk/sites/buyacar/files/bmw-4-series-1.jpg');

INSERT INTO cars (brand, make, price, image) VALUES ('Mercedes', 'C Class', '65.000', 'https://carwow-uk-wp-0.imgix.net/mercedes-c-class-revealed-front-1.jpg?auto=format&cs=tinysrgb&fit=clip&ixlib=rb-1.1.0&q=60&w=750');

INSERT INTO cars (brand, make, price, image) VALUES ('Porsche', '911', '150.000', 'https://cdn.motor1.com/images/mgl/nr6Jx/s1/porsche-911-carrera-992-2019.jpg');

SELECT * FROM cars;-
Deploy the Backend
-
Open the Topolgy.
-
Right click -> Add Project -> From Git -> Insert Git Url from below -> Proceed with defaults and deploy.
-
Git repository:
https://github.com/florianmoss/cars-backend -
Inspect the index.js and queries.js file.
-
No Dockerfile needed.
-
Select Topology and
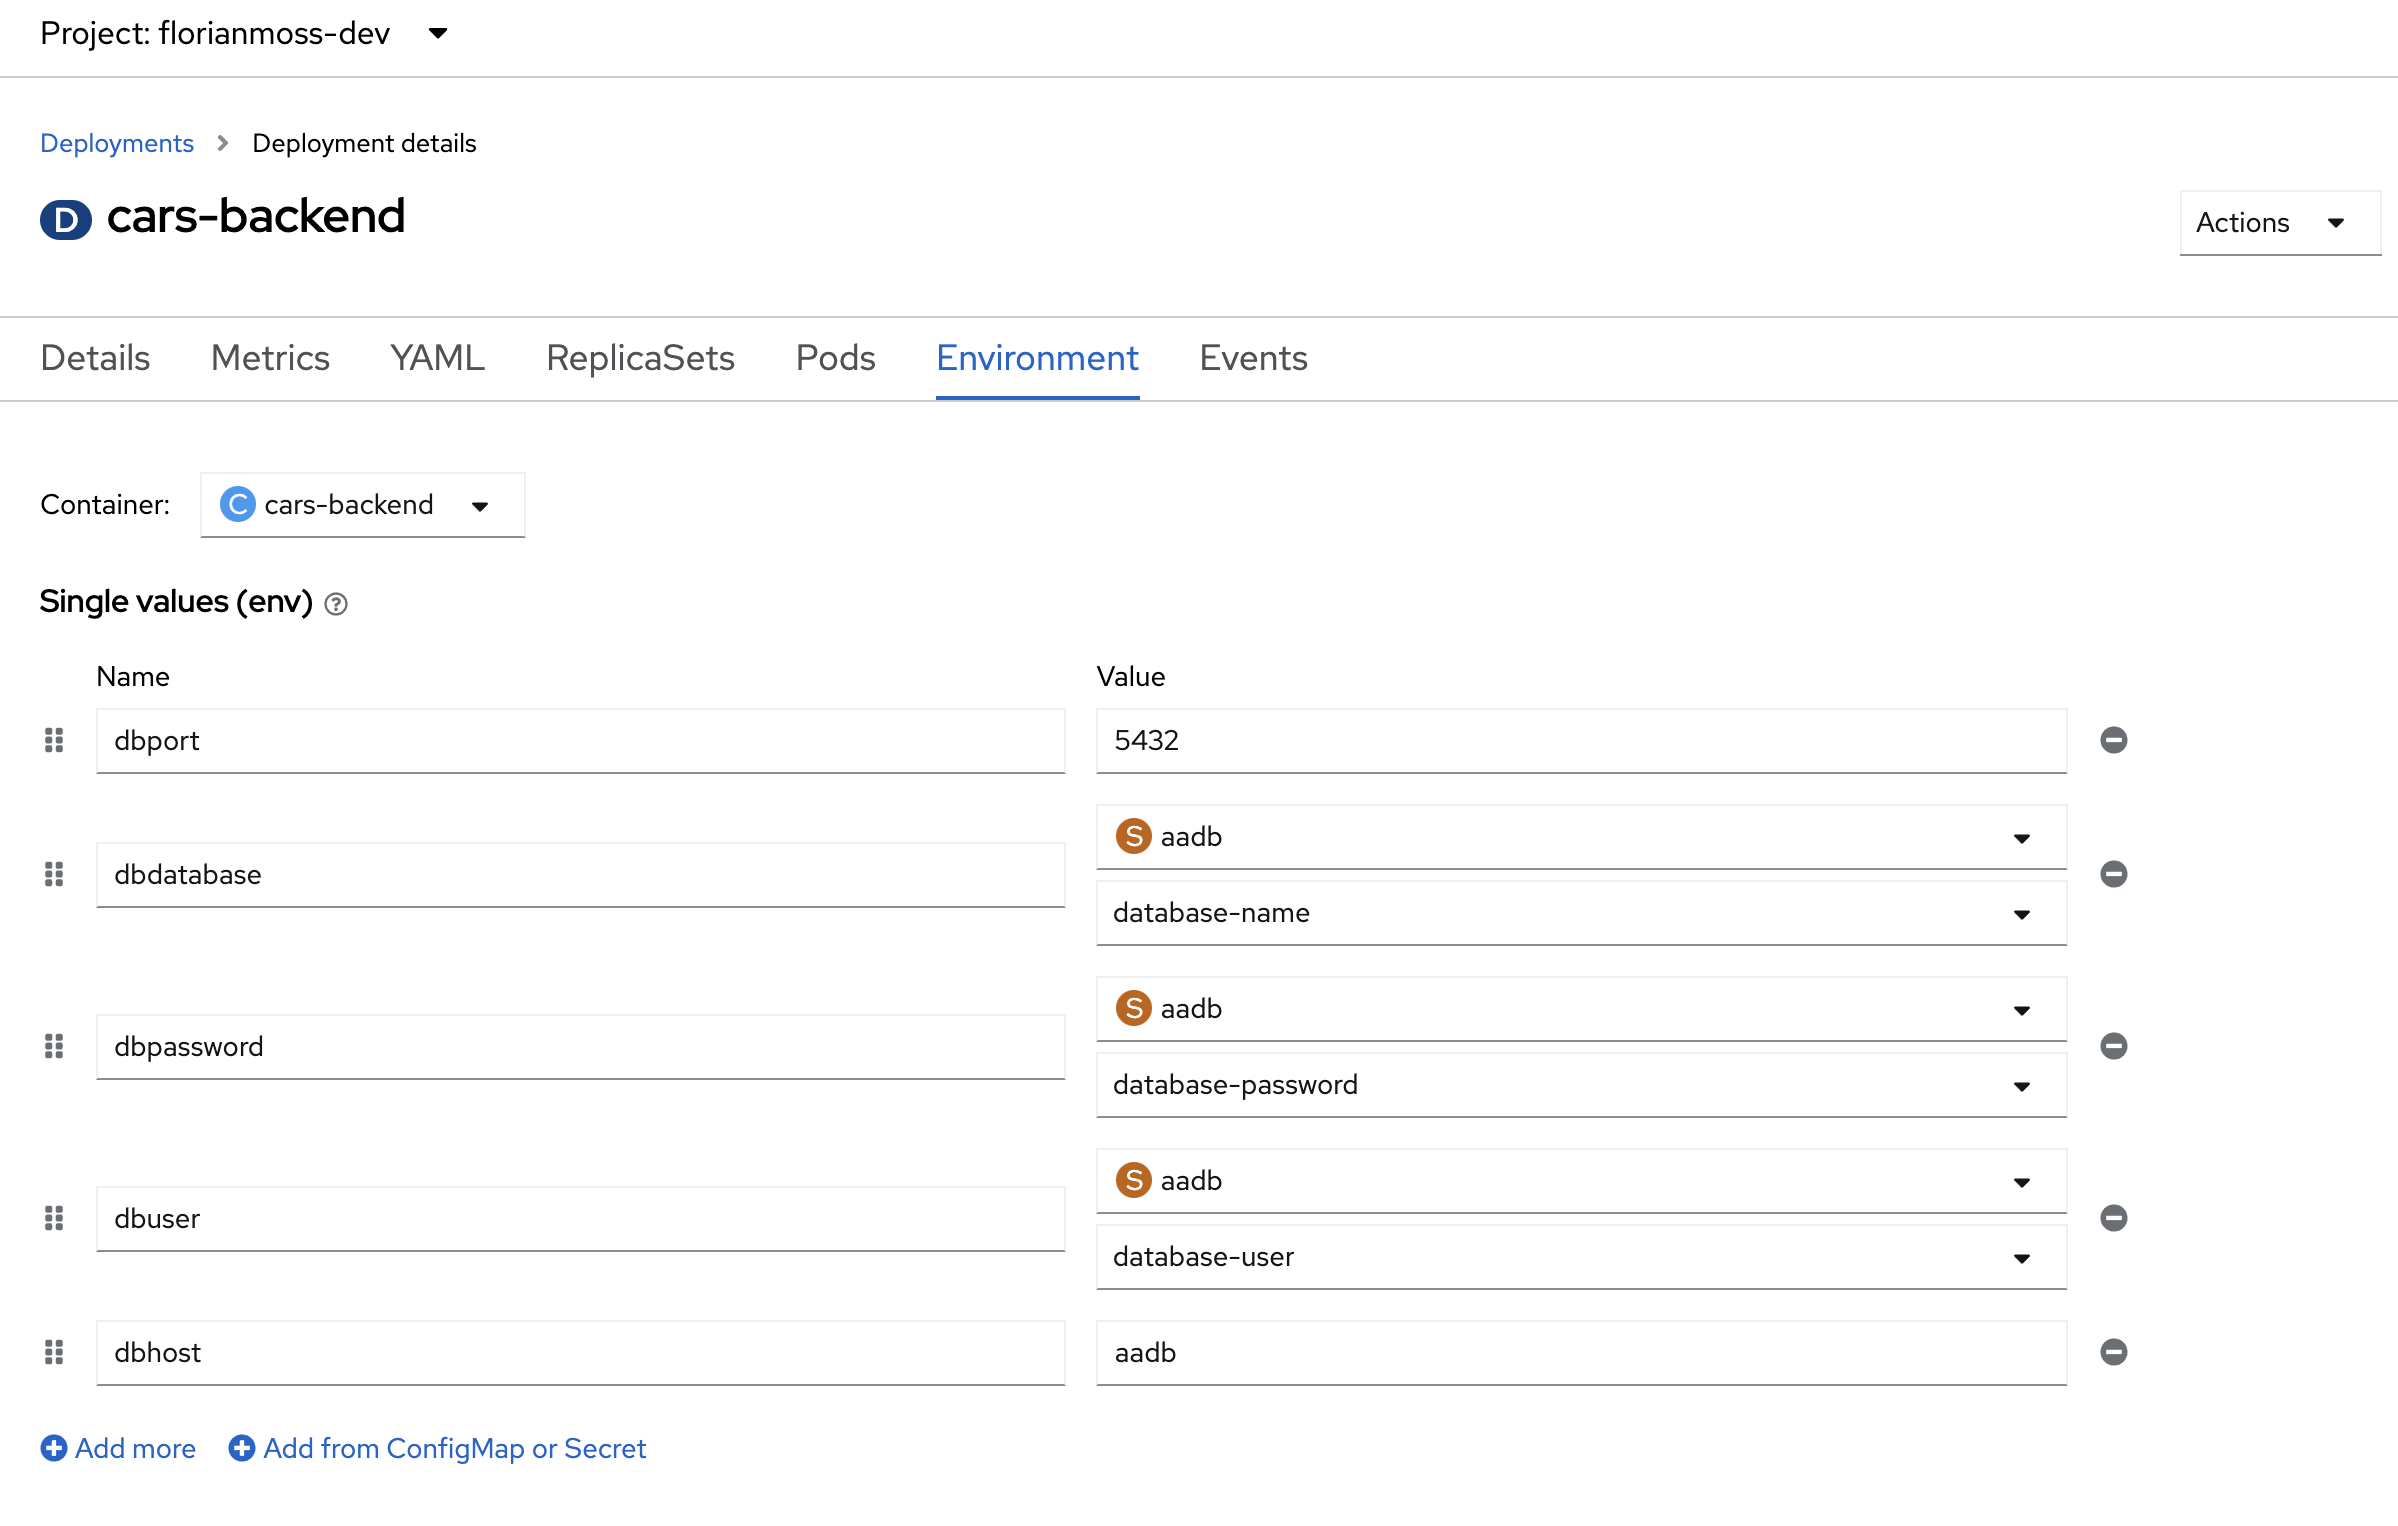
car-backenddeployment and add the environment variables as seen below. Thedbportanddbhostare environment variables specified by us, thedbpassword,dbdatabaseanddbuserare environment values that come from the DB and don't have to be visible to us deploying the backend.
-
Btw: The queries.js file specifies which environment variables are needed
-
In the Topology, on the top right of the nodeJS icon, select the URL icon as seen below
-
Add the
/carsroute to the end, this will query our cars database and display the cars we have entered. -
Congratulations, you have just deployed a database and a microservice!
-
Important note spotted by Alan: You need to remove the HTTPS from the route in the URL bar. We don't have a certificate deployed, Chrome and Firefox automatically secure traffic though. Simply make http:// instead of https:// in the URL bar and it will work fine.
After going into quite a bot of detail last week 🤯 , explaining Kubernetes concepts and interacting with the kubectl CLI as well as the oc CLI, we are gonna bring it back up this week 😇 . The content for this week is easy to consume and really focused on the practical aspects of your Inner-Loop Development.
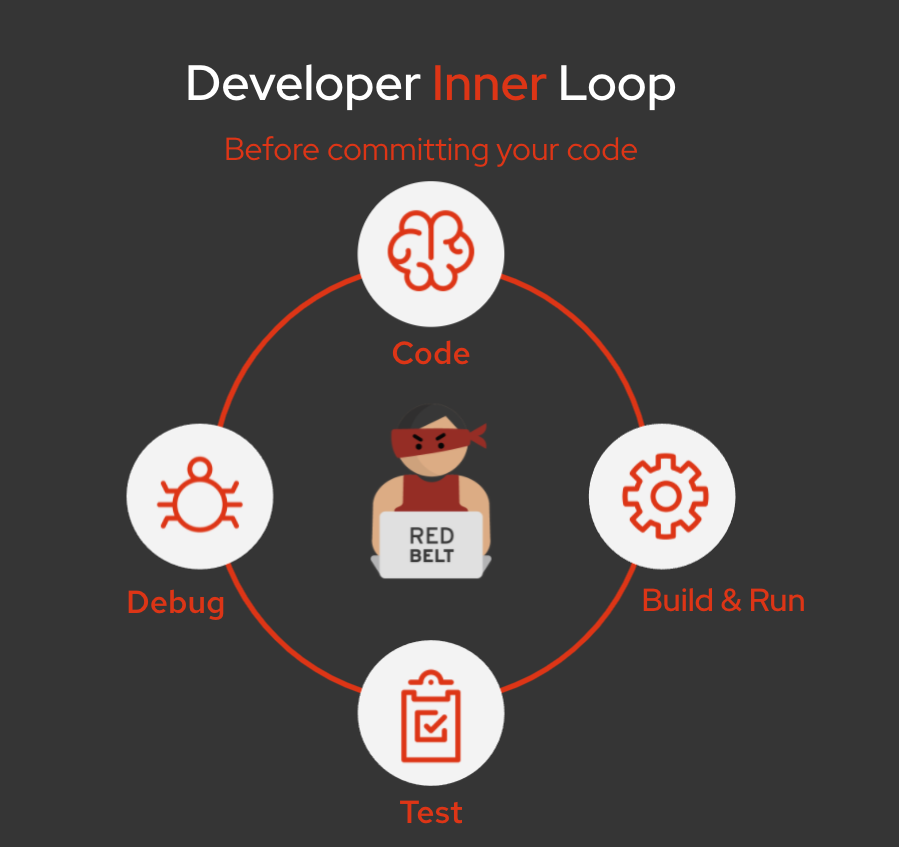 For simplicity reasons, the outer-loop conversation was excluded from the content.
✅ Please find this weeks presentation here
🎁 You will also appreciate that there is no script this week. There was enough reading to do over the past 2-3 weeks. This week is all about o-do.
This weeks exercise can be found here.
The hands-on part includes:
- CodeReady Workspaces (developing code directly on top of OpenShift 🤯 /remote dev environment)
- odo (Git like approach to interacting with deployments)
- S2I - Source to Image (A tool for building artifacts from source and injecting into container images)

