Stable Diffusion built-in to the Blender shader editor.
- Create textures, concept art, background assets, and more with a simple text prompt
- Use the 'Seamless' option to create textures that tile perfectly with no visible seam
- Quickly create variations on an existing texture
- Experiment with AI image generation
- Run the models on your machine to iterate without slowdowns from a service
- Download the latest version from the Releases tab.
- Install the addon in Blender's preferences window.
- Follow the steps in the 'Dream Textures' preferences window to install the necessary dependencies.
- Note for Windows users - If you get an error when installing dependencies that looks similar to the one described here, your dependency file paths might be too long (can't be longer than 256 characters). You can solve it by telling Windows to allow long file paths in the registry:
- Open up the Window registry (Start > Run >
regedit) - Navigate to
HKEY_LOCAL_MACHINE\SYSTEM\CurrentControlSet\Control\FileSystem - Set
LongPathsEnabledto1
- Open up the Window registry (Start > Run >
- Note for Windows users - If you get an error when installing dependencies that looks similar to the one described here, your dependency file paths might be too long (can't be longer than 256 characters). You can solve it by telling Windows to allow long file paths in the registry:
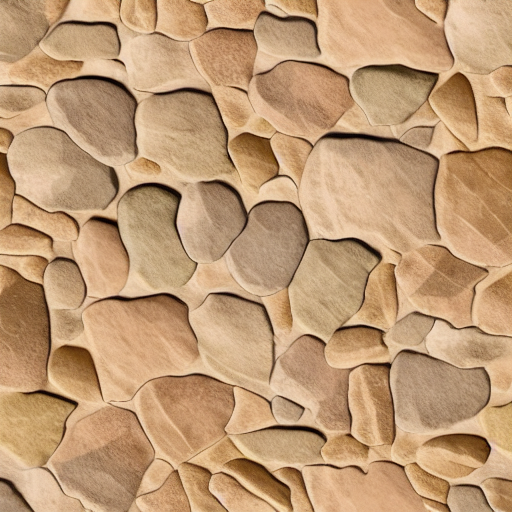
| Enter a prompt | Generate a unique texture in a few seconds |
|---|---|
 |
 |
 |
 |
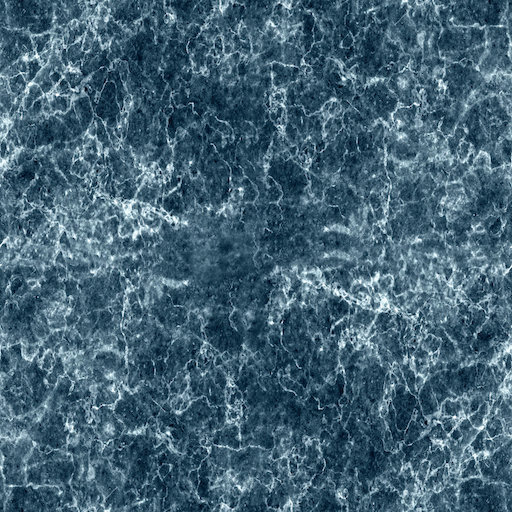
| Take an existing texture | Modify it with a text prompt |
|---|---|
 |
 |
On Windows, you will need to run Blender as an administrator for the installation to complete successfully.
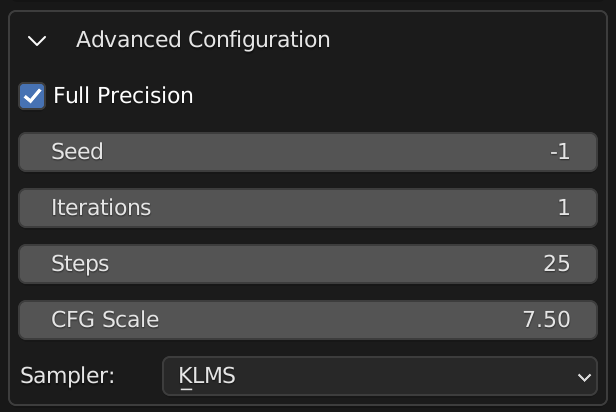
Dream Textures provides most of the configuration options available when using Stable Diffusion directly.
- Open the Shader editor
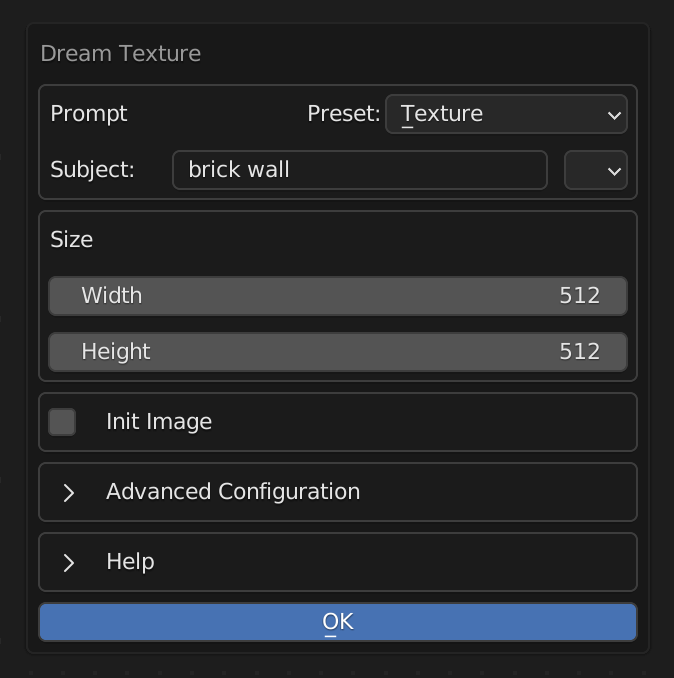
- Select the 'Dream Textures' menu in the far right, and choose the 'Dream Texture' operation.
- Enter a prompt. There are some presets you can use to automatically fine tune your result:
- Texture - simply adds the word texture to the end of your prompt to help the model create a texture.
- Photography - provides many options for specifying a photorealistic result.
- Custom - passes the prompt directly to SD with no additional keywords.
- Click 'OK'. Wait a moment for the model to load. After the model loads, the generation runs asynchronously, so you Blender shouldn't completely freeze up.
- If you have an Image Viewer open, the current progress of the model will appear there with the current step # as the image name (for example, Step 1/25).
- After the image finishes generating, a new Image Texture node will be added to the open shader editor. The image is packed, so you may want to export it to a separate file.
The name of the generated image is the random seed used to create it. If you want to use the same seed, copy the name of the image into the 'Seed' parameter under the 'Advanced' section.
Use an init image to create a variation of an existing texture.
- Enable 'Init Image'
- Select an image from your filesystem
Currently, this doesn't work with packed textures. So select an image from your file system, or export the packed texture to a file and select that.
- You can change the strength and specify if it should fit to the set size, or keep the original image size.
- Enter a prompt that tells SD how to modify the image.
- Click 'OK' and wait for it to finish.
These options match those of SD.
- Full Precision - more VRAM intensive, but creates better results. Disable this if you have a lower-end graphics card.
- Seed - a random seed if set to
-1, otherwise it uses the value you input. You can copy the random seed from the generated image's name to use the same seed again. - Iterations - how many images to generate. This doesn't quite work yet, so keep it at
1. - Steps - higher is generally better, but I wouldn't recommend going past 50 until you've refined your prompt.
- CFG Scale - essentially how much the model takes your prompt into consideration.
7.5is a good default for a collaborative experience, but if you want to force the model to follow instructions crank it up to15-20. - Sampler - KLMS is a good speed/quality default, DDIM is generally faster, and you'll get different results with each so play around with it.
Dream Textures has been tested with CUDA and Apple Silicon GPUs.
If you have an issue with a supported GPU, please create an issue.
- Other image map types (normal, roughness, displacement, etc.) using a new LDM checkpoint and vocabulary.
- AI upscaling and face fixing with ESRGAN and GFPGAN

