Deploy this function on flows.network, and you will get a GitHub bot that uses ChatGPT to respond to every comment in your GitHub issues automatically. It enables developers to use GitHub Issues as the conversational UI for ChatGPT!
See a live demo here | Powered by gpt4, Rust and WasmEdge.
IMPORTANT NOTICE: If you have deployed this function on flows.network before 7 AM 24/03/2023(UTC), please refer to this issue to fix your GitHub App.
You will need to bring your own OpenAI API key. If you do not already have one, sign up here.
To install the ChatGPT GitHub App, we will use flows.network, a serverless platform that makes deploying your own app quick and easy in just three steps.
Fork this repo and go to flows.network to deploy your function.
-
Log into flows.network from your GitHub account. It's free.
-
Click on the "Create a Flow" button to start deploying the ChatGPT bot
-
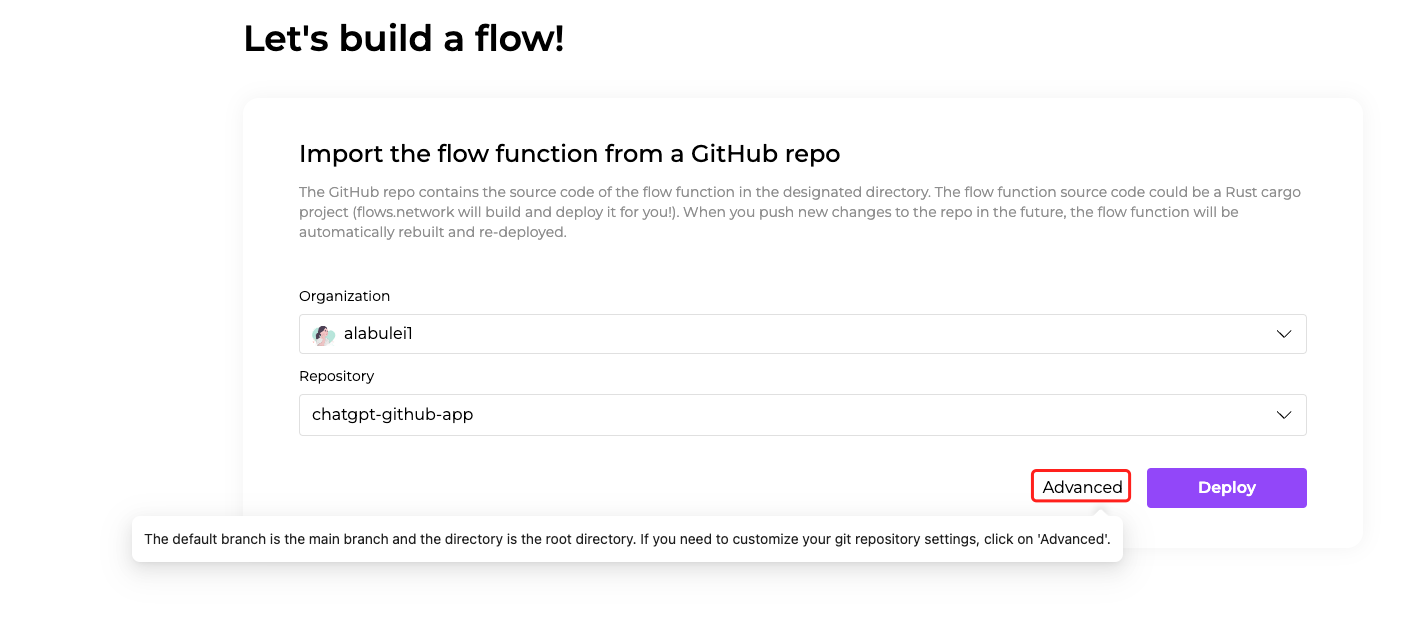
Authenticate flows.network to access the
chatgpt-github-apprepo you just forked.
-
Click on the Advanced text and you will see more settings. we can fill in the required Environment Variables here. In this example, we have four variables.
login: Fill in your personel github id here. The github app will act as you when responding to questions.owner: Fill in the GitHub org you want to deploy the bot on.repo: Fill in the GitHub repo you want to deploy the bot on.openai_key_name: Fill in the name you want for your OpenAI key. You can put any name here, and we will connect it to the actual key later.
- Click on the Deploy button to deploy your function.
After that, flows.network will direct you to configure the SaaS integration required by your flow.
Here we can see, we need to configure two SaaS integrations.
- Click on the "Connect" or "+ Add new authentication" button to authenticate your OpenAI account. On the next page, copy and paste your OpenAI API key and then name the key. Note the name you enter here should be the same as the name in the environment variables.
- Click on the "Connect" or "+ Add new authentication" button to authenticate your GitHub account to deploy the bot. You'll be redirected to a GitHub page where you must grant flows.network permission to install the
flows-network-integrationbot on anowner/repo. This repo is the one you entered into the environment variables above.
Click on the Check button to see your flow details. As soon as the flow function's status becomes ready and the flow's status became running, the ChatGPT GitHub App goes live. Go ahead and chat with ChatGPT by creating an issue!


