✨Join the new Discord server and start contributing to this project!✨
chatGPT-shell-cli
A simple, lightweight shell script to use OpenAI's chatGPT and DALL-E from the terminal without installing python or node.js. The script uses the official ChatGPT model gpt-3.5-turbo with the OpenAI API endpoint /chat/completions. You can also use the new gpt-4 model, if you have access.
The script supports the use of all other OpenAI models with the completions endpoint and the images/generations endpoint for generating images.
Features
- Chat with the ✨ official ChatGPT API ✨ from the terminal
- Generate images from a text prompt
- View your chat history
- Chat context, GPT remembers previous chat questions and answers
- Pass the input prompt with pipe, as a script parameter or normal chat mode
- List all available OpenAI models
- Set OpenAI request parameters
- Generate a command and run it in terminal
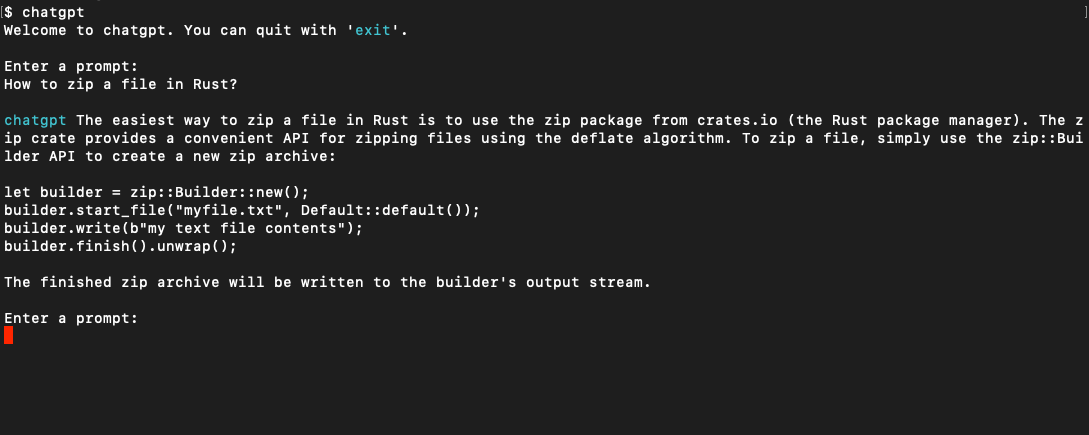
$ chatgpt
Welcome to chatgpt. You can quit with 'exit'.

Enter a prompt:
Chat mode with initial prompt:
$ chatgpt -i "You are Rick, from Rick and Morty. Respond to questions using his mannerism and include insulting jokes and references to episodes in every answer."
Welcome to chatgpt. You can quit with 'exit'.

Enter a prompt:
Explain in simple terms how GPT3 works

chatgpt  Ah, you want me to explain GPT3 in simple terms? Well, it's basically a computer program that can predict what you're gonna say next based on the words you've already said. Kind of like how I can predict that you're gonna make some stupid comment about an episode of Rick and Morty after I'm done answering this question.

Enter a prompt:
Using pipe:
echo "How to view running processes on Ubuntu?" | chatgptUsing script parameters:
chatgpt -p "What is the regex to match an email address?"Getting Started
Prerequisites
This script relies on curl for the requests to the api and jq to parse the json response.
-
brew install curl
-
brew install jq
-
An OpenAI API key. Create an account and get a free API Key at OpenAI
-
Optionally, you can install glow to render responses in markdown
Installation
To install, run this in your terminal and provide your OpenAI API key when asked.
curl -sS https://raw.githubusercontent.com/0xacx/chatGPT-shell-cli/main/install.sh | sudo -E bashArchLinux
If you are using ArchLinux you can install the AUR package with:
paru -S chatgpt-shell-cli
Manual Installation
If you want to install it manually, all you have to do is:
- Download the
chatgpt.shfile in a directory you want - Add the path of
chatgpt.shto your$PATH. You do that by adding this line to your shell profile:export PATH=$PATH:/path/to/chatgpt.sh - Add the OpenAI API key to your shell profile by adding this line
export OPENAI_KEY=your_key_hereor by specifying a key file by adding this lineexport OPENAI_API_KEY_PATH=/path/to/your/key.txt - If you are using iTerm and want to view images in terminal, install imgcat
Usage
Start
Chat Mode
- Run the script by using the
chatgptcommand anywhere. By default the script uses thegpt-3.5-turbomodel.
Pipe Mode
- You can also use it in pipe mode
echo "What is the command to get all pdf files created yesterday?" | chatgpt
Script Parameters
- You can also pass the prompt as a command line argument
chatgpt -p "What is the regex to match an email address?"
Commands
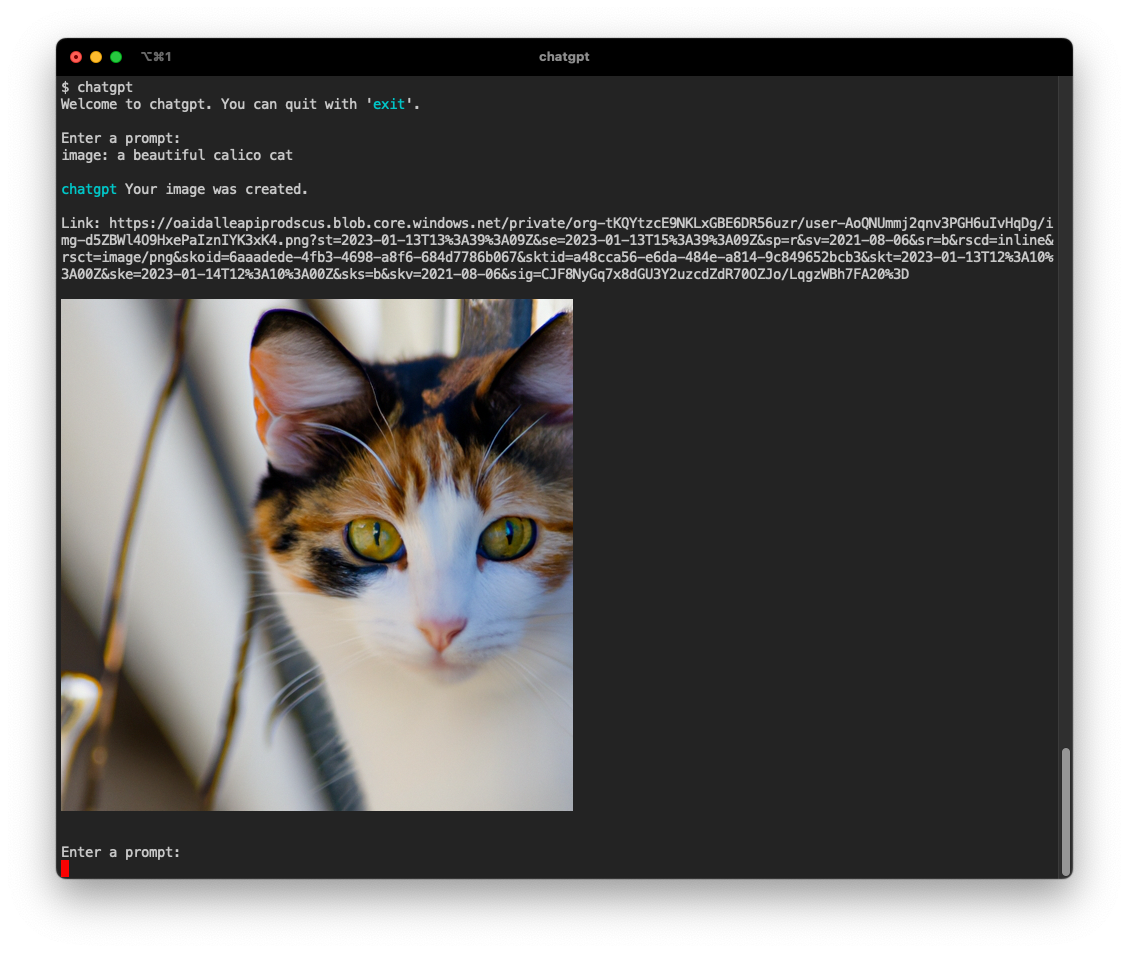
image:To generate images, start a prompt withimage:If you are using iTerm, you can view the image directly in the terminal. Otherwise the script will ask to open the image in your browser.historyTo view your chat history, typehistorymodelsTo get a list of the models available at OpenAI API, typemodelsmodel:To view all the information on a specific model, start a prompt withmodel:and the modelidas it appears in the list of models. For example:model:text-babbage:001will get you all the fields fortext-babbage:001modelcommand:To get a command with the specified functionality and run it, just typecommand:and explain what you want to achieve. The script will always ask you if you want to execute the command. i.e.command: show me all files in this directory that have more than 150 lines of codeIf a command modifies your file system or dowloads external files the script will show a warning before executing.
Chat context
- For models other than
gpt-3.5-turboandgpt-4where the chat context is not supported by the OpenAI api, you can use the chat context build in this script. You can enable chat context mode for the model to remember your previous chat questions and answers. This way you can ask follow-up questions. In chat context the model gets a prompt to act as ChatGPT and is aware of today's date and that it's trained with data up until 2021. To enable this mode start the script with-cor--chat-context. i.e.chatgpt --chat-contextand start to chat.
Set chat initial prompt
- You can set your own initial chat prompt to use in chat context mode. The initial prompt will be sent on every request along with your regular prompt so that the OpenAI model will "stay in character". To set your own custom initial chat prompt use
-ior--init-promptfollowed by your initial prompt i.e.chatgpt -i "You are Rick from Rick and Morty, reply with references to episodes." - You can also set an initial chat prompt from a file with
--init-prompt-from-filei.e.chatgpt --init-prompt-from-file myprompt.txt
*When you set an initial prompt you don't need to enable the chat context.
Use the official ChatGPT model
- The default model used when starting the script is
gpt-3.5-turbo.
Use GPT4
- If you have access to the GPT4 model you can use it by setting the model to
gpt-4, i.e.chatgpt --model gpt-4
Set request parameters
-
To set request parameters you can start the script like this:
chatgpt --temperature 0.9 --model text-babbage:001 --max-tokens 100 --size 1024x1024The available parameters are:
- temperature,
-tor--temperature - model,
-mor--model - max number of tokens,
--max-tokens - image size,
-sor--size(The sizes that are accepted by the OpenAI API are 256x256, 512x512, 1024x1024) - prompt,
-por--prompt - prompt from a file in your file system,
--prompt-from-file
To learn more about these parameters you can view the API documentation
- temperature,
Contributors
🙏 Thanks to all the people who used, tested, submitted issues, PRs and proposed changes:
pfr-dev, jordantrizz, se7en-x230, mountaineerbr, oligeo, biaocy, dmd, goosegit11, dilatedpupils, direster, rxaviers, Zeioth, edshamis, nre-ableton, TobiasLaving, RexAckermann, emirkmo, np, camAtGitHub, keyboardsage tomas223
Contributing
Contributions are very welcome!
If you have ideas or need help to get started join the Discord server


