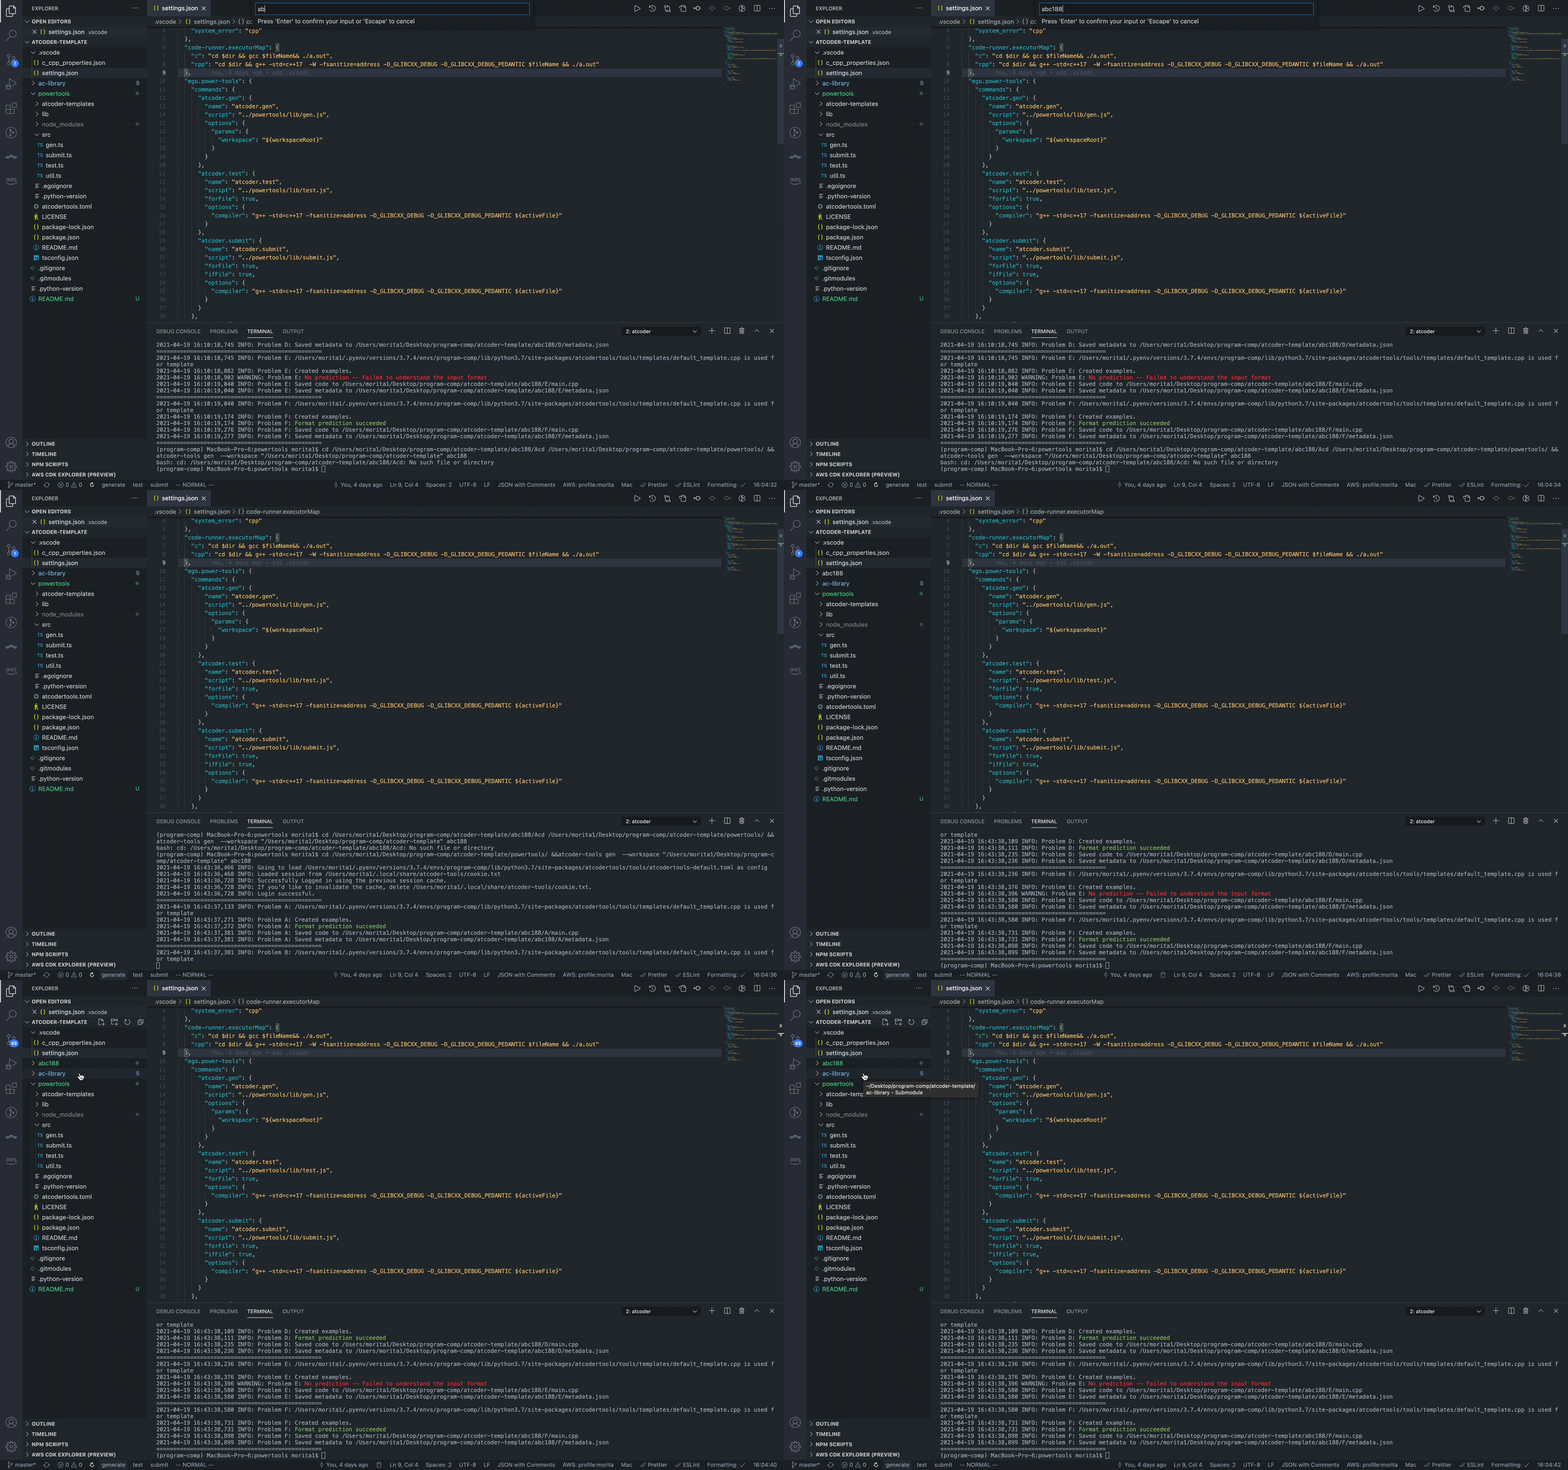
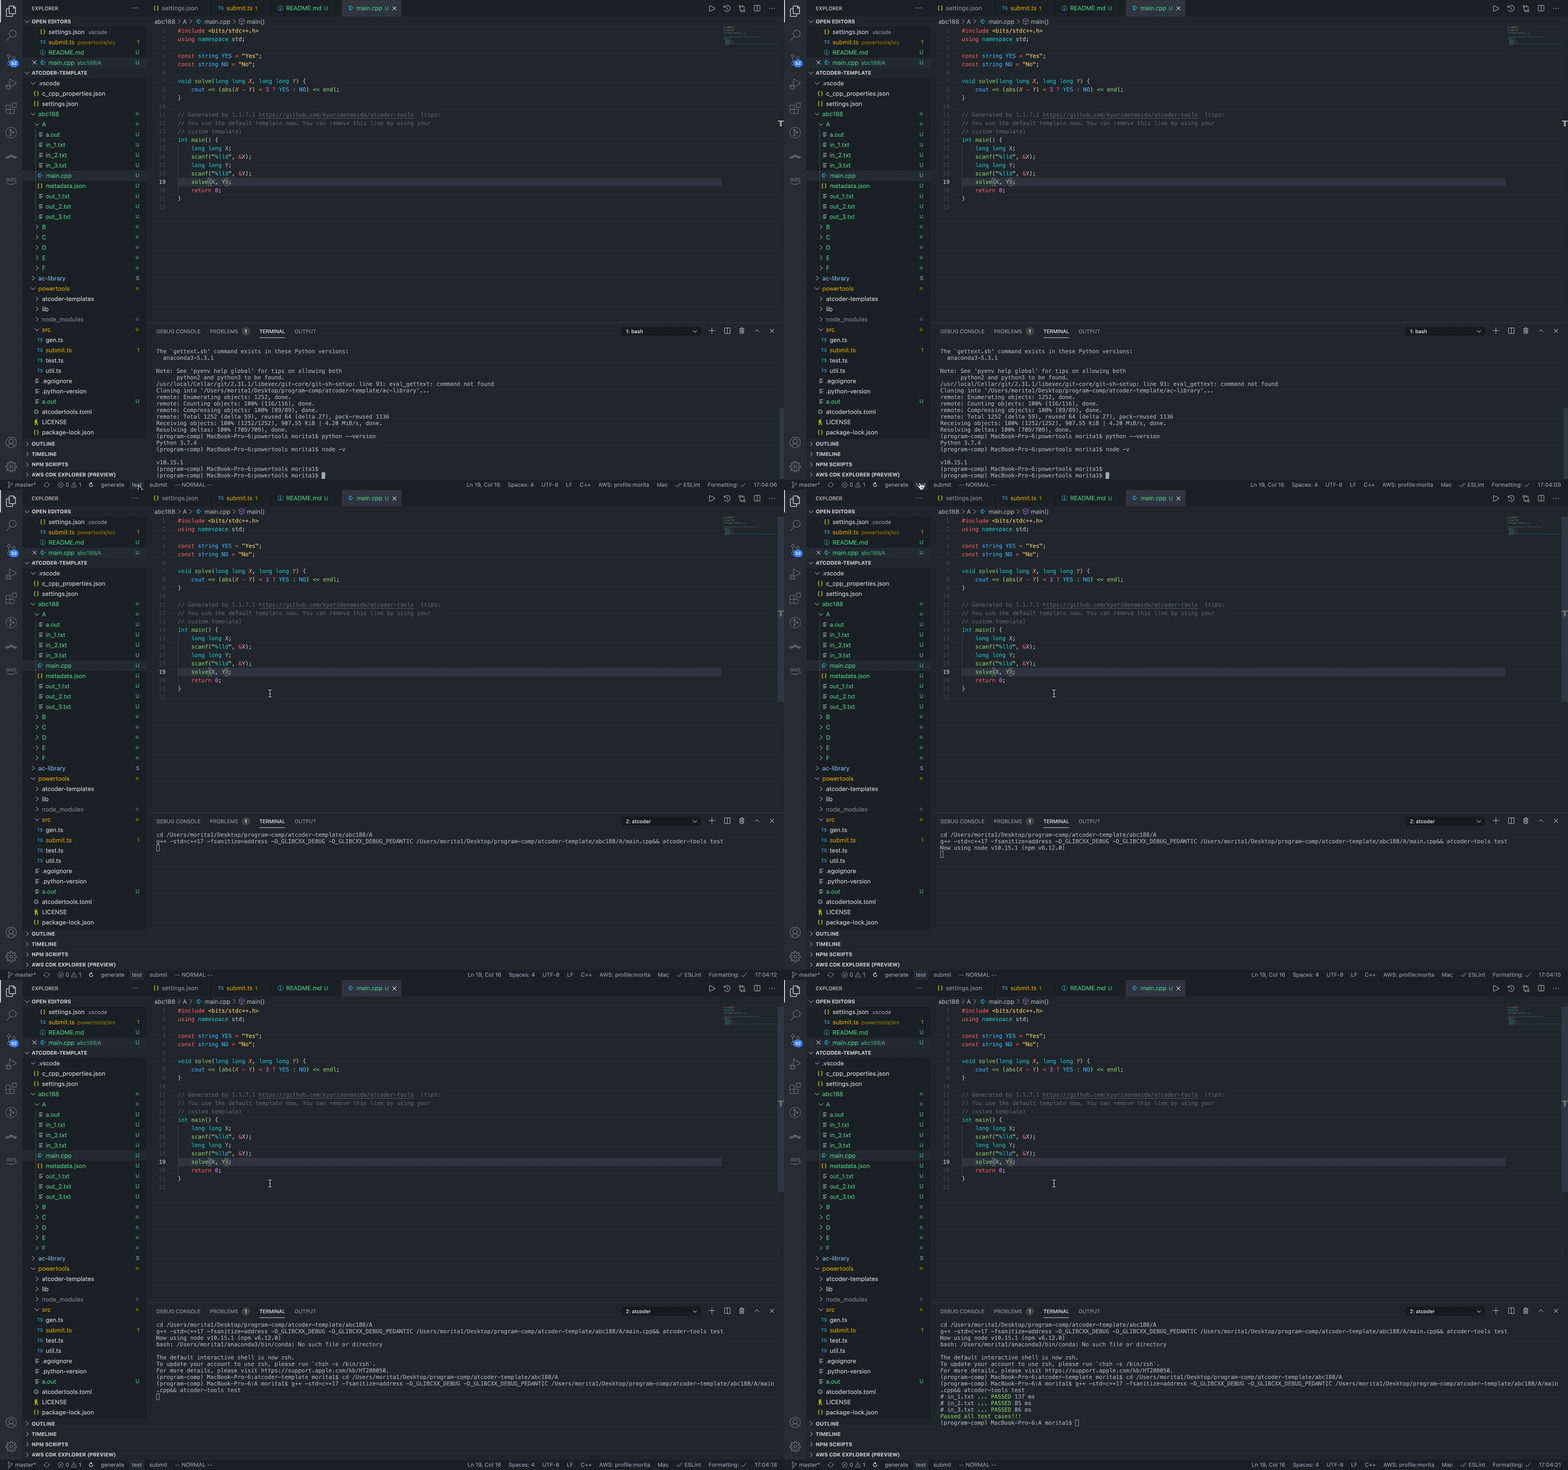
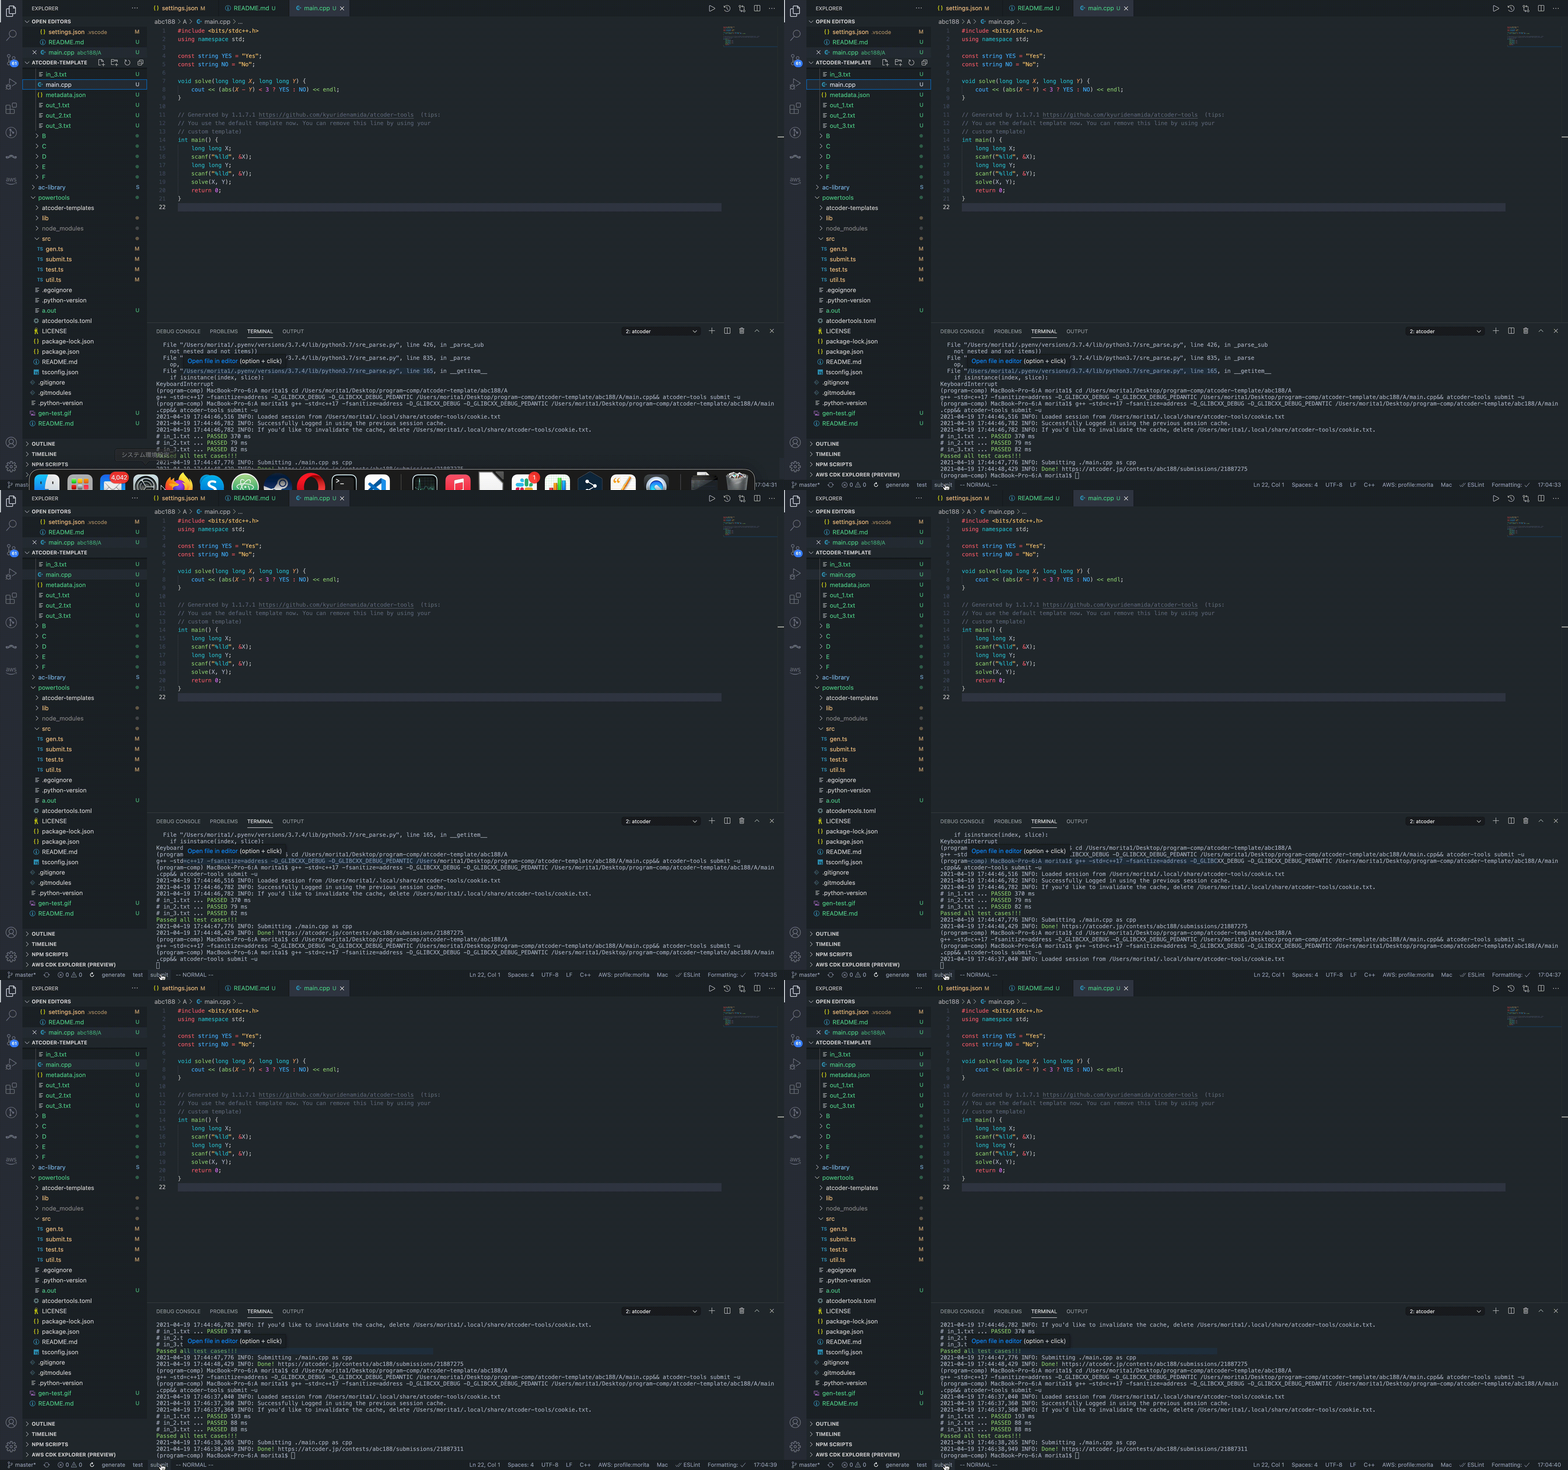
Atcoder を VSCode 使って解くときに、atcoder-tools等を使って問題に集中できるようにしました
- VSCode (1.55.2)
- Python (Python 3.7.4)
- Node.JS (v10.15.1)
Python
pip install atcoder-toolsVSCode
VSCode の Extensions からvscode-powertoolsを探してインストール
デフォルトでは c++用になっています
設定は.vscode/settings.json を開いて、ego.power-tools の中で行えます
例えば、atcoder.gen, atcoder.test, atcoder.submit の中にある paramsを変更して atcoder-tools に渡す引数を変更できます。
なお、${activeFile} には実行するファイル名、 ${workspaceRoot}にはワークスペースの絶対パスが入ります。
ワークスペースとは今開いて作業しているフォルダのことです
他の変数はこちらを参照してください
atcoder.test や atcoder.submit のなかにある compilerを変更してコンパイラを変更できます
Atcoder にはac-libraryという超便利な 公式ライブラリがあります。それを atcoder で使えるようにします
C++の場合は、github からインストールしてインクルードパスに入れればできます。
インストールはgit submodule add を使います。
cd (ワークスペースへのパス)
git submodule add https://github.com/atcoder/ac-library.git ac-libraryそしてac-library がワークスペースにインストールされているのが確認できたら以下のファイルを変更します。
.vscode/c_cpp_properties.jsonのconfigurations.includePathに"./ac-library/**"を追加して以下のようにします。
{
  "configurations": [
    {
      "name": "Mac",
      "includePath": ["/usr/local/include/**", "./ac-library/**"],
      "defines": [],
      "macFrameworkPath": [],
      "compilerPath": "/usr/bin/g++",
      "cStandard": "gnu17",
      "intelliSenseMode": "gcc-x64"
    }
  ],
  "version": 4
}そして.vscode/settings.json のego.power-toolsにあるatcoder.testと atcoder.submitのoptions.compilerをg++ -std=c++17 -fsanitize=address -D_GLIBCXX_DEBUG -D_GLIBCXX_DEBUG_PEDANTIC -I${workspaceRoot}/ac-library ${activeFile}に変更することで使えます。
ドキュメント


