Hardware details and information to build an open firmware for Bluetooth LED badges, compatible with Badge Magic app
Install wchisp.
Download prebuilt binaries from release or the latest development builds.
Make sure the battery is disconnected. Press and hold KEY2 (the button near the USB port) while plugging in the USB to enter the bootloader. Then run:
wchisp flash badgemagic-ch582.binWhere badgemagic-ch582.bin is the binary downloaded above, the .elf file also works.
For usual usages, please refer to badgemagic-app and led-name-badge-ls32.
See BadgeBLE.md.
From the device perspective, the data format is just the same as the BLE Data Format. The only difference is the data width. It's 64 bytes, while BLE, is only 16.
Located at Interface 0x00 and Endpoint 0x01. Interface Number and Enpoint Address might not be always fixed, any app using this should check them before using.
For more detail about USB HID, please refer to USB HID Device Class Definition.
Similar to USB HID, but more convenient. From the host's perspective, it appears as a serial device, which can be interacted directly without the additional library. e.g. A bitmap.bin file with a format just like the BLE Data Format can be transferred to the badge by:
stty -F /dev/ttyACM0 raw && cat bitmap.bin > /dev/ttyACM0For more detail about USB CDC ACM, see Class definitions for Communication Devices 1.2.
This firmware was implemented following the BLE Device Information standard. Any device with BLE-capable can easily get the version by reading the value of the Firmware Revision String Characteristic (0x2A26) in the Device Information Profile (0x18A).
The version can be read from USB by reading the USB Serial Number String.
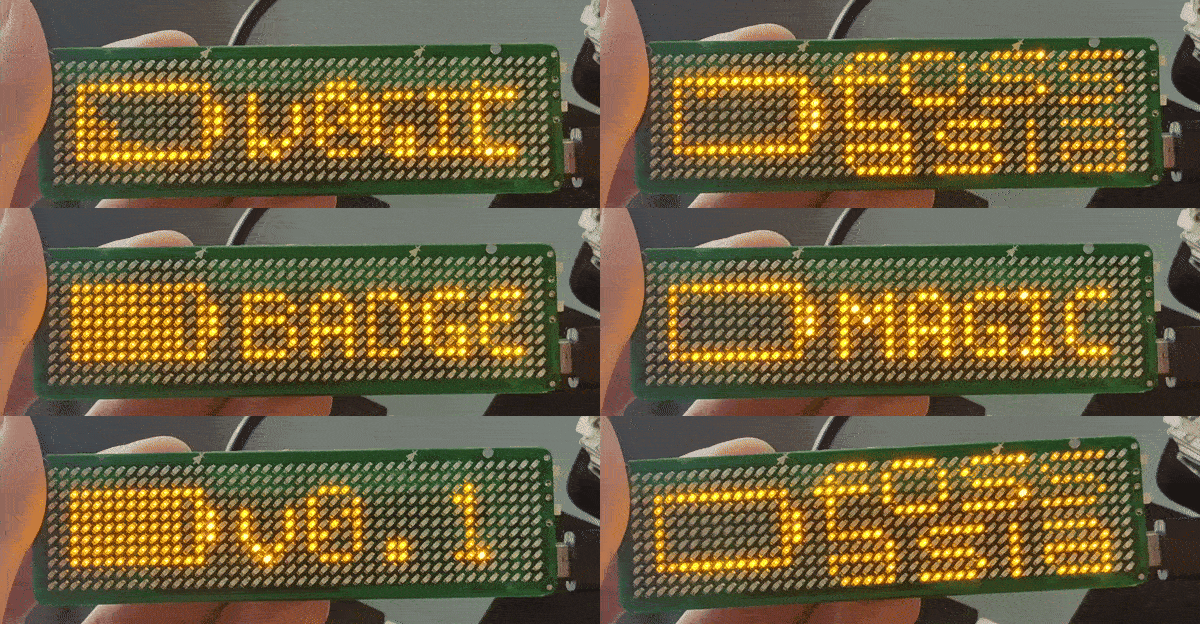
While the badge is in charging state, it display a animation followed by a version repeatedly.
Set the toolchain location, e.g.:
export PREFIX=../MRS_Toolchain_Linux_x64_V1.91/RISC-V_Embedded_GCC/bin/riscv-none-embed-Simply run make to build the firmware for the Micro USB version, with the output directed to the build/ directory. To build for the USB-C version of the badge and specify a custom output directory:
BUILD_DIR=custom-dir USBC_VERSION=1 makeNote
Switching USBC_VERSION will require a clean build to make sure the new build
does not contain the previous build blob. To rebuild:
make clean allTo flash the firmware, enter the bootloader, then run:
BUILD_DIR=custom-dir-if-needed make ispCurrently, only the UART1 with baudrate=921600 is used for debuging. To enable the log from UART, set the DEUBG=1 when build the project.
Any USB to UART dongle will work. Use your favorite terminal emulator to see the log, e.g.:
picocom -b921600 /dev/ttyUSB0 --imap lfcrlfThe badgemagic-hardware have this UART wired over USB-C. So it can be used without opening the case, but required an aditional hardware to split the serial lines from USB-C.
This is convenient as it doesn't require additional hardware, but it may not be useful for early logging when the USB is not yet initialized, and the user cannot open the serial port quickly enough.
Use cdc_tx_poll() to log to this serial channel.
This is a mystery.
To create a new custom data exchange channel, add a new BLE profile to the firmware
by duplicating /src/ble/profile/legacy.c and reconfig it. Rename
xxx_registerService() function. Call this function after peripheral_init() to
register your new profile.
For more detail of how to config a gatt service, see BLE GATT.
To add a new custom USB Composite Device (e.g., keyboard, mouse, speaker, etc.), duplicate src/usb/composite/hiddev.c. Rename and configure the file according to the Device Class you intend to implement, then call your device's xxx_init() function in usb_start() to initialize it. Each device class has specific specifications, so be sure to refer to them when implementing your new device.
BadgeMagic target hardware features a custom 11x44 LED matrix display, Bluetooth LE and low power consumption.
The design relies on a single MCU. MCU type has changed depending on manufacturer batches.
- ARM M0 variant based on MM32L062PF
- ARM M0 variant based on MM32W062
- RISC-V variant based on CH582M
See specific pages regarding each version of the hardware below
The custom 11x44 LED dot matrix displays using persistence of vision.
Bitmaps are drawn using 24 pins in charlieplexing technique.
Manufacturer firmware is closed source. Creating an open source compatible firmware is the goal of this project.
The badge stores bitmaps with preconfigured animation sequences. It uses 8 memory banks that can be used alternatively.
The 2 buttons configuration:
- Top button
- Switches device on or off (long press)
- Changes to Bluetooth upload mode (short press when on)
- Bottom button
- Switches to badge display instead of charging screen when plugged with USB
- Switches memory bank when displayed
- Changes brightness level (long press)
Here is some documentation on the BLE package format. There still are some unclear parts, but it seems to work.
See original led-name-badge-ls32 for USB update protocol reverse engineering
See Badge Magic app for Bluetooth update protocol
Address 38:3B:26:CC:03:C1
Name LSLED
Class 0x0
Appearance 0x0
Device UUID 0000fee0-0000-1000-8000-00805f9b34fb
or 0000fee1-0000-1000-8000-00805f9b34fb
Currently, only the RISC-V version is targeted as it seems the only one produced at the moment.
Please go to CH582 Badge Instructions and Reverse Engineering

