This integration provides basic alarm synchronisation between the SmartThings Home Monitor and Yale.
Upon installing this SmartApp, your Yale alarm will subscribe to Home Monitor changes and update Yale accordingly.
- Install AWS CLI
- Install SmartThings CLI
1/ Create SmartApp in SmartThings Developer Console
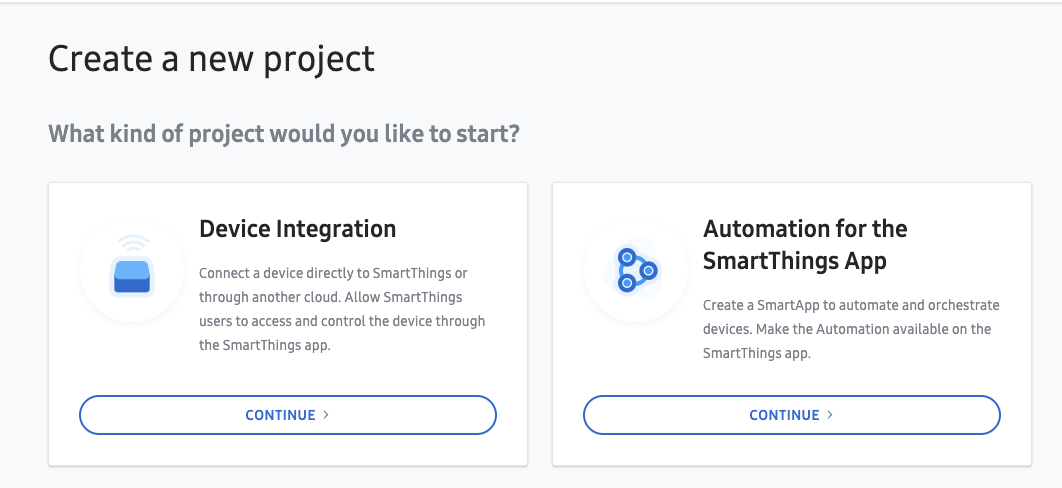
Create a new project selecting the "Automation for the SmartThings App" type:

2/ Setup an AWS Account
https://aws.amazon.com/premiumsupport/knowledge-center/create-and-activate-aws-account/
3/ Clone this repo
4/ Install NPM dependencies
npm install
5/ Deploy with Serverless framework
Populate the below placeholders with your App ID, Yale Username and Password. Don't worry about the Client ID and Secret yet, they come later.
./node_modules/.bin/sls deploy \
 --param="appId=<YOUR_APP_ID>" \
 --param="clientId=TEMPCLIENTID" \
 --param="clientSecret=TEMPCLIENTSECRET" \
 --param="yaleUsername=<YALE_USERNAME>" \
 --param="yalePassword=<YALE_PASSWORD>"
Grant SmartThings cloud permission to invoke your new Lambda
aws lambda add-permission --profile personal --function-name <name-of-your-lambda-function> --statement-id smartthings --principal 906037444270 --action lambda:InvokeFunction
Get the AWS Resource Name of the newly created function
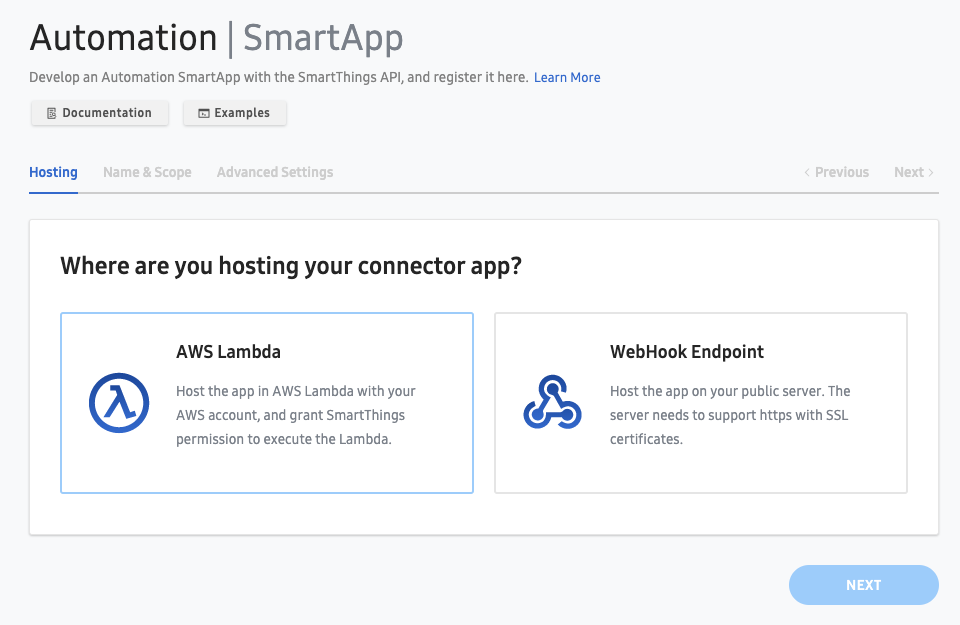
6/ Configure an AWS Lambda integration in your SmartApp
On the main page in the Developer Console, click the "Register App" button and select the AWS Lambda option

Keep a record of the App Id, Client Id and Client Secret generated when creating the project
7/ Update Lambda function with Client ID and Secret
./node_modules/.bin/sls deploy \
 --param="appId=<YOUR_APP_ID>" \
 --param="clientId=<YOUR_ST_CLIENT_ID>" \
 --param="clientSecret=<YOUR_ST_CLIENT_SECRET>" \
 --param="yaleUsername=<YALE_USERNAME>" \
 --param="yalePassword=<YALE_PASSWORD>"
Download the OAuth configuration for your new app
smartthings apps:oauth 30a3df02-beda-48d1-9dfb-87efc6219baa -j > appOauth.json
Replace the scope you added previously with the following scope
r:security:locations:*:armstate
Save and re-publish the OAuth config:
smartthings apps:oauth:generate 30a3df02-beda-48d1-9dfb-87efc6219baa -i appOauth.json
8/ Install app from SmartThings App
In the event you get two entries for the SmartApp you've created, pick the one with no description. At the time of writing this was a known bug with the SmartThings App.
All that's needed here is to press the "Done" button - in this first iteration all the required details are passed into the Lambda creation step.
- Oauth integration (username and password are used once with access & refresh tokens subsequently used)
- Basic unit tests
- Yale Device polling and management from SmartThings
- Add SmartThings principal addition to Serverless deployment