A bridge between PowerShell commands and your Google Nest, enabling simplified control.
PowerNest brings smart home automation to your fingertips, offering an inclusive and accessible way for everyone to command their environment effortlessly, regardless of their ability to speak.
📘 Explore the full documentation · 🐞 Report Bug · 🛠️ Request Feature
Click to collapse/expand
Voice Control for Google Nest with PowerShell : Streamline your Google Nest interactions.
PowerNest introduces a novel and efficient way to control your Google Nest devices using PowerShell. This project is dedicated to enhancing the convenience of managing Google Nest's smart features such as alarms, reminders, and home automation directly from your PowerShell terminal. It's particularly designed for users seeking an alternative method to interact with their smart devices, offering a powerful solution for both enthusiasts and those with physical limitations that make voice commands challenging.
Embrace a new era of smart home control with PowerNest. Whether for convenience, accessibility, or the sheer joy of tech experimentation, PowerNest makes smart home management more inclusive and versatile. Start scripting your way to a smarter home today.
Setting up PowerNest is streamlined for your convenience. Before you begin, ensure you meet the basic requirements.
PowerNest requires PowerShell 5.1 or higher, readily available on Windows 10 and Windows 11 systems. Designed to integrate seamlessly with the PowerShell environment, PowerNest leverages the powerful scripting capabilities of PowerShell to offer a unique voice control experience for Google Nest devices.
⚠️ Note:PowerNesthas been thoroughly tested on Windows 10 and Windows 11 with PowerShell 5.1 and later. While it may function on older versions of Windows with PowerShell 3.0 and above, functionality and experience are guaranteed on the latest platforms.
You have a few options to get started with PowerNest, including direct download and using Git. For the quickest setup, we also provide a one-liner using Invoke-WebRequest.
Option 1: Recommended - One-liner with Invoke-WebRequest
For a fast and easy start, run the following PowerShell command. This one-liner downloads the PowerNest script directly, ready for immediate use:
Invoke-WebRequest https://raw.githubusercontent.com/franckferman/PowerNest/stable/PowerNest.ps1 -OutFile PowerNest.ps1Remember to navigate to the directory where you want the script saved before running the command.
Option 2: Using Git First, ensure you have Git installed on your system. Open PowerShell or your favorite terminal and run the following command to clone the repository:
git clone https://github.com/franckferman/PowerNest.gitThis method clones the entire project to your local machine.
Option 3: Direct Download from GitHub If you prefer not using Git, you can download the project directly:
Visit the project's page at https://github.com/franckferman/PowerNest.
Click on the <> Code button, then select Download ZIP.
After downloading, extract the ZIP file to your preferred location.
Whichever method you choose, you'll have everything needed to start controlling your Google Nest devices with PowerShell.
Using PowerNest is designed to be as simple and intuitive as possible, allowing you to control your Google Nest devices through PowerShell with ease.
Before using PowerNest, ensure that your PowerShell execution policy permits script execution. Open PowerShell as an administrator and set the execution policy, if necessary, by running:
Set-ExecutionPolicy -ExecutionPolicy Unrestricted -Scope Process🛑 Important: Adjusting the execution policy to Unrestricted for the Process scope allows you to run scripts for the current session while maintaining overall system security. Always review scripts from the internet before running them to avoid potential security risks.
Navigate to the directory where you've downloaded or cloned PowerNest.
To start PowerNest, run the following command:
.\PowerNest.ps1For convenience, you can adjust the execution policy and launch PowerNest in one command:
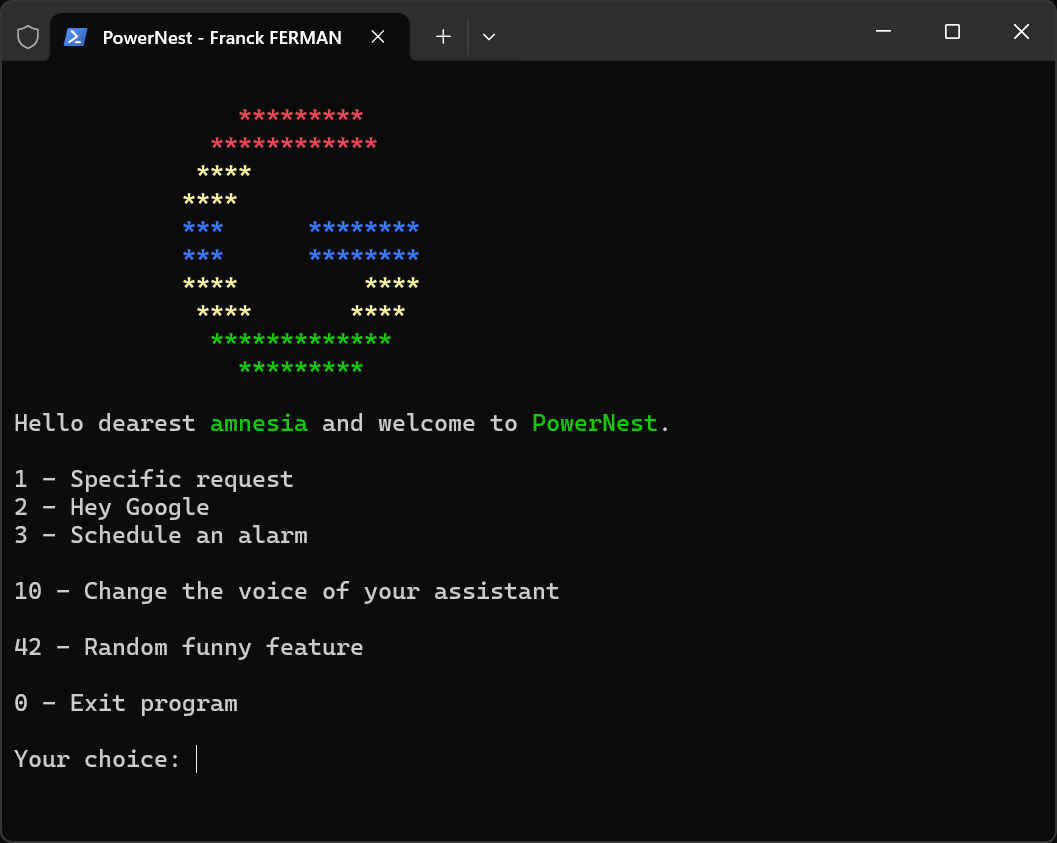
Set-ExecutionPolicy -ExecutionPolicy Unrestricted -Scope Process; .\PowerNest.ps1Executing this command will launch PowerNest, providing you with a menu of voice command options for your Google Nest. From here, you can perform various actions.
Enjoy the blend of PowerShell's scripting power with the convenience of voice control for your Google Nest, making smart home automation more accessible and fun.
Encountering issues? Don't worry. If you come across any problems or have questions, please don't hesitate to submit a ticket for assistance: Submit an issue on GitHub
We truly appreciate and welcome community involvement. Your contributions, feedback, and suggestions play a crucial role in improving the project for everyone. If you're interested in contributing or have ideas for enhancements, please feel free to open an issue or submit a pull request on our GitHub repository. Every contribution, no matter how big or small, is highly valued and greatly appreciated!
Explore the star history of this project and see how it has evolved over time:
Your support is greatly appreciated. We're grateful for every star! Your backing fuels our passion. ✨
This project is licensed under the GNU Affero General Public License, Version 3.0. For more details, please refer to the LICENSE file in the repository: Read the license on GitHub


