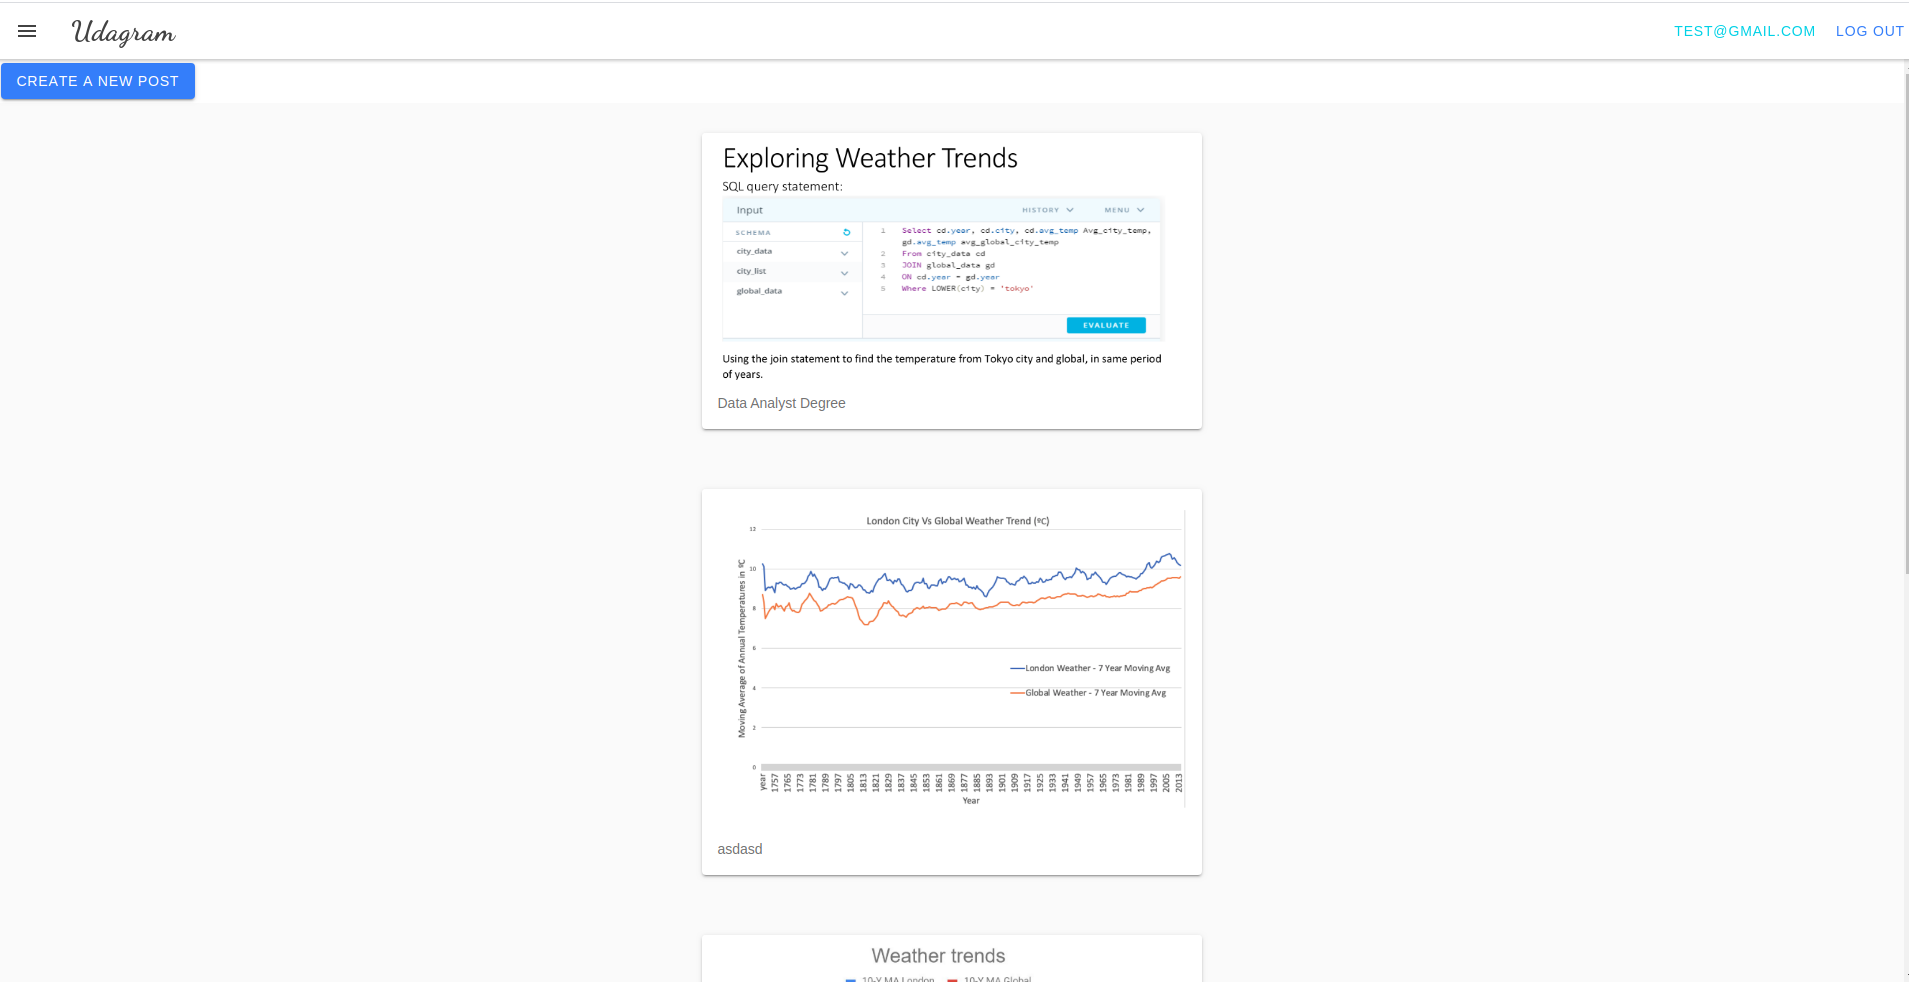
The project is split into two parts:
- Frontend - Angular web application built with Ionic Framework
- Backend RESTful API - Node-Express application
- The backend API has been decomposed into two independent microservices for users and for the feed. As such, there is a bit of duplicate code across the two codebases. In real-world scenarios, this would often be done to get our microservice up and running. To clean this up, the approach would be to abstract out common code into a library such as an internal
npmpackage that each project would use.
tip: it's recommended that you start with getting the backend API running since the frontend web application depends on the API.
You need to create a database and a s3 bucket with appropriate permissions. S3 bucket will be used to upload the images and database to track the users and their feed.
After you have created these resources, you need to set the environment variables. You can check the udagram-deployment/docker/docker-compose.yaml file in order to see which environment variables you need to set.
      POSTGRESS_USERNAME: $POSTGRESS_USERNAME
      POSTGRESS_PASSWORD: $POSTGRESS_PASSWORD
      POSTGRESS_DB: $POSTGRESS_DB
      POSTGRESS_HOST: $POSTGRESS_HOST
      AWS_REGION: $AWS_REGION
      AWS_PROFILE: $AWS_PROFILE
      AWS_BUCKET: $AWS_BUCKET
      JWT_SECRET: $JWT_SECRET
I have written scripts in order to ease the initial steps required. First make sure the scripts have required permissions
chmod +x ./build-image.sh ./port-forward.sh ./update_deployment.sh ./udagram-deployment/k8s/apply_deployment.shYou can build the images with the build_image script(or you can use docker compose to build them).
To test it locally in containers, you can run docker-compose up in the udagram-deployment/docker/ folder.
To run it locally in a cluster, you need to make sure to install minikube with virtualization software. Additionally you will need kubectl to control the cluster. Refer to the documentation on how to install these tools. Afterwards you can run You need to expose the ports with port forwarding to your local environment the update_deployment script to apply the deployments with their respective services.
The environment variables will be missing from the deployment as the aws-secret and configmaps for the enviornment variables are gitignored. You will need to create 3 files,
apiVersion: v1
kind: Secret
metadata:
  name: aws-secret
type: Opaque
data:
  credentials: base64_AWS_credentials
To get the value of the credentials
cat ~/.aws/credentials | head -3 | base64This will get the first 3 lines of the credentials file which is the default aws profile and pipe to base64 to get the required value.
Fill in the required values
apiVersion: v1
kind: ConfigMap
data:
  AWS_BUCKET:
  AWS_PROFILE:
  AWS_REGION:
  JWT_SECRET:
  POSTGRESS_DB:
  POSTGRESS_HOST:
  URL: http://localhost:8100
metadata:
name: env-configapiVersion: v1
kind: Secret
metadata:
name: env-secret
type: Opaque
data:
POSTGRESS_USERNAME: base64_username
POSTGRESS_PASSWORD: base64_passwordYou can get the values easiy with
# do not forget the n flag, otherwise there will be trailing spaces, learned my lesson the hard way.
echo -n $POSTGRESS_USERNAME | base64
echo -n $POSTGRESS_PASSWORD | base64
That should be enough to have your cluster working. If you have errors you can check the logs or run the describe command for the pods.
Create a publically available RDS server. I have chosen Postgres SQL.
Install eksctl
brew tap weaveworks/tap

brew install weaveworks/tap/eksctl

eksctl version

# create the cluster

eksctl create cluster \
  --name udagram \
  --with-oidc \
By default it will create with 2 nodes.
Afterwards you need to modify the env-config and also the frontend environment file
export const environment = {
  production: false,
  appName: 'Udagram',
  apiHost: 'awsAssignedDomainForReverseProxy:8080/api/v0'
};
You need to have your reverseproxy and frontend as type loadbalancer for aws to assign those IPs.
env-config
apiVersion: v1
kind: ConfigMap
data:
  AWS_BUCKET: actualvalues
  AWS_PROFILE:
  AWS_REGION:
  JWT_SECRET:
  POSTGRESS_DB:
  POSTGRESS_HOST:
  URL: http://asdasdasdasdsad-asdasd.eu-central-1.elb.amazonaws.com:8100 # frontend Domain
metadata:
  name: env-config
When you apply the changes, you need to take down the deployments, so the new changes are picked up upon creationg by reapplying the config files.
And you are done! The cluster is running.
kubectl autoscale deployment backend-feed --cpu-percent=70 --min=1 --max=3You will need to install a metrics server
kubectl apply -f https://github.com/kubernetes-sigs/metrics-server/releases/download/v0.3.7/components.yaml

# verify that it is running
kubectl get deployment metrics-server -n kube-system

kubectl get hpa
```bash
➜  k8s git:(master) ✗ kubectl get pods
NAME                            READY   STATUS    RESTARTS   AGE
backend-feed-64c74668b8-97tkr   1/1     Running   0          18m
backend-user-844d8b7b94-wp98n   1/1     Running   0          18m
frontend-55574cf4b5-rk97m       1/1     Running   0          28m
reverseproxy-8487cd7dff-w66nm   1/1     Running   0          112m
➜  k8s git:(master) ✗ kubectl get hpa
NAME           REFERENCE                 TARGETS   MINPODS   MAXPODS   REPLICAS   AGE
backend-feed   Deployment/backend-feed   0%/70%    1         3         1          3m6s
➜  k8s git:(master) ✗ kubectl get svc
NAME           TYPE           CLUSTER-IP       EXTERNAL-IP                                                                 PORT(S)          AGE
backend-feed   ClusterIP      10.100.182.139   <none>                                                                      8080/TCP         113m
backend-user   ClusterIP      10.100.46.193    <none>                                                                      8080/TCP         113m
frontend       LoadBalancer   10.100.2.198     a8862877d9718406cb91c18eac8187fd-756950603.eu-central-1.elb.amazonaws.com   8100:30289/TCP   88m
kubernetes     ClusterIP      10.100.0.1       <none>                                                                      443/TCP          3h24m
reverseproxy   LoadBalancer   10.100.126.167   a93c0769ac47b48b4bd8cf9626c2484e-112358763.eu-central-1.elb.amazonaws.com   8080:31521/TCP   113m
➜  k8s git:(master) ✗


