This project contains the porting of some parts of the FRED Framework for PikeOS/ElinOS. This project contains all the information needed to build a working system image for the Xilinx Ultrascale+ ZCU102 Evaluation Board containing:
- the PikeOS hypervisor, encapsulating
- an ElinOS (real-time) kernel with FRED Framework support,
- and corresponding test applications.
You must have a working ElinOS/PikeOS/CODEO installation on your machine and appropriate licenses from SysGo. In the following, we assume that the following software is installed on your system.
| Software | Version | Location |
|---|---|---|
| ElinOS | 7.1 | /opt/elinos-7.1 |
| PikeOS | 5.1 | /opt/pikeos-5.1 |
In addition, we asume that a valid license server is installed in
/usr/lmx-5.1 and can be started via systemctl.
Use the ./build.sh command to build the project from scratch.
You might be prompted for your sudo password, but only to restart the
license server. If you make changes in some subprojects, refer to the
individual READMEs for how to apply the changes. If changes are minimal,
chances are that simply re-runnning build.sh.
NOTE: If a warning about a possibly incorrect project configuration fires up, do not panic. It is expected. Just check the last line of output before the script exits: if it contains the
Success!string, then you are all set! 😄
Example:
> ./build.sh
 +-- Restarting the license server
     You might be prompted for your password...
 +-- Running Step 'Fred Library' ...
 +-- Running Step 'Fred Server' ...
 +-- Running Step 'ZCU102 HwVirt PikeOS' ...
! Validation found problems. Generated configuration files may be invalid. Call --validate in non-interactive mode to get more information about the problems.
+-- Success!You can change some of the build parameters of the project by exporting
some environment variables before running the build.sh script.
Most notably, applications can be built in Release or Debug mode by
setting the RELEASE_TYPE variable accordingly.
For more info see the following README.md files:
A summary of the major compilation options follows:
Global variables
| Variable | Accepted Values | Default Value |
|---|---|---|
| BUILD_TYPE | Release, Debug |
Release |
Fred Server specific variables
| Variable | Accepted Values | Default Value |
|---|---|---|
| FREDS_LOG_LEVEL | mute, simple, full, pedantic |
mute |
| FREDS_PATH | Any valid Unix path | /opt/fredsys |
Fred Clients (RTDAG) specific variables
| Variable | Accepted Values | Default Value |
|---|---|---|
| RTDAG_LOG_LEVEL | none, error, warning, info, debug |
none |
| RTDAG_TASK_IMPL | thread, process (untested) |
thread |
| RTDAG_INPUT_TYPE | yaml, header (untested) |
yaml |
| RTDAG_COMPILER_BARRIER | ON, OFF |
ON |
| RTDAG_MEM_ACCESS | ON, OFF |
OFF |
| RTDAG_COUNT_TICK | ON, OFF |
ON |
To test/use the built system on your Xilinx Ultrascale+ ZCU102 Evaluation Board, you must flash an SD Card with the system and insert it in your device. We assume that you have an SD Card characterized by the following partitions:
| Partition | "Mount Point" | Type | Size |
|---|---|---|---|
| Boot | /boot |
FAT32 |
At least 20MB, but more space does not hurt |
| Root FS | / |
EXT2 |
Remaining SD Card size |
NOTE: Before burning the SD Card, beware that all its content WILL be lost.
To burn the SD Card use the ./burn.sh script as follows:
sudo ./burn.sh BOOT_PATH ROOTFS_PATHThe script will ask for confirmation if the two paths exist, like this:
> sudo ./burn.sh /run/media/user/BOOT /run/media/user/ROOT
About to write to the following directories,
please type 'y' to confirm.
Anything else will exit.

boot:     '/run/media/user/BOOT'
rootfs:   '/run/media/user/ROOT'

Are you sure? [y/N] y
 +-- Restarting the license server...
 +-- Setting target directories as instructed...
 +-- Cleaning target directories...
 +-- Burning on target directories...

 [...]

 +-- Success!
Again, the last line is the reference for whether the process was a success or not.
Simply place the SD Card in the right slot and set the hardware switches on the board to boot from SD.
The correct configuration is the following (see Xilinx Reference):
| MODE Switch (SW6) | Status |
|---|---|
| 1 | OFF |
| 2 | ON |
| 3 | ON |
| 4 | ON |
NOTE: The switches are ON when they are pulled DOWN. So basically move UP only the 1st one (following the arrow on the device).
The boot sequence will run automatically and without intervention as soon as you move the POWER Switch (SW1) to the ON position.
To connect to your board using serial, connect a USB cable to the J83 output on the Evaluation Board and then run the following command on your host terminal:
sudo screen /dev/ttyUSB0 115200NOTE: The number of the TTY might differ on your system.
On first boot, run the following sequence of commands:
cd /opt/fredsys
tar -xf fred.tar.gz
Then the following is the sequence of operations necessary to start the FRED Server on your host on each boot:
modprobe zynqmp-fpga-fmod
modprobe fred-buffctl
load_hw
fred-server &
You can now start FRED Client applications. For example, you can run the
sum-vec application:
sum-vecNOTICE: The FRED Device Tree Overlay does not work. Refer to zcu102_hwvirt_linux.app/README.md for further info.
Thanks for Enkhtuvshin Janchivnyambuu and Andrej Kruták from SysGo for the tecnical support during this migration of FRED framework from Petalinux to ElinOS.
- Alexandre Amory (Feb 2023)
- Gabriele Ara (May 2023)
Real-Time Systems Laboratory (ReTiS Lab), Scuola Superiore Sant'Anna (SSSA), Pisa, Italy.
This software package has been developed in the context of the AMPERE project. This project has received funding from the European Union’s Horizon 2020 research and innovation programme under grant agreement No 871669.
The projects fred-lib.app and fred-server.app were made to enable
step-by-step debug of both FRED Client and Server within CODEO using a
gdbserver.
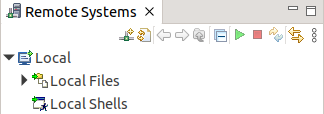
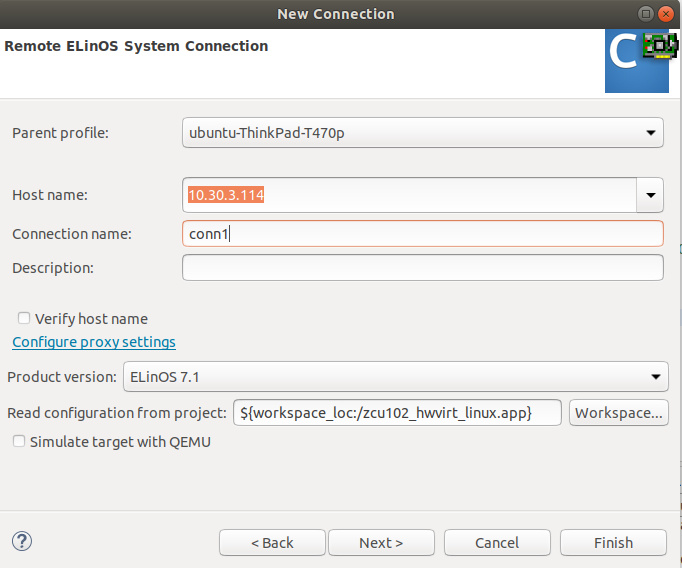
In the Remote Systems window, select Define a connection to remote system. In the New Connection window, select CODEO -> ELinOS and click next.
Then, as shown in the next image, set the static IP, which is configured to
10.30.4.114, add a connection name (in this case conn), and set Product
version to ELinOS 7.1, and Read configuration from project to
${workspace_loc:/zcu102_hwvirt_linux.app}.
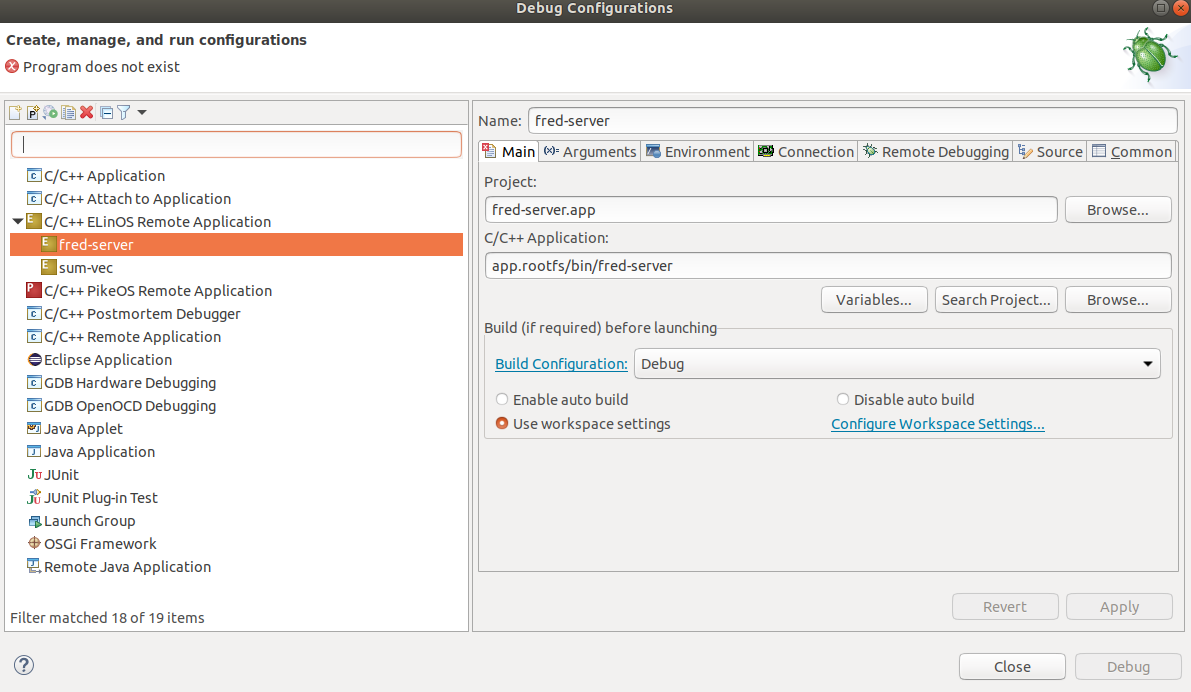
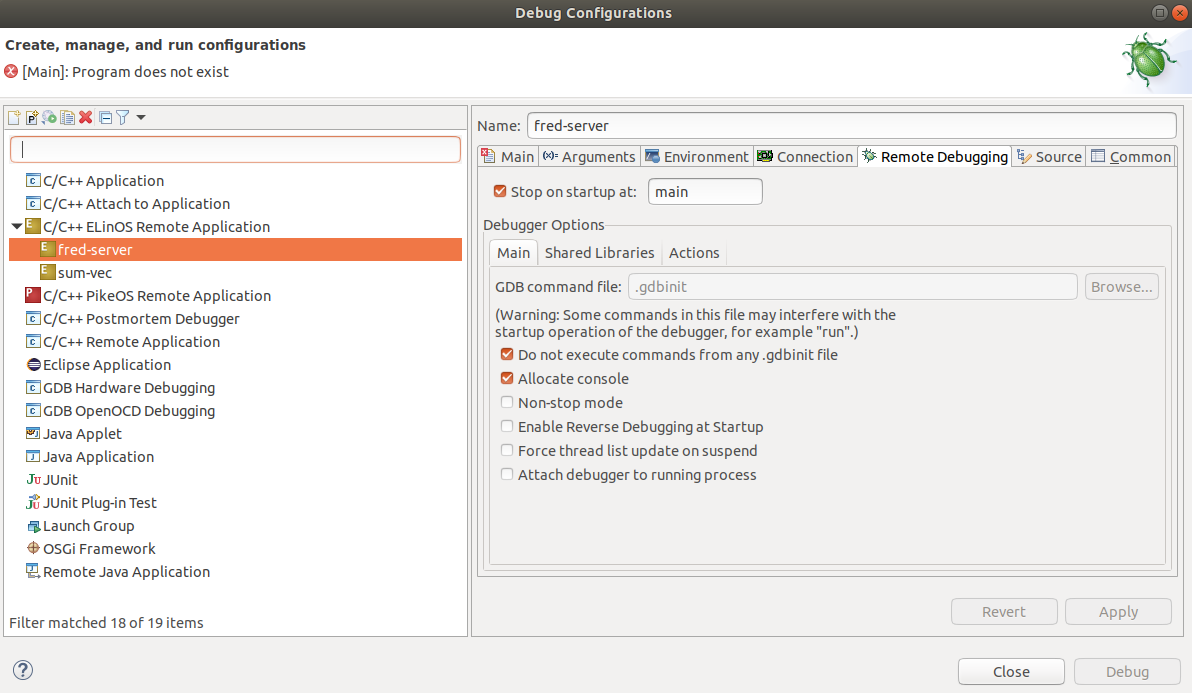
It's necessary to create a Debug Configuration for each ElinOS Application
Project, in this case fred-lib.app and fred-server.app. In CODEO, go to
menu Run -> Debug Configurations.... Then add two C/C++ ELinOS Remote
Applications. The first one called fred-server and the second one called
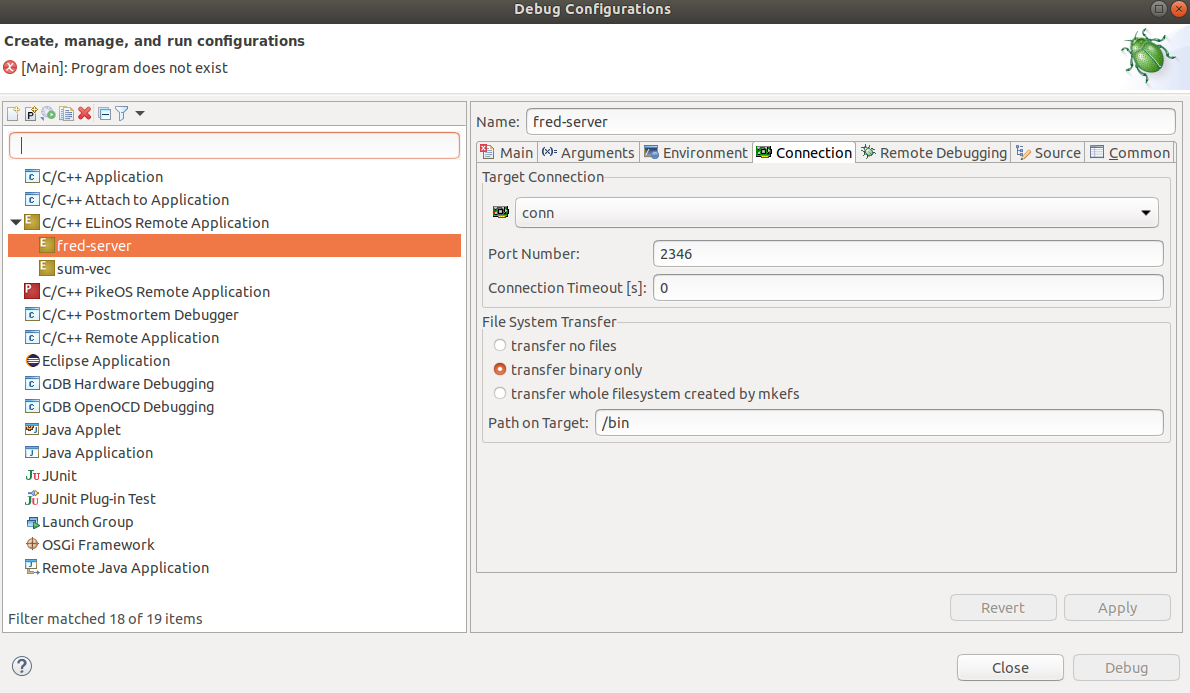
sum-vec. For fred-server, the relevant tabs are shown next.
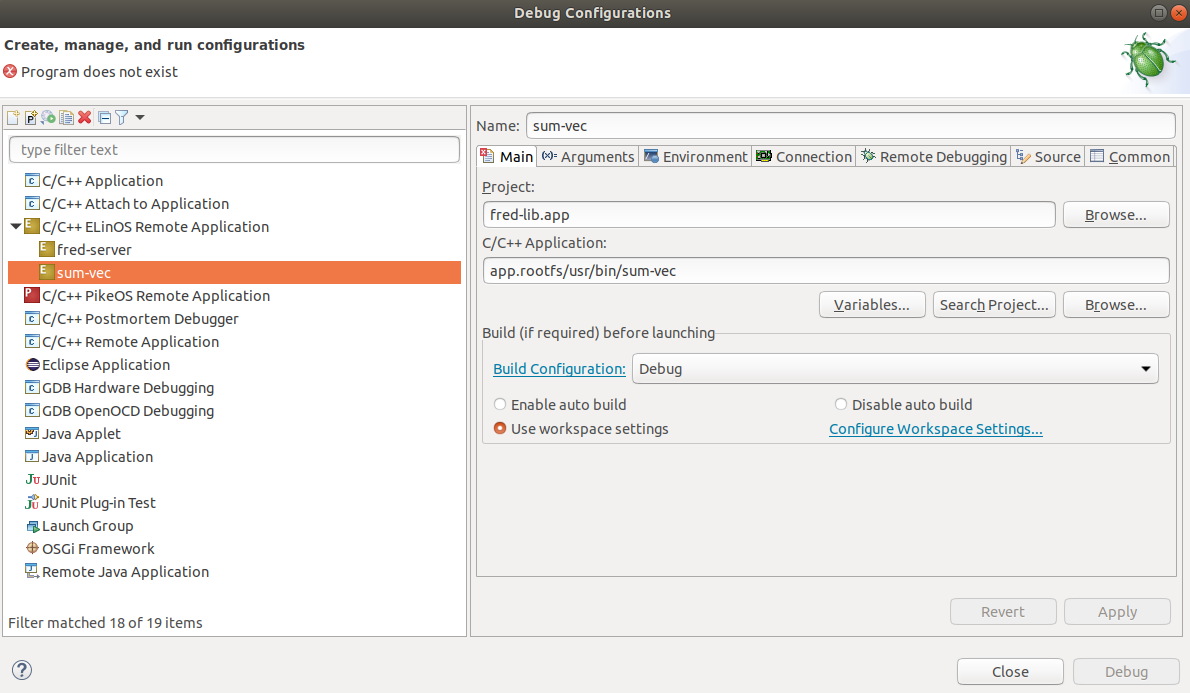
The sum-vec configuration is very similar. Next is the image of the Main tab. The Connection tab needs to use a different port number, let's say 2345. The Remote Debugging tab is the same as fred-server.
Since fred-lib.app and fred-server.app communicate with each other via
sockets, the order and the location of the breakpoints matter. For example,
a breakpoint in a part of a code that blocks a transaction (fred_init,
fred_bind, and fred_map_buff, fred_accel) may cause a timeout and the
server will close.
