This application shows how to build a multi-party video app with Vonage Video Express and Create React App. It's a library that is built on top of the Vonage Video API for Javascript. The Vonage Video Express provides by default the following features:
- Layout Management. Out of the box responsive UI and Layout Manager with customizable components
- Video Quality Optimization (framerate and resolution) based on the number of participants, rendering sizes, CPU and network conditions.
- Network optimization. Automatically remove video or audio for participants who are non visible or non speaking, optimizing bandwidth resources -Ease of use. It providers a more natural interaction by replacing publishing, subscribing and streams with Room and Participants.
- Run
npm installto install all dependencies from NPM. - Copy the
env.examplefile to.env.developmentor.env.productionand fill the variables needed
For local development, you can run npm run server-dev to run the server and npm start to run the client side of the application.
The app has the following features:
- Video conferencing with real-time audio and video
- Screen sharing
- Room Name + Participant Name selection
- Device Selection
- Network warnings once the user is reconnected/reconnecting or disconnected
- Layout Change (Active Speaker/Grid View)
- Enable/disable camera
- Mute/unmute mic
- Mute All
- Chat
- Archiving Archive API
The server side is a node.JS server that is in charge of credentials generation and archive management (start/stop/list). The API reference is documented at the server side README.
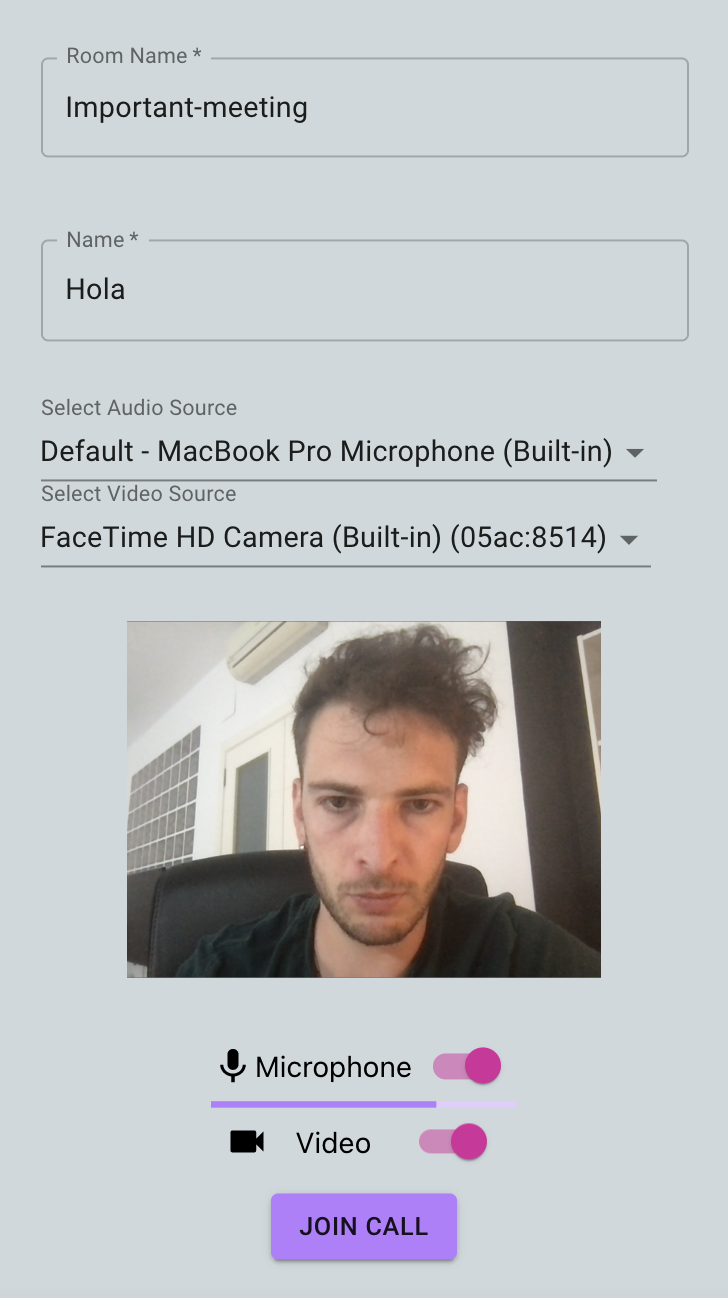
The client side is a React one single page application. Before joining the main video room, the user will land on a waiting room, where the user can choose the device to use, make sure that the microphone and camera works and select the user name. The app creates a UserContext to store the user name, and user preferrences (audio, video and devices). The react applicatoin has several hooks to make the application more structured and scalable.
The application needs to communicate with our server to start/stop and get a list of the recordings for a given session and also to get the credentials to join the session. The API utilities can be found at the api folder
This project uses React Hooks, in particular it uses React Hooks and Contexts:
The src/hooks/useRoom.js hook handles the Room object of the Vonage Video Express. The main functions are:
- createCall: given the credentials (APIKeys, SessionId and Token), the function connects to the Opentok servers, add the event listeners (onStreamCreated and onStreamDestroyed). The function calls
new MP.Room({})function from the Vonage Video Express: https://tokbox.com/developer/multiparty/reference/room.html. - addParticipants: adds the participants in the local
participantsstate. - removeParticipants: removes the participants in the local
participantsstate.
The src/hooks/usePreviewPublisher hook handles the previewPublishers. The previewPublisher is used in the waiting room page to show the preview of audio and camera streams.
- createPreview: creates the local preview publisher and handles the
accessAllowedandaccessDenied. - destroyPreview: destroys the local preview publisher. This is called when we change view from Waiting room to the VideoCall View.
The src/hooks/useDevices hook handles the MP.getDevices function (https://tokbox.com/developer/multiparty/reference/get-devices.html). The hook sets audioInputDevices, audioOutputDevices and videoInputDevices in the deviceInfo state variable.
The src/hooks/useScreenSharing hook handles the ScreenPublisher object.
- startScreenSharing: this function calls the
startScreensharingto start the screen sharing. It also adds the events such asstarted,stoppedandaccessDeniedto handle the different user's actions. - stopScreenSharing: this function stops the screen sharing stream.
This component leverages the UsePreviewPublisher hook to show a media preview of the user and the UseDevices hook to allow the user choose the microphone and camera
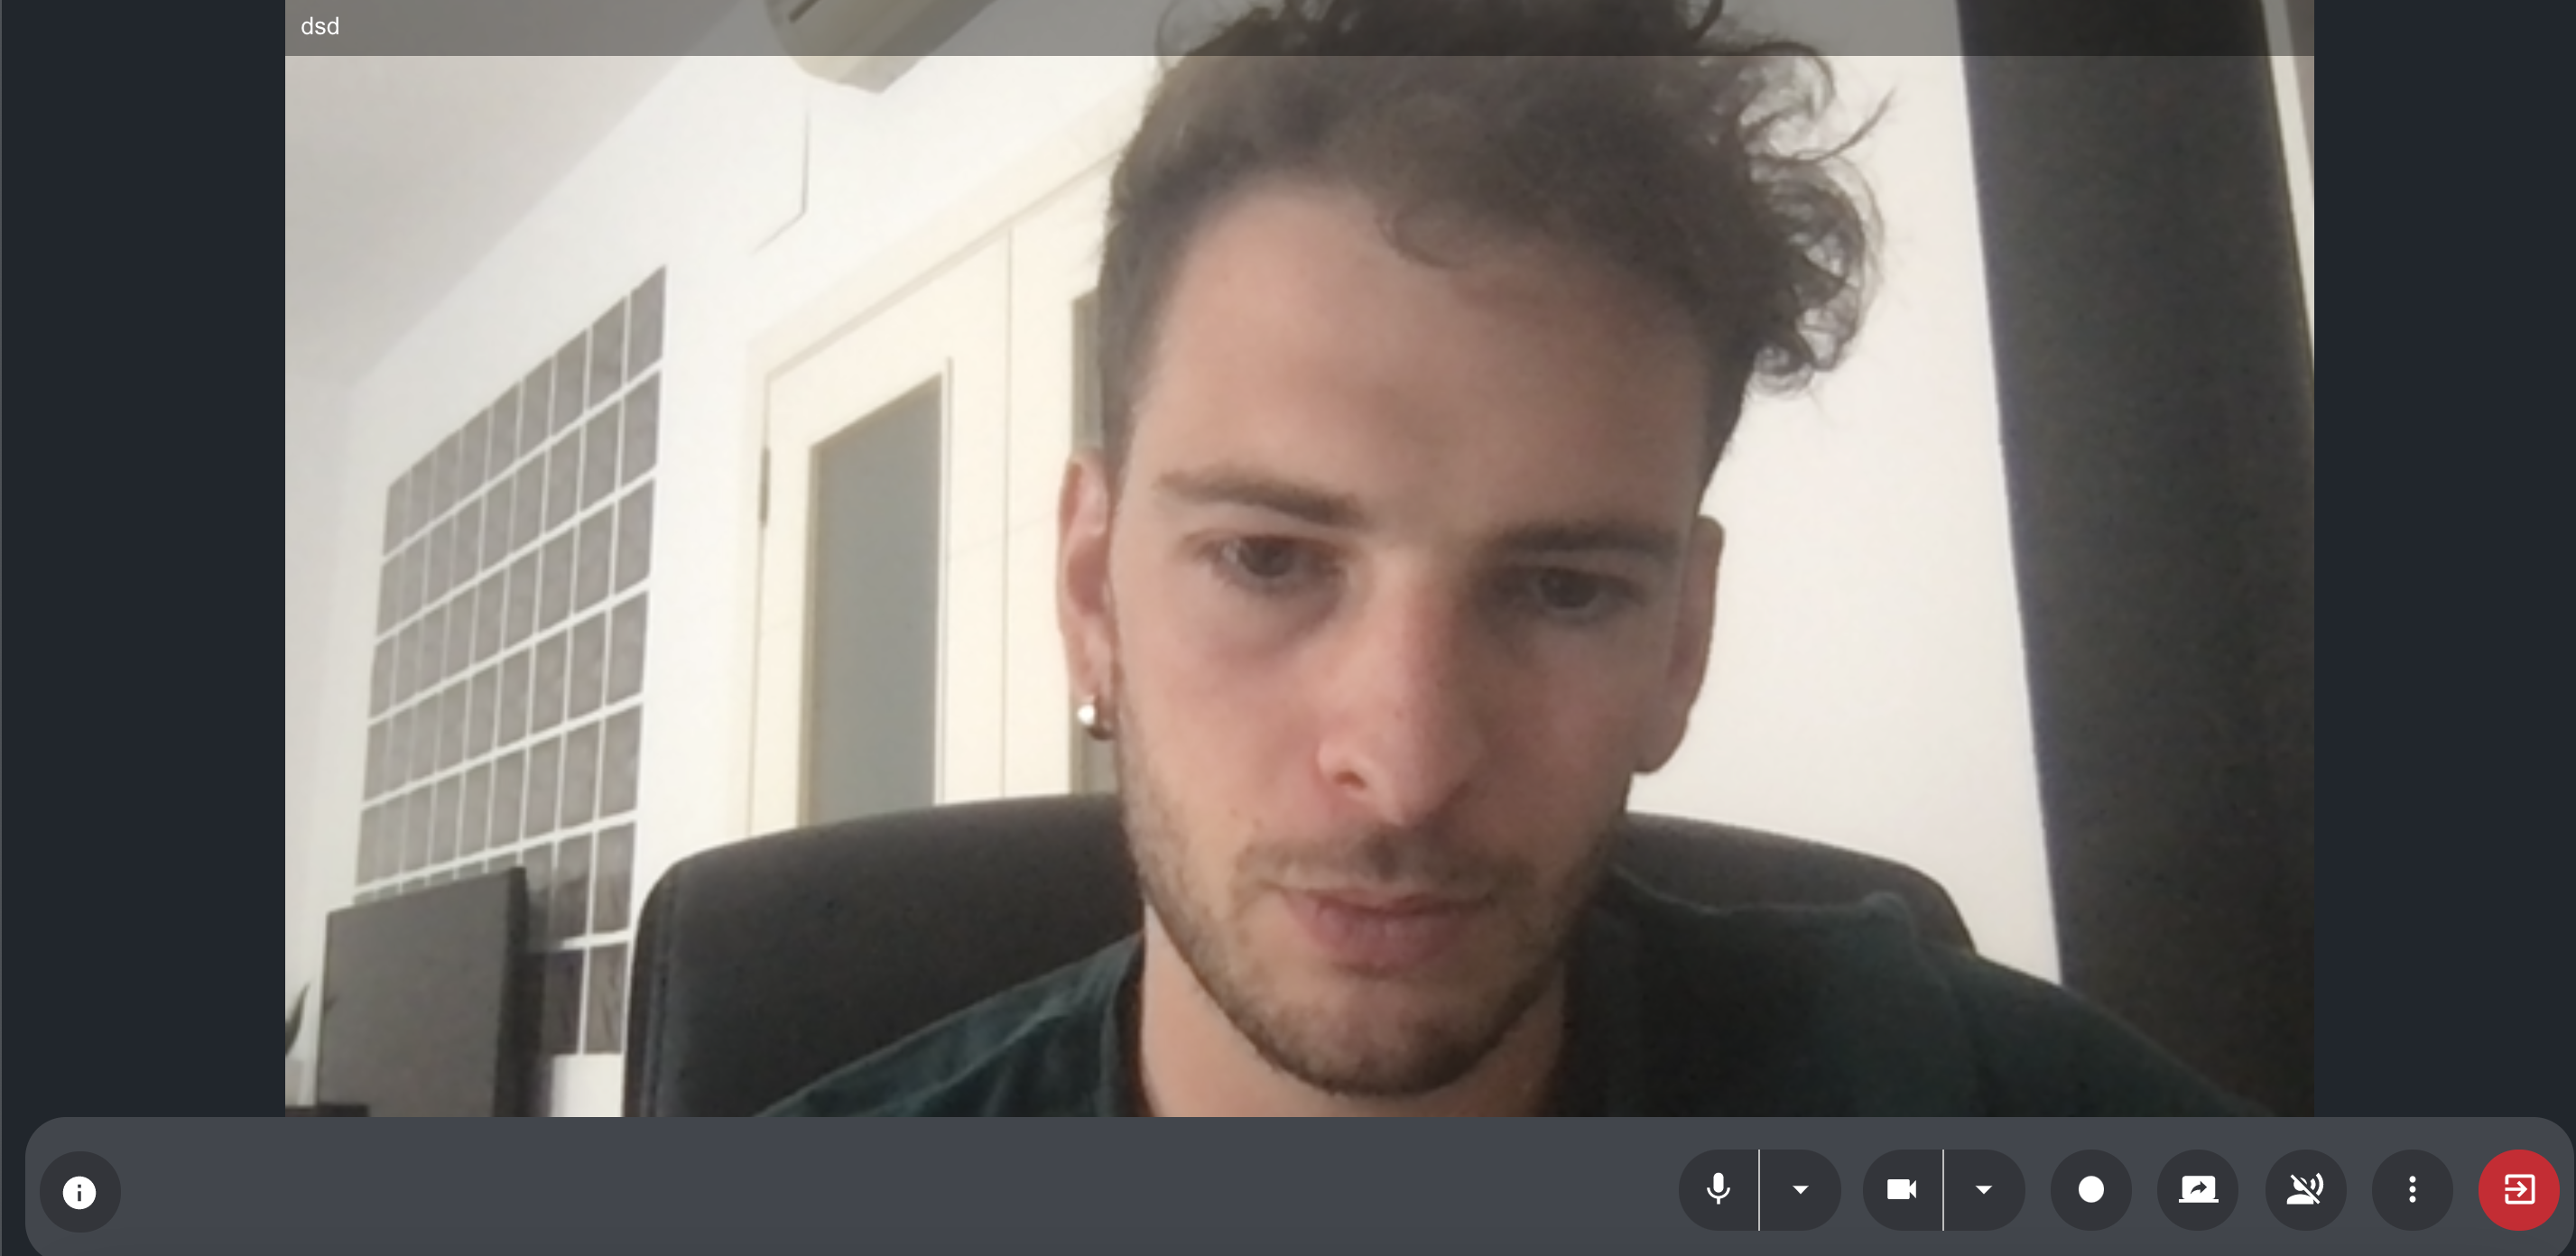
The ToolBar component contains all the buttons along with the logic to mute audio/video, handle screen sharing change devices and layout and mute participants.
It's the main component of the application. It contains the ToolBar and the network indicator. Once the component is mounted, it will request the credentials from the server to start the video call.


