Google Cloud Platform:
- folder ID
- billing ID
- Service Account Key
Local machine:
- gcloud CLI
- kubectl CLI
- helm CLI
- git CLI
- terraform CLI
git clone https://github.com/froggologies/gcp-terraform-exp-elastic.git && cd gcp-terraform-exp-elasticexport GOOGLE_APPLICATION_CREDENTIALS=<PATH_TO_SERVICE_ACCOUNT_KEY>
export TF_VAR_billing_account=<BILLING_ACCOUNT_ID>
export TF_VAR_folder_id=<FOLDER_ID>Change the backend in
terraform/backend.tfto your backend configuration or delete it if you want to use local backend.
Initialize Terraform:
terraform -chdir=terraform initApply Terraform:
terraform -chdir=terraform apply
# Apply complete! Resources: 18 added, 0 changed, 0 destroyed.
Make sure use that we use the correct context
kubectl config get-contextsIf not then get the cluster credentials:
gcloud container clusters get-credentials <cluster-name> --zone <zone-location> --project <project-id>If you are using GKE, make sure your user has cluster-admin permissions.
- Install custom resource definitions:
kubectl create -f https://download.elastic.co/downloads/eck/2.12.1/crds.yaml- Install the operator with its RBAC rules:
kubectl apply -f https://download.elastic.co/downloads/eck/2.12.1/operator.yamlwe can find more information regarding ECK elastic web and elastic github
- Create an efk namespace:
kubectl apply -f efk-namespace.yaml- switch context to efk namespace
kubectl config set-context --current --namespace=efk
- Apply Manifest for Elasticsearch
kubectl apply -f ElasticSearch.yaml- WATCH Status of Elasticsearch
watch "kubectl get elasticsearch -n efk"NAME HEALTH NODES VERSION PHASE AGE
elasticsearch green 1 8.13.0 Ready 2m6s
- exit using
ctrl+c
- Validation
- Export password
PASSWORD=$(kubectl get secret elasticsearch-es-elastic-user -o go-template='{{.data.elastic | base64decode}}')
echo $PASSWORD- From your local workstation, use the following command in a separate terminal
kubectl port-forward service/elasticsearch-es-http 9200- Then request
localhost:
curl -u "elastic:$PASSWORD" -k "https://localhost:9200"-
-
- validated like this 🎉
-
  $ curl -u "elastic:$PASSWORD" -k "https://localhost:9200"
{
  "name" : "elasticsearch-es-default-0",
  "cluster_name" : "quickstart",
  "cluster_uuid" : "zliKMgaPRzCmy6N1bJc4jw",
  "version" : {
    "number" : "8.13.0",
    "build_flavor" : "default",
    "build_type" : "docker",
    "build_hash" : "09df99393193b2c53d92899662a8b8b3c55b45cd",
    "build_date" : "2024-03-22T03:35:46.757803203Z",
    "build_snapshot" : false,
    "lucene_version" : "9.10.0",
    "minimum_wire_compatibility_version" : "7.17.0",
    "minimum_index_compatibility_version" : "7.0.0"
  },
  "tagline" : "You Know, for Search"
}
- Apply Manifest for Kibana
kubectl apply -f Kibana.yaml- Watch Status of Kibana
watch "kubectl get kibana -n efk"NAME HEALTH NODES VERSION AGE
kibana green 1 8.13.0 11m
- exit using
ctrl+c
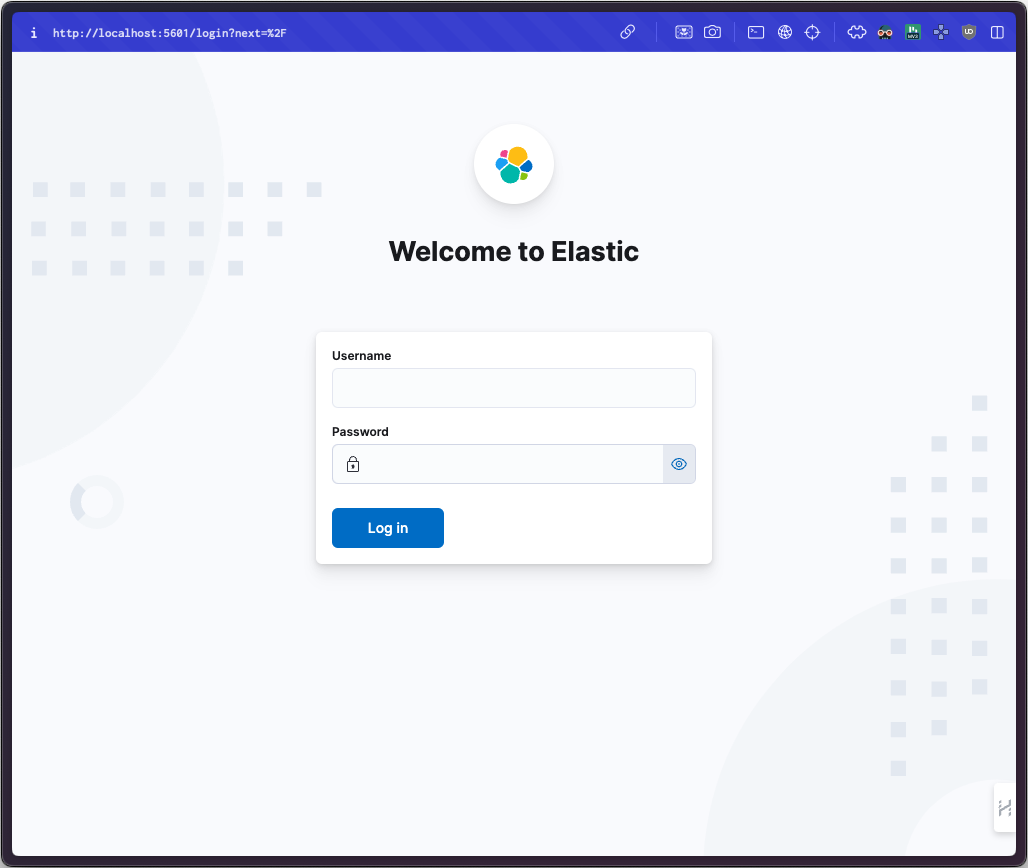
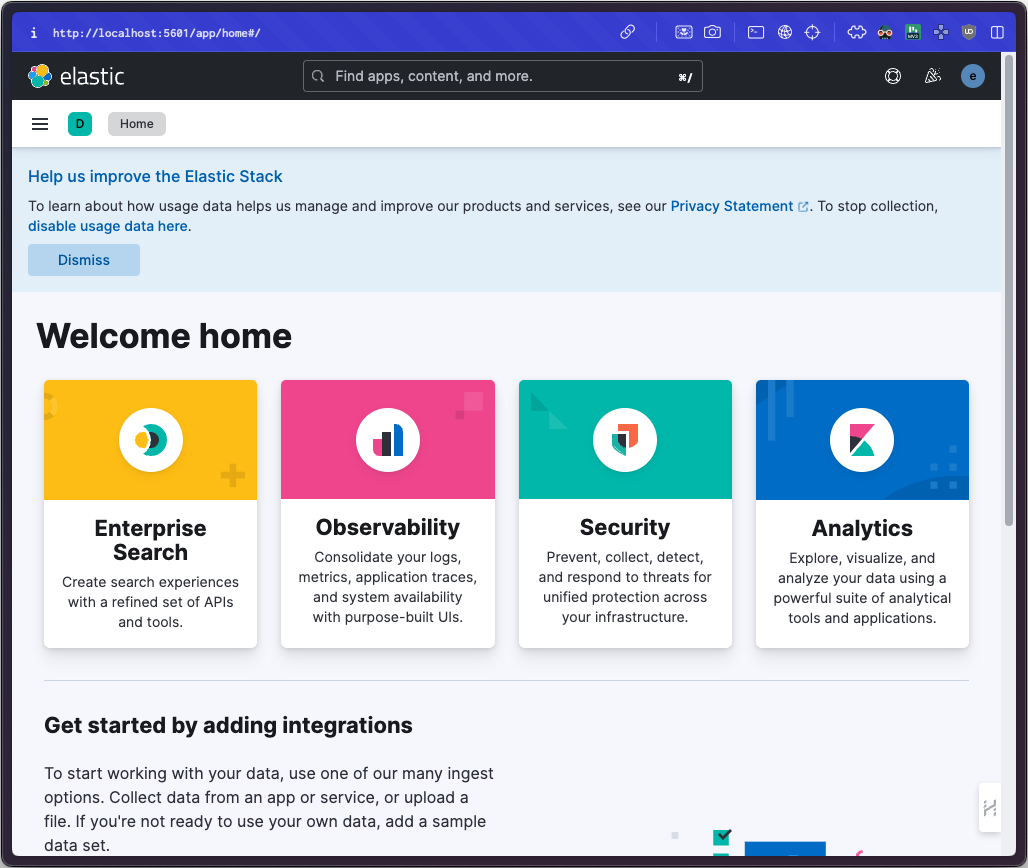
- validation access to kibana
- Use kubectl port-forward to access Kibana from your local workstation:
kubectl port-forward service/kibana-kb-http 5601-
access localhost:5601
-
Login as the
elasticuser. The password can be obtained with the following command:
kubectl get secret elasticsearch-es-elastic-user -o=jsonpath='{.data.elastic}' | base64 --decode; echoTip
Use gateway or ingres for exposing kibana here
kubectl apply -f elastic-agent/fleet-kubernetes-integration.yamlhelm repo add fluent https://fluent.github.io/helm-chartshelm upgrade --install fluent-bit fluent/fluent-bit -n efk -f fluent-bit-values.yaml
