FreeCAD Render workbench
A FreeCAD workbench to produce high-quality rendered images from your FreeCAD document, using open-source external rendering engines
Introduction
The Render workbench is a replacement for the built-in Raytracing workbench of FreeCAD. There are several differences between the two:
- The Render workbench is written fully in Python, which makes it much easier to understand and extend by non-C++ programmers
- It is intentionally very simple to read, understand, and modify (one file which provides common classes and methods for all renderers, and one file for each renderer)
- Adding new render engines (renderers) is very easy
- Like the builtin Raytracing workbench, the Render workbench offers the possibility to update the View objects whenever its source object changes, which costs extra processing time everytime the source object changes. But it also offers a mode where the views are updated all at once, only when the render is performed. This makes the render slower, but adds virtually no slowdown during the work with FreeCAD, no matter the size of a Render project.
- The Render workbench uses the same templates as the Raytracing workbench, they are fully compatible. Appleseed templates are created the same way (check the default template for example)
Supported render engines
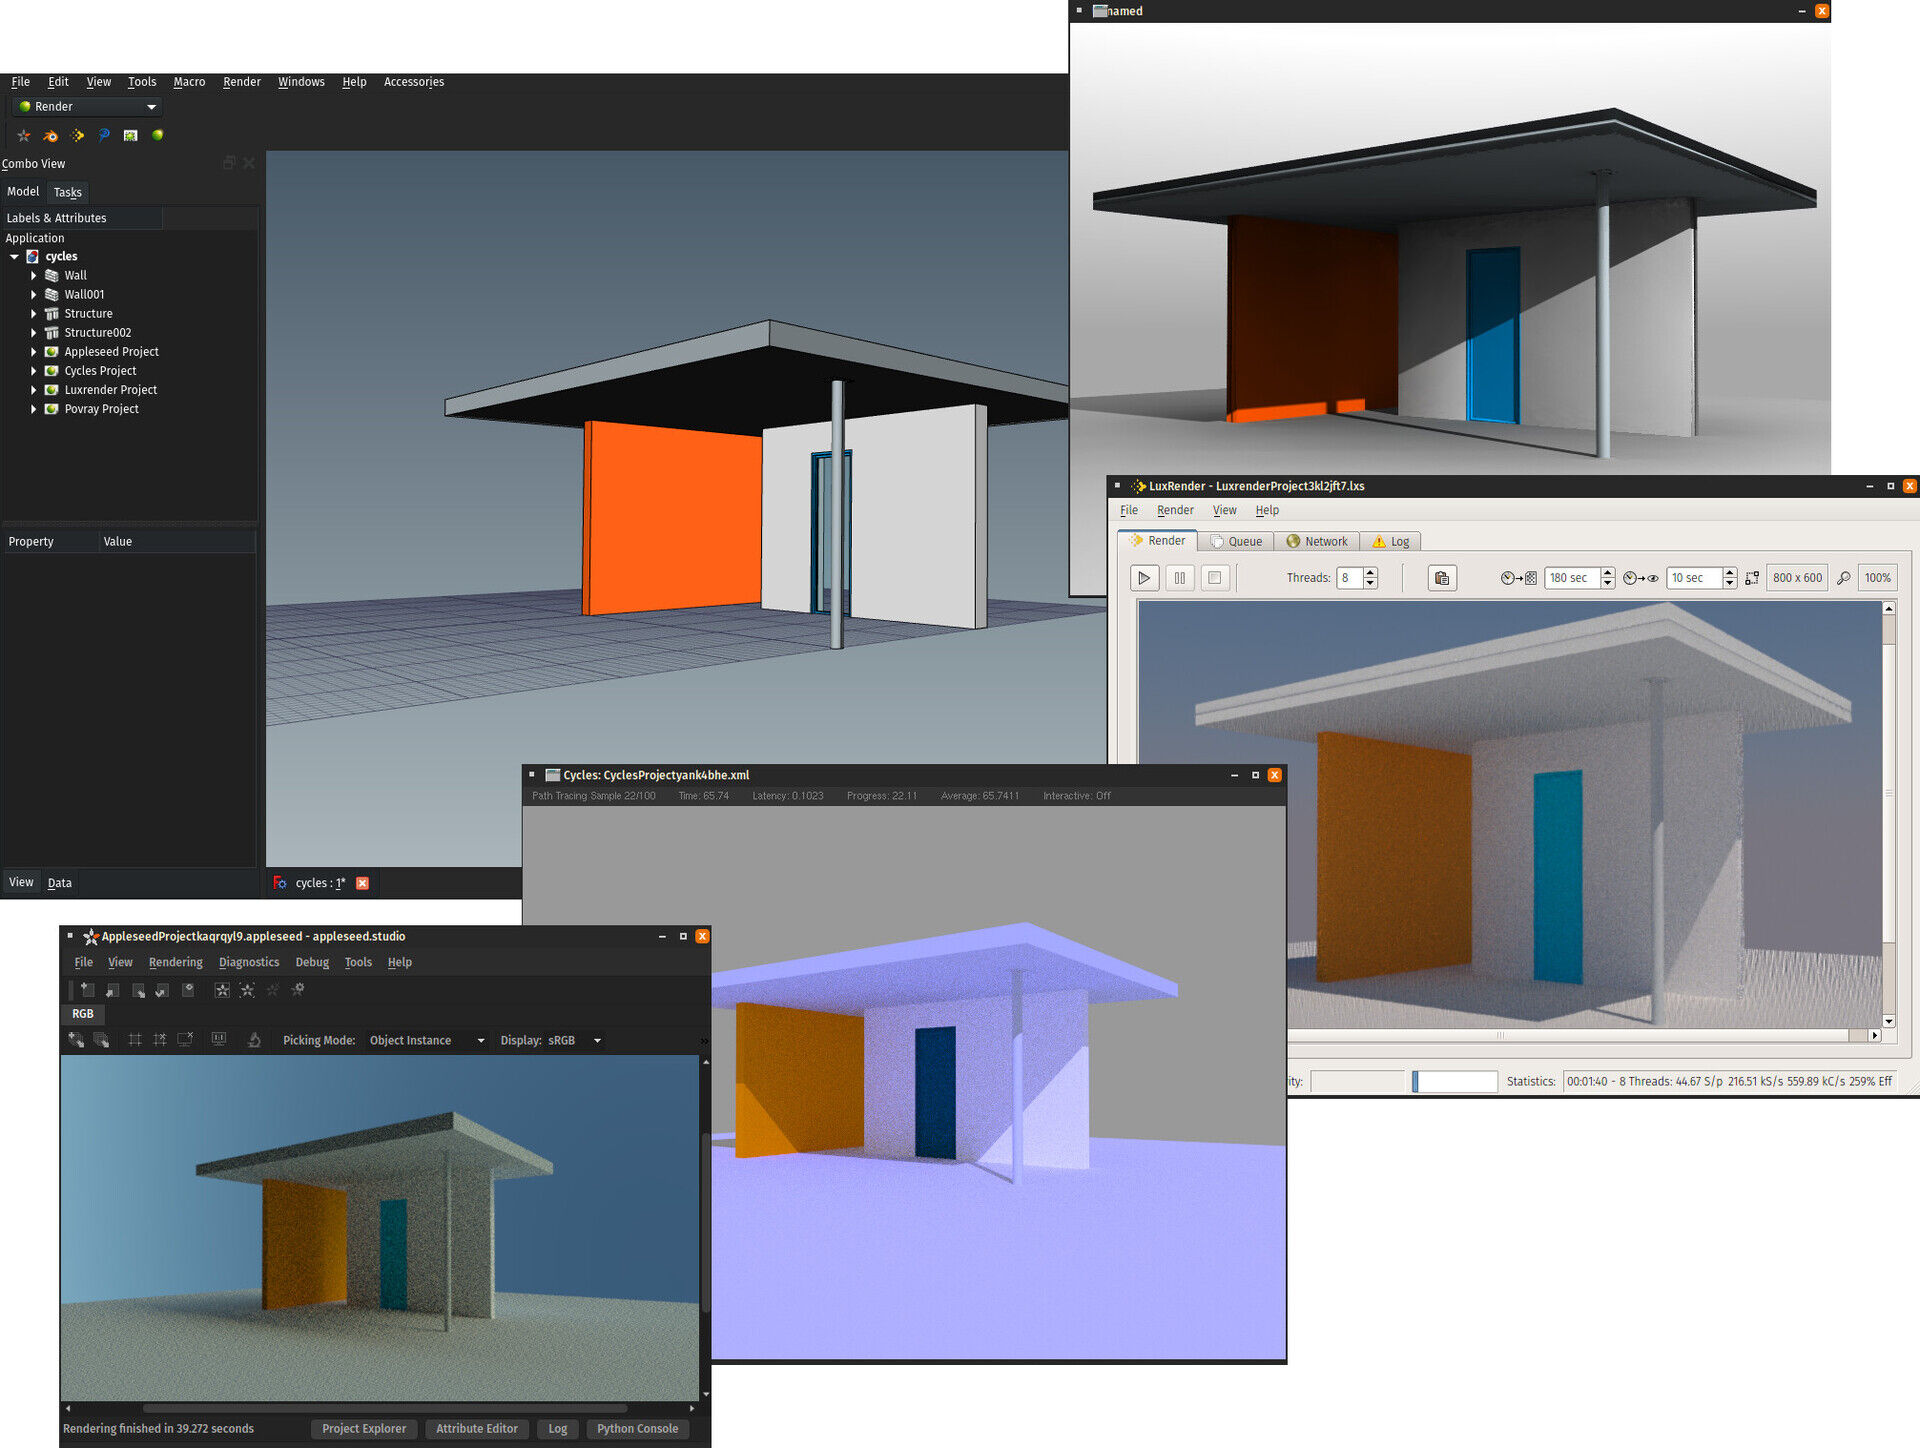
At the moment, the following engines are supported:
Installation
The Render workbench is part of the FreeCAD Addons repository, and can be installed
from menu Tools > Addon Manager in FreeCAD. It can also be installed manually by downloading this repository using the
"clone or download" button above. Refer to the FreeCAD documentation to learn more.
Usage
The Render workbench works exactly the same way as the Raytracing Workbench. You start by creating a Render project using one of the Renderer buttons from the Render Workbench toolbar, then select some of your document objects, and add views of these objects to your Render project, using the Add View button. You can tweak some features of the views (color, transparency, etc...) if you want it to appear differently in the render than in the 3D view of FreeCAD, then, with a Render project selected, you only need to press the Render button to start the render.
Each renderer has some configurations to be set in Edit > Preferences > Render before being able to use it, namely the path
to its executable.
Notes on compiling Cycles for standalone use
To use the Cycles renderer, Cycles must be compiled as standalone.
The Blender wiki has a section on how to compile Cycles as standalone
If you already compile Blender yourself, All you need to do is enable WITH_CYCLES_STANDALONE and WITH_CYCLES_STANDALONE_GUI cmake variables
(I also had to add -lGLU to CMAKE_EXE_LINKER_FLAGS) and you will get a 'cycles' executable compiled together with Blender.
Notes on using Blender
Blender is able to import FreeCAD files with materials correctly imported and ready for Cycles too, by installing the FreeCAD importer addon (available for 2.80 and 2.79). Importing your FreeCAD file in Blender before rendering gives you a lot more options such as placing lights and textures.
To Do
- Currently the external (open the file to be rendered in the Renderer's GUI)/internal (render directly inside FreeCAD) render mode is not implemented, the external mode will always be used.
- Add support for Kerkythea (adapt the existing macro)
- Add support for Blender's Eevee
- Add support for OpenCasCade's CadRays
Feedback
For Feedback, bugs, feature requests, and further discussion please use the dedicated FreeCAD forum thread
Author
Yorik Can Havre AKA @yorikvanhavre (blog)
