Pre-requisites:
- AWS CLI
- Amplify CLI
- NodeJS
- Angular CLI
- Create Amazon CodeCommit repository
- Create IAM developer user with access to repository and needed AWS resources (E.g.: Amplify, S3, API Gateway, Lambda, etc.)
- Create Amplify IAM user for the Amplify CLI and configure as AWS CLI profile
- Clone the repository
git clone your-codecommit-repository - Create dev branch
git checkout -b dev - Create a new Angular project
cd your-codecommit-repository ng new demo-amplify --directory ./ - Install Amplify dependecies
npm install aws-amplify aws-amplify-angular - Init Angular project (this will be our Dev environment)
amplify init - Create build file at the project root dir. You can find the file amplify.yml at source/ folder
version: 0.1 backend: phases: build: commands: - '# Execute Amplify CLI with the helper script' - amplifyPush --simple frontend: phases: preBuild: commands: - npm ci - npm install -g @angular/cli build: commands: - ng build artifacts: baseDirectory: dist/demo-amplify files: - '**/*' cache: paths: - node_modules/**/* - Test build and serve before pushing the code (if you find the error "Could not find plugin "proposal-numeric-separator"" try to install "@babel/compat-data": "~7.8.0", in devDependencies )
ng build ng serve - Push the first version
git add . git commit -m "Initial commit" git push -u origin dev amplify push - Go to the console https://console.aws.amazon.com/amplify/ and configure Frontend
- Restrict access for the Amplify Dev endpoint
- Create Stage branch and initialize
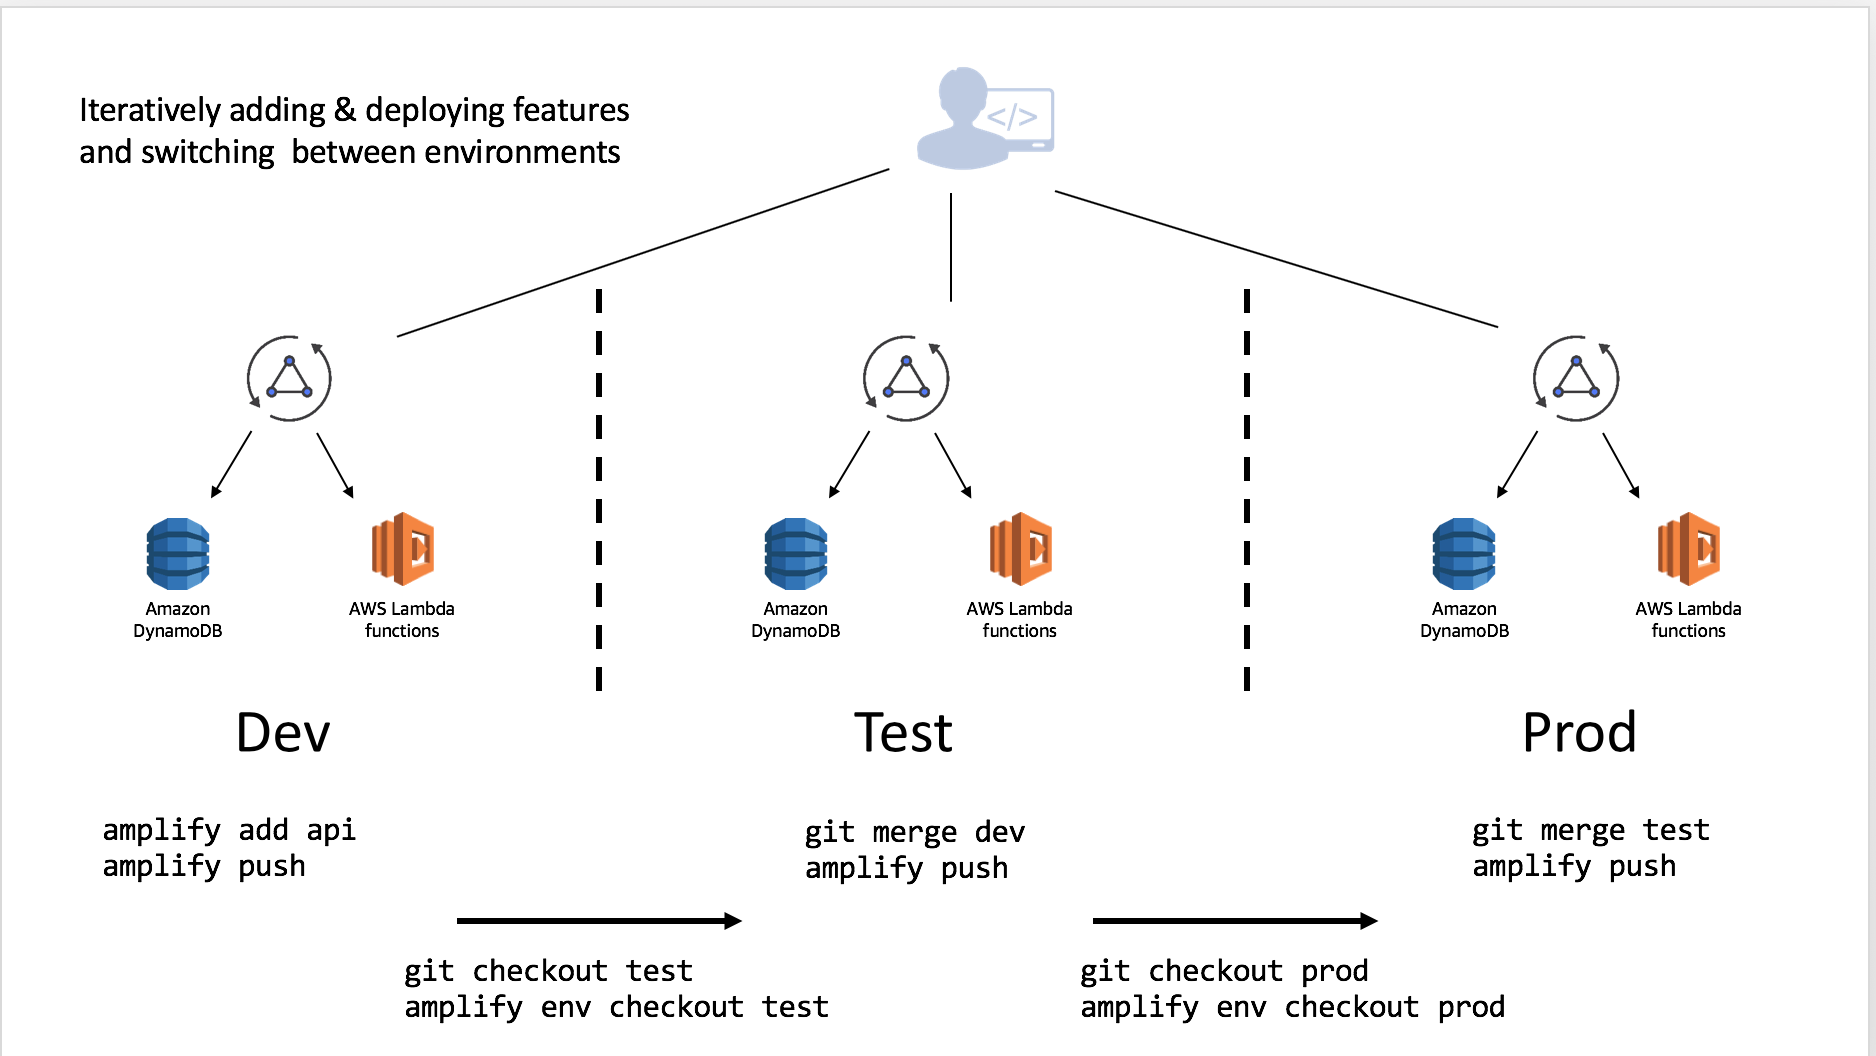
amplify env add git checkout -b stage amplify env checkout stage git push -u origin stage amplify push - Go to the Amplify console and add the frontend environments with the respective branch
- Restrict access for the Amplify Stage endpoint
- Enable email notification
-
Go to the Dev env and branch
git checkout dev amplify env checkout dev -
Add authentication with Cognito
amplify add auth -
Add storage with S3
amplify add storage -
Push the backend
amplify push git add . git commit -m "Backend resources" git push -
Let's modify some files to add functionality for our app (you can find all the ref files at source/ folder of this repository, just copy it to work)
- When working with underlying aws-js-sdk, the “node” package should be included in types compiler option. Update your src/tsconfig.app.json
- Import the configuration file and load it in main.ts
- In your app module src/app/app.module.ts import the Amplify Module and Service
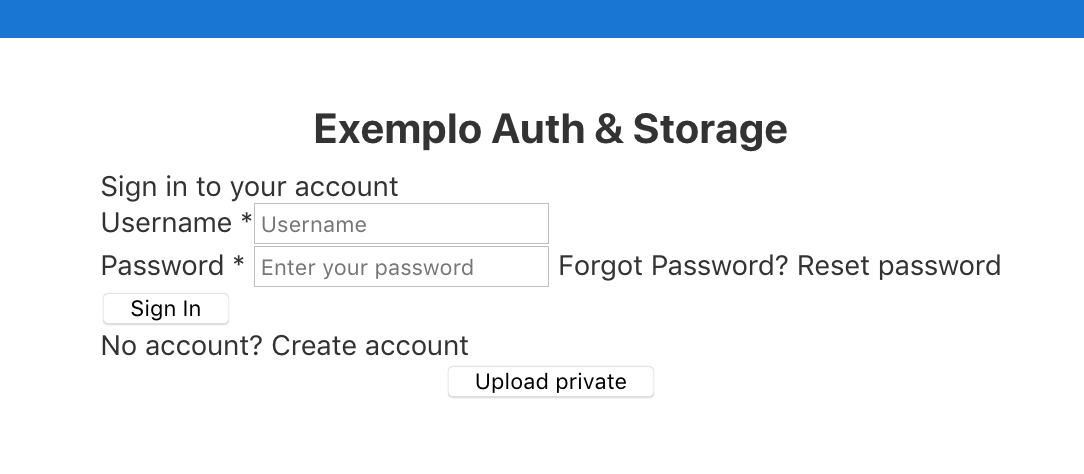
- Modify your src/index.html, src/app/app.component.ts and src/app/app.component.html
-
Test local
ng build ng serve -
Push your new code
git add . git commit -m "Added auth and storage features" git push -
Now, let's merge the dev branch in stage branch
git checkout stage amplify env checkout stage git merge dev amplify push -
Try to upload a file without Auth. After, create a user and try to upload again (Check the Web Console to verify the results)
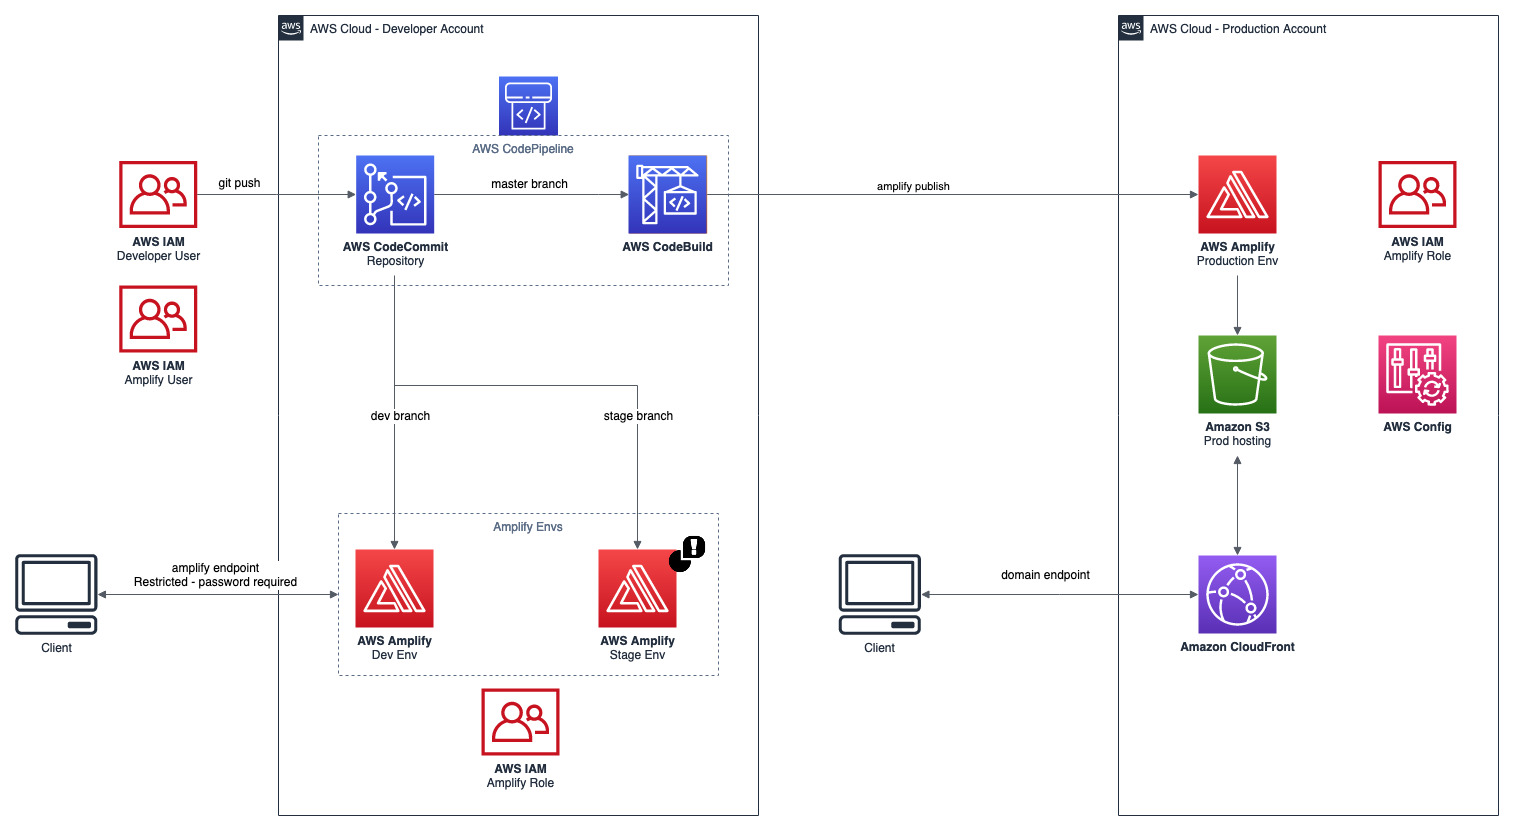
Actually (04/23/2020), Amplify not supports multi-account approach utilizing CodeCommit, but, if would like to utilize a multi account approach we work with CodeBuild as explained bellow:
Note: For other Git repositories you already can separate branch by account. For example, with GitHub.
- Creat amplify prod env
amplify env add # utilizes an AWS CLI profile for production account
git checkout master
git merge stage
amplify env checkout prod
amplify hosting add
git push origin master
- Create an IAM Role with the Amplify policies (follow the reference Amplify Policy)
- Add the trust relationship with the Account B
{
   "Version": "2012-10-17",
   "Statement": [
      {
         "Effect": "Allow",
         "Principal": {
         "AWS": "arn:aws:iam::<YOUR ACCOUNT B ID>:root"
         },
         "Action": "sts:AssumeRole",
         "Condition": {}
      }
   ]
}
- Create an IAM Policy to assume Account A role
{ "Version": "2012-10-17", "Statement": { "Effect": "Allow", "Action": "sts:AssumeRole", "Resource": "arn:aws:iam::<YOUR ACCOUNT A ID>:role/<PROD ROLE>" } } - Create IAM role with CodeBuild access and attach the policy created in the last step
- Add the trust relationship with CodeBuild
{ "Version": "2012-10-17", "Statement": [ { "Effect": "Allow", "Principal": { "Service": "codebuild.amazonaws.com" }, "Action": "sts:AssumeRole" } ] } - Create the CodeBuild project with the role created in the step before and associate with the production CodeCommit branch
- Add the source/buildspec.yml file in your project (modify the account id in the file)
- Push the build settings and do the first prod deploy
git checkout master amplify env checkout prod amplify publish git add . git commit -m "New CodeBuild file" git push origin master - Verify the project with the S3 url (if you receive some 4XX error, you need to change the outputPath value in the angular.json to build in the right path)
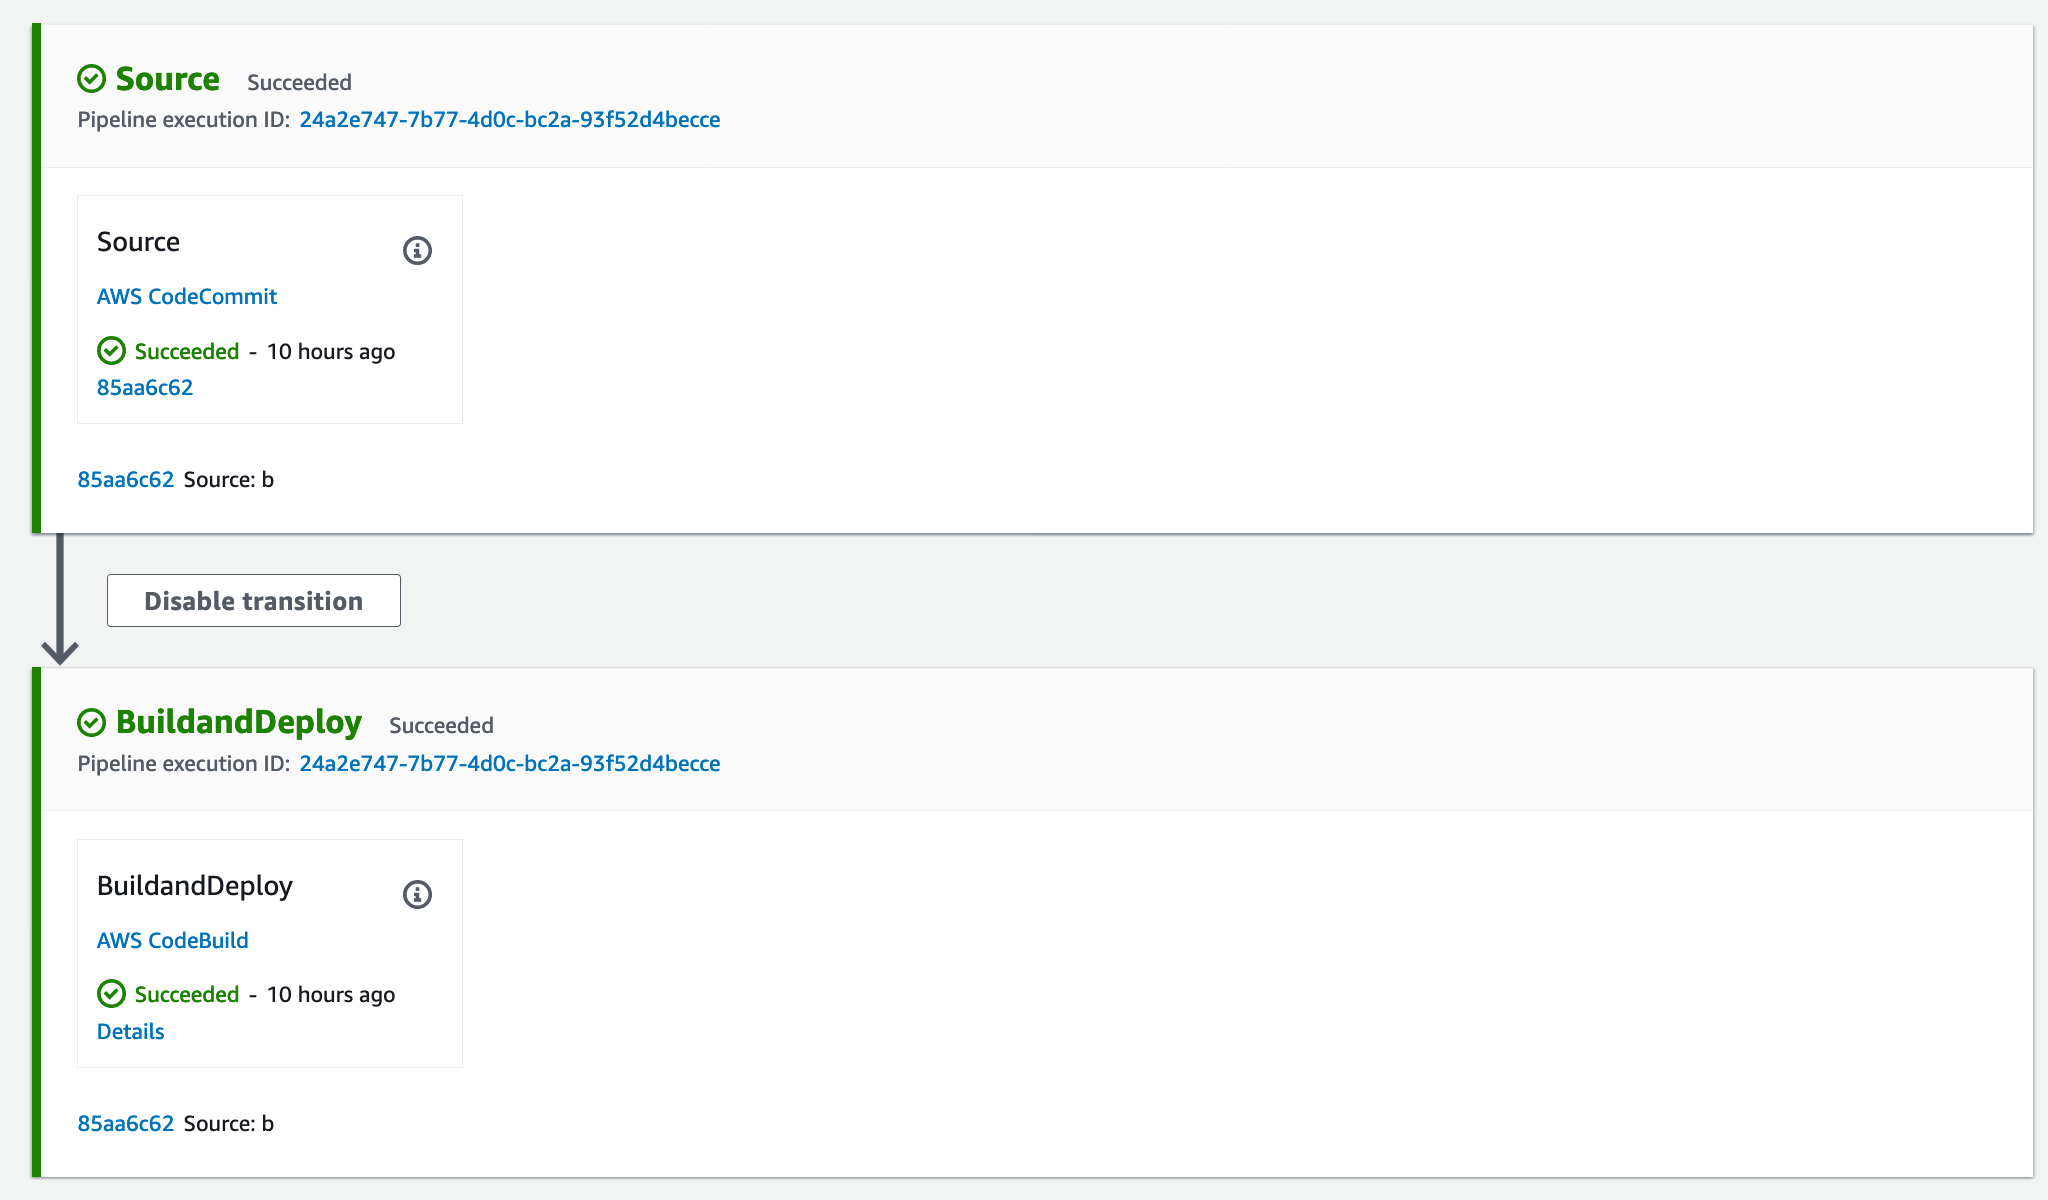
- Create CodePipeline with CodeCommit as source and CodeBuild as build stage

- Now you have a ci/cd pipeline multi-account with Amplify!
- Creating Amplify profile:
aws configure --profile amplify - Cloning CodeCommit Repository using SSH:
# Upload the public key in IAM - SSH keys for AWS CodeCommit; # Change the .ssh/config file # Host git-codecommit.*.amazonaws.com # User <SSH key id> # IdentityFile ~/.ssh/id_rsa # Clone the repository git clone codecommit:/v1/repos/<repository> - Sometimes when you run amplify remove some resources still in the account. Verify if the resource is deleted and if needed remove manually (E.g.: CloudFormation and S3 Bucket);
- Working with different environments:

- AWS CLI: https://docs.aws.amazon.com/cli/latest/userguide/cli-chap-install.html
- Amplify CLI: https://aws-amplify.github.io/docs/cli-toolchain/quickstart
- Angular CLI: https://cli.angular.io/
- Amplify policy: https://aws-amplify.github.io/docs/cli-toolchain/usage?sdk=js#iam-policy-for-the-cli
- Getting Started Amplify + Angular: https://aws-amplify.github.io/docs/js/angular
- Workflow tips: https://read.acloud.guru/multiple-serverless-environments-with-aws-amplify-344759e1be08
- Limit pushes and merges to branches: https://docs.aws.amazon.com/codecommit/latest/userguide/how-to-conditional-branch.html
- Starting from existing project: https://aws.amazon.com/blogs/mobile/amplify-cli-adds-scaffolding-support-for-amplify-apps-and-authoring-plugins/
- AWS Multi Account pipelines: https://aws.amazon.com/blogs/devops/aws-building-a-secure-cross-account-continuous-delivery-pipeline/


