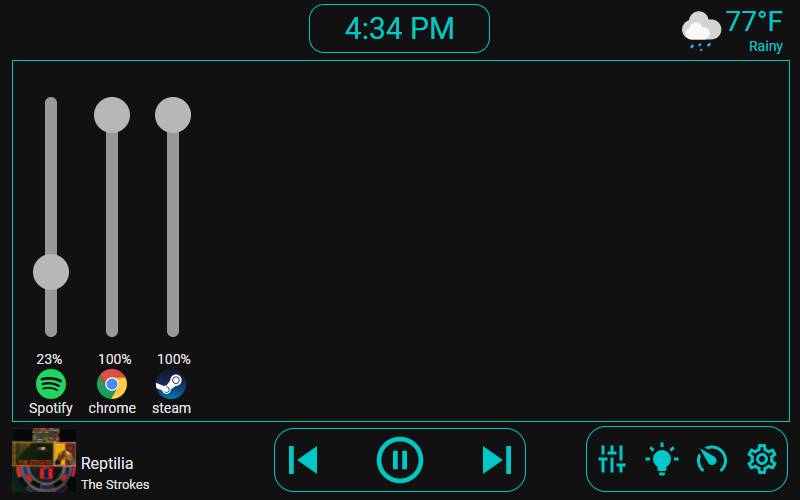
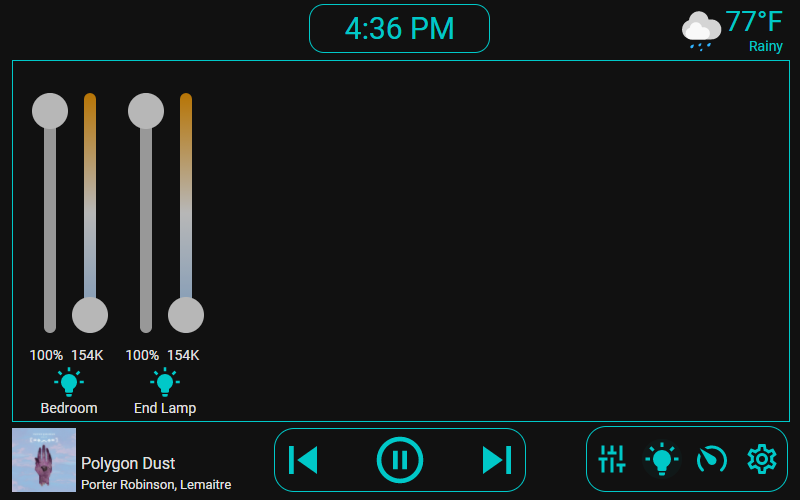
A custom HomeAssistant panel intended to be used in pair with a desktop computer and displayed on a tablet. Originally designed to work on a RaspberryPi 7" Touchscreen. Based on my previous project, Desktop Control Tablet
-
The project is added as a custom repository from HACS, so make sure you have that installed first.
-
Add it as a custom repository in HACS:
a. Go to HACS panel -> Integrations
b. In the dropdown on the top right, click
Custom repositoriesc. In the
Add custom repository URLfield, enterhttps://github.com/gannonprudhomme/ha-desktop-processesand forcategoryenterIntegration.d. The repository should appear as a
New repositoryon theIntegrationscreen. If it doesn't, go to+ Explore & Add Repositoriesthen search for it. You'll then need to restart HA.e. Then click
Installto install it intoconfig/custom_components -
Add the following to
configuration.yaml. Note that this is the bare minimum - there are further configuration options displayed further down.
panel_custom:
  - name: desktop-control
    url_path: desktop-control
    sidebar_title: Desktop Control
    sidebar_icon: mdi:server # This can be any mdi: icon
    module_url: /local/main.js # This is the only required entry - everything else
    config:
      # Determines which modules to use and their order. Remove any modules that are unwanted.
      # Note that each module needs extra configuration, which you can see below
      modules:
        - desktop_processes
        - light_control
        - pc_stats
        - rpi_backlight

# Further configuration displayed belowpanel_custom:
- name: desktop-control
url_path: desktop-control
sidebar_title: Desktop Control
sidebar_icon: mdi:server
module_url: /local/main.js
config:
weather_name: weather.home
spotify_name: media_player.spotify_gannon_prudhomme
# For use with ha-desktop-processes, optional
desktop_name: desktop_processes.desktop_1
# For use with ha-rpi-backlight, optional
pi_brightness_name: sensor.screen_brightness
pi_power_name: sensor.screen_power
# Determines which modules to use and their order.
# First one is the default one / landing page
modules:
- desktop_processes
- light_control
- pc_stats
- rpi_backlight
# Only if you want to use the light_control module
lights:
- name: light.light_group
priority: 1
- name: light.corner_lamp
- name: light.desk_lamp
# Only if you want to use the pc_stats module
pc_stats:
# Hypothetically the values can be any type of sensor, as long as they match up
# (e.g. temp to temperature, usage to percent)
cpu_temp: sensor.gannon_sff_amd_ryzen_9_5900x_temperatures_cpu_ccd_average
gpu_temp: sensor.gannon_sff_nvidia_geforce_rtx_2070_super_temperatures_gpu_core
cpu_usage: sensor.gannon_sff_amd_ryzen_9_5900x_load_cpu_total
gpu_usage: sensor.gannon_sff_nvidia_geforce_rtx_2070_super_load_gpu_core
memory_usage: sensor.gannon_sff_generic_memory_load_memory- Install homeassistant
- ...?
source env/Source/activate/env/bin/activate- Run
hass -c config
npm run dev, then refresh the window
npm run build- Commit & Push
- Create a new GitHub release.

