
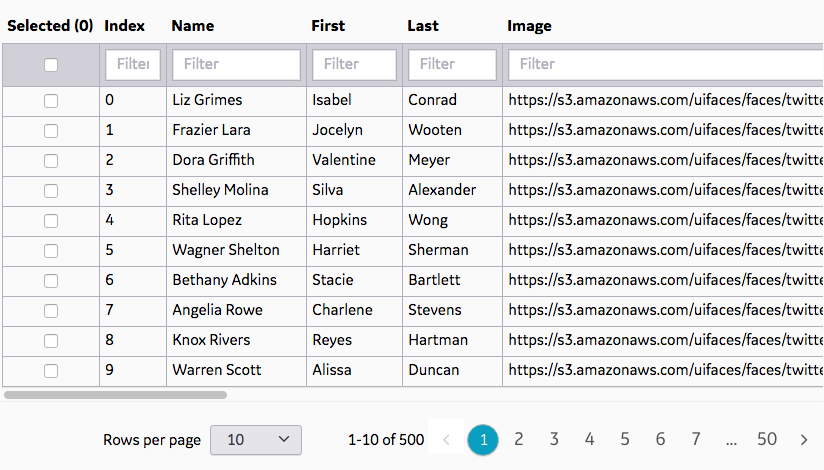
Px-Data-Table is a Predix UI component that defines a data table, optionally using a sub-element for advanced column settings.
- node.js
- npm
- bower
- webcomponents-lite.js polyfill
Node, npm and bower are necessary to install the component and dependencies. webcomponents.js adds support for web components and custom elements to your application.
First, install the component via bower on the command line.
bower install https://github.com/PredixDev/px-data-table.git --save
Second, import the component to your application with the following tag in your head.
<link rel="import" href="bower_components/px-data-table/px-data-table.html"/>Finally, use the component in your application:
Minimum:

    <px-data-table table-data="{{data}}"></px-data-table>

Advanced:

    <px-data-table filterable selectable table-data="{{data}}"></px-data-table>

    <px-data-table selected-rows="{{mySelectedItems}}" filterable selectable striped table-data="{{data}}">
      <px-data-table-column
        name="first"
        sortable
        filter-function-name="myTableCustomFunctions.filterWholeWord"
        sort-function-name="myTableCustomFunctions.sortByEmailDomain">
      </px-data-table-column>
      <px-data-table-column name="last" ...></px-data-table-column>
      <px-data-table-column name="color" ...></px-data-table-column>
      <px-data-table-column name="date" ...></px-data-table-column>
    </px-data-table>
Integrating with other frameworks (ex: Angular):
You may not be able to use 2-way binding with the objects/arrays in other frameworks such as Angular.
We suggest instead to use events and selectors, for example:
document.getElementById("myDataTable").addEventListener("px-row-click", function(e) {
    ...
});

document.getElementById("myDataTable").addEventListener("px-select-all-click", function(e) {
    ...
});

$scope.doSomethingWithSelectedRows = function() {
    $scope.allSelectedRows = document.getElementById("myDataTable").selectedRows;
};
You may also want to prevent your data from auto-synching with your model. If so, we've written up a [little explanation] to help you with that.
Read the full API and view the demo here.
From the component's directory...
$ npm install
$ bower install
$ gulp sass
From the component's directory, to start a local server run:
$ gulp serve
The root of that server (e.g. http://localhost:8080/) will automatically open in your default browser with the API documentation page and interactive working examples.
gulp serve also runs gulp watch concurrently so that when you make a change to your source files and save them, your preview will be updated in any browsers you have opened and turned on in LiveReload.
Please use Github Issues to submit any bugs you might find.