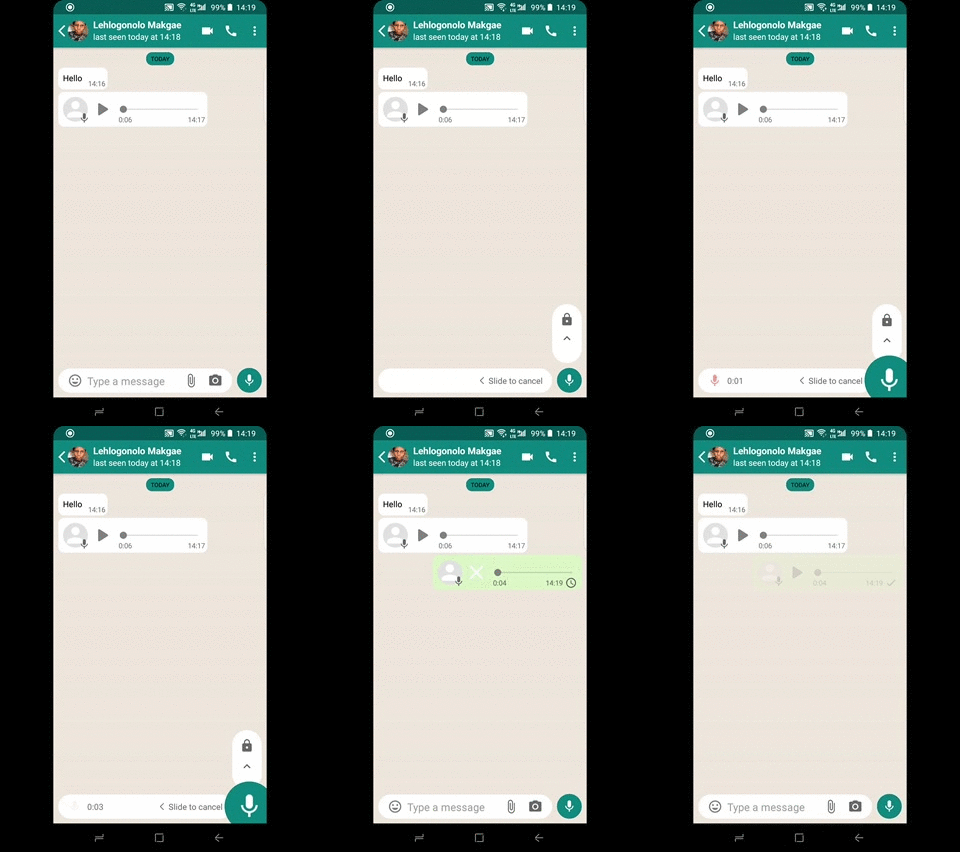
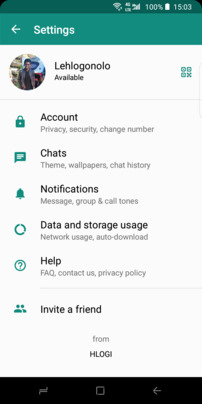
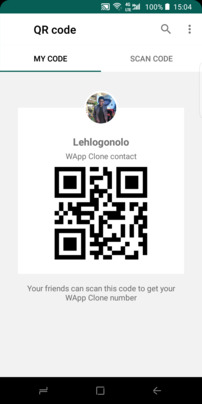
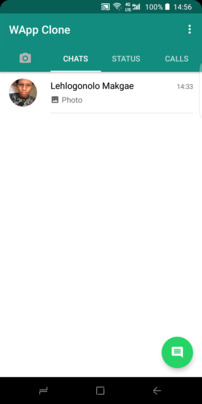
A WhatsApp like application for Android with various WhatsApp features such as sending texts, media and voice recording messages. Some features will come at a later stage.
The application heavily relies on Firebase for it's seamless integration with android, fast development and free usage. Most of it's products like Authentication, Cloud Firestore, Cloud Storage and Cloud Functions make it very easy to mimic WhatsApp's features without so much hassle.
Since the application relies on Firebase, we need to add it to our app and also create a new project on the Firebase Console.
Step 1: Create a Firebase project
Before you can add Firebase to your Android app, you need to create a Firebase project to connect to your Android app.
- In the Firebase Console, click Add project, then select or enter a Project name.
- (Optional) If you are creating a new project, you can edit the Project ID.
- Click Continue.
- Set up Google Analytics for the project, which enables us to have an optimal experience using Firebase Cloud Messaging
- Click Create project
Visit Creating a Firebase project for any clarifications.
Step 2: Register the app with Firebase
After you have a Firebase project, you can add your Android app to it.
- Go to the Firebase console Firebase Console.
- In the center of the project overview page, click the Android icon to launch the setup workflow.
- Enter your app's package name in the Android package name field.
Make sure to enter the package name that your app is actually using. The package name value is case-sensitive, and it cannot be changed for this Firebase Android app after it's registered with your Firebase project.
- Enter other app information: App nickname and Debug signing certificate SHA-1.
Debug signing certificate SHA-1: A SHA-1 hash is required by Firebase Authentication (when using phone number sign in) and Firebase Dynamic Links of which we are both using.
- Click Register app.
Step 3: Add a Firebase configuration file
- Add the Firebase Android configuration file to your app:
- Click Download google-services.json to obtain your Firebase Android config file (google-services.json).
- Move your config file into the module (app-level) directory of your app.
- Sync the app gradle files to ensure that all dependencies have been downloaded.
Step 4: Enable Phone Number sign-in for Firebase project
Since WhatsApp uses phone numbers for authentication, we must first enable the Phone Number sign-in method for your Firebase project:
- In the Firebase Console, open the Authentication section.
- On the Sign-in Method page, enable the Phone sign-in method, also enable the Email/Password for future usage.
These Firebase Cloud Functions for the application need to be deployed first before running the application. Check the repository to see a great detailed explanation on how each function work.
See How to deploy functions for further info on how to deploy them to Firebase.
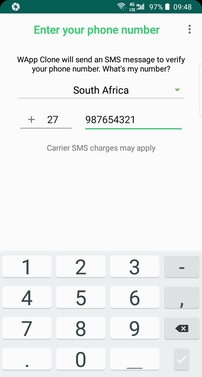
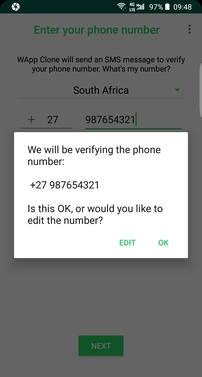
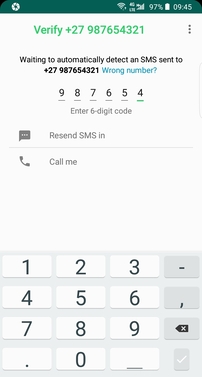
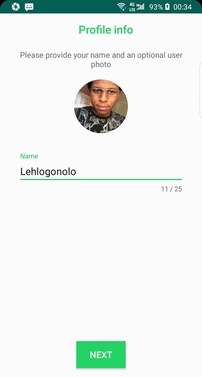
Since WhatsApp uses phone numbers for authentication, I used Firebase Authentication to mimic the sign-in process and flow where the phone number is entered and followed by an SMS to verify the number. After signing in, you are given a screen to set your name and profile picture.
WhatsApp stores the messages we send in the server for a period of time until the recipient actually receives or downloads the message in their phone, then once the message has been delivered, it gets deleted from the server and only stored in the recipient's device. I replicated that flow with Firebase's Cloud Firestore database and with the help of Cloud Functions and Cloud Messaging.
When a user sends a message:
- The message data is written to the Cloud Firestore Database where messages between users are stored.
- A cloud function triggers on writes to the Cloud Firestore database path where messages between users are stored.
- The function composes two message to send via Firebase Cloud Messaging to the user's and recipient's registered devices. One message is to let the user that sent the message that the message was received by the server and the other message is to let the recipient know that they have a new message to download from the server. See the code for the Cloud Functions for more info.
- When the recipient receives the message via Firebase Cloud Messaging, the device initiates a process to download the message data from the database and deletes the message from the database as well.
- A cloud function triggers on deletes to the Cloud Firestore database path where message between users are stored.
- The function composes a message to send via Cloud Messaging to the user that sent the message to let them know that the recipient actually received the message and updates the UI accordingly.
- Varun John's Audio-Recording-Animation
- Dushyanth's Barcode Scanner
- Henning Dodenhof's Circle Image View
Contributions, issues and feature requests are welcome.
Copyright © 2019 Lehlogonolo Makagae.
This project is MIT licensed.
