In this lab, you will Visual Studio Code remote development features to work on a Python Flask application in a dockerized development environment. You will then deploy the app to Azure App Service and set up a CI/CD workflow using GitHub Actions
The Visual Studio Code Remote - Containers extension lets you use a Docker container as a full-featured development environment. It allows you to open any folder inside (or mounted into) a container and use all of VS Code's features like IntelliSense, code navigation, and debugging.
GitHub Actions gives you the flexibility to build an automated software development lifecycle workflow. You can write individual tasks ("Actions") and combine them to create a custom workflow. Workflows are configurable automated processes that you can set up in your repository to build, test, package, release, or deploy any project on GitHub.
With GitHub Actions you can build end-to-end continuous integration (CI) and continuous deployment (CD) capabilities directly in your repository.
In this lab, you will:
-
Work on a Python web app inside the Remote-Containers extension in VS Code
-
Deploy the web app to Azure using the App Service extension
-
Create a workflow with GitHub Actions to add CI/CD to your app
-
Your Windows machine should have Python 3.7, Docker, and Visual Studio Code, and the VS Code Remote Development extensions installed.
-
You will be given a test GitHub account and an Azure account under the VSCode GitHub Universe HOL subscription.
"The Cat Said No" is a simple Python Flask web app.
-
Go to this GitHub repo and click "Fork" in the upper-right hand corner.
-
Now that you have a fork of the repo to play with, clone the repo.
-
Open up the Windows Terminal and open the repo in Visual Studio Code.
git clone https://github.com/<yourusername>/theCatSaidNo_GHUniverse

cd theCatSaidNo_GHUniverse

code . -r
-
Notice the repo has a
.devcontainerfolder which contains aDockerfileand adevcontainer.json. The dev container tells VS Code how to create a development container that has a specific runtime, extensions, and tools. In this case, the dev container is Python specific and tells VS Code to install the Python and Azure App Service extensions. -
Click the
Reopen in Containerprompt, or pressF1and select theReopen folder in dev containercommand.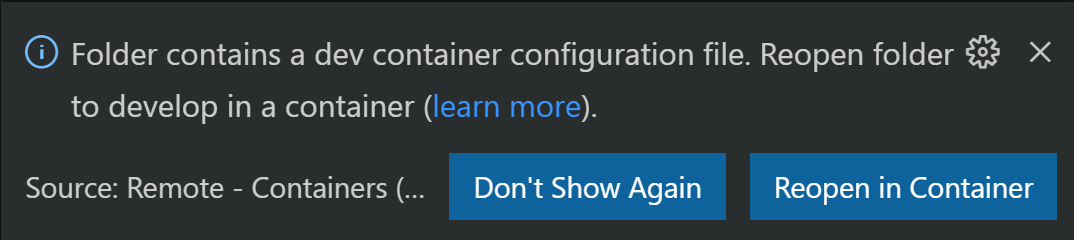

VS Code is creating the container now. Since this is the first time we are creating it, it'll take a few minutes, but the next time you reconnect to an existing container will be pretty quick. VS Code is also installing a component called "VS Code Server" in the container so you can directly interact with code, the file system, and extensions in the remote workspace.
-
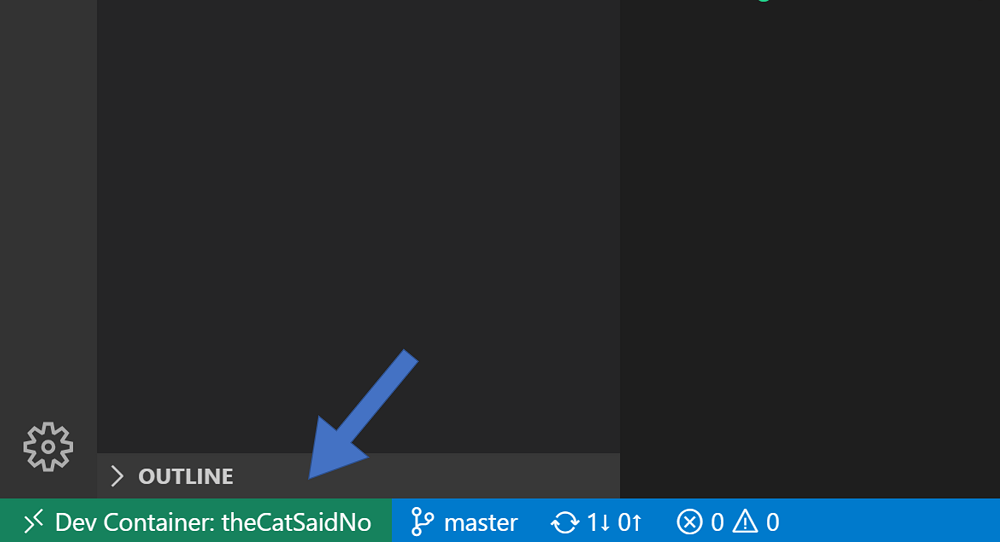
Notice the indicator in the bottom left corner tells us we are inside our dev container.
-
Press
F1and run the command "Open new terminal". Once you are in the new terminal instance, notice we're actually in Bash! Type the commandunameto see that we're in a Linux environment right now. Run the commandpython --versionto check that the version of Python in our remote container is different than the one that is on our local machine.
-
Press
F5to run the app inside the container -
Browse to
localhost:9000and try out the app!


Instead of running this locally, let's create this as a web app hosted in Azure.
-
Stop the app running locally. Click on the Azure icon in the sidebar.
-
Click on the
+icon to create a new app service under the VSCode GitHub Universe HOL subscription.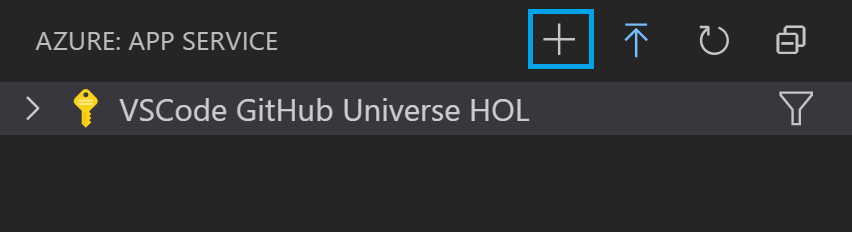
-
Give your webapp a unique name (we recommend calling it theCatSaidNo-{your name})
-
Select Linux as your OS and Python 3.7 as your runtime.
-
Browse to your new site!

We'll use GitHub actions to automate our deployment workflow for this web app.
-
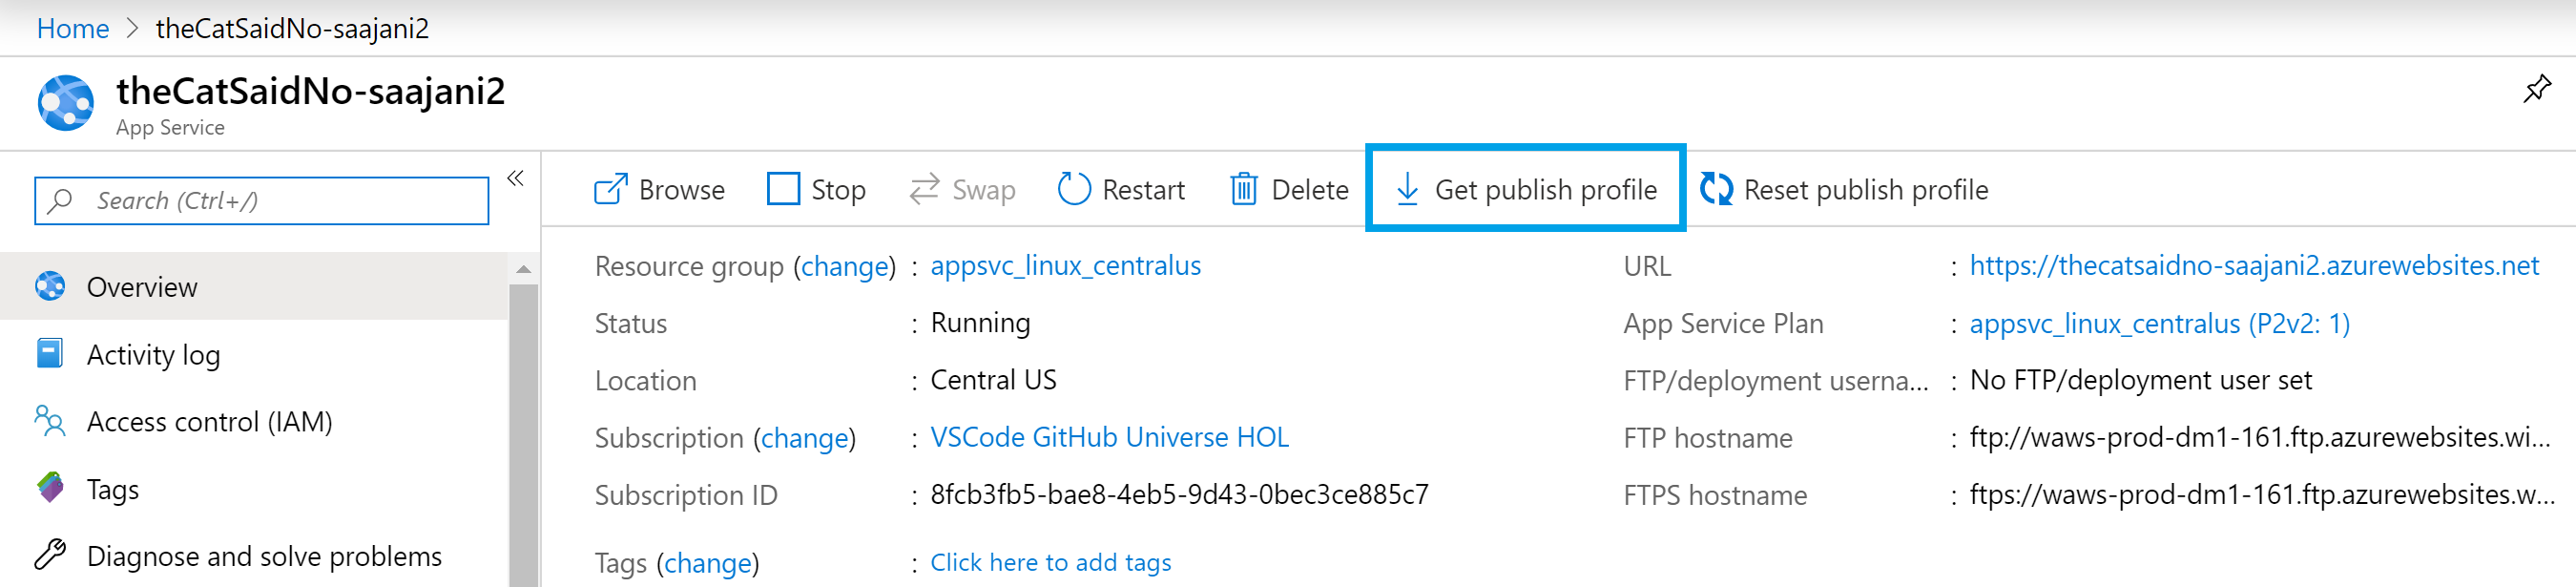
Inside the App Service extension, right click on the name of your app service and choose "Open in Portal".
-
From the Overview page, click on "Get publish profile". A publish profile is a kind of deployment credential, useful when you don't own the Azure subscription. Open the downloaded settings file in VS Code and copy the contents of the file.
-
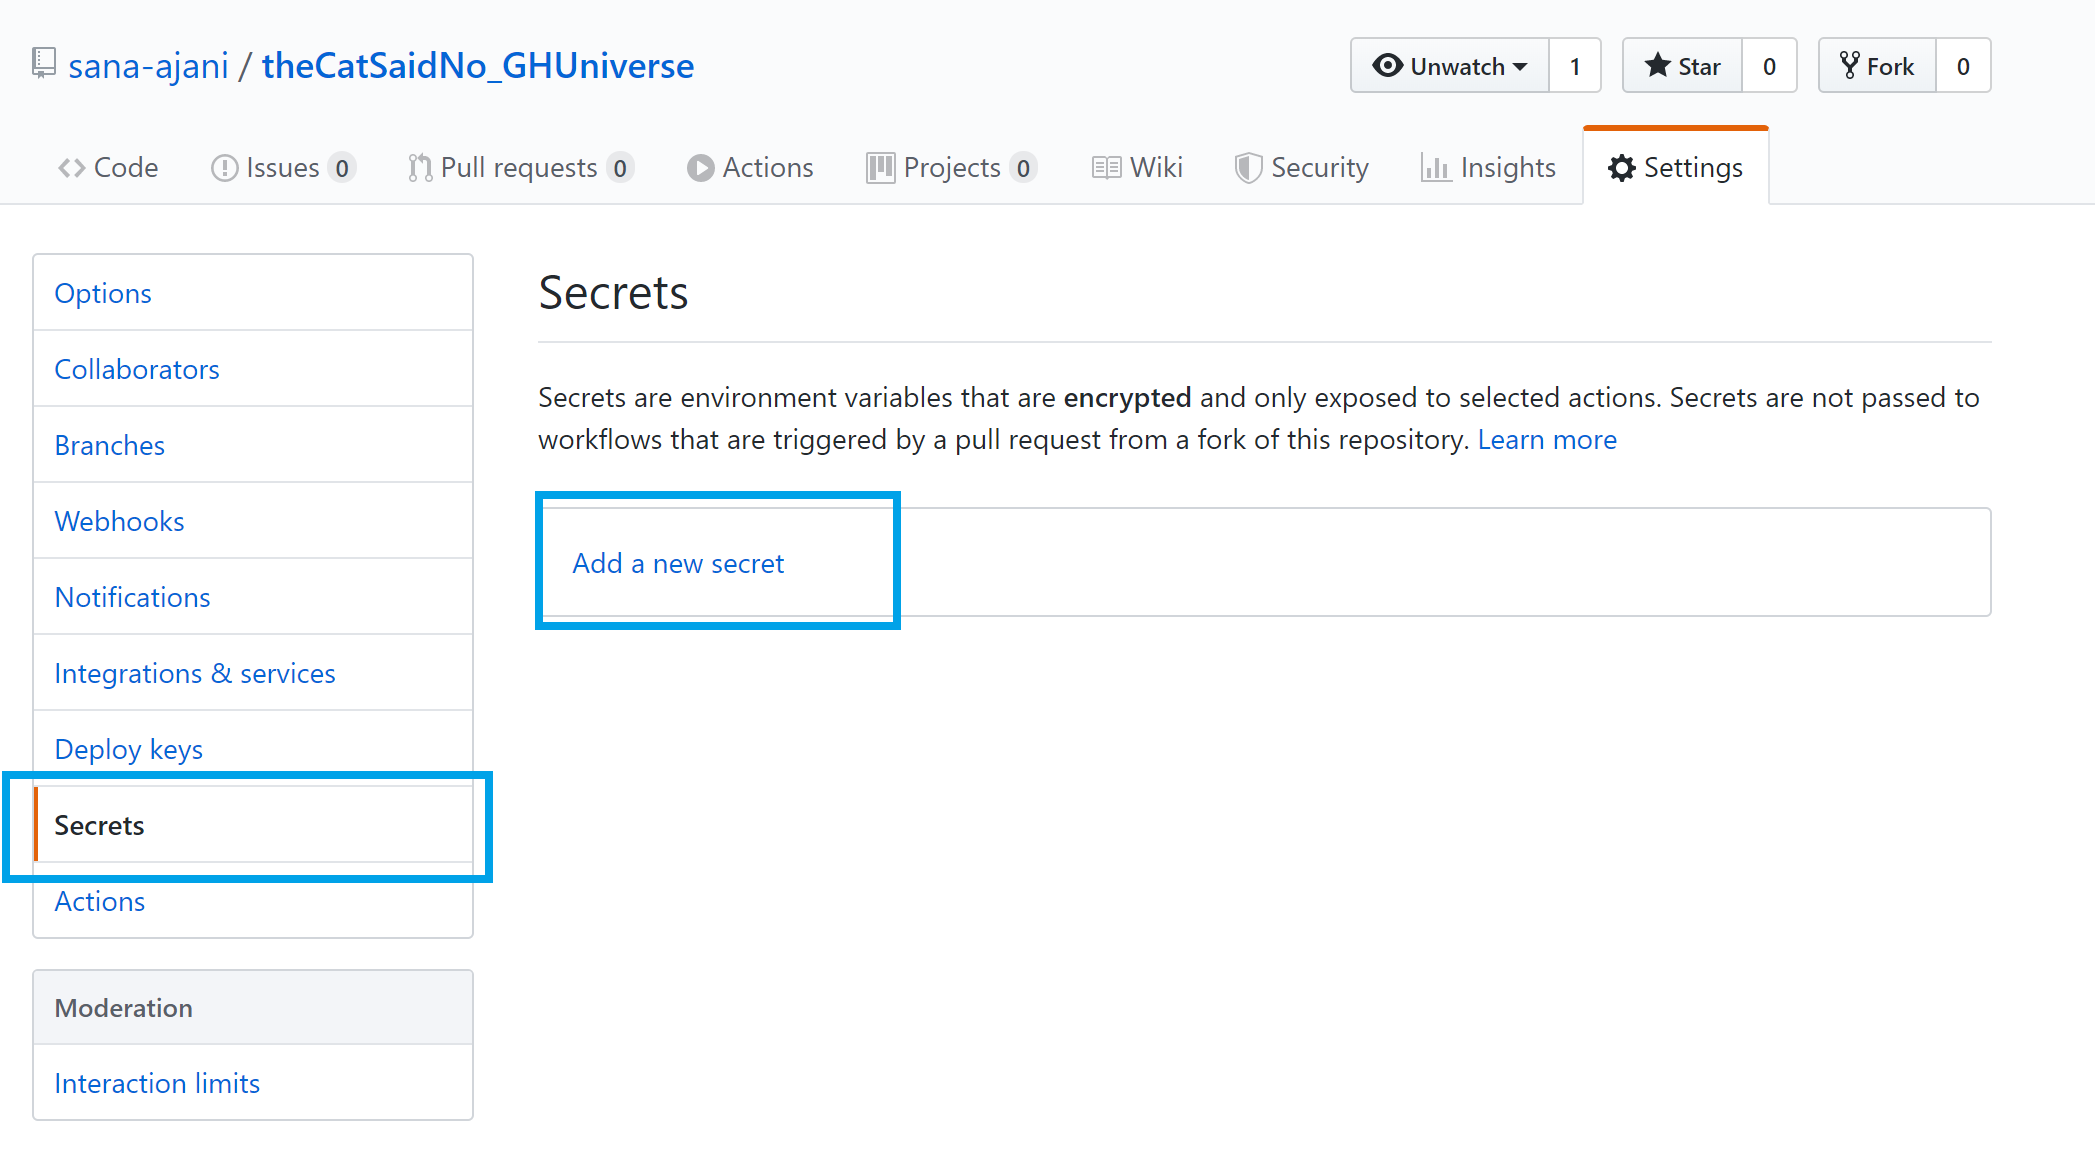
We will now add the publish profile as a secret associated with this repo. On the GitHub repository, click on the "Settings" tab.

-
Go to "Secrets". Create a new secret called "WebApp_PublishProfile" and paste the contents from the settings file.
-
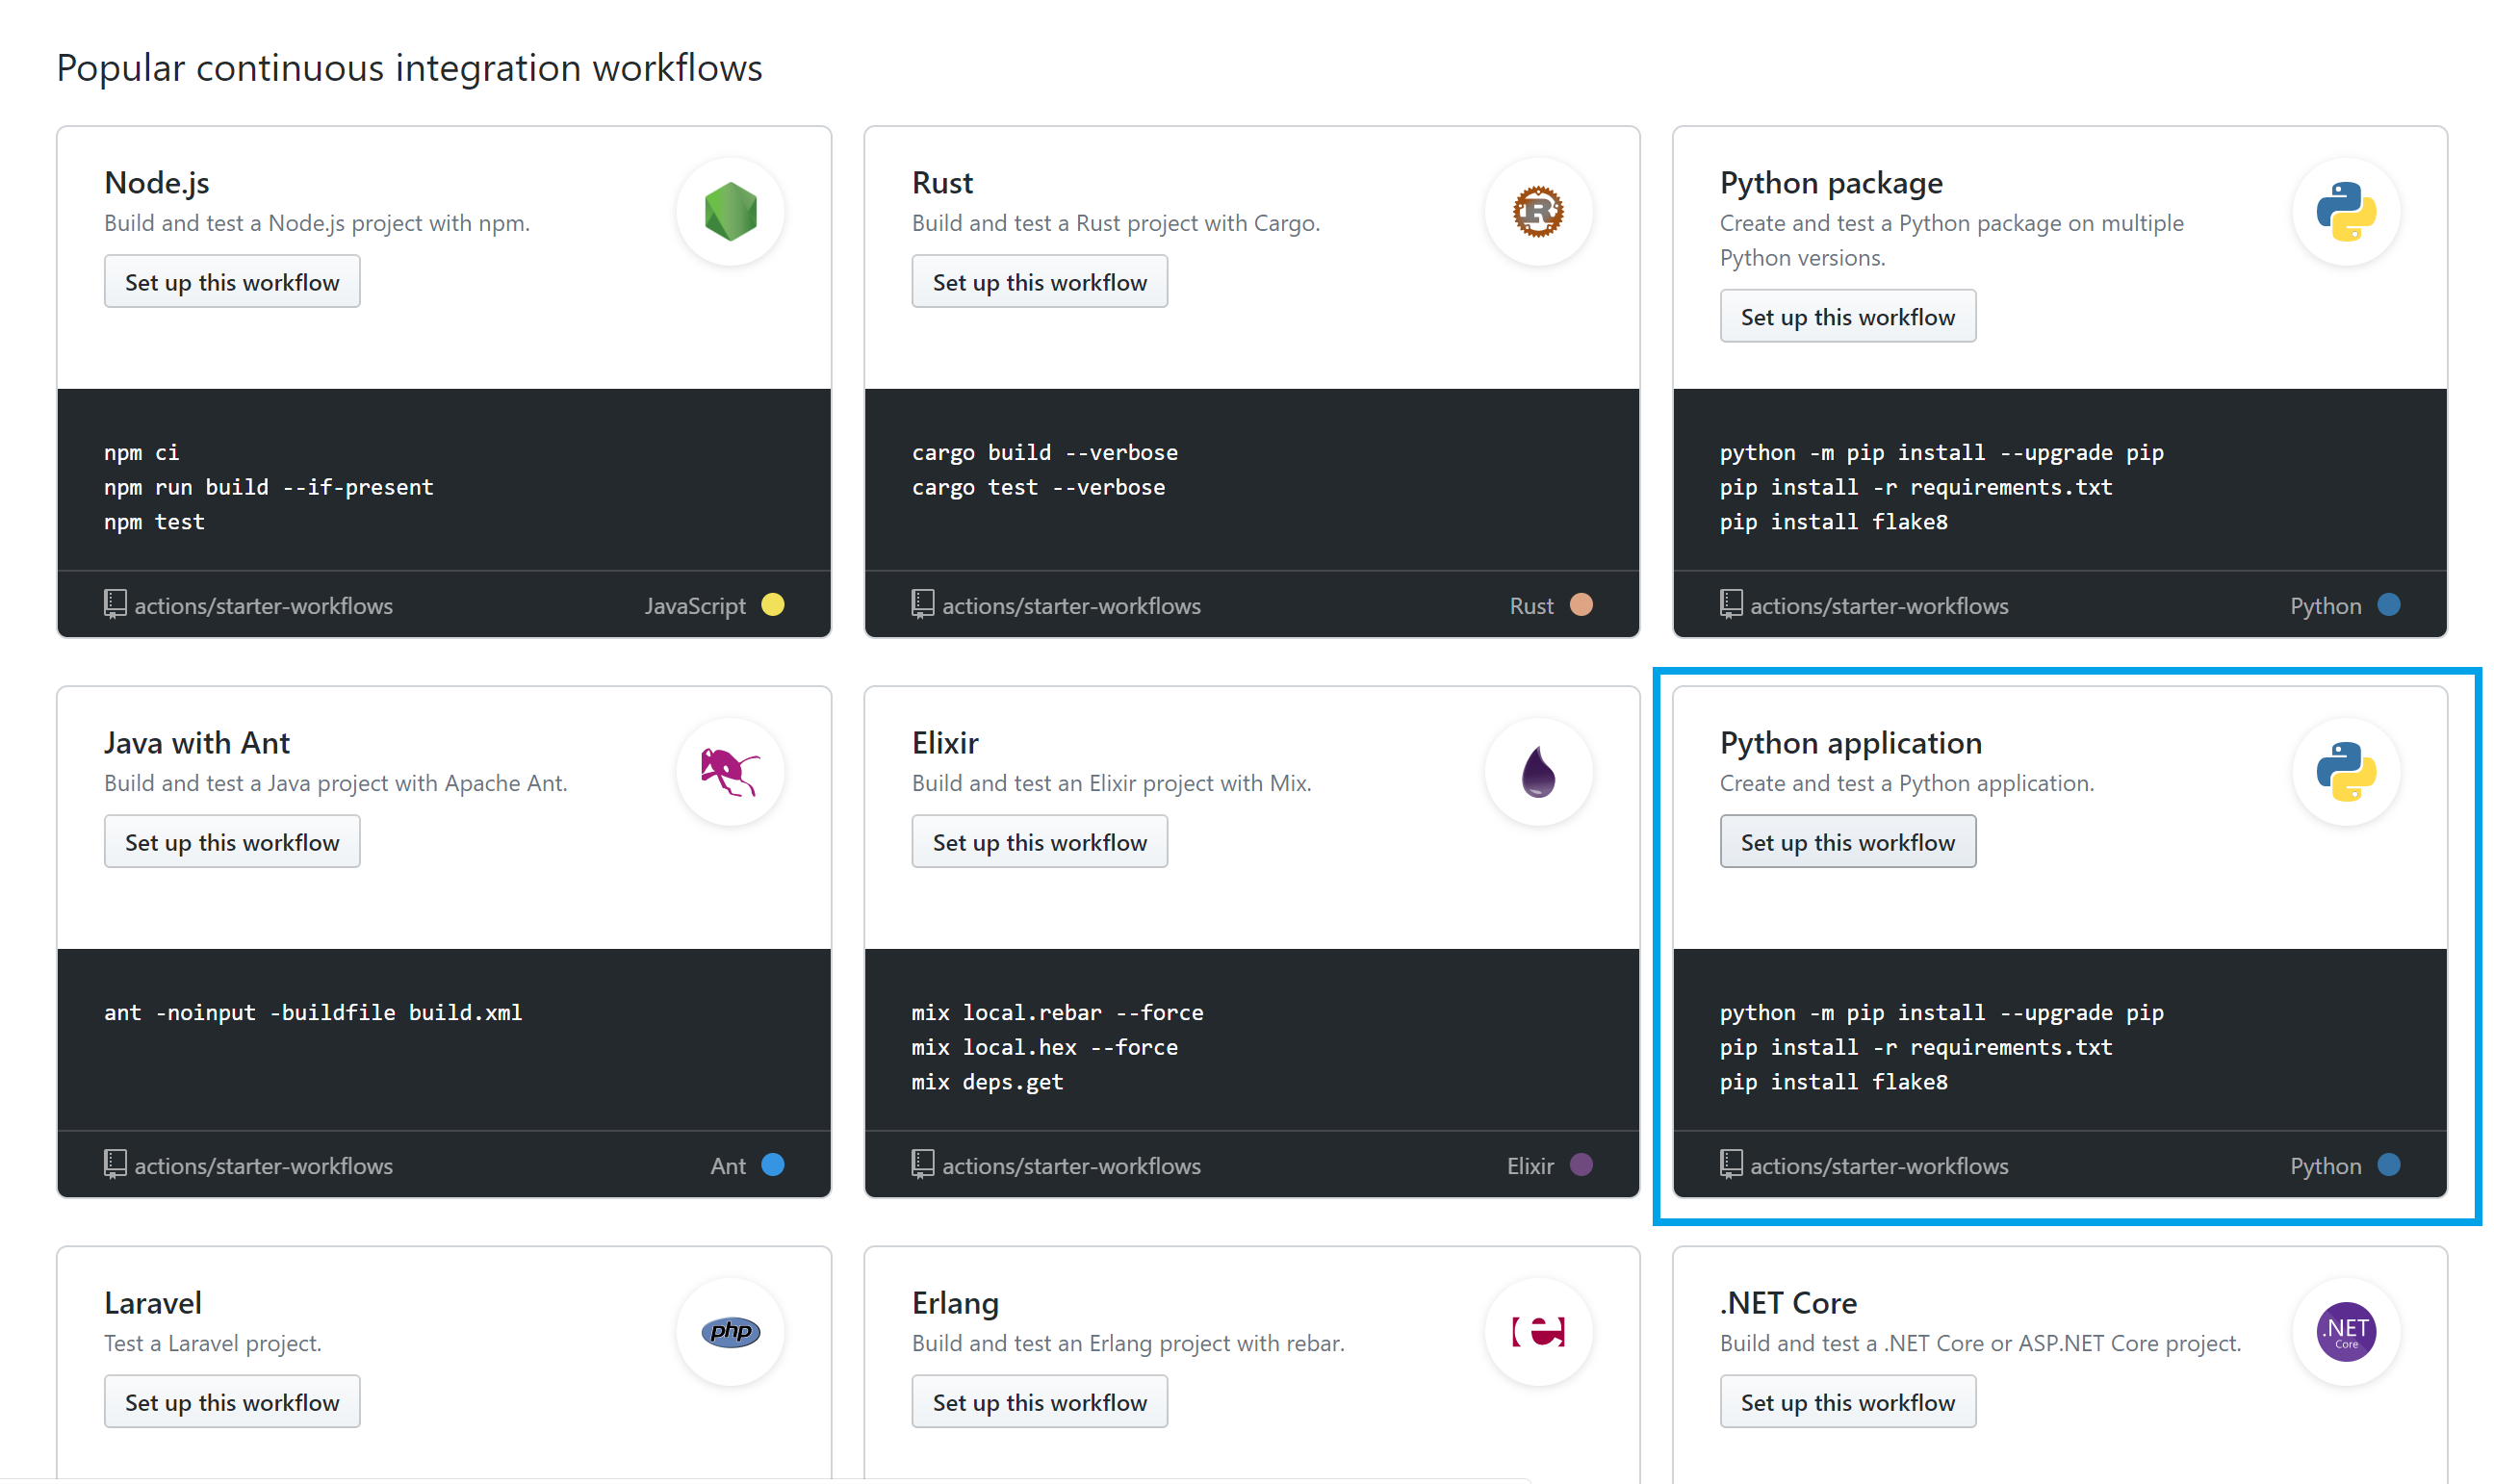
Now click on "Actions" in the top bar and create a new workflow.

-
Find the Python application template (not the Python Package one!) and select "Set up this workflow".
-
Let's get into the details of what this workflow is doing.
-
Workflow Triggers: Your workflow is set up to run on push events to the branch
on: [push]
For more information, see Events that trigger workflows.
-
Running your jobs on hosted runners: GitHub Actions provides hosted runners for Linux, Windows, and macOS. We specified hosted runner in our workflow as below.
jobs:
build:
runs-on: ubuntu-latest
-
Using an action: Actions are reusable units of code that can be built and distributed by anyone on GitHub. To use an action, you must specify the repository that contains the action.
- uses: actions/checkout@v1
 - name: Set up Python 3.7
   uses: actions/setup-python@v1
   with:
      python-version: 3.7
-
Running a command: You can run commands on the job's virtual machine. We are running the python commands below to install dependencies in our requirements.txt, lint, and test our application.
  - name: Install dependencies
  run:
      python -m pip install --upgrade pip
      pip install -r requirements.txt
  - name: Lint with flake8
   run:
      pip install flake8
      # stop the build if there are Python syntax errors or undefined names
      flake8 . --count --select=E9,F63,F7,F82 --show-source --statistics
      # exit-zero treats all errors as warnings. The GitHub editor is 127 chars wide
      flake8 . --count --exit-zero --max-complexity=10 --max-line-length=127 --statistics
  - name: Test with pytest
   run:
      pip install pytest
      pytest
For workflow syntax for GitHub Actions see here
-
-
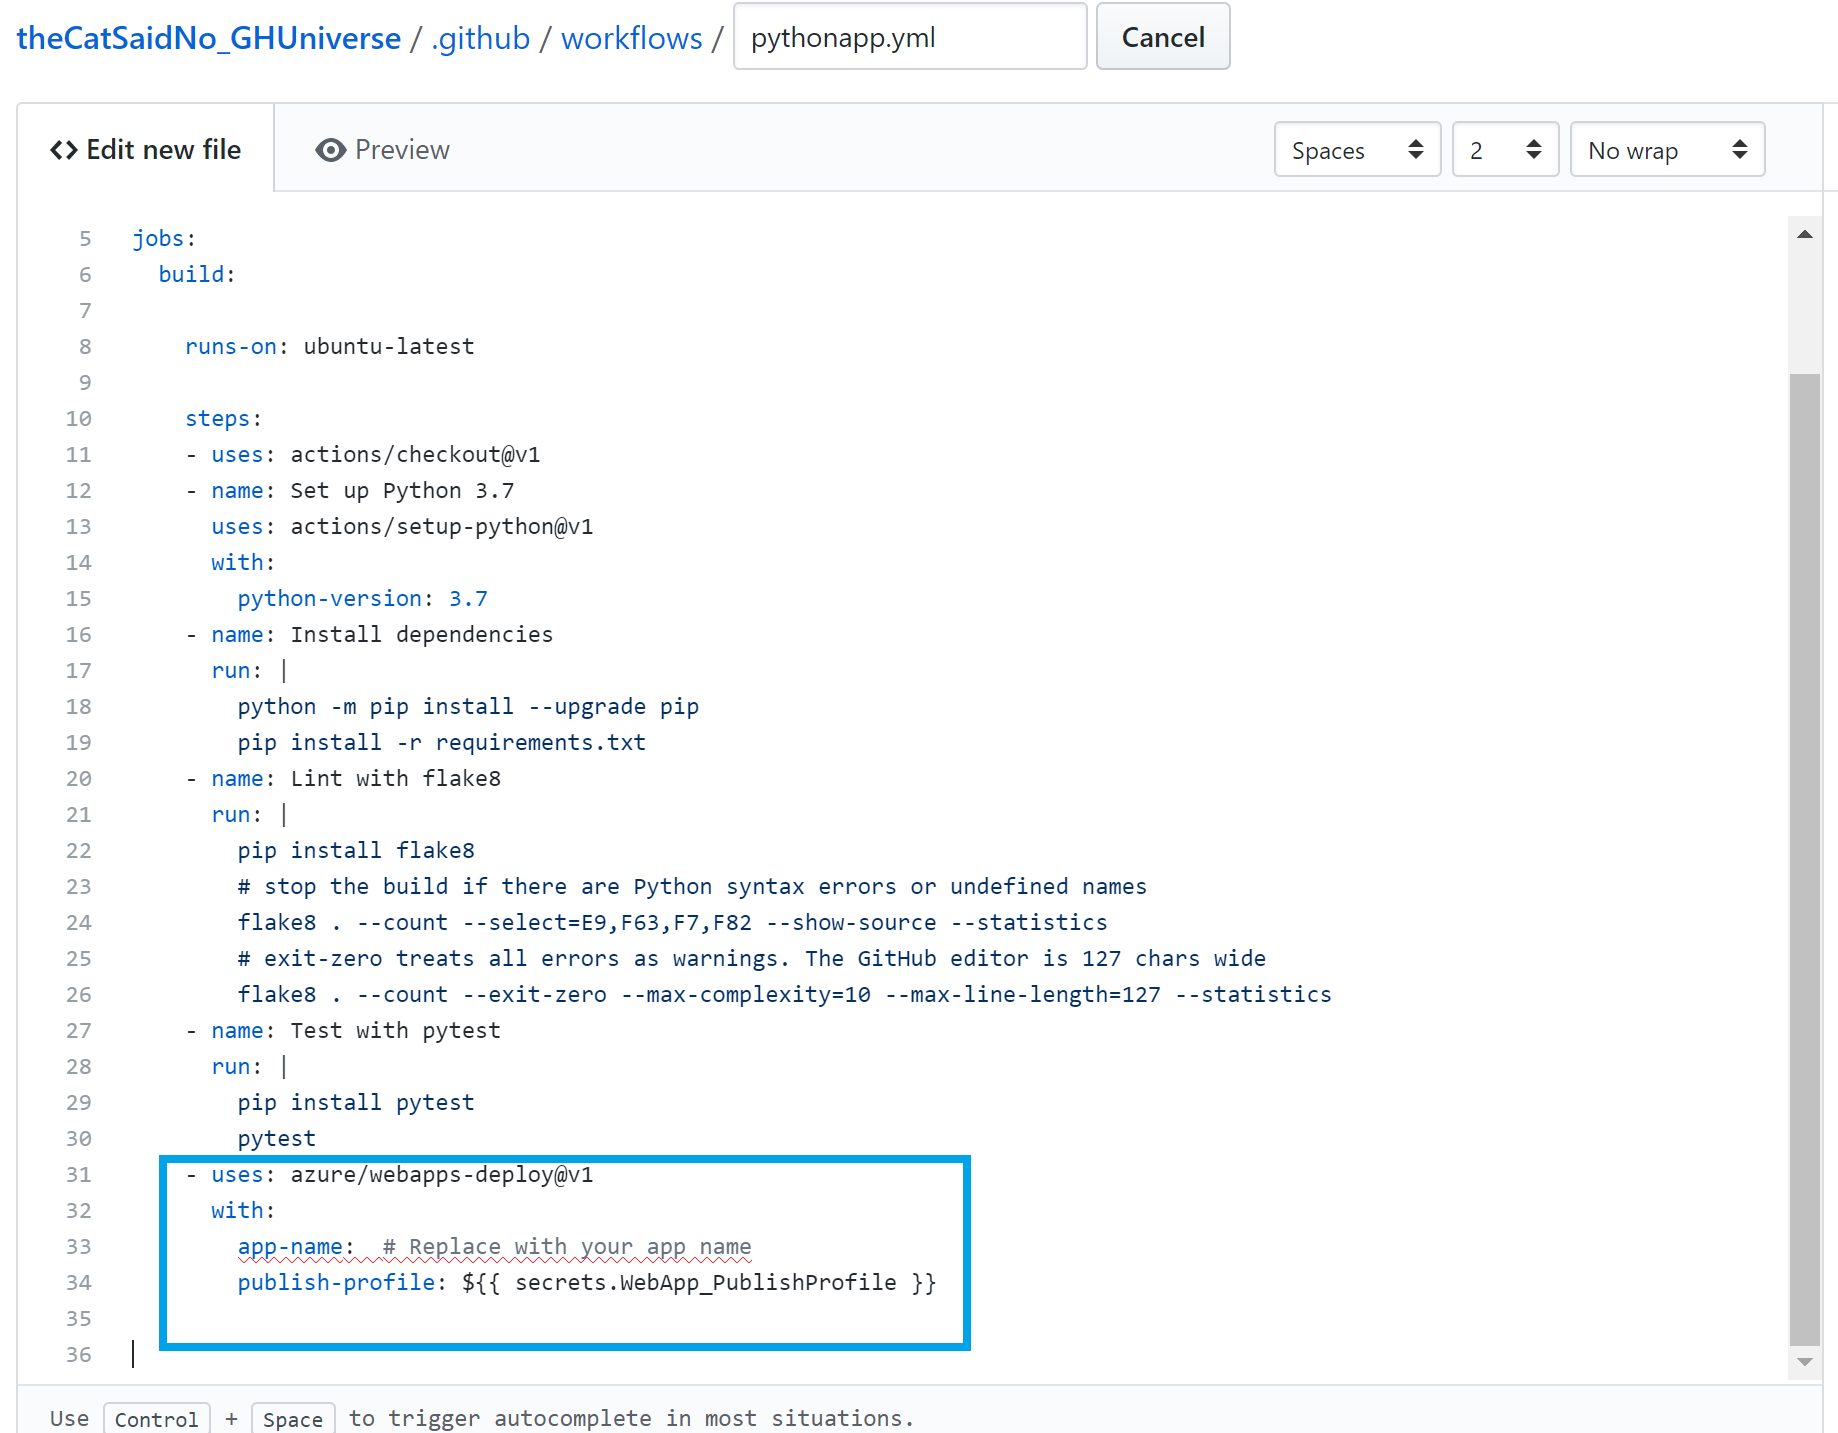
Now, paste these lines of code to the end of the
pythonapp.ymlfile in GitHub. Change theapp-nameto the name of your web app. We are using GitHub Azure Actionsto login to Azure with the publish profile stored in GitHub secrets which you created previously.- uses: azure/webapps-deploy@v1 with: app-name: # Replace with your app name publish-profile: ${{ secrets.WebApp_PublishProfile }}
-
Once you're done, click on "Start commit". Committing the file will trigger the workflow.
-
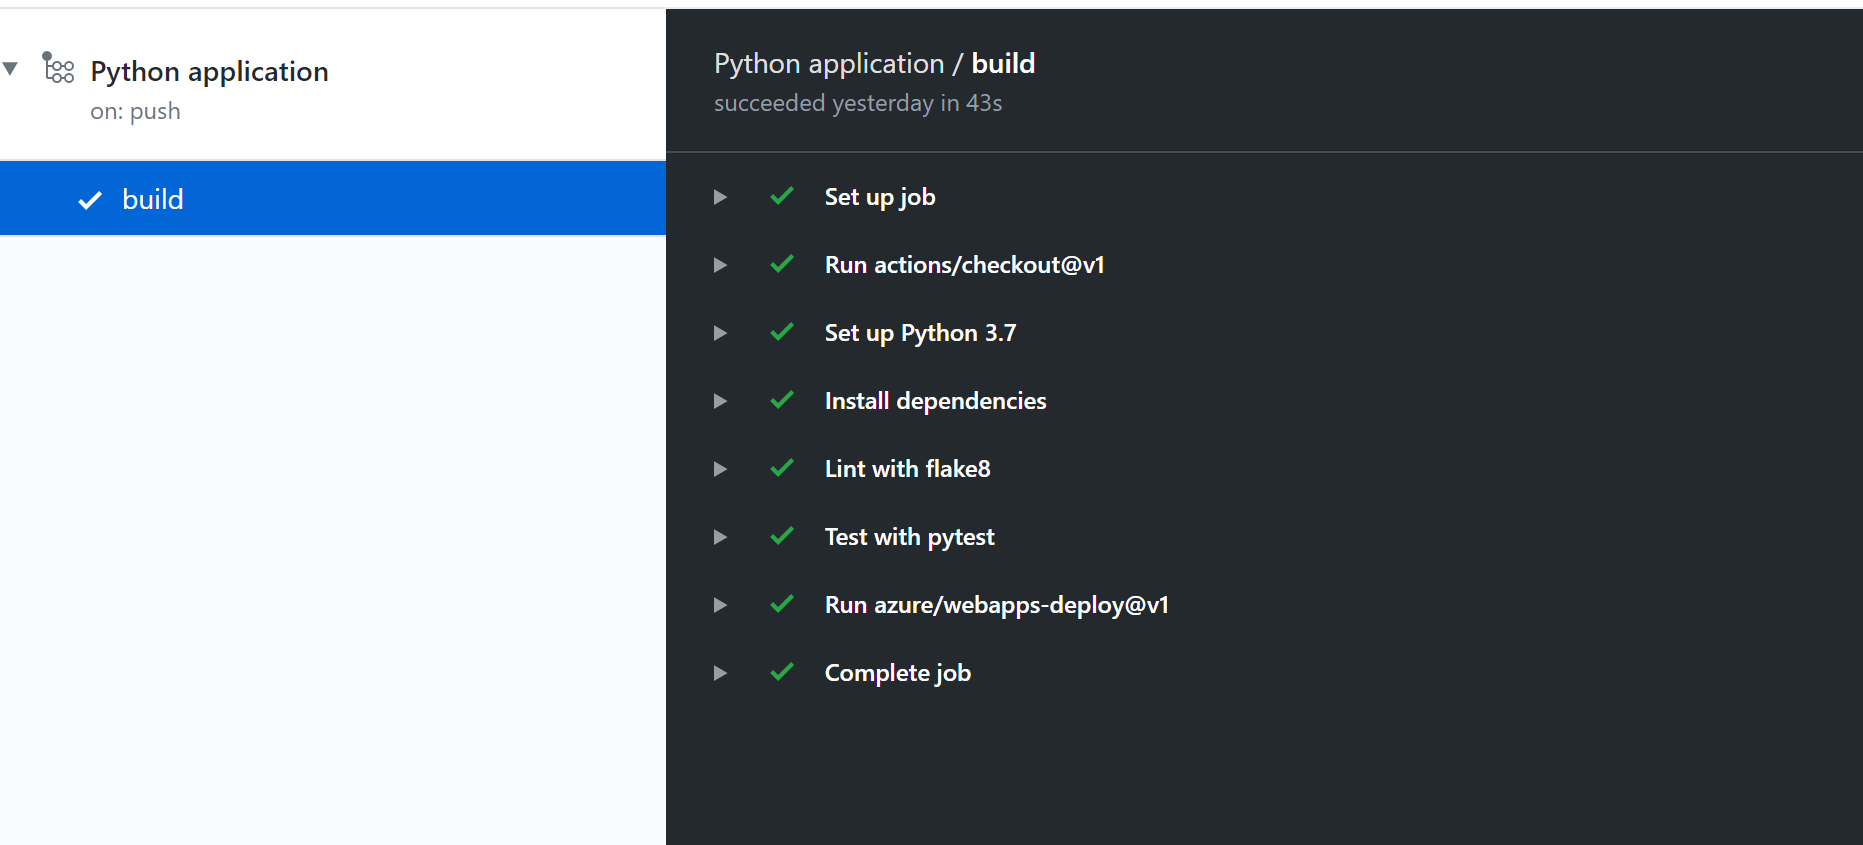
You can go back to the Actions tab, click on your workflow, and see that the workflow is queued or being deployed. Wait for the job to complete successfully.


-
Back in VS Code, go to the App Service extension, and right click on your app service and click on "Browse Website".
-
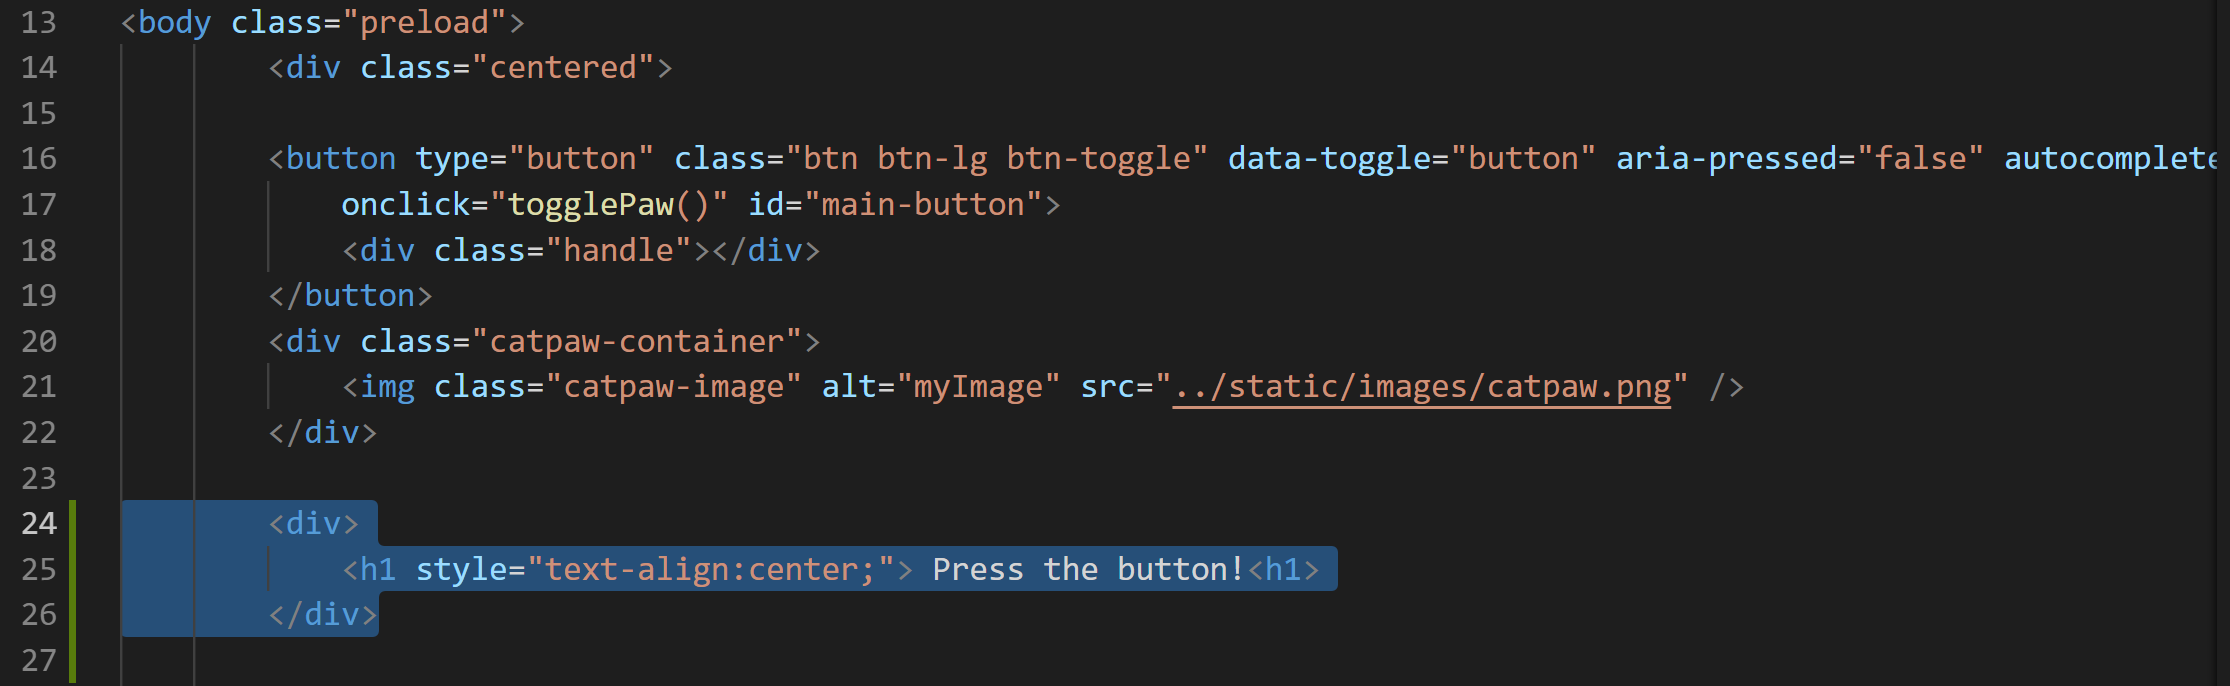
Let's test our GitHub Actions workflow we just made. Add the following lines of code to
templates/home.htmlin the body class, after we load in the catpaw image:<div> <h1 style="text-align:center;"> Press the button!<h1> </div>
-
In the terminal, run the following commands:
git add . git commit -m "test ci/cd" git push -
Browse back to your website!
