Source code, build and assembly instructions
- 1 PCB board with all surface mounted components installed
- 7 LEDS

- 6 Buttons

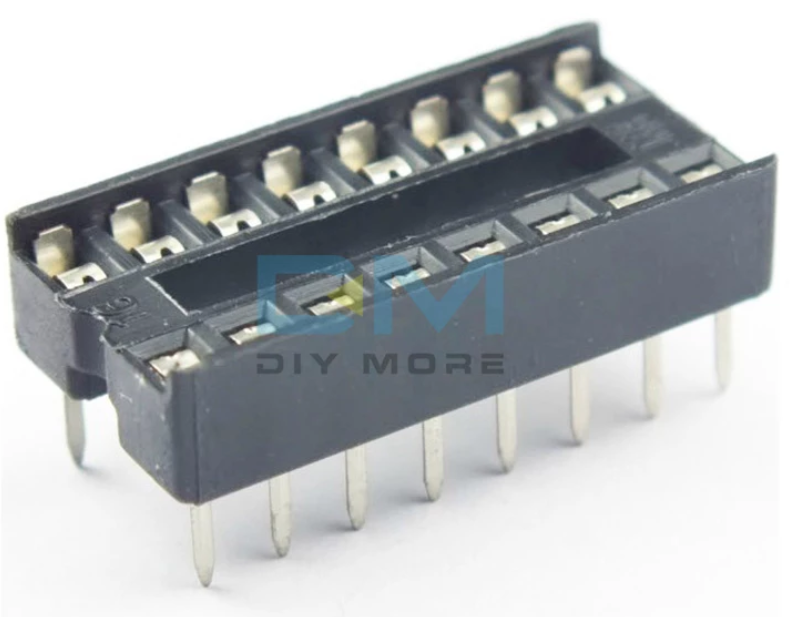
- IC Socket
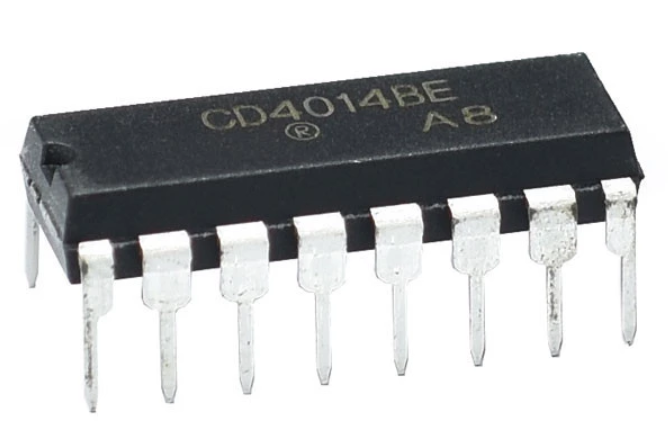
- IC - shift register
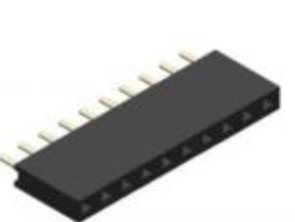
- 2 female headers
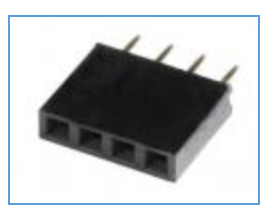
- 1 male header
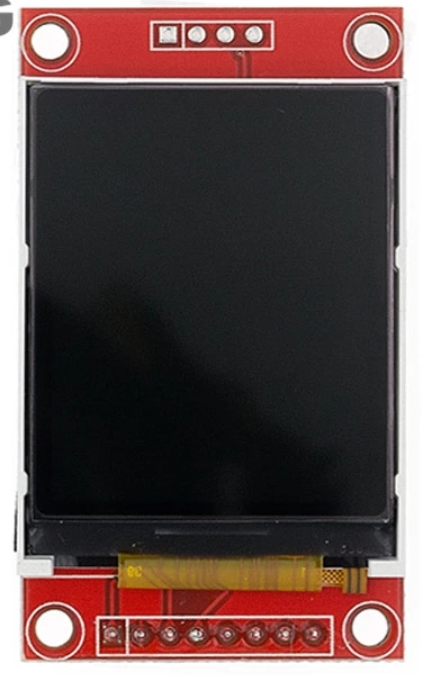
- 1 LCD screen
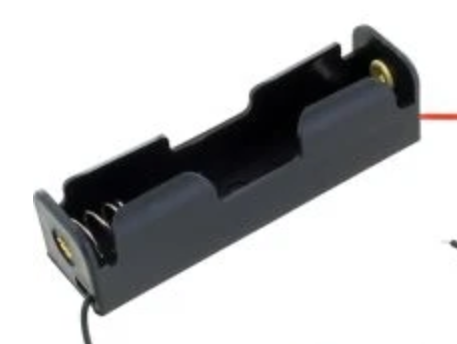
- 1 18650 Battery Holder
- 1 18650 Battery
- 1 18650 Battery USB charger
- place each led into the 7 LED locations on the top of the board ensuring the long leg of the LED through the whole labeled 'long'
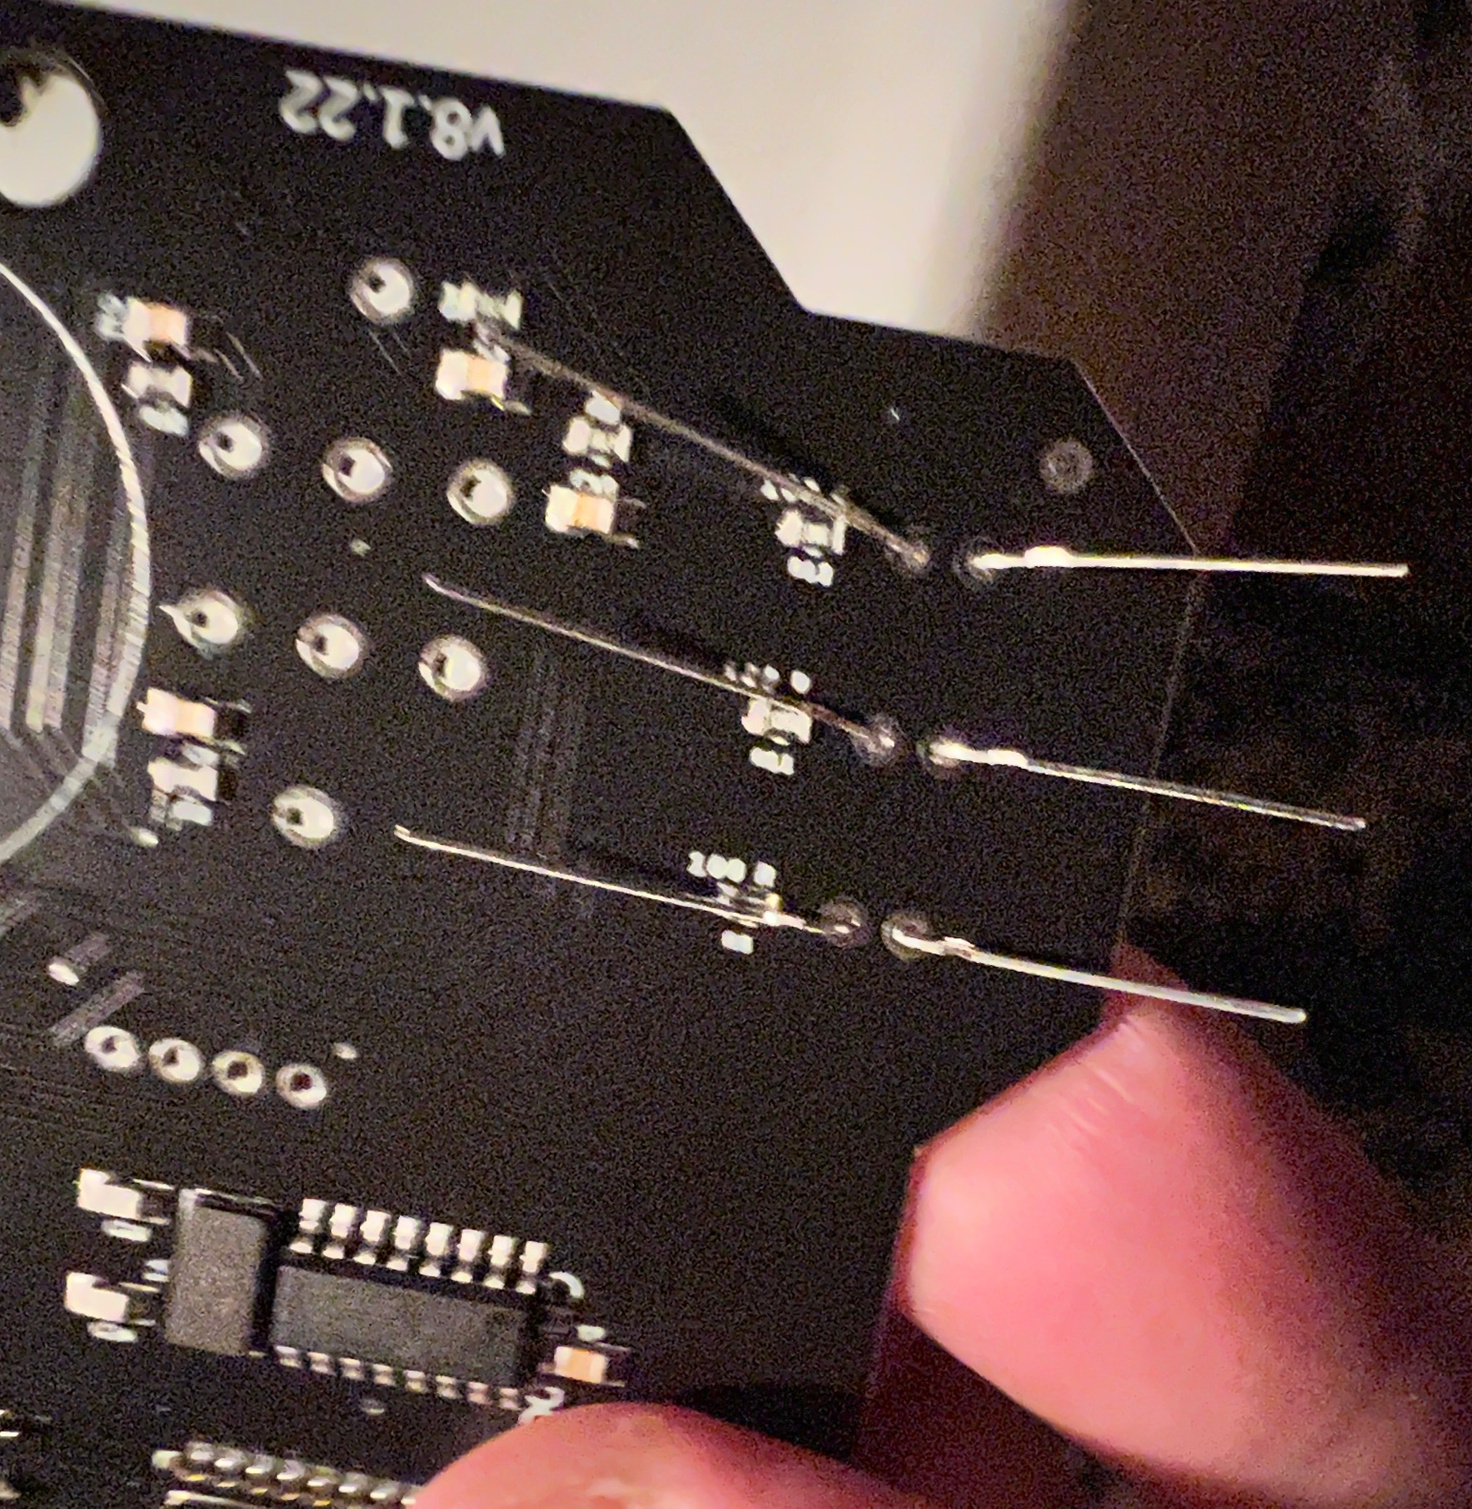
- bend each of the 2 legs of the LED out such that if you turn the badge over they do not fall out.
- Solder each led of the 7 LEDs.
- place buttons in the 6 button wholes
- solder one leg of each button from the top of the board.
- Flip over board and solder both leds of each button
- place IC Socket in the holes on the top of the pcb board with the notch towards the word notch
- Hold the IC socket in place and flip over the board, bend out legs in the 4 cornerns.
- Release your hold (socket should stay in place), solder all pins.
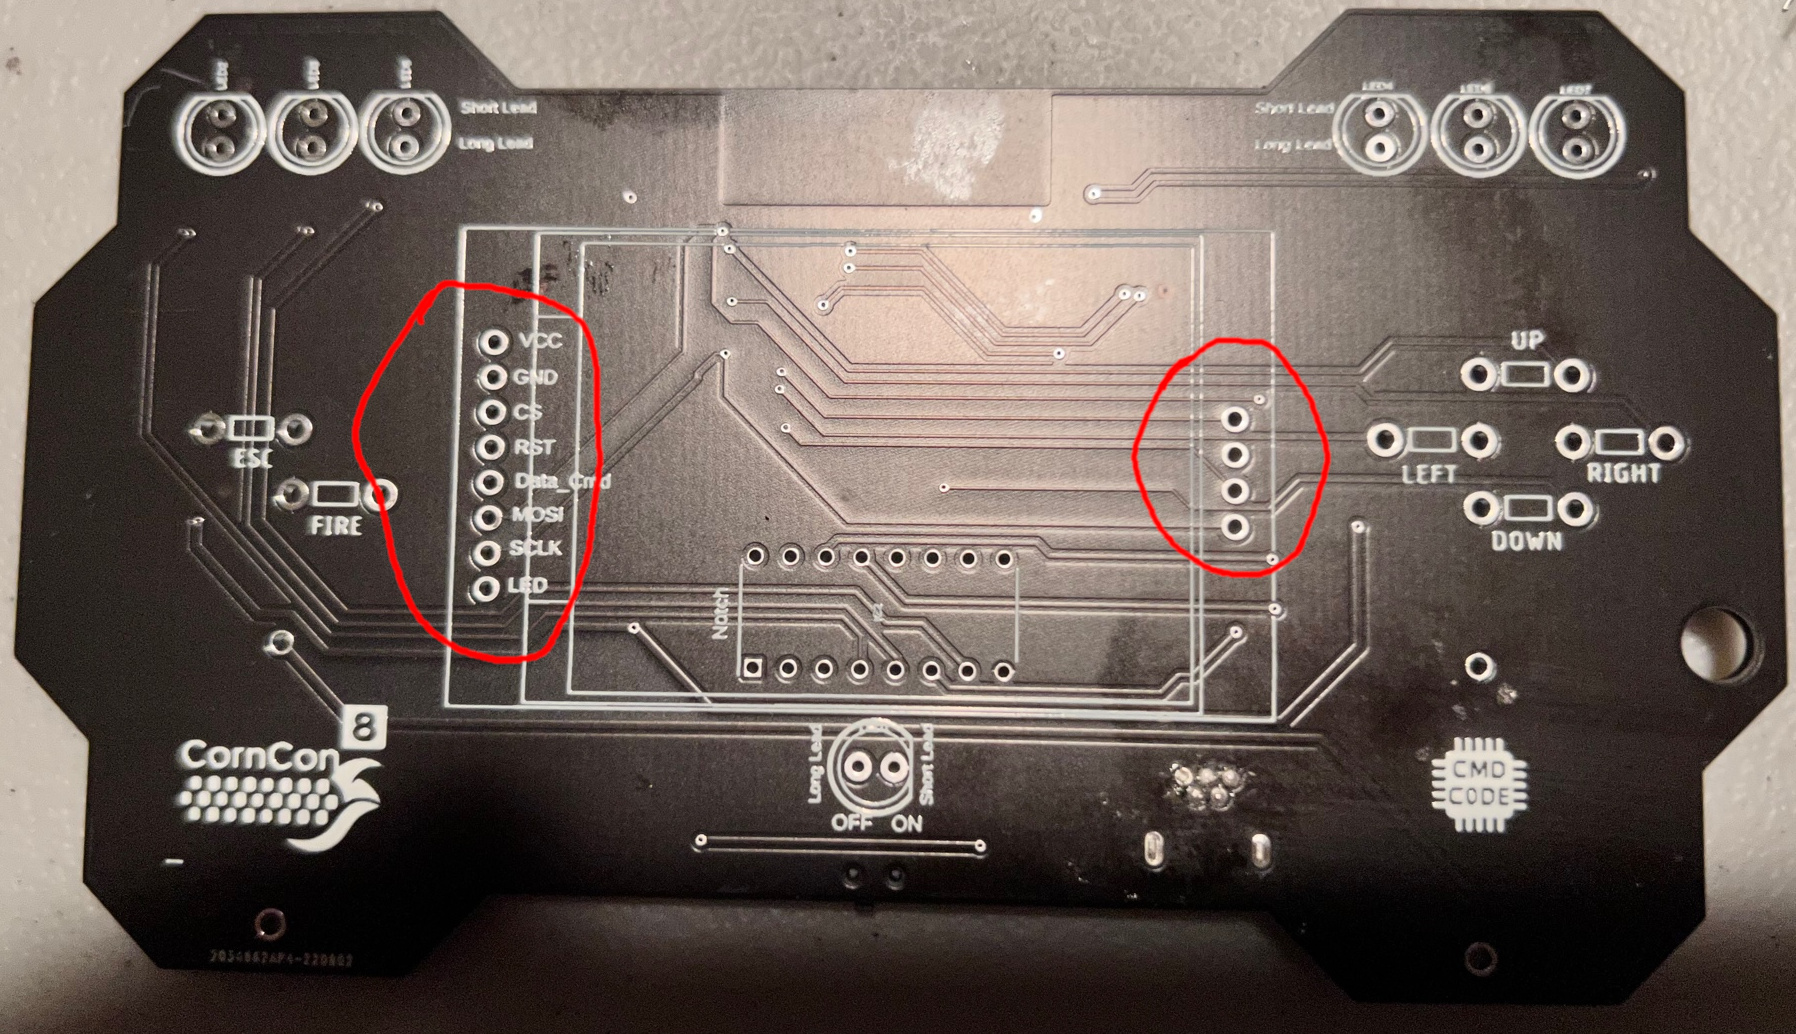
- Place the long and short female headers into the top of the board, holding the headers flip over the board and set down on solder table
- solder 1 lead on both the long and short header
- pick up the board and ensre the headers are straight, if not heat up the solder join and move the header straight
- solder the remaining header pins.
- Place the 4 pin male header into the 4 pin female header.
- place the lcd pins into the longer female header and have the male header go through the 4 holes on the other side of the lcd
- solder the 4 pins to the lcd.
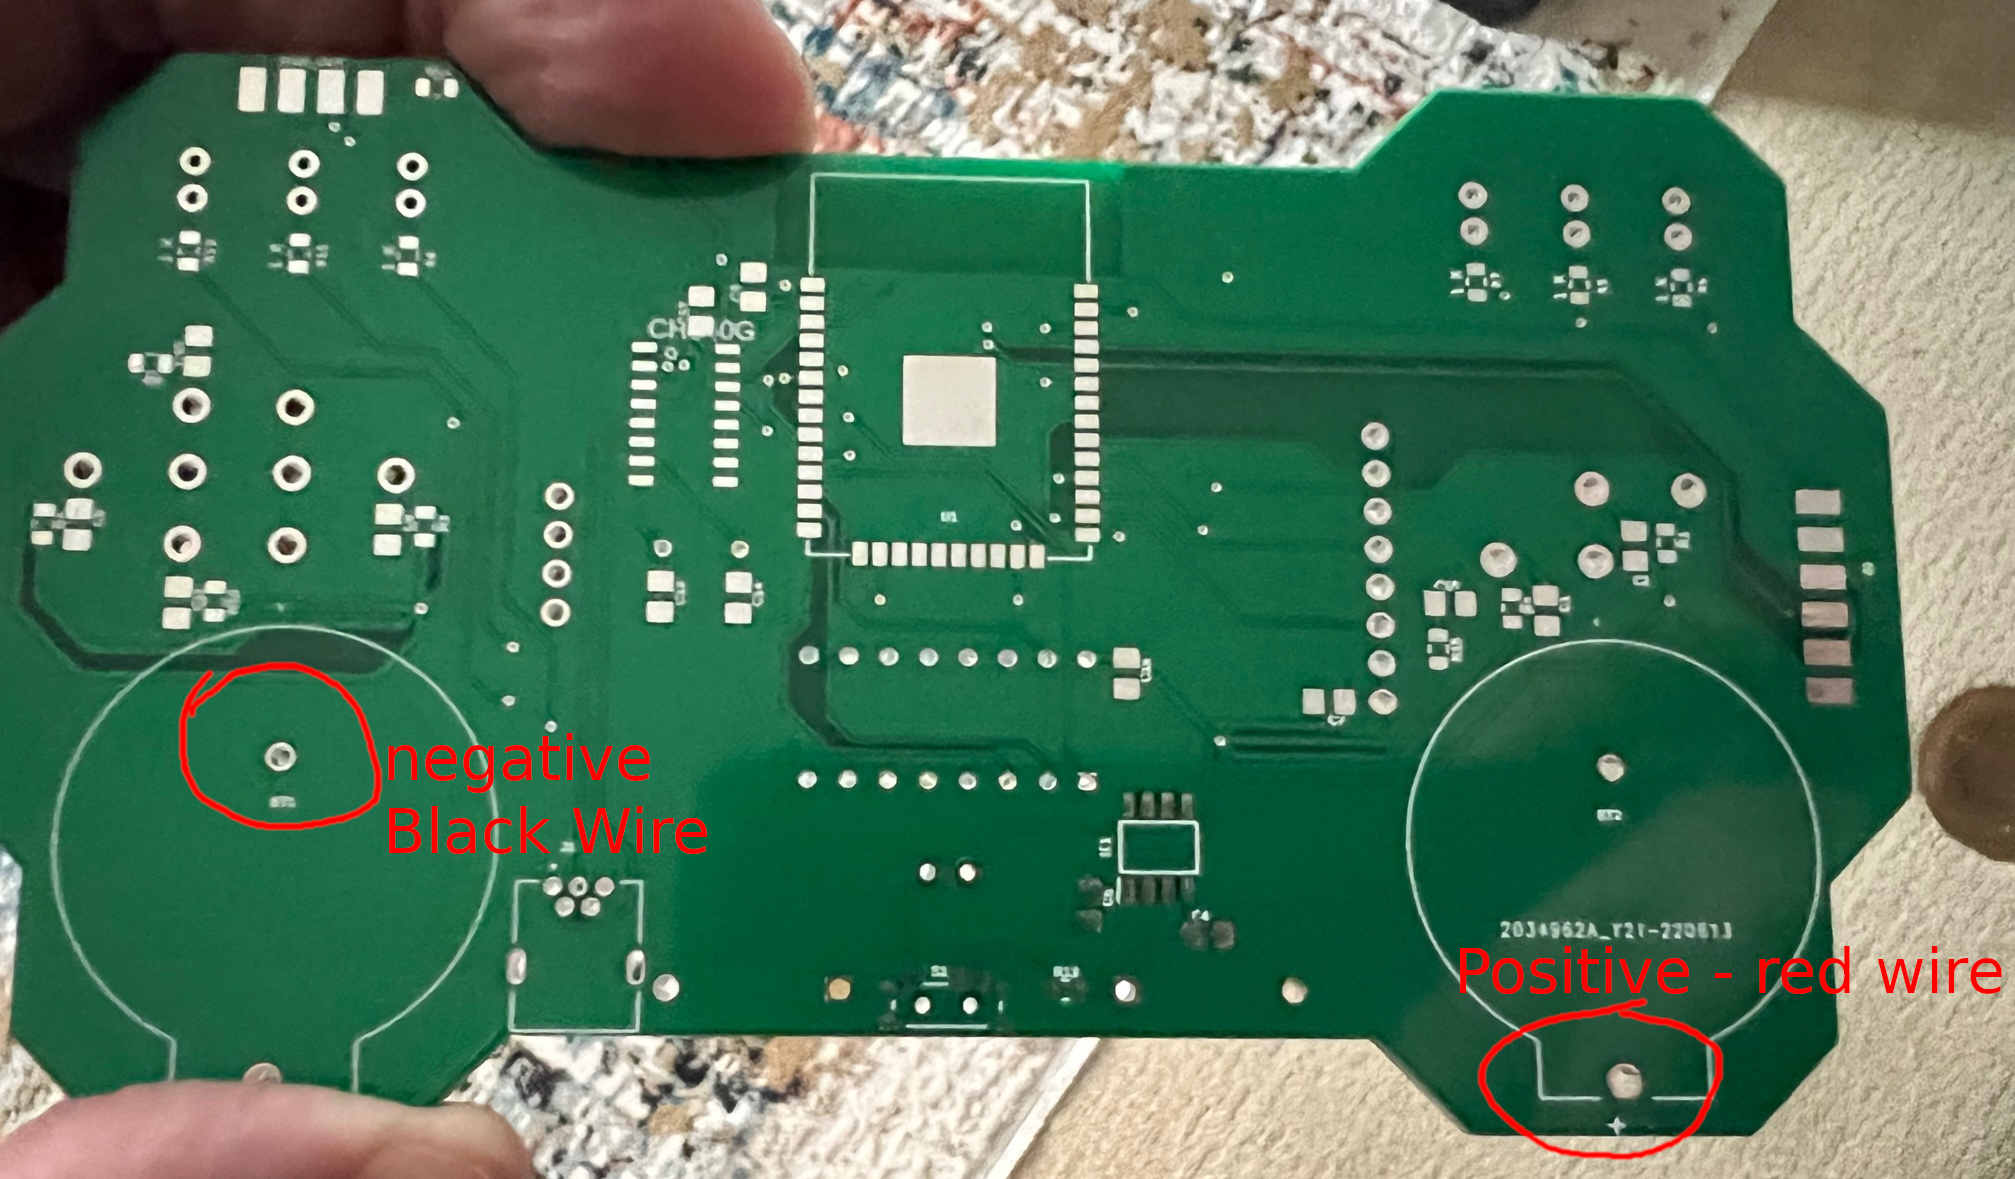
- with the pcb board faing down: take the negative side of the battery holder (black wire) and place in the top left battery hole.
- Solder in place
- Take the postivie side of the battery holder (red wire) and place in the bottom right battery hole.
- Solder in place
- Turn the battery holder 180 degress, peal off tap covery from double sided tape.
- Press battery holder in place
- Note: some of the power switches (just under the led below the LCD screen) does not work, meaning when you turn off the badge it won't turn off, you'll need to just pull the battery. This is due to an issue with the manufacturing of the switches (but I ran out of time to get new ones).
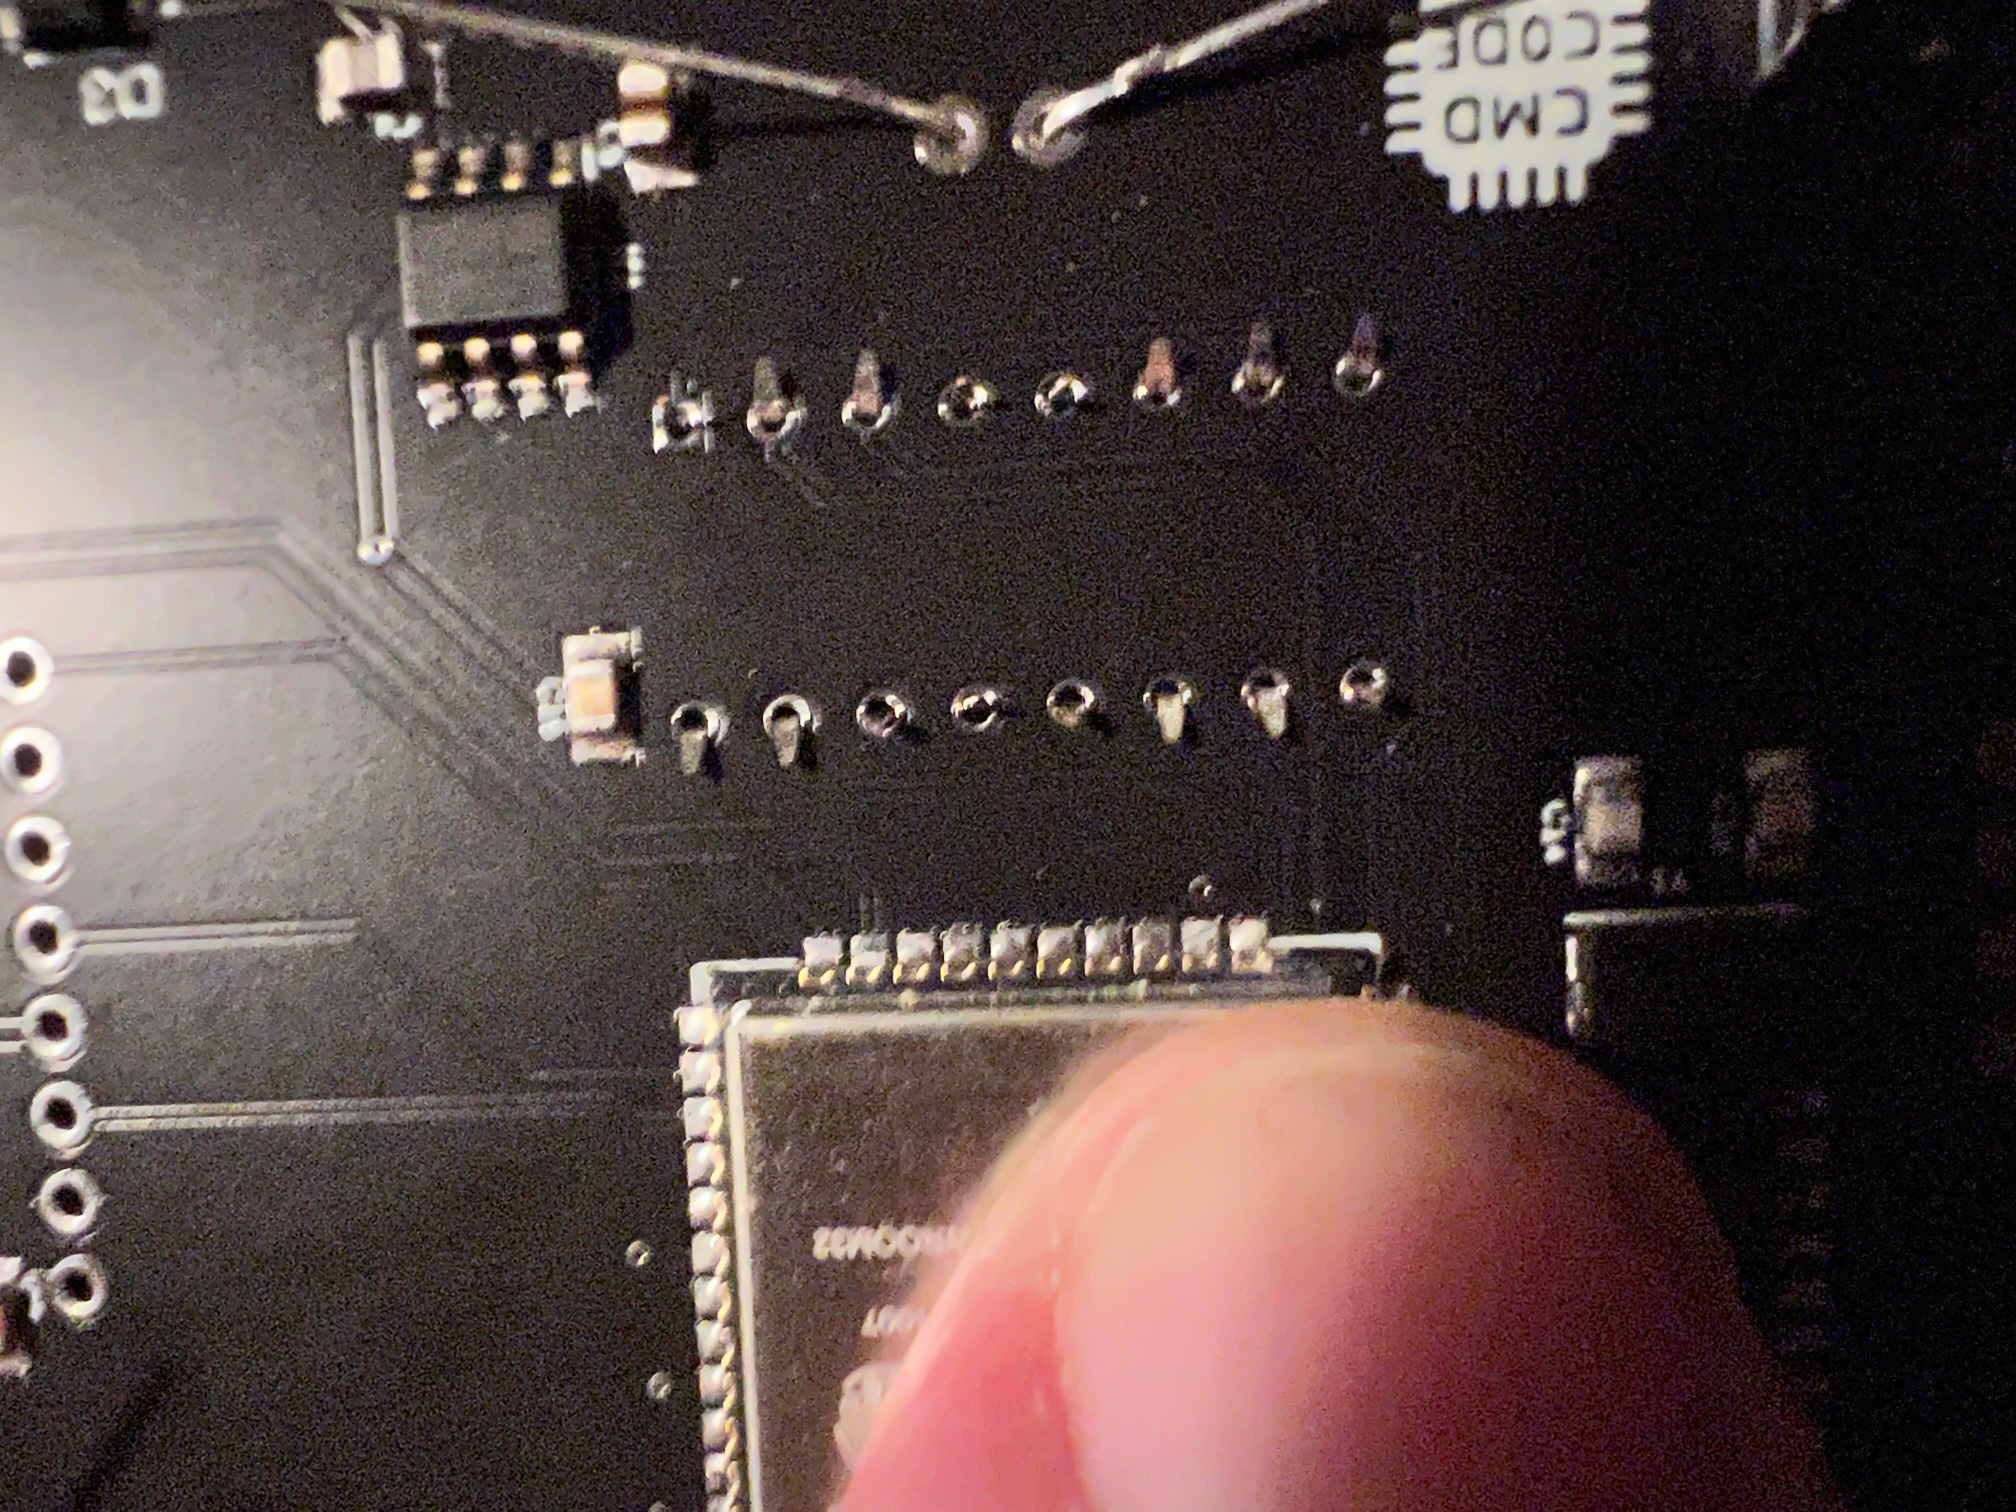
- If after assembly a button does not work or the lcd screen is just white, ensure all header pins have solder, if that doesn't work. reheat the esp32 microcontroller with a soldering iron along each pad. Sometimes in transit the solder cracks between the esp32 and the pad.
-
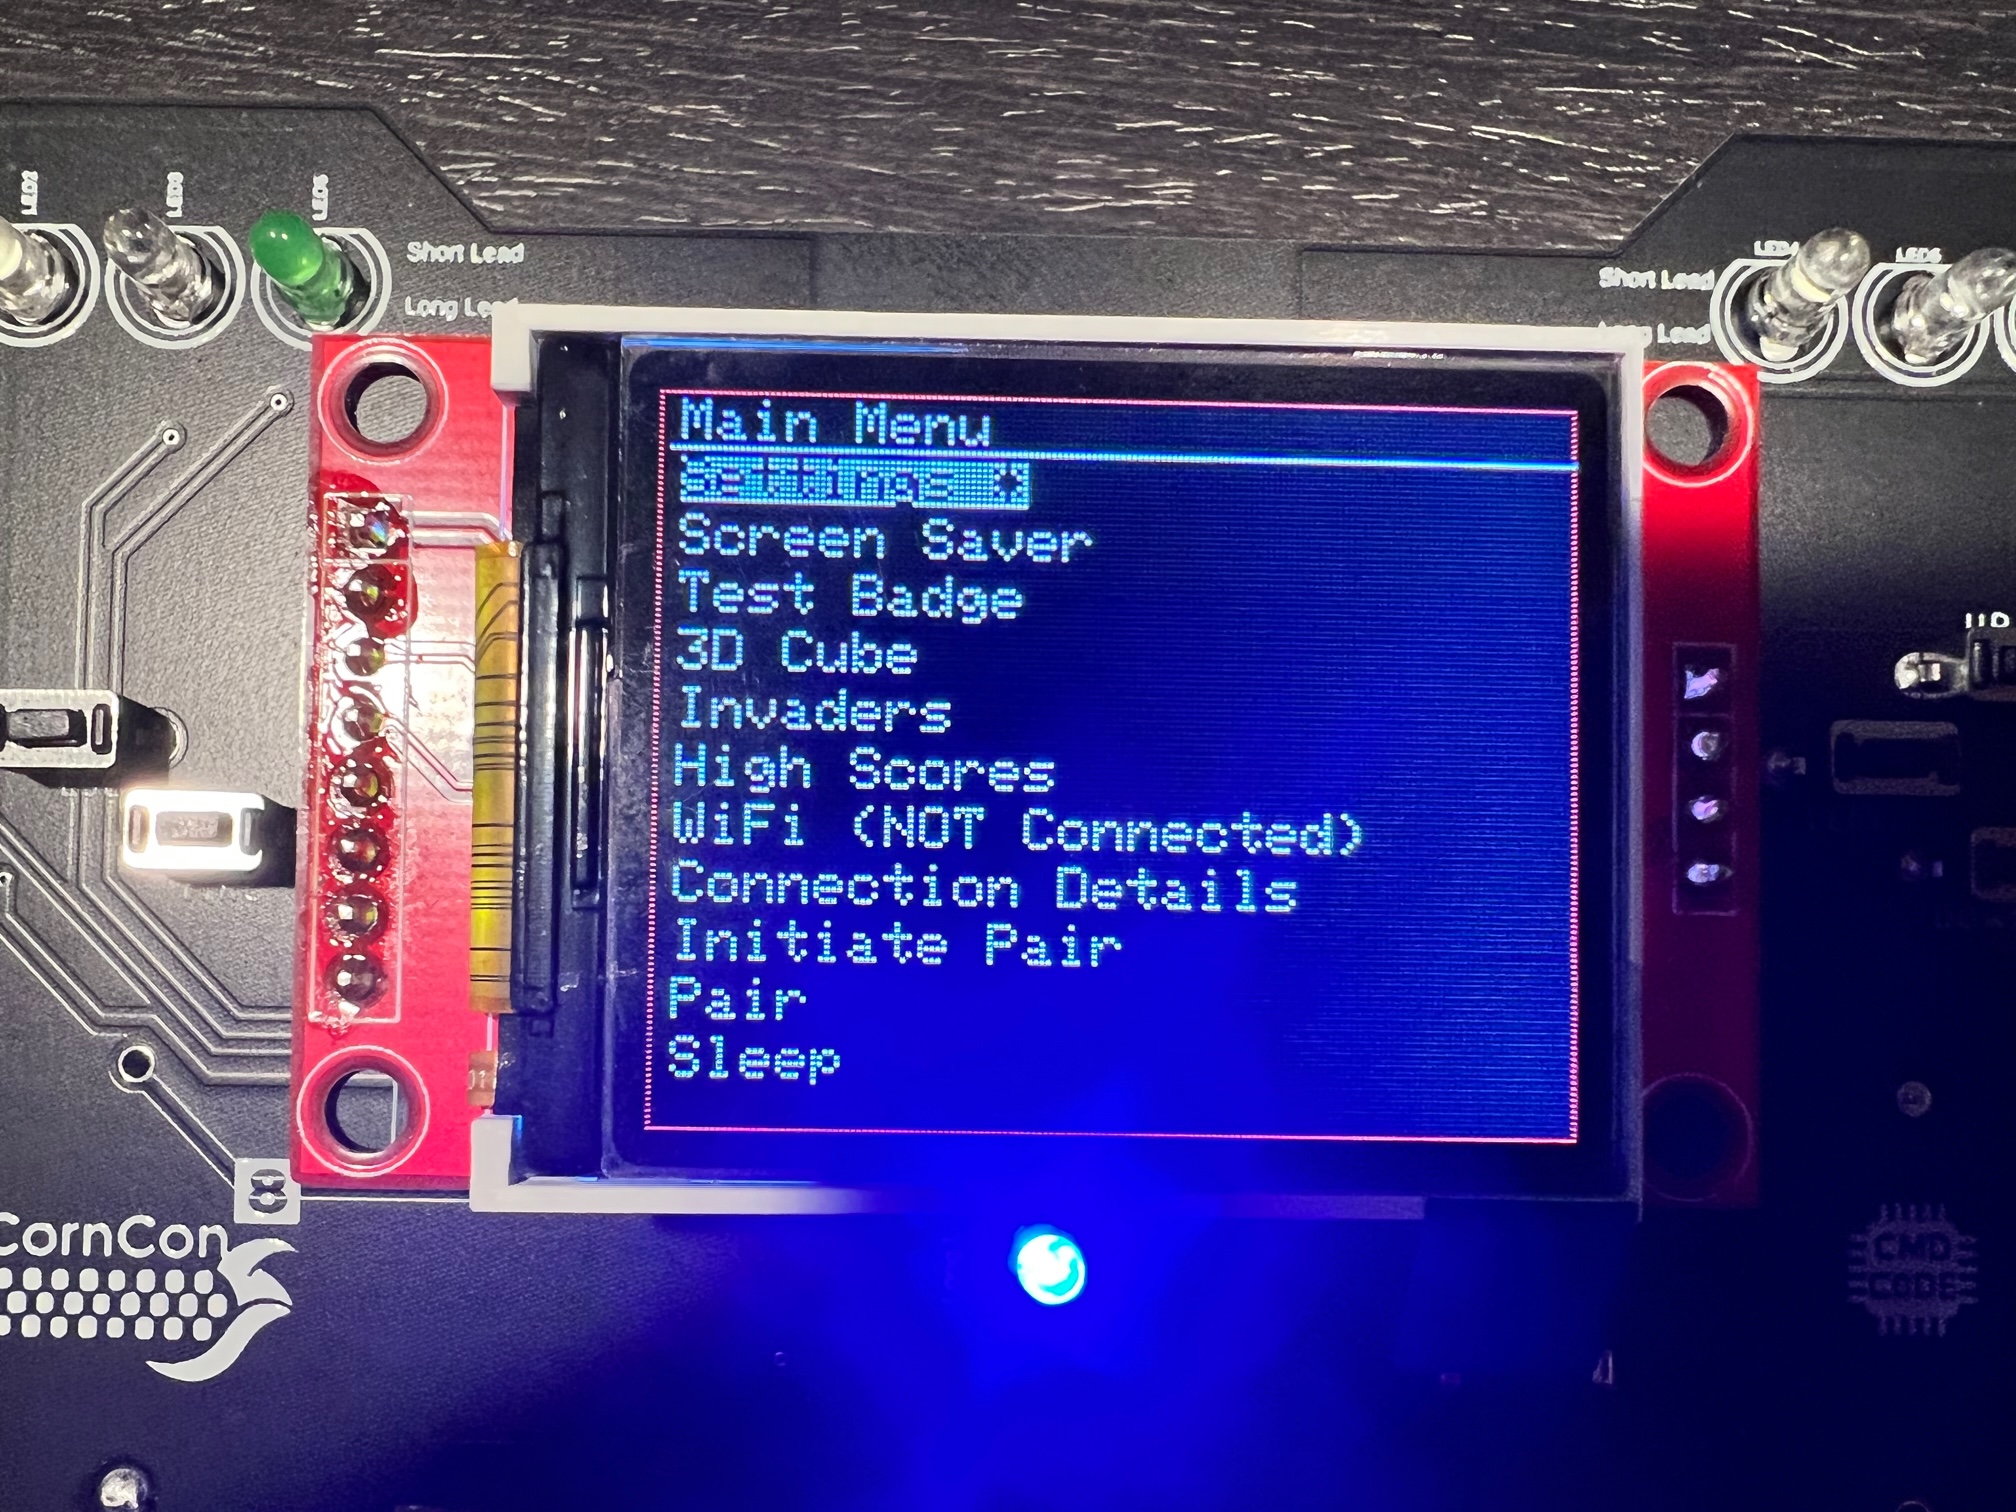
select any mode by pressing the fire button
-
move back out of any menu by pressing the esc / jump button - except the "Test Badge" menu. where you must use esc/jump and right button to go back to the main menu
-
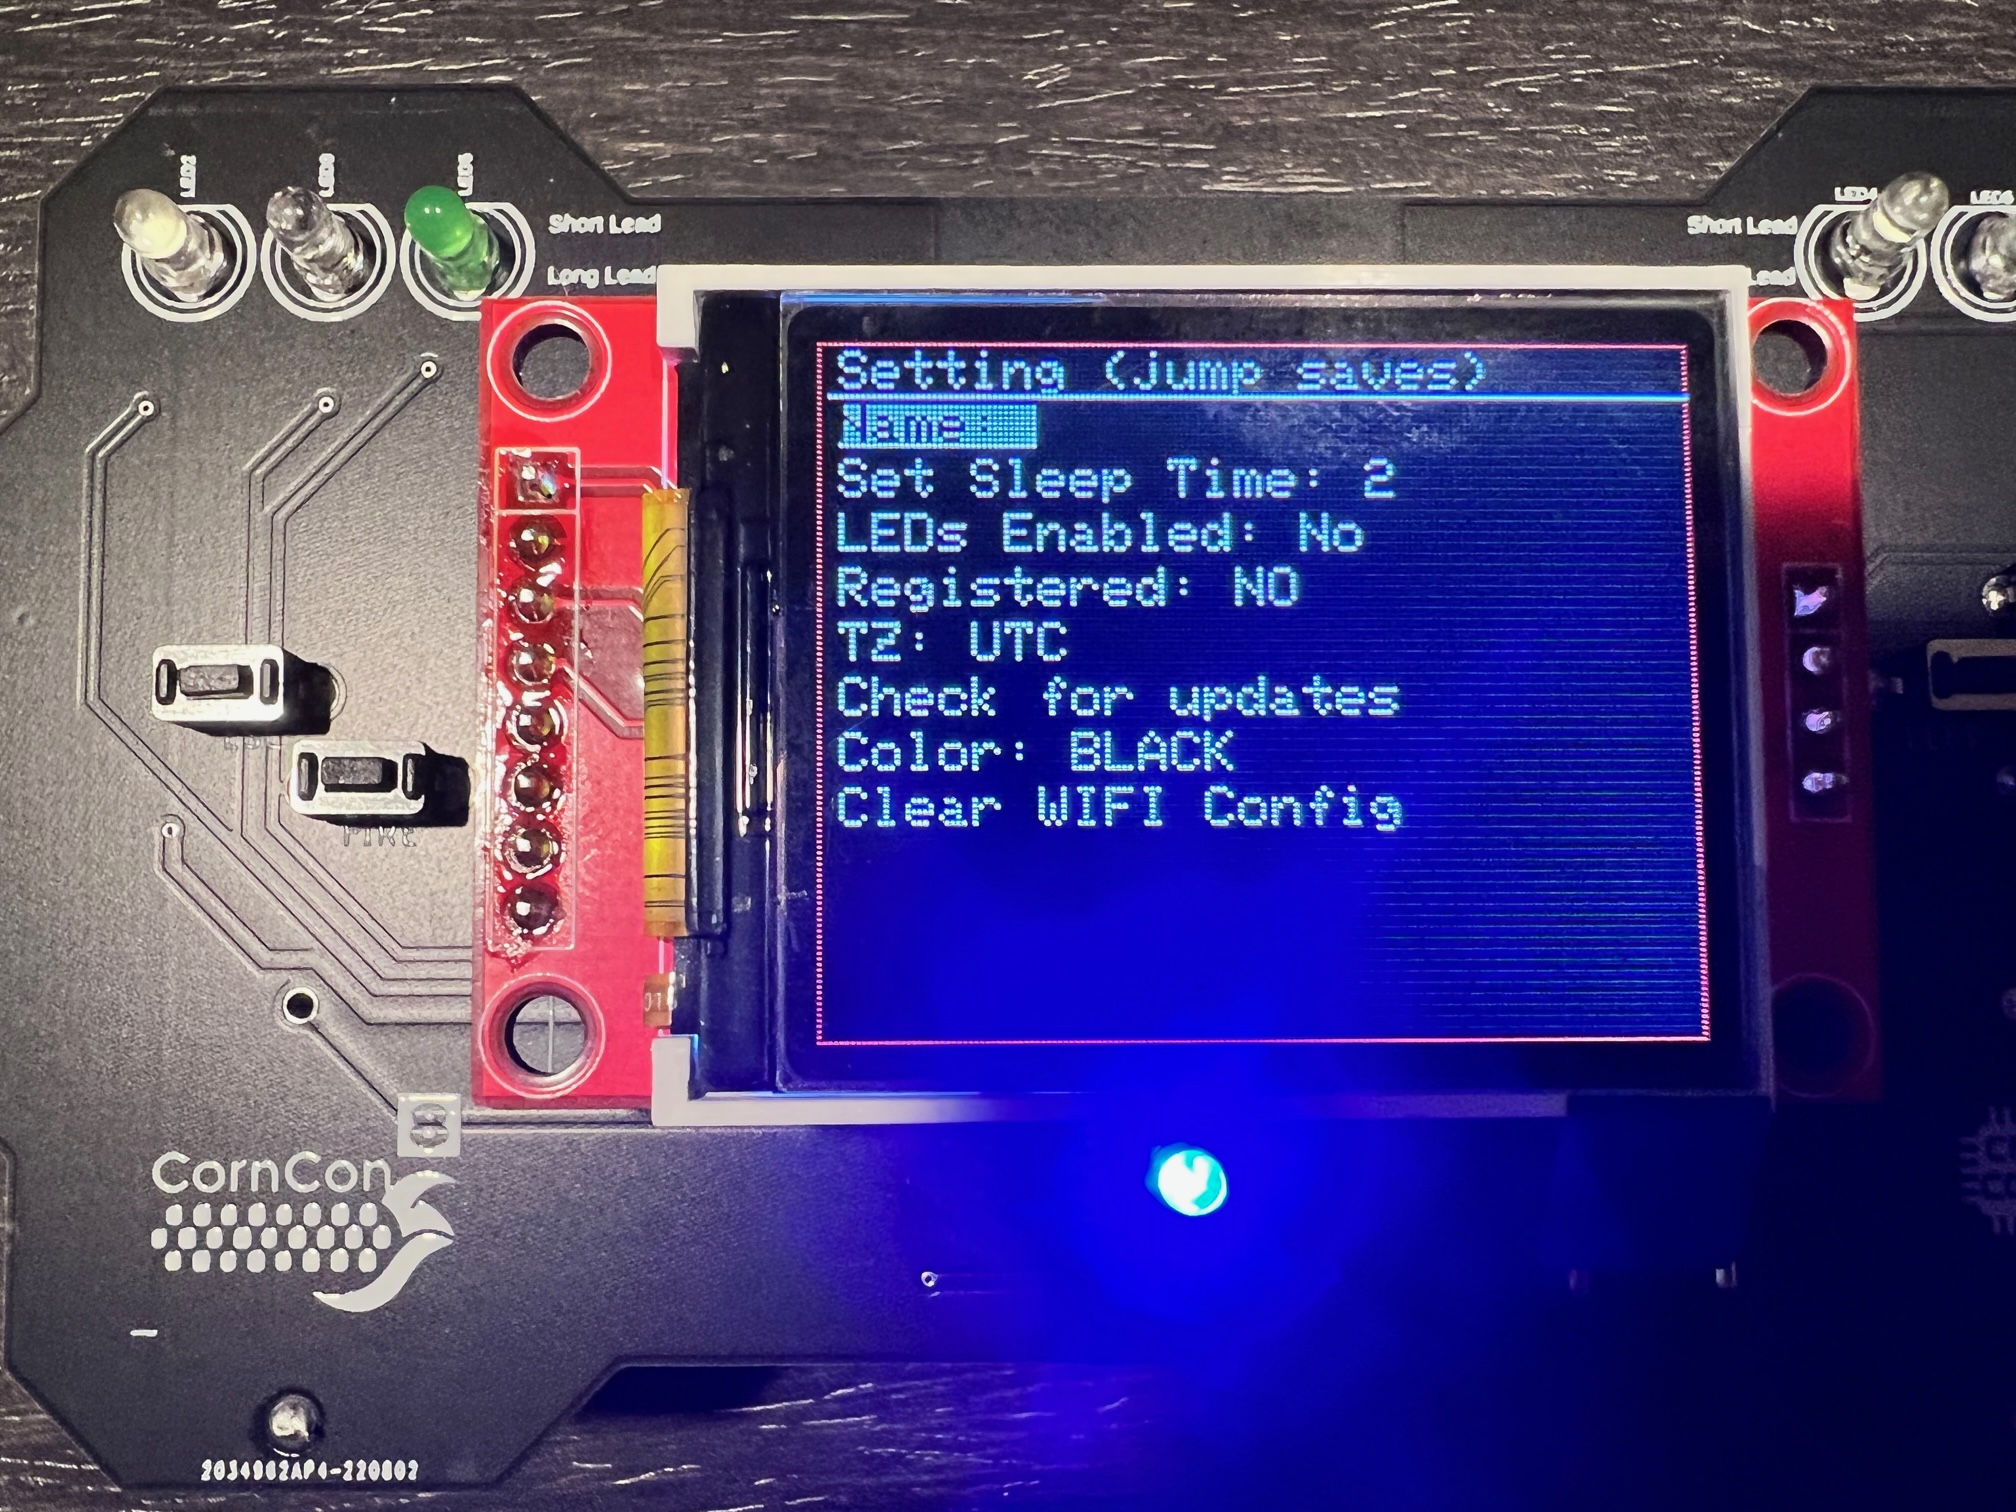
Setting Menu - here you can set your badge name, register your badge (after you connected to wifi), set timezone, set the time until the badge goes to sleep. This menu also allows you to update the badge to the latest firmware.
- Screen Saver - ... its a screen saver :)
- Test Badge - this ensures all lights and buttons are working
- 3D Cube - check it out
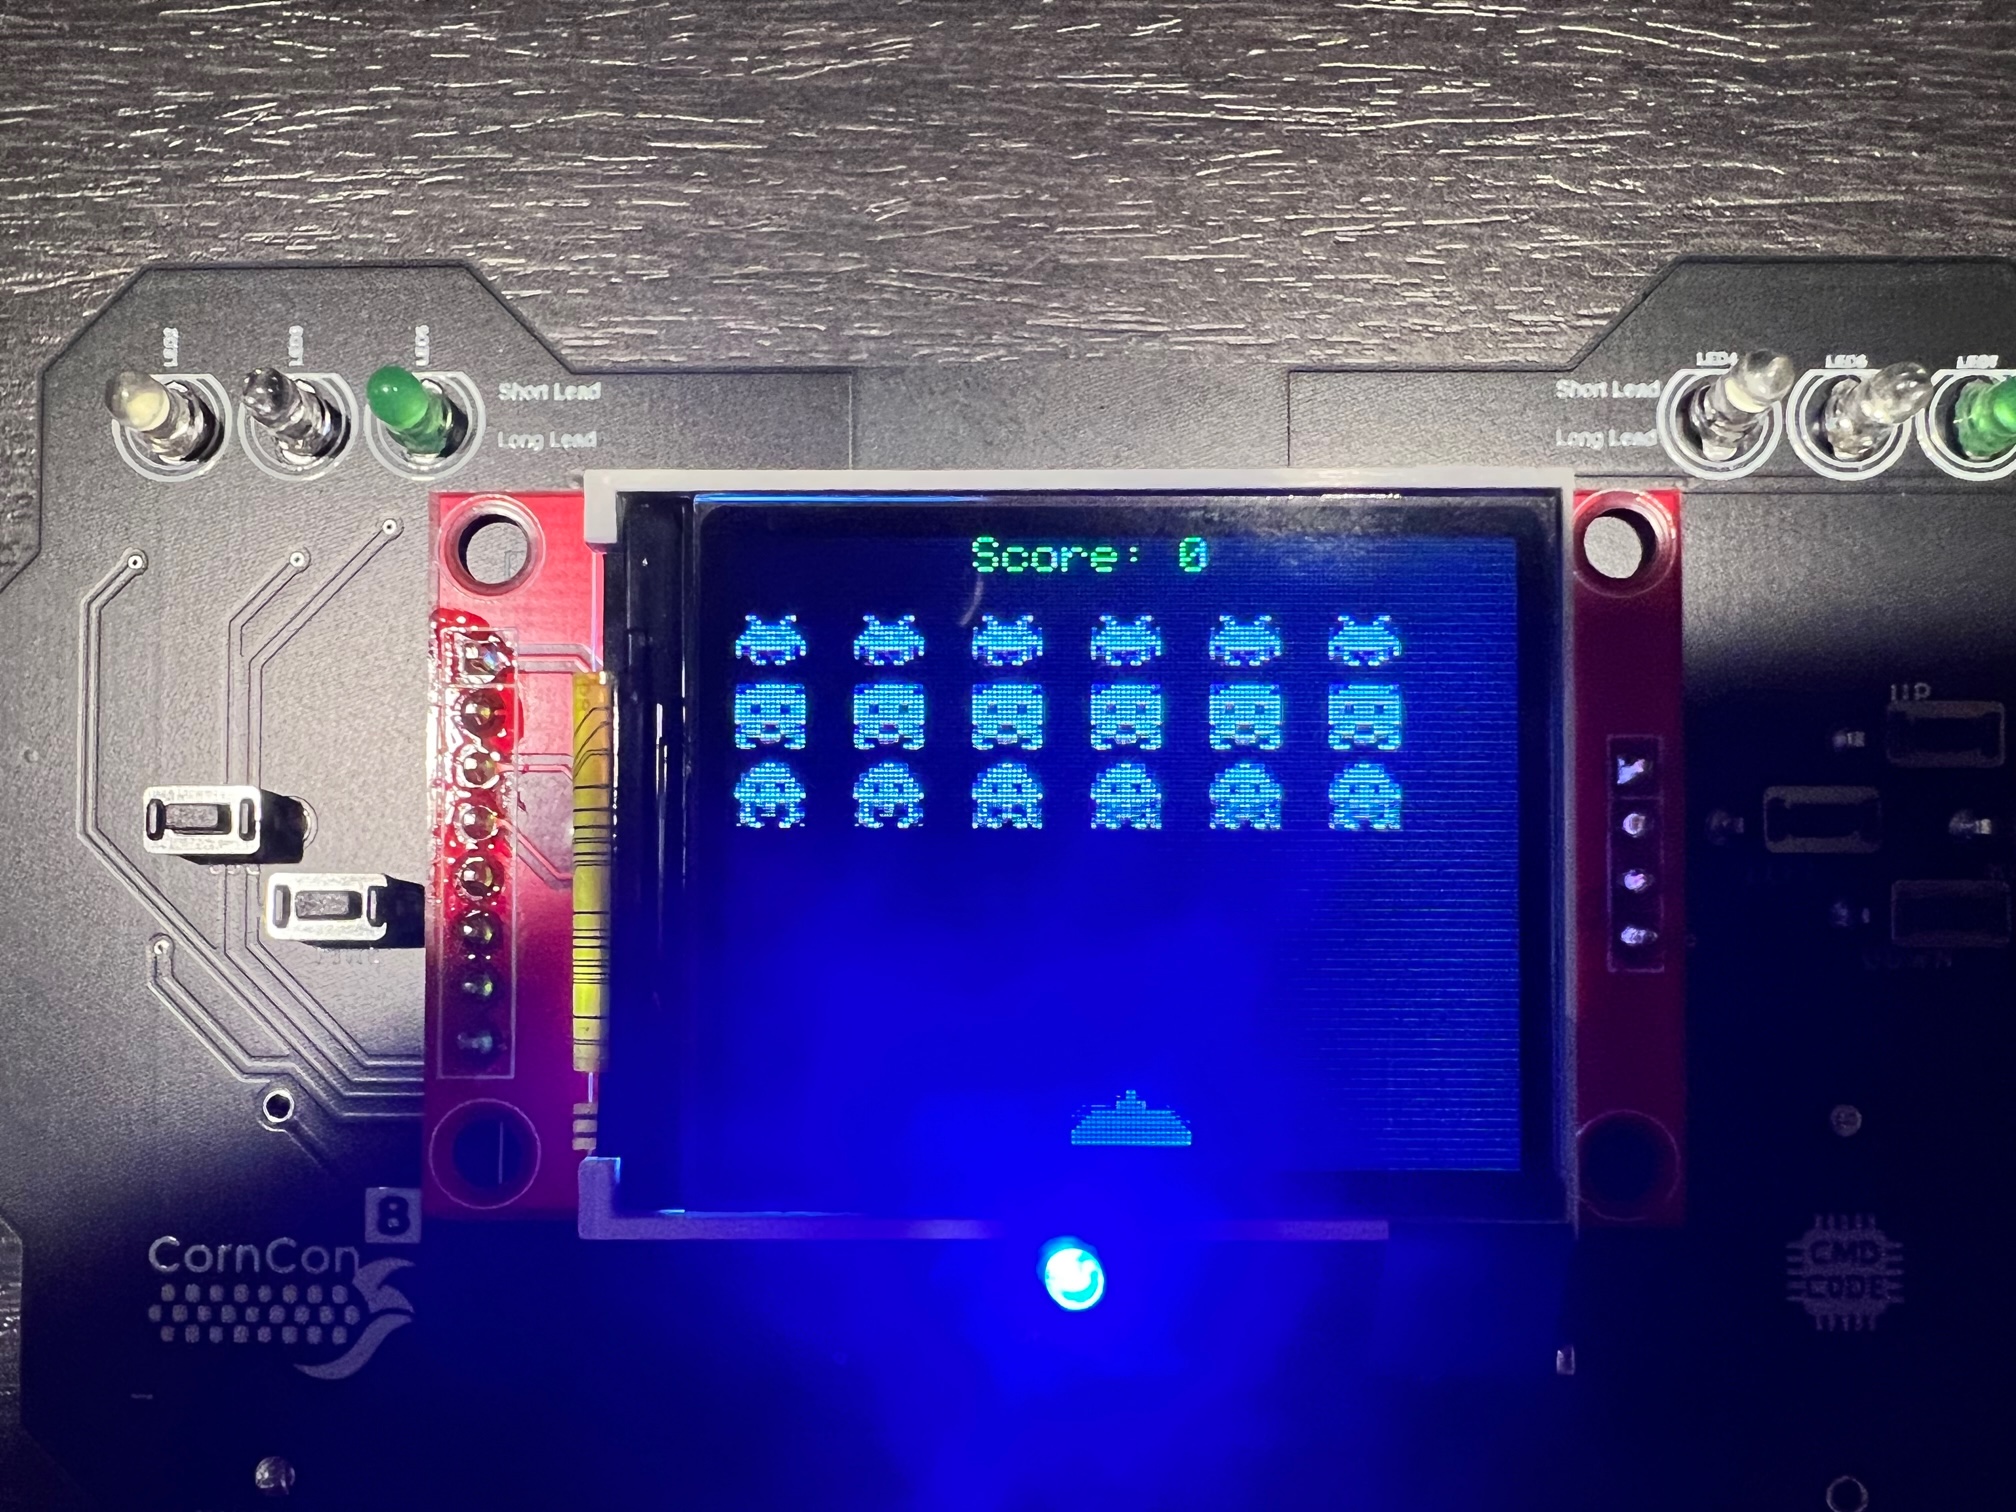
- Invaders - have fun! for every color badge you pair you you gain 10%
- High Scores - see the high scores for invaders
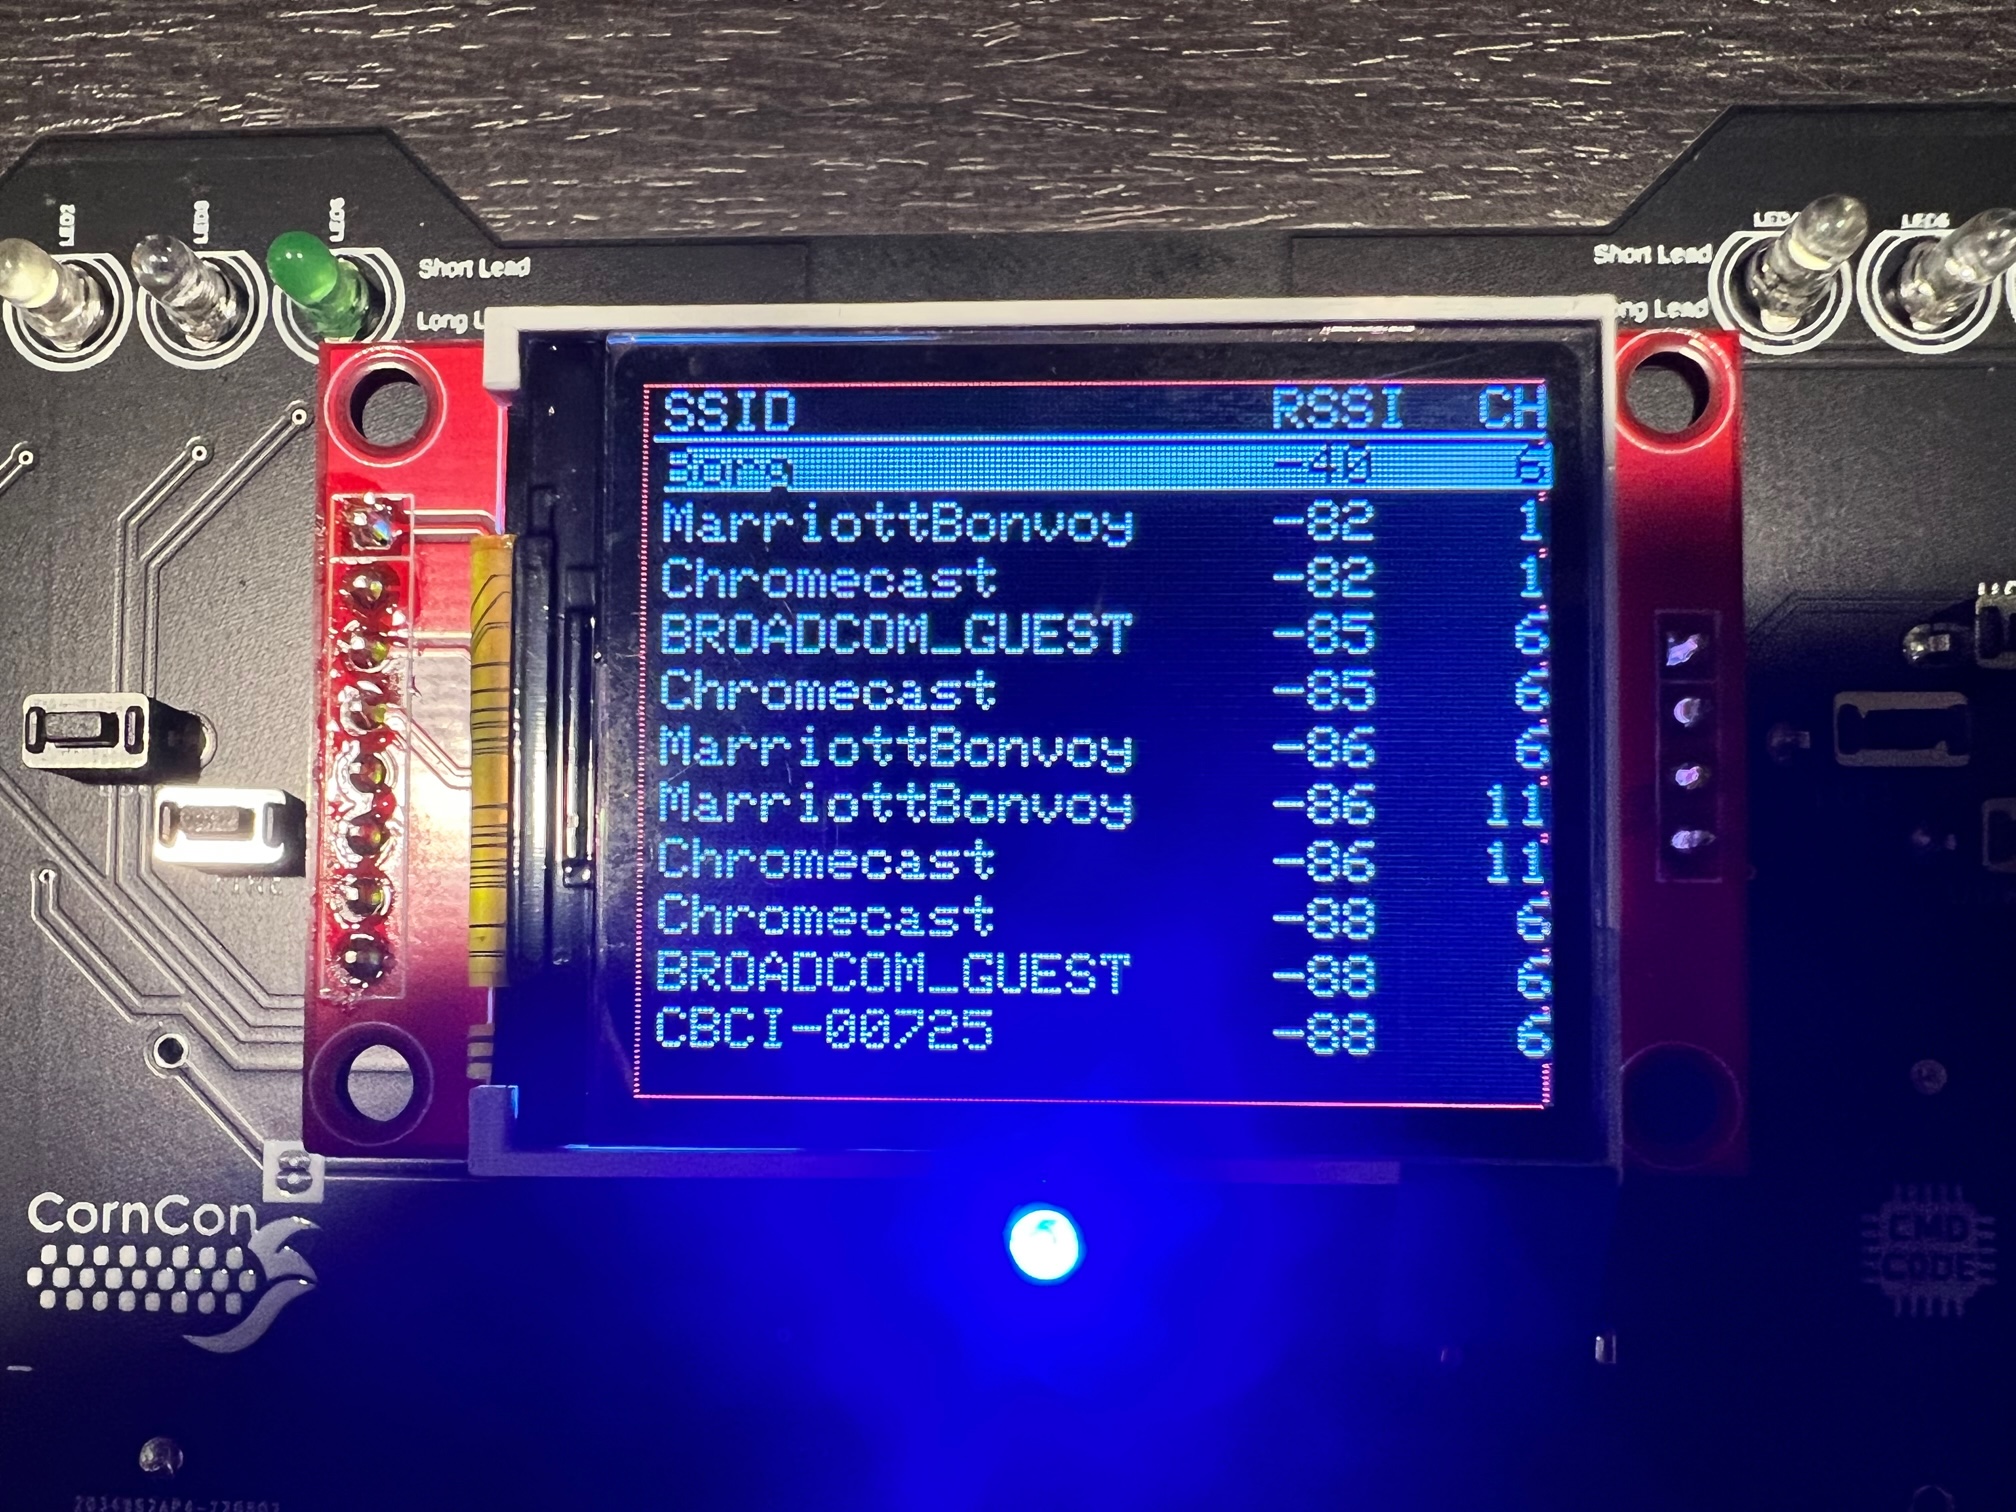
- WiFi - allows you to connect to a wifi, it will first scan, then select a wifi and enter a password if need be.
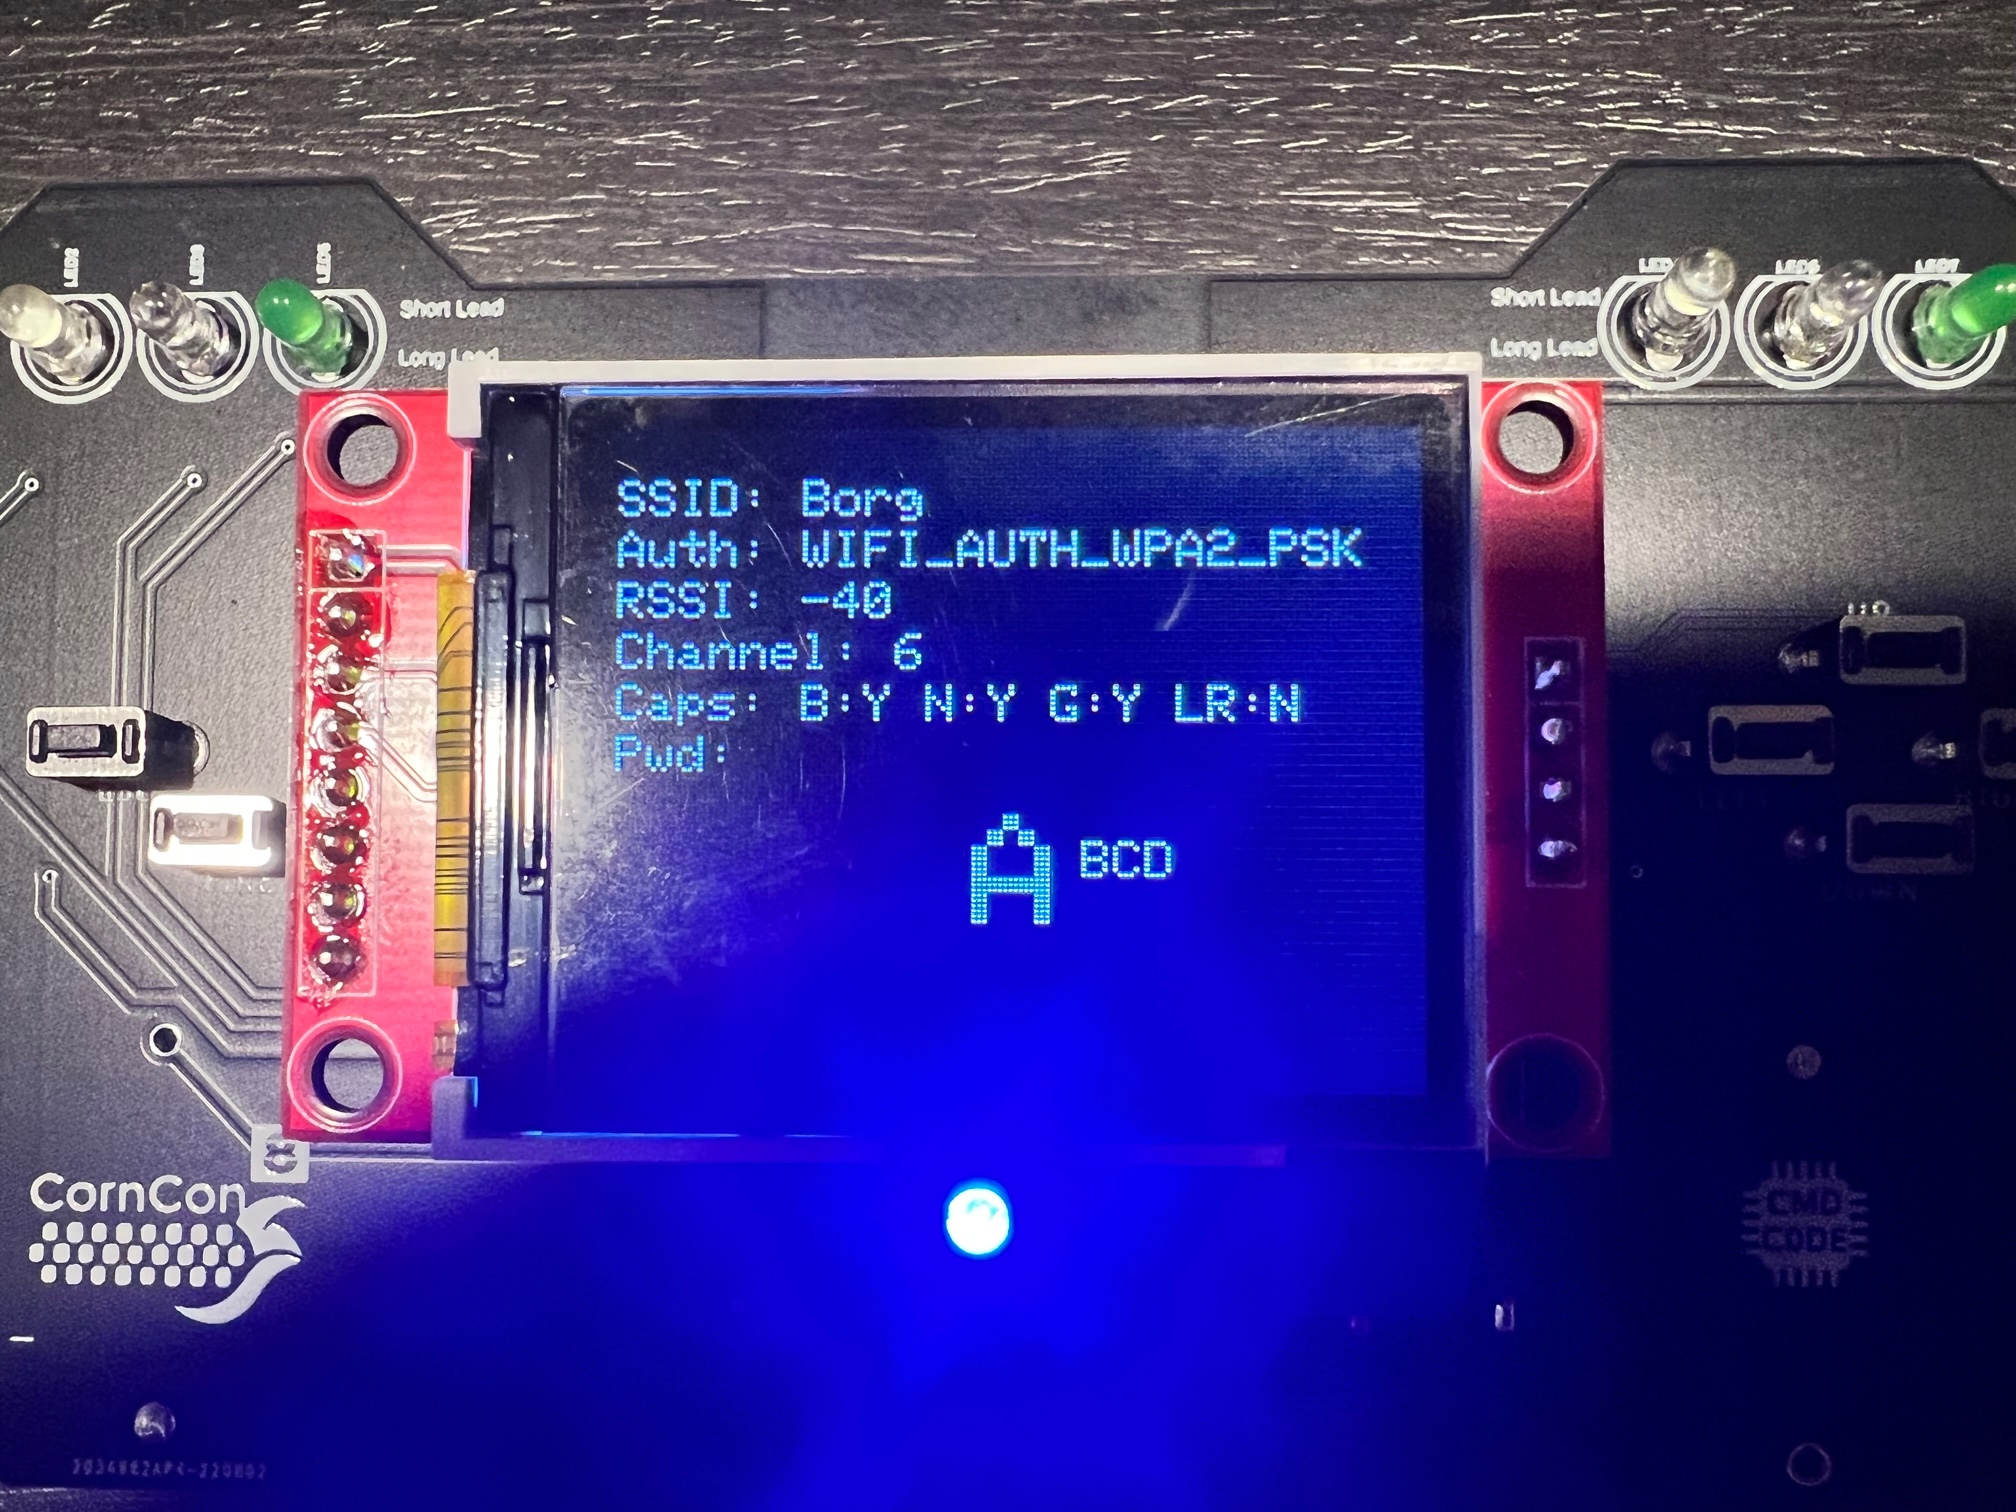
- Connect Details - shows WiFi connection details
- Initiate Pair - If you want to pair with another badge and gain bonus points in Invaders click then, then have the badge your pairing with select pair and enter the pairing code. - Both badges must be connected to WiFi
- Pair - see above
- Sleep - put the badge to sleep to conserve battery.
- Setup esp-idf as described here using version v4.4
- git clone this respository
- source /export.sh (or .bat for windows)
- cd firmware
- type make
- once built connect badge via USB
- ensure the badget is on and hold the "fire" button during flashing.
- type make flash (you may need to update the make file with the correct USB location defaults to /dev/ttyUSB0)
