English | 中文
Chat API Proxy is a free interface service developed based on the OpenAI interface format, designed to seamlessly replace the OpenAI interface. This service utilizes the GPT4Free project, which is built on top of OpenAI GPT-4.
- Implement ChatCompletion API
- Set token authentication through environment variables
- Integrate GPT4Free
- Docker support
- Support customizing other free interfaces through configuration files
- Support using free interfaces provided by others through shared plugins
- Support building a stable service with a pool of free interfaces
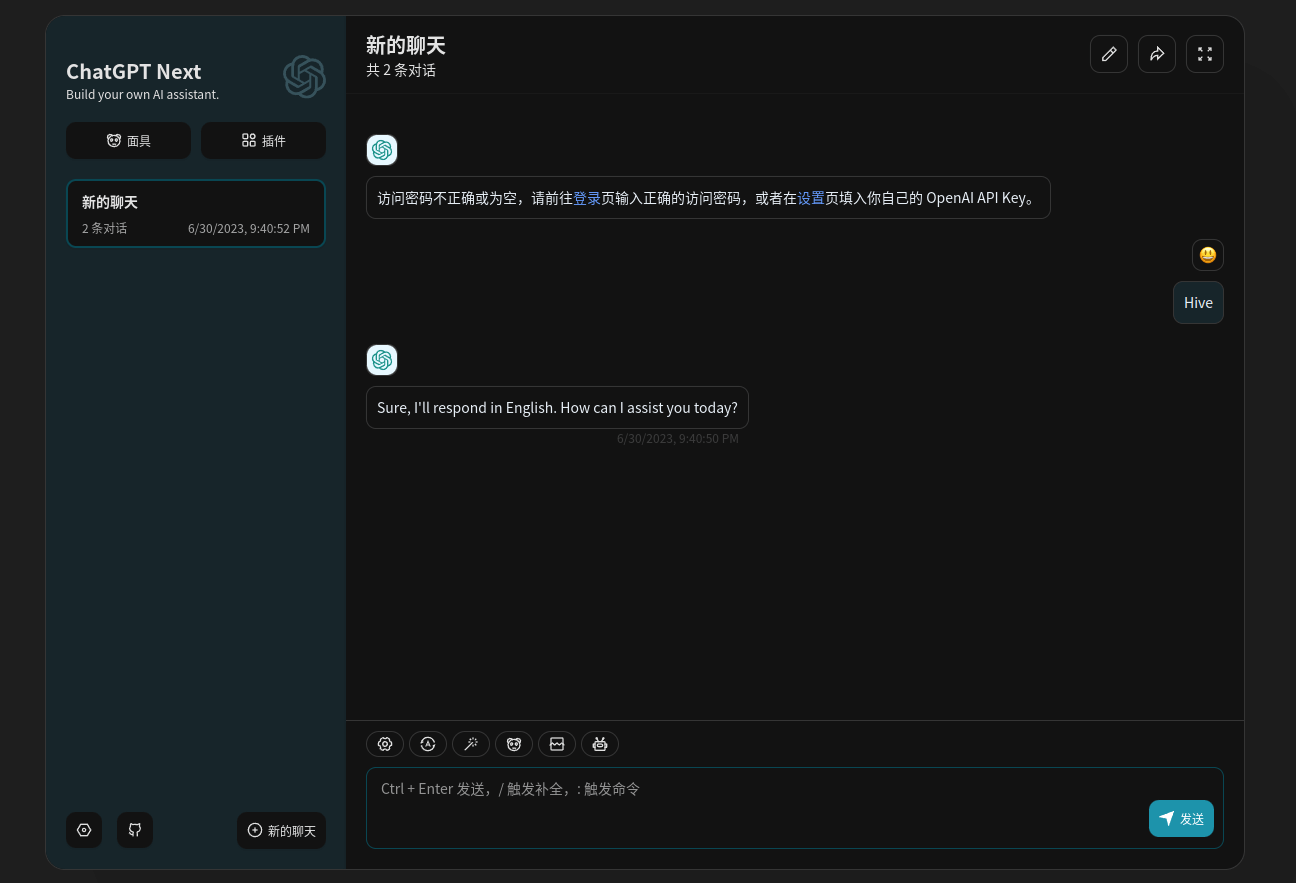
- Seamless replacement for the OpenAI interface (ChatCompletion)
- Supports the same request and response format as the OpenAI interface
- Free to use, no additional charges required
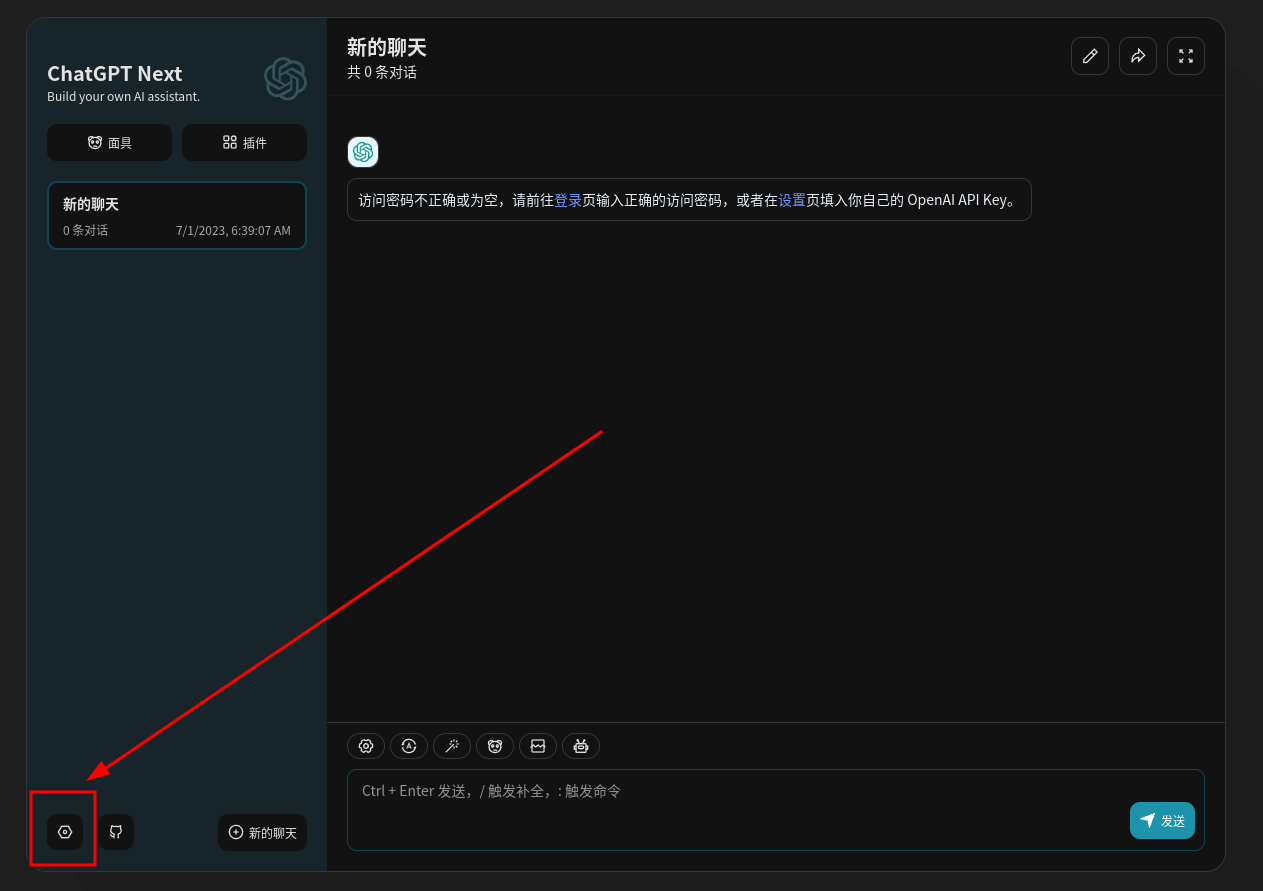
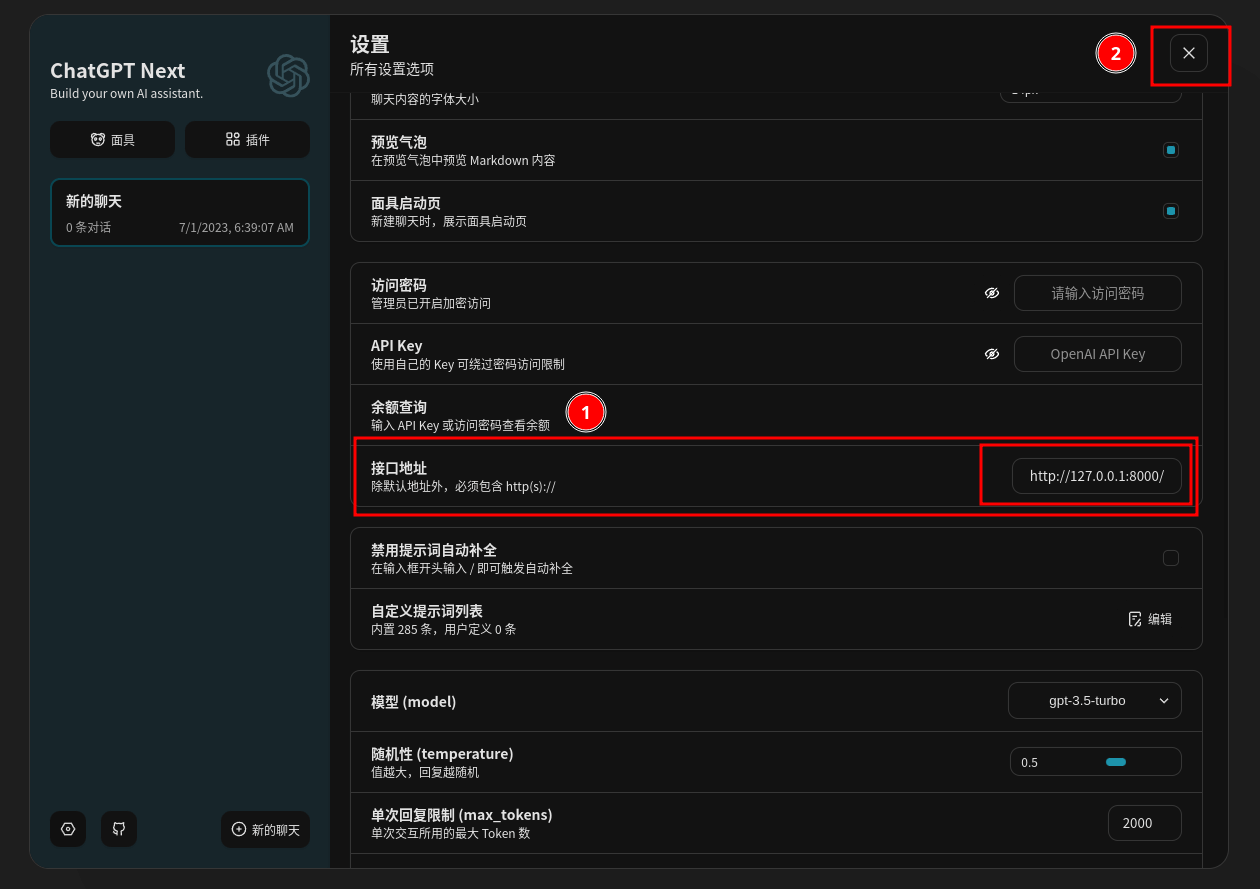
- Seamless integration with other popular projects, such as:
Make sure your environment has the following software installed:
- Python 3.8+
git clone https://github.com/geeknonerd/chat-api-proxy.git
cd chat-api-proxy

git submodule init
git submodule update

ln -s $(pwd)/gpt4free/g4f $(pwd)

python3 -m pip install -r gpt4free/requirements.txt
python3 -m pip install -r requirements.txtpython3 -m uvicorn main:app --reload
# or
python3 main.pyYou can now access your API service at http://localhost:8000/.
The usage of our API interface is identical to that of OpenAI. For example, here is an example of sending a request using the Python OpenAI SDK:
import openai

openai.api_key = ""
openai.api_base = "http://localhost:8000/v1"

# create a chat completion
chat_completion = openai.ChatCompletion.create(
    model="gpt-3.5-turbo", messages=[{"role": "user", "content": "Hello world"}])
# print the chat completion
print(chat_completion.choices[0].message.content)
Here is an example of sending a request using Python requests:
import requests

response = requests.post(
    "http://localhost:8000/v1/chat/completions",
    json={
        "model": "gpt-3.5-turbo",
        "messages": [{"role": "user", "content": "Hello world"}]
    })
print(response.json()['choices'][0]['message']['content'])
And here is an example of sending a request using curl:
curl http://localhost:8000/v1/chat/completions \
-H "Content-Type: application/json" \
-d '{
  "model": "gpt-3.5-turbo",
  "messages": [
    {"role": "user", "content": "Hello world"}
  ]
}'Before getting started, make sure you have Docker installed on your machine.
Run the application using Docker:
docker run -d --name chatproxy -p 8000:8000 geeknonerd/chat-api-proxy
Access the application in your browser using the following URL:
http://127.0.0.1:8000
or
http://localhost:8000
When you are done using the application, stop the Docker container using the following command:
docker stop chatproxy
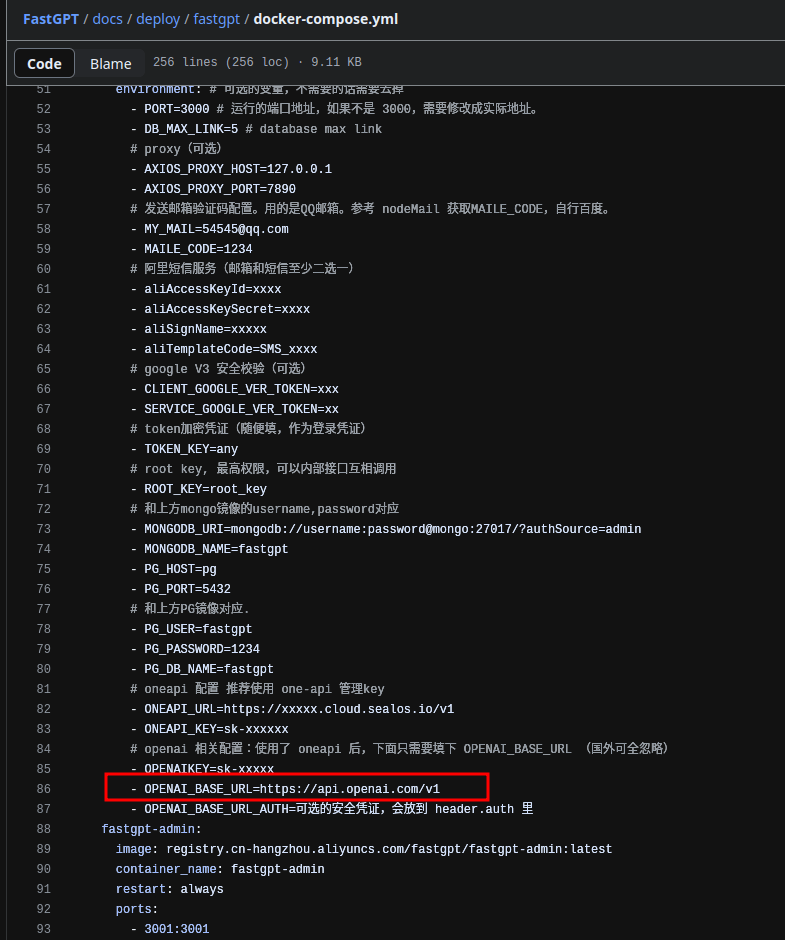
When deploying with docker-compose, modify the environment variable as follows, replacing "xxx" with the public address of the deployed service. If HTTPS is not supported, change it to HTTP.
OPENAI_BASE_URL=https://api.openai.com/v1
=>
OPENAI_BASE_URL=https://xxxx/v1
We welcome contributions from everyone. If you encounter any issues or have any suggestions while using the service, feel free to let us know by submitting an issue or a pull request.
This project is completely open-source and free, intended for research and educational purposes only. We are not responsible for any direct or indirect losses caused by using this service.


