![]()
Drupal on Docker on a Raspberry Pi
This project is an offshoot of the Rasbperry Pi Dramble project, which helps install Drupal on a cluster ('Bramble') of Raspberry Pi computers.
This playbook/project makes setting up Drupal on a single Raspberry Pi a very easy/simple operation using Nginx and Docker Compose.
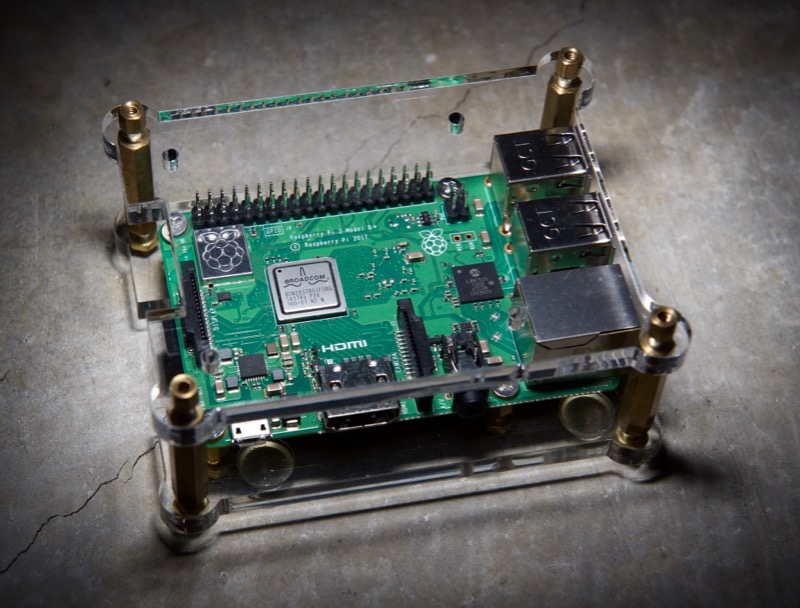
Drupal requires as good a Raspberry Pi as you can afford. While Drupal will run okay on any Raspberry Pi, it's best to use a model 2 B or later (newer models have a snappy four-core processor and at least 1GB RAM).
Once you have your Raspberry Pi and a good microSD card (the fastest/best one you can get—see microSD Card Benchmarks!), you will need to do a few things to set up the Raspberry Pi and get it ready to run Drupal.
These directions assume you're working directly on your Raspberry Pi, running Raspbian, with a keyboard and monitor attached:
- Download the latest 'Raspbian' image from the Raspberry Pi Downloads page†.
- Follow the image installation guide to transfer the image to your microSD card:
- Unmount the microSD card:
diskutil unmountDisk /dev/disk2 - Write the image to the microSD card:
pv yyyy-mm-dd-raspbian-stretch.img | sudo dd bs=1m of=/dev/rdisk2
- Unmount the microSD card:
- Once Raspbian is loaded on the card, insert the card in your Pi, and plug in your Pi to boot it up.
- Boot up the Raspberry Pi. Once booted, open the "Raspberry Pi Configuration" tool in Menu > Preferences.
- Change the pi user account password.
- Click OK, then reboot the Raspberry Pi.
- Once rebooted, connect the Pi to your local network either via WiFi or wired ethernet.
- Open the Terminal application (in the launcher or in Menu > Accessories > Terminal).
- Install Ansible:
sudo apt-get update && sudo apt-get install -y python3-dev python3-pip libyaml-dev libffi-dev && sudo pip3 install ansible - Test the Ansible installation:
ansible --version(should output the Ansible version).
† If you plan on using your Pi as a headless Drupal server, you don't need all the extra software included with the default Raspbian image. I recommend you use the official 'Raspbian Lite' image instead; see the next section.
These directions assume you're working either directly on your Raspberry Pi, running Raspbian Lite, or remotely logged into the Pi via SSH:
- Download the latest 'Raspbian Lite' image from the Raspberry Pi Downloads page†.
- Follow the image installation guide to transfer the image to your microSD card:
- Unmount the microSD card:
diskutil unmountDisk /dev/disk2 - Write the image to the microSD card:
pv yyyy-mm-dd-raspbian-stretch-lite.img | sudo dd bs=1m of=/dev/rdisk2 - Ensure SSH is enabled by adding an 'ssh' file to the boot volume:
touch /Volumes/boot/ssh - If you need to enable WiFi headlessly, add a
wpa_supplicant.conffile to the boot volume as well:- Create the file:
touch /Volumes/boot/wpa_supplicant.conf - Add the contents:
ctrl_interface=DIR=/var/run/wpa_supplicant GROUP=netdev
update_config=1
country=US

network={
    ssid="your-network-name"
    psk="your-network-password"
    key_mgmt=WPA-PSK
}
- Create the file:
- Unmount the microSD card:
- Once Raspbian Lite is loaded on the card, insert the card in your Pi, and plug in your Pi to boot it up.
- Boot up the Raspberry Pi. Once booted, log in (default username is
piand default password israspberry), and runsudo raspi-config.- Set a better password for the Pi's default user account.
- Scroll down to 'Finished', hit return, and reboot the Raspberry Pi.
- Once rebooted, connect the Pi to your local network either via WiFi or wired ethernet.
- Log back in (either on the Pi directly or via SSH).
- Install Ansible:
sudo apt-get update && sudo apt-get install -y python3-dev python3-pip libyaml-dev libffi-dev git && sudo pip3 install ansible - Test the Ansible installation:
ansible --version(should output the Ansible version).
You need to download this repository to the Pi and run the included playbook to install and configure everything.
- Clone the
drupal-piproject:git clone https://github.com/geerlingguy/drupal-pi.git && cd drupal-pi - Copy
example.inventorytoinventory. - (Optional) Create a
config.ymland override any settings fromdefault.config.ymlas needed. - Install required Ansible roles:
ansible-galaxy install -r requirements.yml - Run the Ansible playbook:
ansible-playbook -c local main.yml
After a few minutes, the playbook should complete successfully, and you should have Drupal running on your Raspberry Pi, accessible via http://localhost/
To be able to access the site from other computers on your network (e.g. by accessing http://www.drupalpi.test/, add an entry to your local hosts file like [ip-of-raspberry-pi] www.drupalpi.test.
NOTE: For best security, you should create a
config.ymlfile and at least override anypasswordsettings from thedefault.config.ymlfile (e.g.drupal_database_password).
You can run the Ansible playbook from another host (instead of from within the VM—this also allows you to do everything without installing pip and ansible on the Raspberry Pi itself!).
- Change the
inventoryfile to use the Pi's IP address instead of127.0.0.1. - Make sure you have your SSH private key configured for the
piaccount on the Pi (I usessh-copy-idto copy my ID to the Pi). - Install required Ansible roles:
ansible-galaxy install -r requirements.yml - Run the Ansible playbook:
ansible-playbook main.yml
Note: If you have a headless Raspberry Pi and would like to find it's IP address, one way of doing so is to use a tool like Fing).
If you need to add some additional automation, there is a concept of 'hook' files which will get called at different stages of the build if they are present (in the root directory of this project):
hook-pre-tasks.yml: Gets called in the pre_tasks section of the playbook before any Ansible roles or tasks are applied.hook-tasks.yml: Gets called at the start of the tasks section of the playbook (after roles are applied).
One use of these hooks would be to do extra steps to deploy your own container and codebase, without having to use a private registry. See an example which I use to build and deploy one of my Drupal codebases: hook-tasks.yml example for Drupal for Kubernetes.
If you need to update Drupal Pi, do the following:
- cd into the project directory:
cd /path/to/drupal-pi - Pull the latest changes:
git pull - Update all required Ansible roles (and install new ones):
sudo ansible-galaxy install -r requirements.yml --force - Run the Ansible playbook:
ansible-playbook -i inventory -c local main.yml
Note: Remove -c local if running from another host.
There is a reset.yml playbook included that will reset the environment so you can install a fresh copy of Drupal. To run the playbook, enter the following command in the same directory as this README:
ansible-playbook -i inventory -c local reset.yml
Note: Remove -c local if running from another host.
After it finishes resetting the environment, you can run the main.yml playbook again to rebuild the Drupal site.
The Drupal Pi includes a basic proxy cache configuration which uses Nginx to reverse proxy and cache all requests which do not include a Drupal session cookie. This can increase the speed of page delivery by 60x or more, meaning your little Pi could serve up more traffic than most home Internet uplinks could handle!
To enable Nginx's proxy cache, set the following value in your config.yml and run the main playbook:
nginx_proxy_cache: true
This project can also switch from running a site locally to being used as a load balancer for the Pi Dramble Cluster. All you have to do is set nginx_use_as_lb: true in your config.yml, make sure all the Pis which are responding to requests are in the nginx_lb_backends list, and run the playbook to redeploy the Nginx configuration.
Then point the domain you would normally point at the Pi Dramble cluster (e.g. cluster.pidramble.test) at the IP of the single Drupal Pi instead!
This project was started in 2015 by Jeff Geerling, author of Ansible for DevOps.