- Quickstart - Run the quickstart app
- More Documentation - More documentation related to the Voice iOS SDK
- Issues and Support - Filing issues and general support
To get started with the quickstart application follow these steps. Steps 1-6 will enable the application to make a call. The remaining steps 7-10 will enable the application to receive incoming calls in the form of push notifications using Apple’s VoIP Service.
- Install the TwilioVoice framework using Cocoapods
- Create a Voice API key
- Configure a server to generate an access token to be used in the app
- Create a TwiML application
- Configure your application server
- Run the app
- Create a VoIP Service Certificate
- Create a Push Credential with your VoIP Service Certificate
- Configure Xcode project settings for VoIP push notifications
- Receive an incoming call
Under the quickstart path, run pod install and let the Cocoapods library create the workspace for you. Also please make sure to use Cocoapods v1.0 and later.
Once Cocoapods finishes installing, open the SwiftCVoiceQuickstart.xcworkspace and you will find a basic Swift quickstart project and a CallKit quickstart project.
Go to the Voice API Keys page and create a new API key:
Save the generated API_KEY and API_KEY_SECRET in your notepad. You will need them in the next step.
Download the starter project for the server.
Follow the instructions in the README to get the application server up and running locally and accessible via the public Internet. For now just replace the Twilio Account SID that you can obtain from the console, and the API_KEY and API_SECRET you obtained in the previous step.
ACCOUNT_SID = 'AC***'
API_KEY = 'SK***'
API_KEY_SECRET = '***'
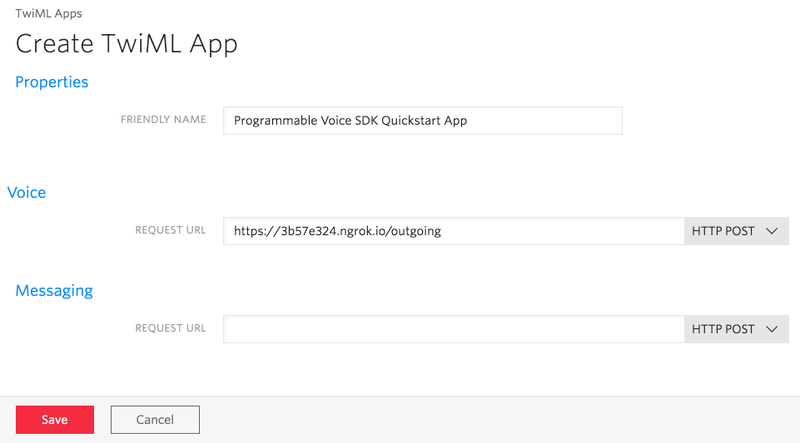
Next, we need to create a TwiML application. A TwiML application identifies a public URL for retrieving TwiML call control instructions. When your iOS app makes a call to the Twilio cloud, Twilio will make a webhook request to this URL, your application server will respond with generated TwiML, and Twilio will execute the instructions you’ve provided.
To create a TwiML application, go to the TwiML app page. Create a new TwiML application, and use the public URL of your application server’s /outgoing endpoint as the Voice Request URL.
As you can see we’ve used our ngrok public address in the Request URL field above.
Save your TwiML Application configuration, and grab the TwiML Application SID (a long identifier beginning with the characters AP).
Let's put the remaining APP_SID configuration info into server.py
ACCOUNT_SID = 'AC***'
API_KEY = 'SK***'
API_KEY_SECRET = '***'
APP_SID = 'AP***'
Once you’ve done that, restart the server so it uses the new configuration info. Now it's time to test.
Open up a browser and visit the URL for your application server's Access Token endpoint: https://{YOUR-SERVER}/accessToken. If everything is configured correctly, you should see a long string of letters and numbers, which is a Twilio Access Token. Your iOS app will use a token like this to connect to Twilio.
Now let’s go back to the SwiftCVoiceQuickstart.xcworkspace. Update the placeholder of baseURLString with your ngrok public URL
Build and run the app
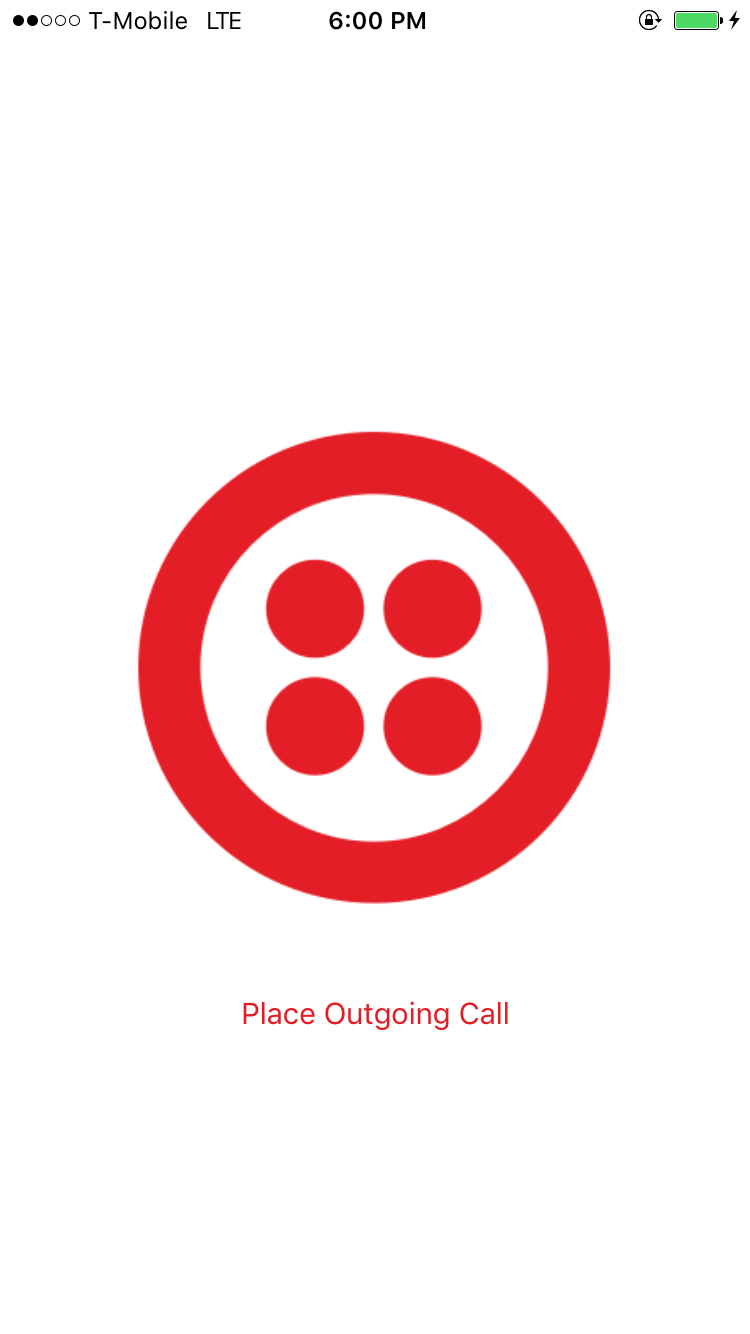
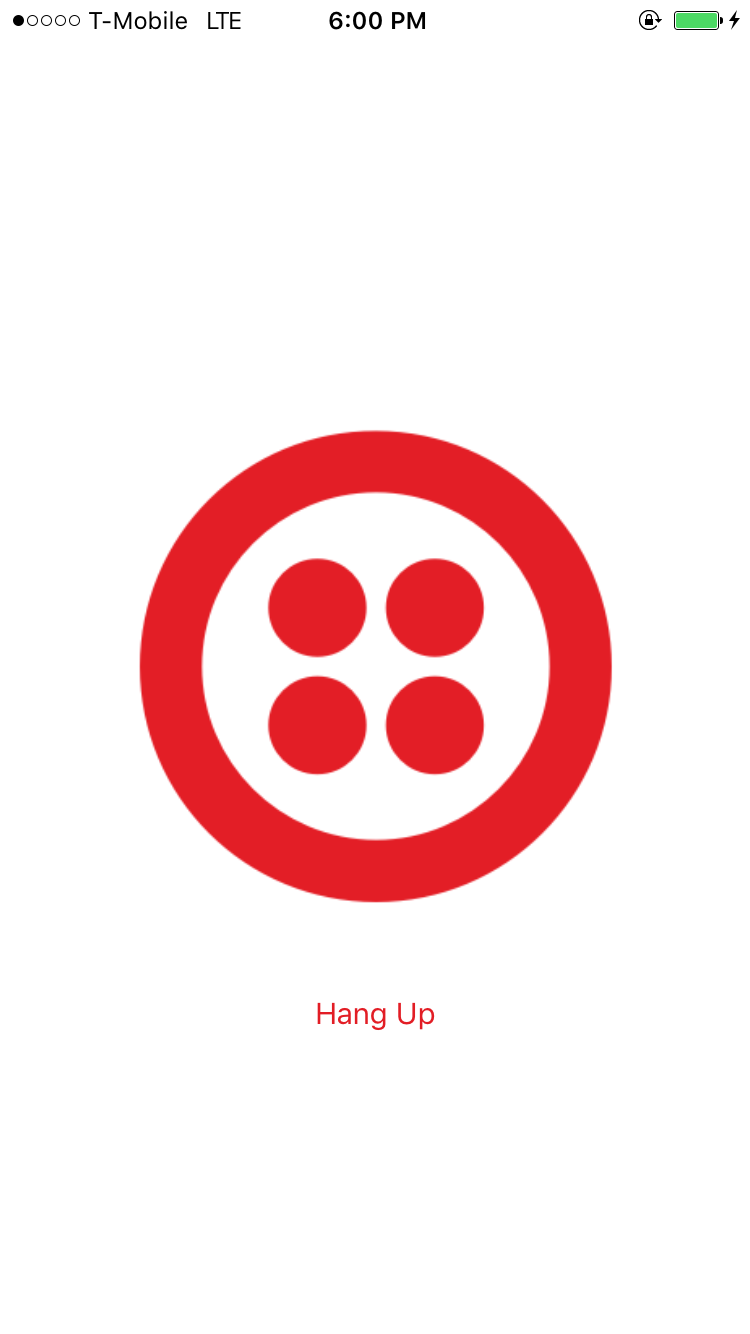
Tap the “Place Outgoing Call” button to make a call, then tap “Hang Up” to disconnect
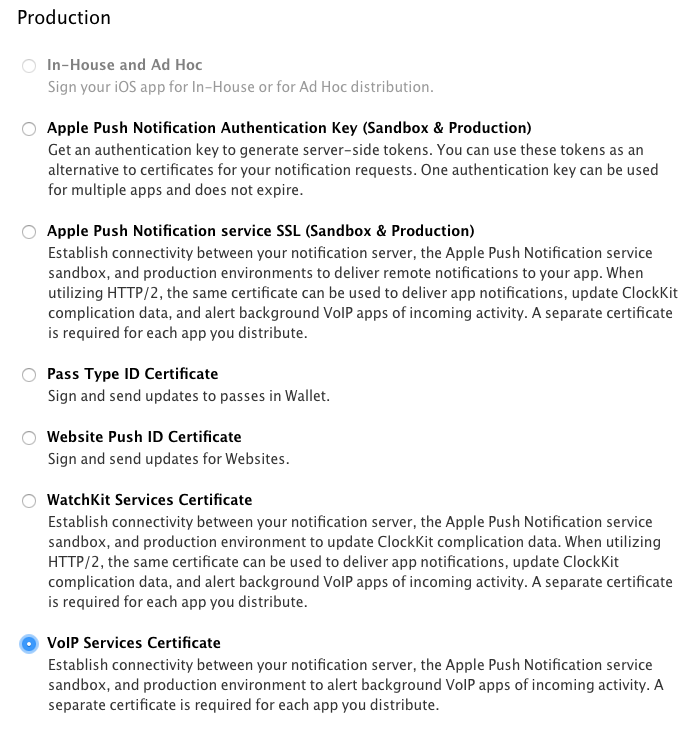
The Programmable Voice SDK uses Apple’s VoIP Services to let your application know when it is receiving an incoming call. If you want your users to receive incoming calls, you’ll need to enable VoIP Services in your application and generate a VoIP Services Certificate.
Go to Apple Developer portal and you’ll need to do the following:
- Make sure your App ID has the “Push Notifications” service enabled.
- Create a corresponding Provisioning Profile for your app ID.
- Create an Apple VoIP Services Certificate for this app.
Once you have generated the VoIP Services Certificate, you will need to upload it to Twilio so that Twilio can send push notifications to your app on your behalf.
Export your VoIP Service Certificate as a .p12 file, then extract the certificate and private key from the .p12 file using the openssl command
$> openssl pkcs12 -in PATH_TO_YOUR_P12 -nocerts -out key.pem
$> openssl rsa -in key.pem -out key.pem
$> openssl pkcs12 -in PATH_TO_YOUR_P12 -clcerts -nokeys -out cert.pem
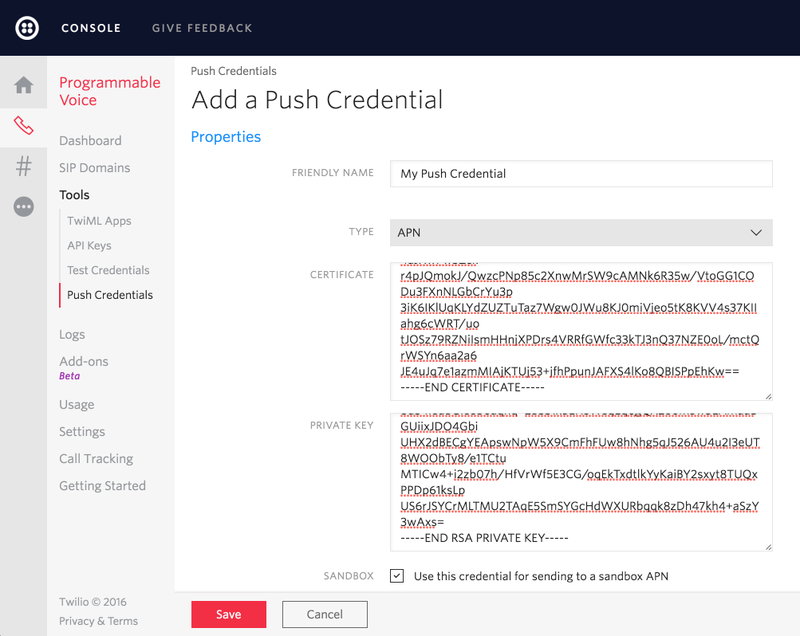
Go to the Push Credentials page and create a new Push Credential. Paste the certificate and private key extracted from your certificate. You must paste the keys in as plaintext:
- For the
cert.pemyou should paste everything from-----BEGIN CERTIFICATE-----to-----END CERTIFICATE-----. - For the
key.pemyou should paste everything from-----BEGIN RSA PRIVATE KEY-----to-----END RSA PRIVATE KEY-----.
Remember to check the “Sandbox” option. This is important. The VoIP Service Certificate you generated can be used both in production and with Apple's sandbox infrastructure. Checking this box tells Twilio to send your pushes to the Apple sandbox infrastructure which is appropriate with your development provisioning profile.
Now let's go back to server.py and update the Push Credential SID. The Push Credential SID will now be embedded in your access token.
PUSH_CREDENTIAL_SID = 'CR***'
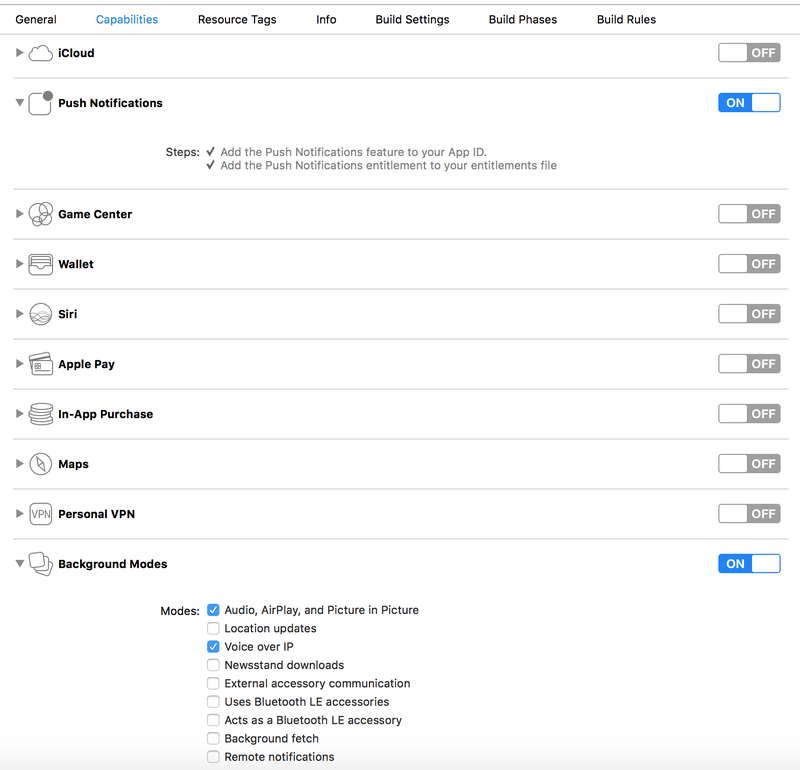
On the project’s Capabilities tab, enable “Push Notifications”, and enable both “Voice over IP” and “Audio, AirPlay and Picture in Picture” capabilities in the Background Modes
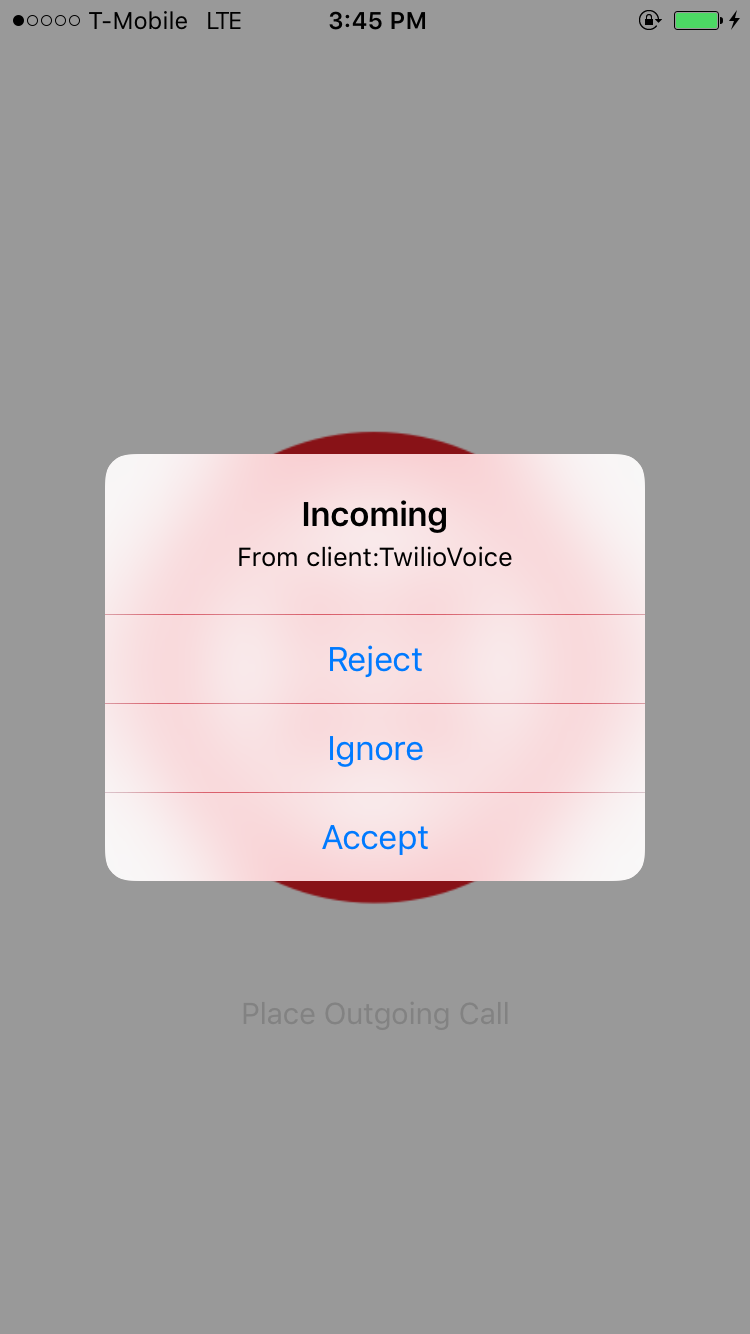
You are now ready to receive incoming calls. Rebuild your app and hit your application server's /placeCall endpoint: https://{YOUR-SERVER}/placeCall. This will trigger a Twilio REST API request that will make an inbound call to your mobile app. Once your app accepts the call, you should hear a congratulatory message.
You can find more documentation on getting started as well as our latest AppleDoc below:
To learn more about how to use TwiML and the Programmable Voice Calls API, check out our TwiML quickstarts:
- TwiML Quickstart for Python
- TwiML Quickstart for Ruby
- TwiML Quickstart for PHP
- TwiML Quickstart for Java
- TwiML Quickstart for C#
Please file any issues you find here on Github: Voice Swift Quickstart.
For general inquiries related to the Voice SDK you can file a support ticket.
MIT

