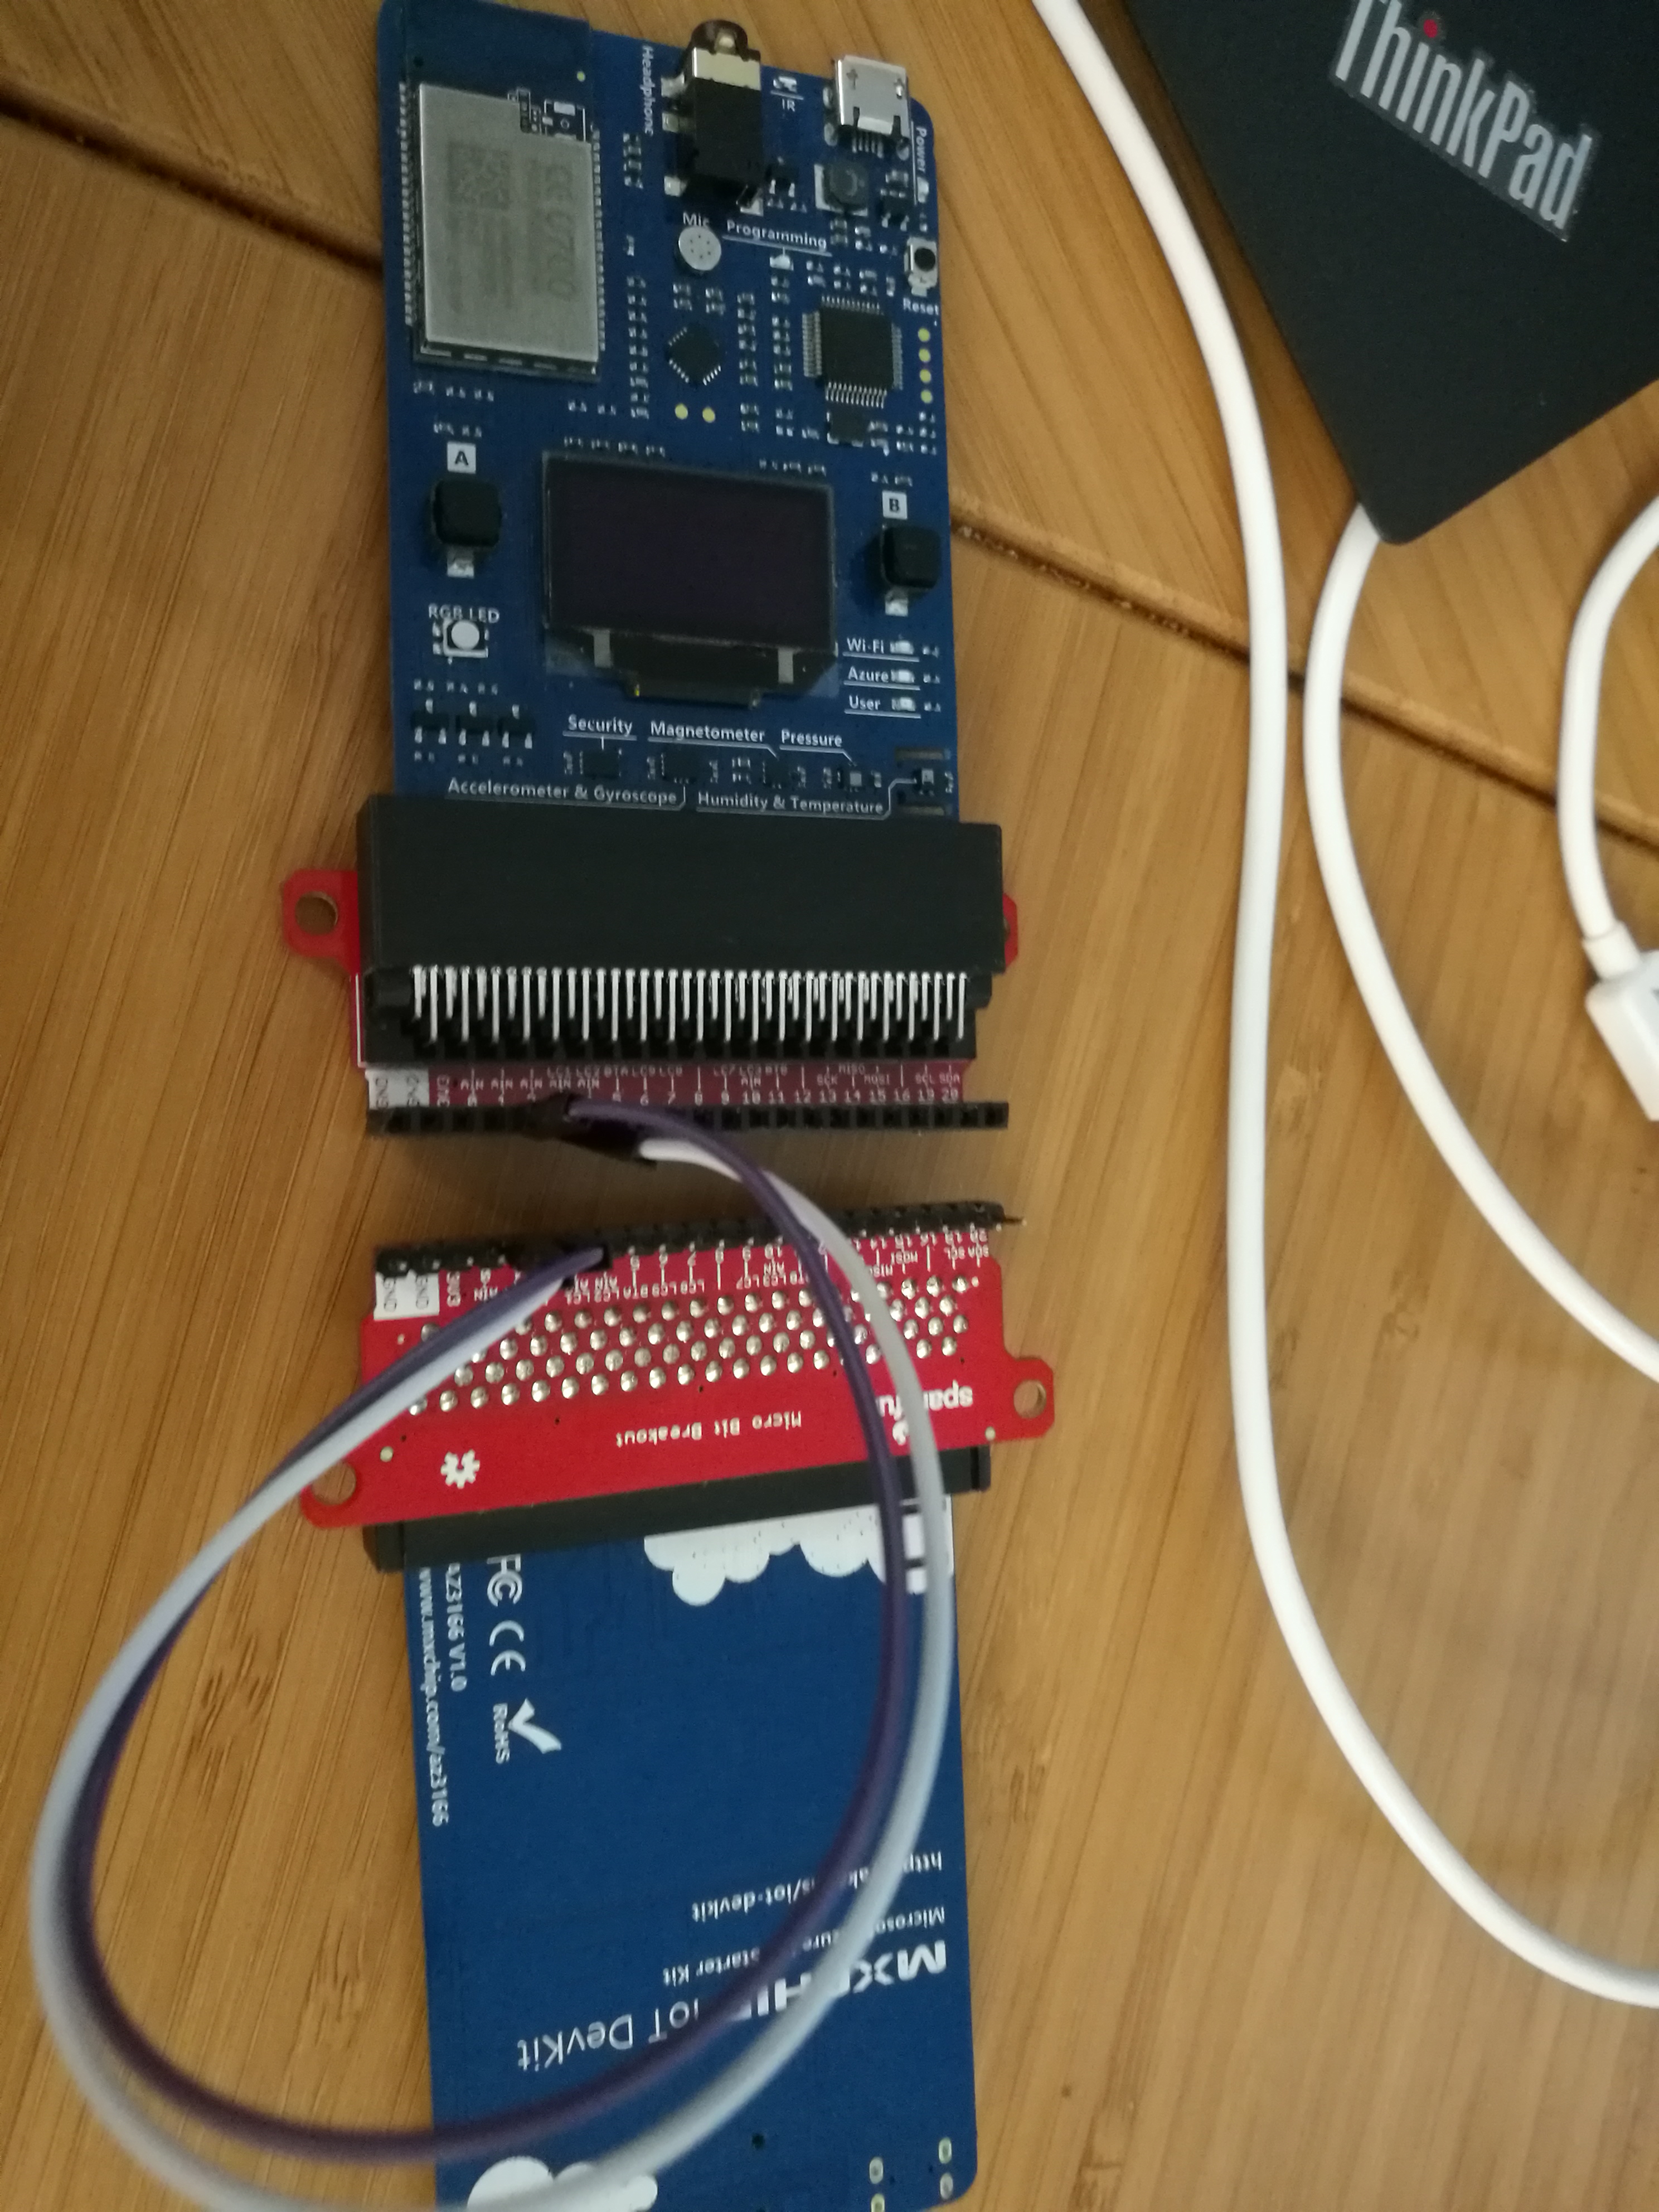
In this project, we use two Devkits to build a music player. This two Devkits are connected with serial and can perform basic music control operations with voice.
- Setup IoT DevKit development environment by following Get Started and have one DevKit connect to Wi-Fi.
- Install Visual Studio 2017
git clone https://github.com/ab-sin-the/devkit-music-playercd devkit-music-player
Since IoT Workbench currently does not support dealing with two devices at the same time. One device has to be uploaded first.
-
Log in to the Azure portal.
Note: If you do not already have a subscription, you can register for a free account.
-
Click Create new resource link found on the upper left-hand corner of the Azure portal, then select Storage > Storage account - blob, file, table, queue. A new blade will open with information about the Blob Storage.
-
Click Create to create the service. Choose a location near your network. This process may take several minutes.
-
After the storage account is created, click Blob, then create a container.
-
Upload your music to the container. Make sure that the music is named '1.wav', '2.wav' ....
-
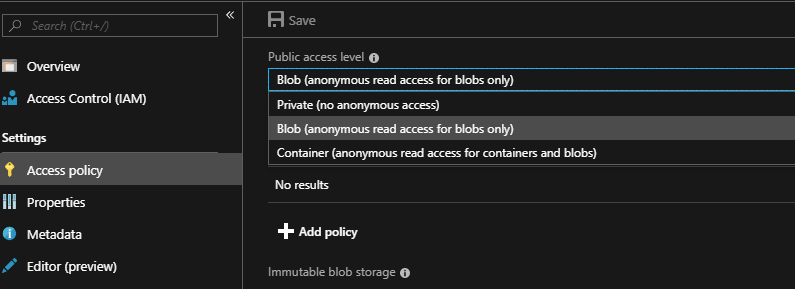
Change Public access level of Access Policy from Private to Blob.
-
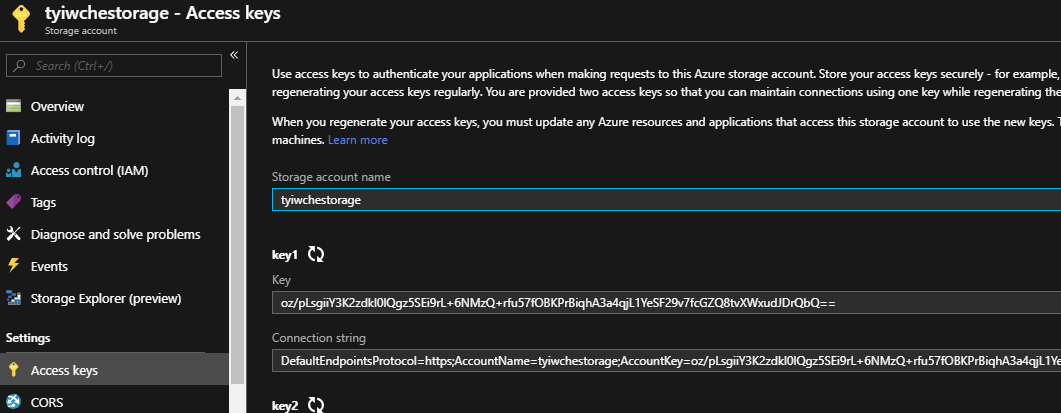
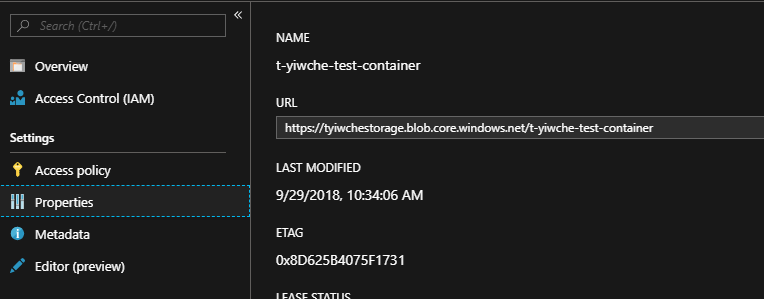
Record the storageAccountName, storageKey of your storage account and Url of your blob storage.
In previous steps, you've created a storage account. Now we need to deploy a web socket to connect the music in the blob with Devkit.
Please follow the steps below to deploy your Web Socket.
-
Launch Visual Studio 2017 and open the web socket solution file WebSocketServer.sln under folder WebSocketServer.
-
Open WebsocketController.cs under folder Controllers.
-
Modify three variables which you record in the previous step.
-
Right click on the project file and select Publish tab.
-
Publish this project to a existing web service or a new web service.
Note: Choose a locatoin near your network to ensure network speed
-
Navigate to the Device folder in the root of your local repo, and open this folder with Visual Studio Code.
-
Connect the IoT DevKit to your computer via Micro-USB cable.
-
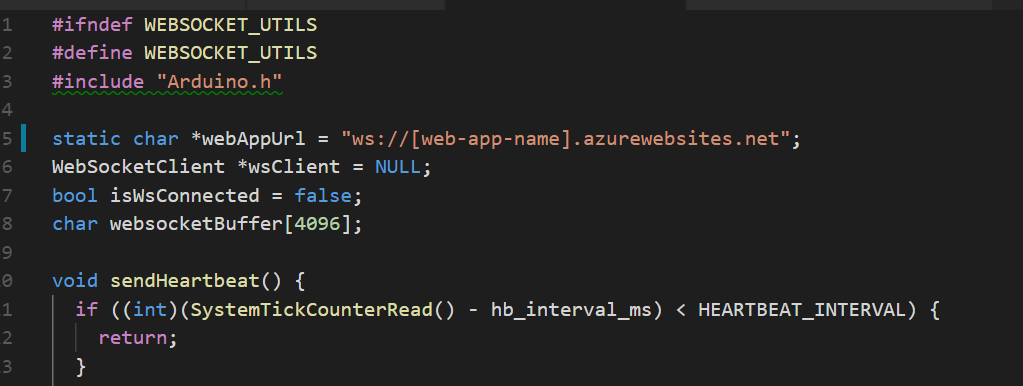
Open WebSocketUtils.h. Find and replace
[web-app-name]with the Azure Web App name you've create in Step 3. -
Use IoT Workbench extension or Arduino extension to build and upload the code to the DevKit.
-
The output window shows whether the task was successful.
-
Press Reset button on the first DevKit to restart your device application.
Note: Please ensure the DevKit is connected to Wi-Fi.
-
After the DevKit connect to Wi-Fi successfully, press button A to start the music player.
-
Press Reset button on the second DevKit to restart the voice recorder.
-
Connect the two Devkits via Serial.
-
Press button A on the second Devkit and you can control the music player via voice now.
Note: Do not connect two devkits until you have pressed button A of the first devkits.
There are three keywords available now:
-
Stop: Pause the music player.
-
On: Resume the music player.
-
Go: Skip to next song. (You can also skip to next song by pushing Button B)

