Android HTTP Call Monitor
This project creates a http server that is capable of serving the call data (number, name, duration etc.) to clients on the same network. It exposes 3 endpoints:
/- provides information about the available endpoints
[
  {
    "name": "log",
    "url": "http://192.168.188.48:8000/log"
  },
  {
    "name": "status",
    "url": "http://192.168.188.48:8000/status"
  }
]/log- provides the call log information associated with the device that is hosting the server
  {
    "duration": 21,
    "name": "Camila",
    "number": "+4915622492666",
    "start_date": "Jul 27, 2021 18:35:30",
    "times_queried": 0,
    "type": "INCOMING"
  },
  {
    "duration": 0,
    "name": "Clara",
    "number": "+4913622555664",
    "start_date": "Jul 27, 2021 18:35:13",
    "times_queried": 0,
    "type": "MISSED"
  },
  {
    "duration": 0,
    "name": "Mark",
    "number": "+3368198888888",
    "start_date": "Jul 27, 2021 16:58:30",
    "times_queried": 0,
    "type": "MISSED"
},/status- provides the "real time" call status of the device hosting the server
{
  "number": "+4917644492666",
  "state": "RINGING"
}
Getting started
Clone the project and open it with Android Studio (> 4.2.2).
Running and testing
Running
You can build and run the project using the Android Studio/Gradle. To run the app, you'll need an android emulator or a real device. The minimum SDK required for this application is API level 23 (Android 6.0) You will also find a sample apk in the root of the project, if you want to skip compiling it yourself.
Testing
All the unit tests are located in the /src/test. The folder structure mirrors the on in the actual classes.
For example, you will find the CallLogUseCaseTest.kt in the src/test/java/com/kaffka/httpserver/domain/usecases/CallLogUseCaseTest.kt
To execute the tests you can use the command:
./gradlew check
Another alternative is to run directly from Android Studio by using the gutter icon.
Project structure
The project is divided into 4 main layers:
domainholds the business logic and the data representations that are used across the application. Here, for example, you will find all the domain models and use cases for this applicationdataholds the repositories, providing an interface with the data layeruicontains the classes responsible for providing an interface between the user and the application business logic. Here you will find the activities, view models, adapters etc.dicontains dependency injection related files / classes
Dependencies
- ktor - Ktor is an asynchronous framework for creating microservices, web applications, and more. It’s fun, free, and open source.
- hilt - Hilt is a dependency injection library for Android that reduces the boilerplate of doing manual dependency injection in your project.
- room - The Room persistence library provides an abstraction layer over SQLite to allow fluent database access while harnessing the full power of SQLite
- mockk - mocking library for Kotlin
Project structure
The project was developed under the influence of MVVM and Clean architecture ideas and is divided into 4 main packages:
domainholds the data representations that are used across the application.datais responsible for providing the data through the the exposed repositoriesuicontains all view related code, including adapters, activities, fragments and view modelsdiis responsible to provide the repositories instances for the application
Some notes about the main components in this app:
ServerService, as the name implies, it is a foreground service responsible for hosting our http serverPhoneStatusReceiver, is a broadcast receiver responsible for listening for changes in the phone state, such as ringing, incoming or outgoing calls eventsServerControlFragment, the fragment responsible for displaying the call log and enabling the server control (start/stop)
How to use the app
Starting
- Install, make sure you are connected to a wifi network and open the app
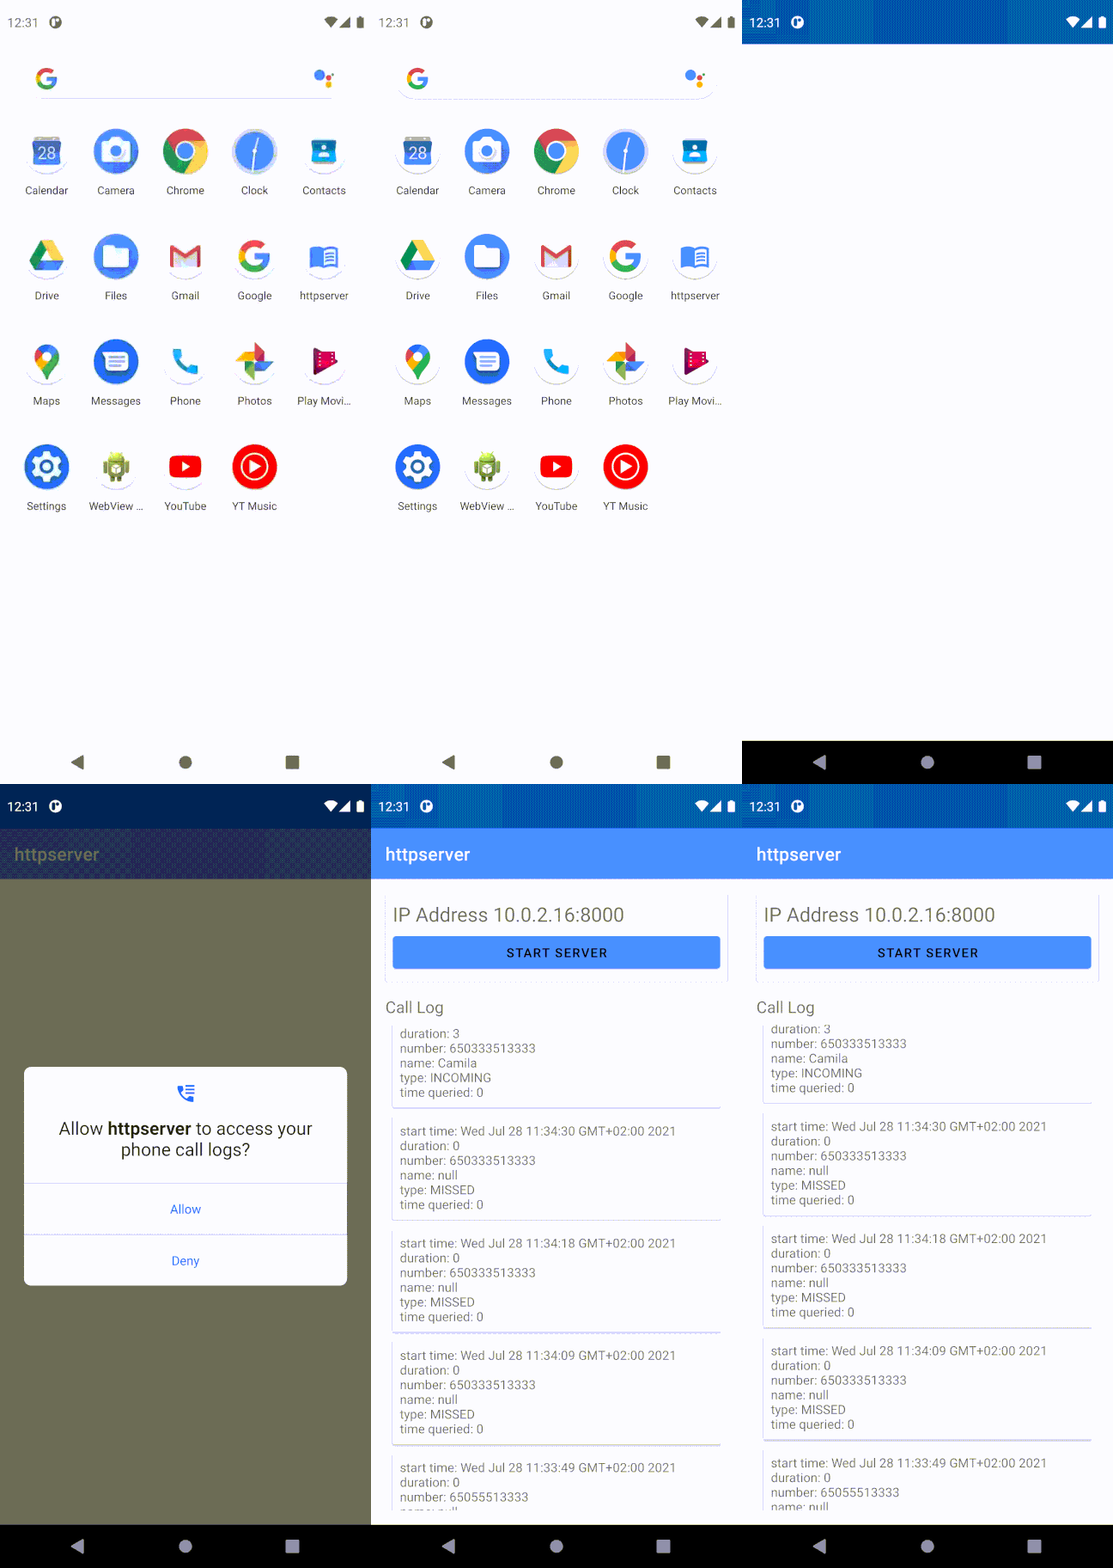
- Two permissions are required to enable reading the call log and listening to phone status changes, if you want to use the app you need to agree with both
- After that, you should be able to see the server ip address with a blue button, followed by a list of calls, the button allows you to control the server state.
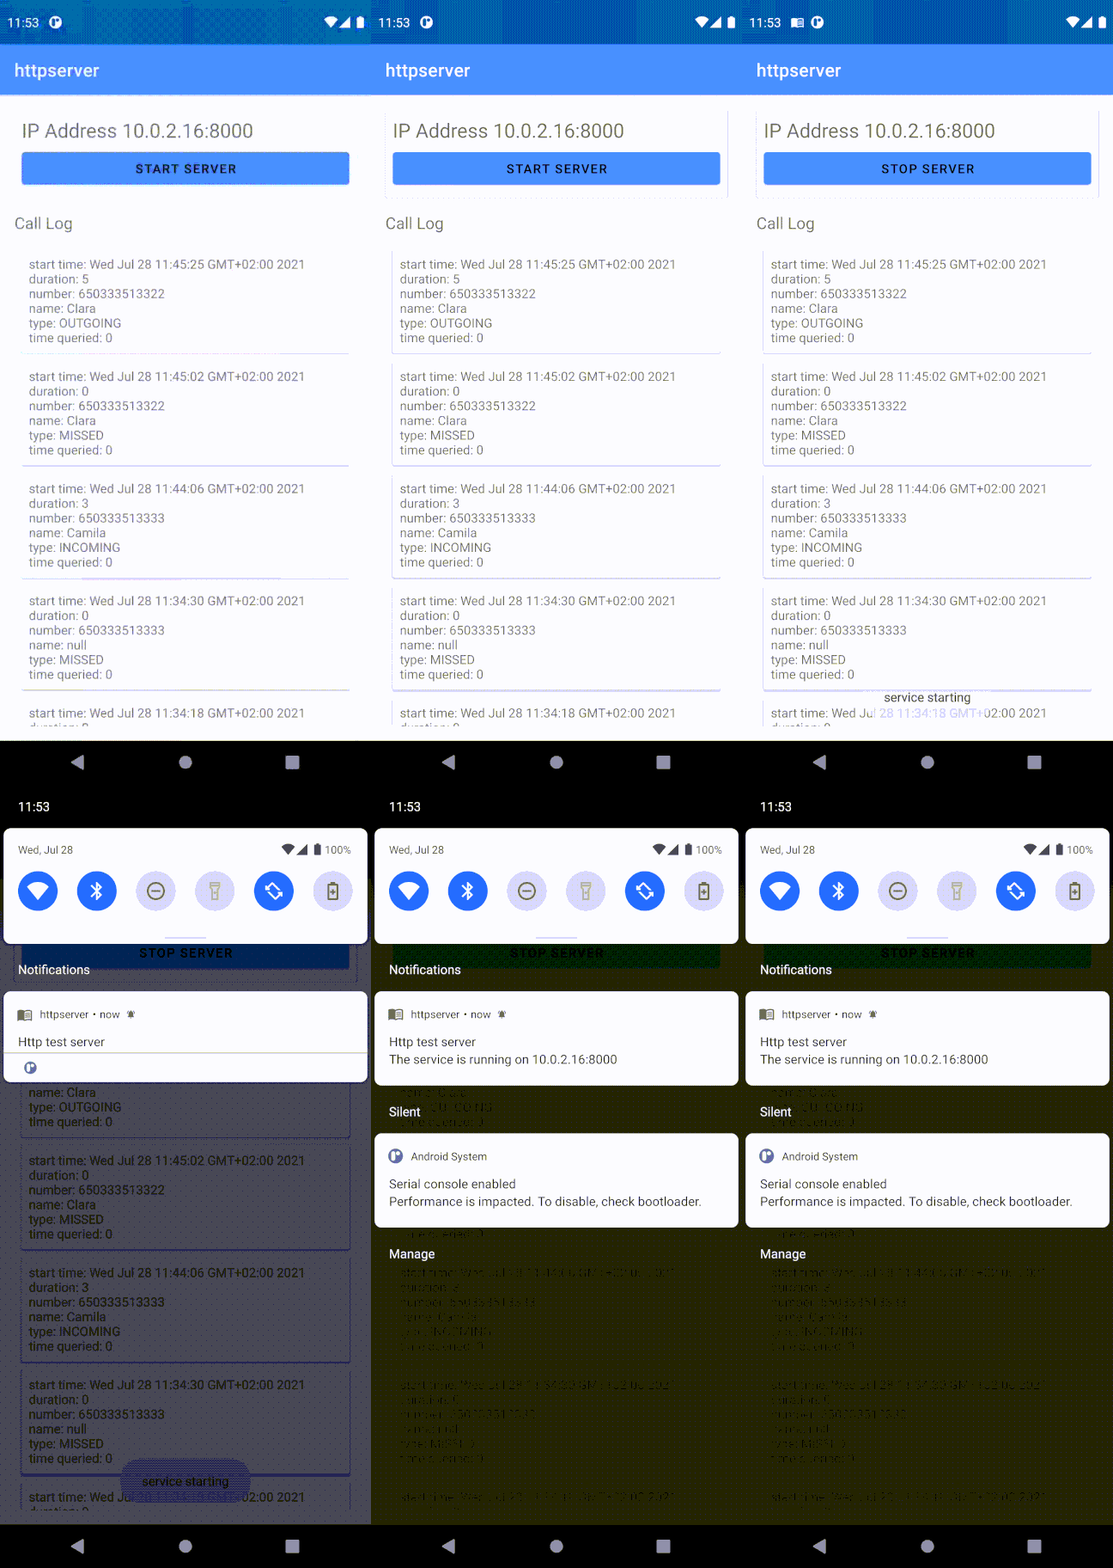
- Press the "START SERVER" button, the text fo the button should change to "STOP SERVER", and you should see a notification indicating the server is up and running
- In another device, connected to the same wifi network of the device that is running the app, navigate to the specified server address
- You should get a response containing the available services as the one described at the top of this readme
Stopping
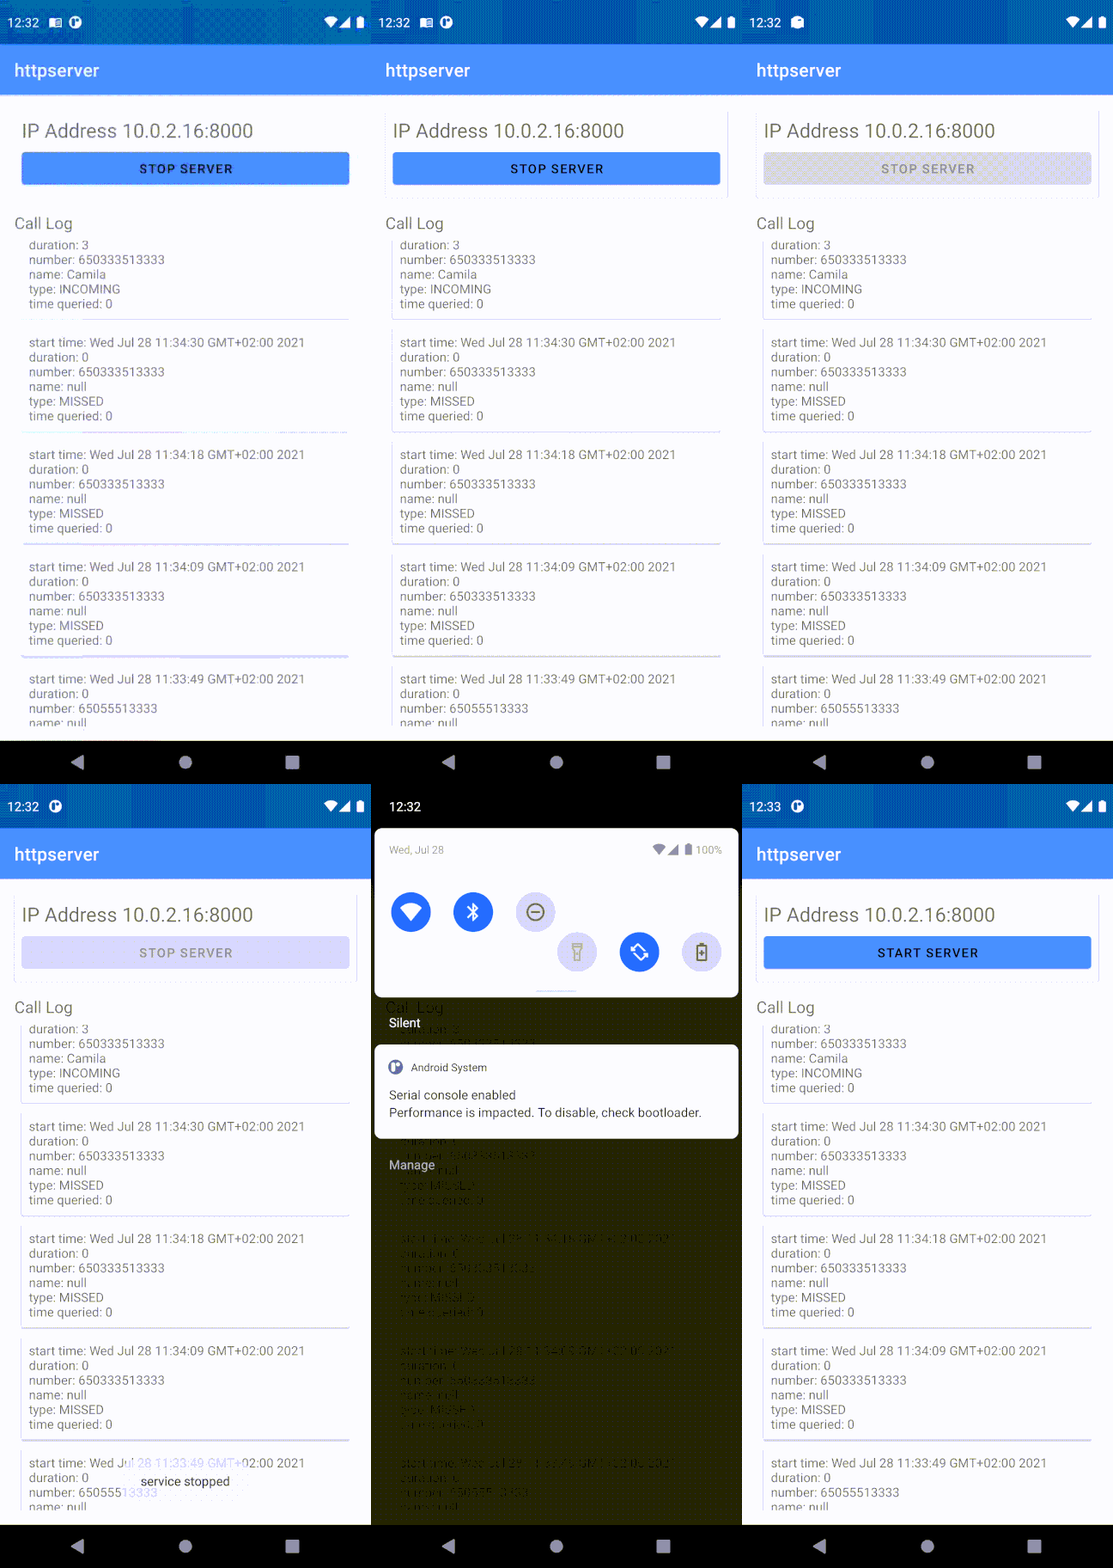
- To stop the server just open the app again and click the "STOP SERVER" button, the notification should be dismissed, and the server should be no longer accessible
Screenshots
| Permission | Start Server | Stop Server |
|---|---|---|
 |
 |
 |