A workflow to setup and use fastai on Google Cloud Platfrom
Here is a set of features fastai-shell gives you:
- Use preemptible instances to get the minimum price possible
- Switch between different GPUs based on your requirement and cost
- Keep data and tools you installed even when switching between GPUs
- No need to install anything locally, you just need a web browser
- Fully automated process, no SSH or complex commands required
- Switch your instance between different availability zones
Create an account on Google Cloud Platform.
You will get $300 credits for a new signup.
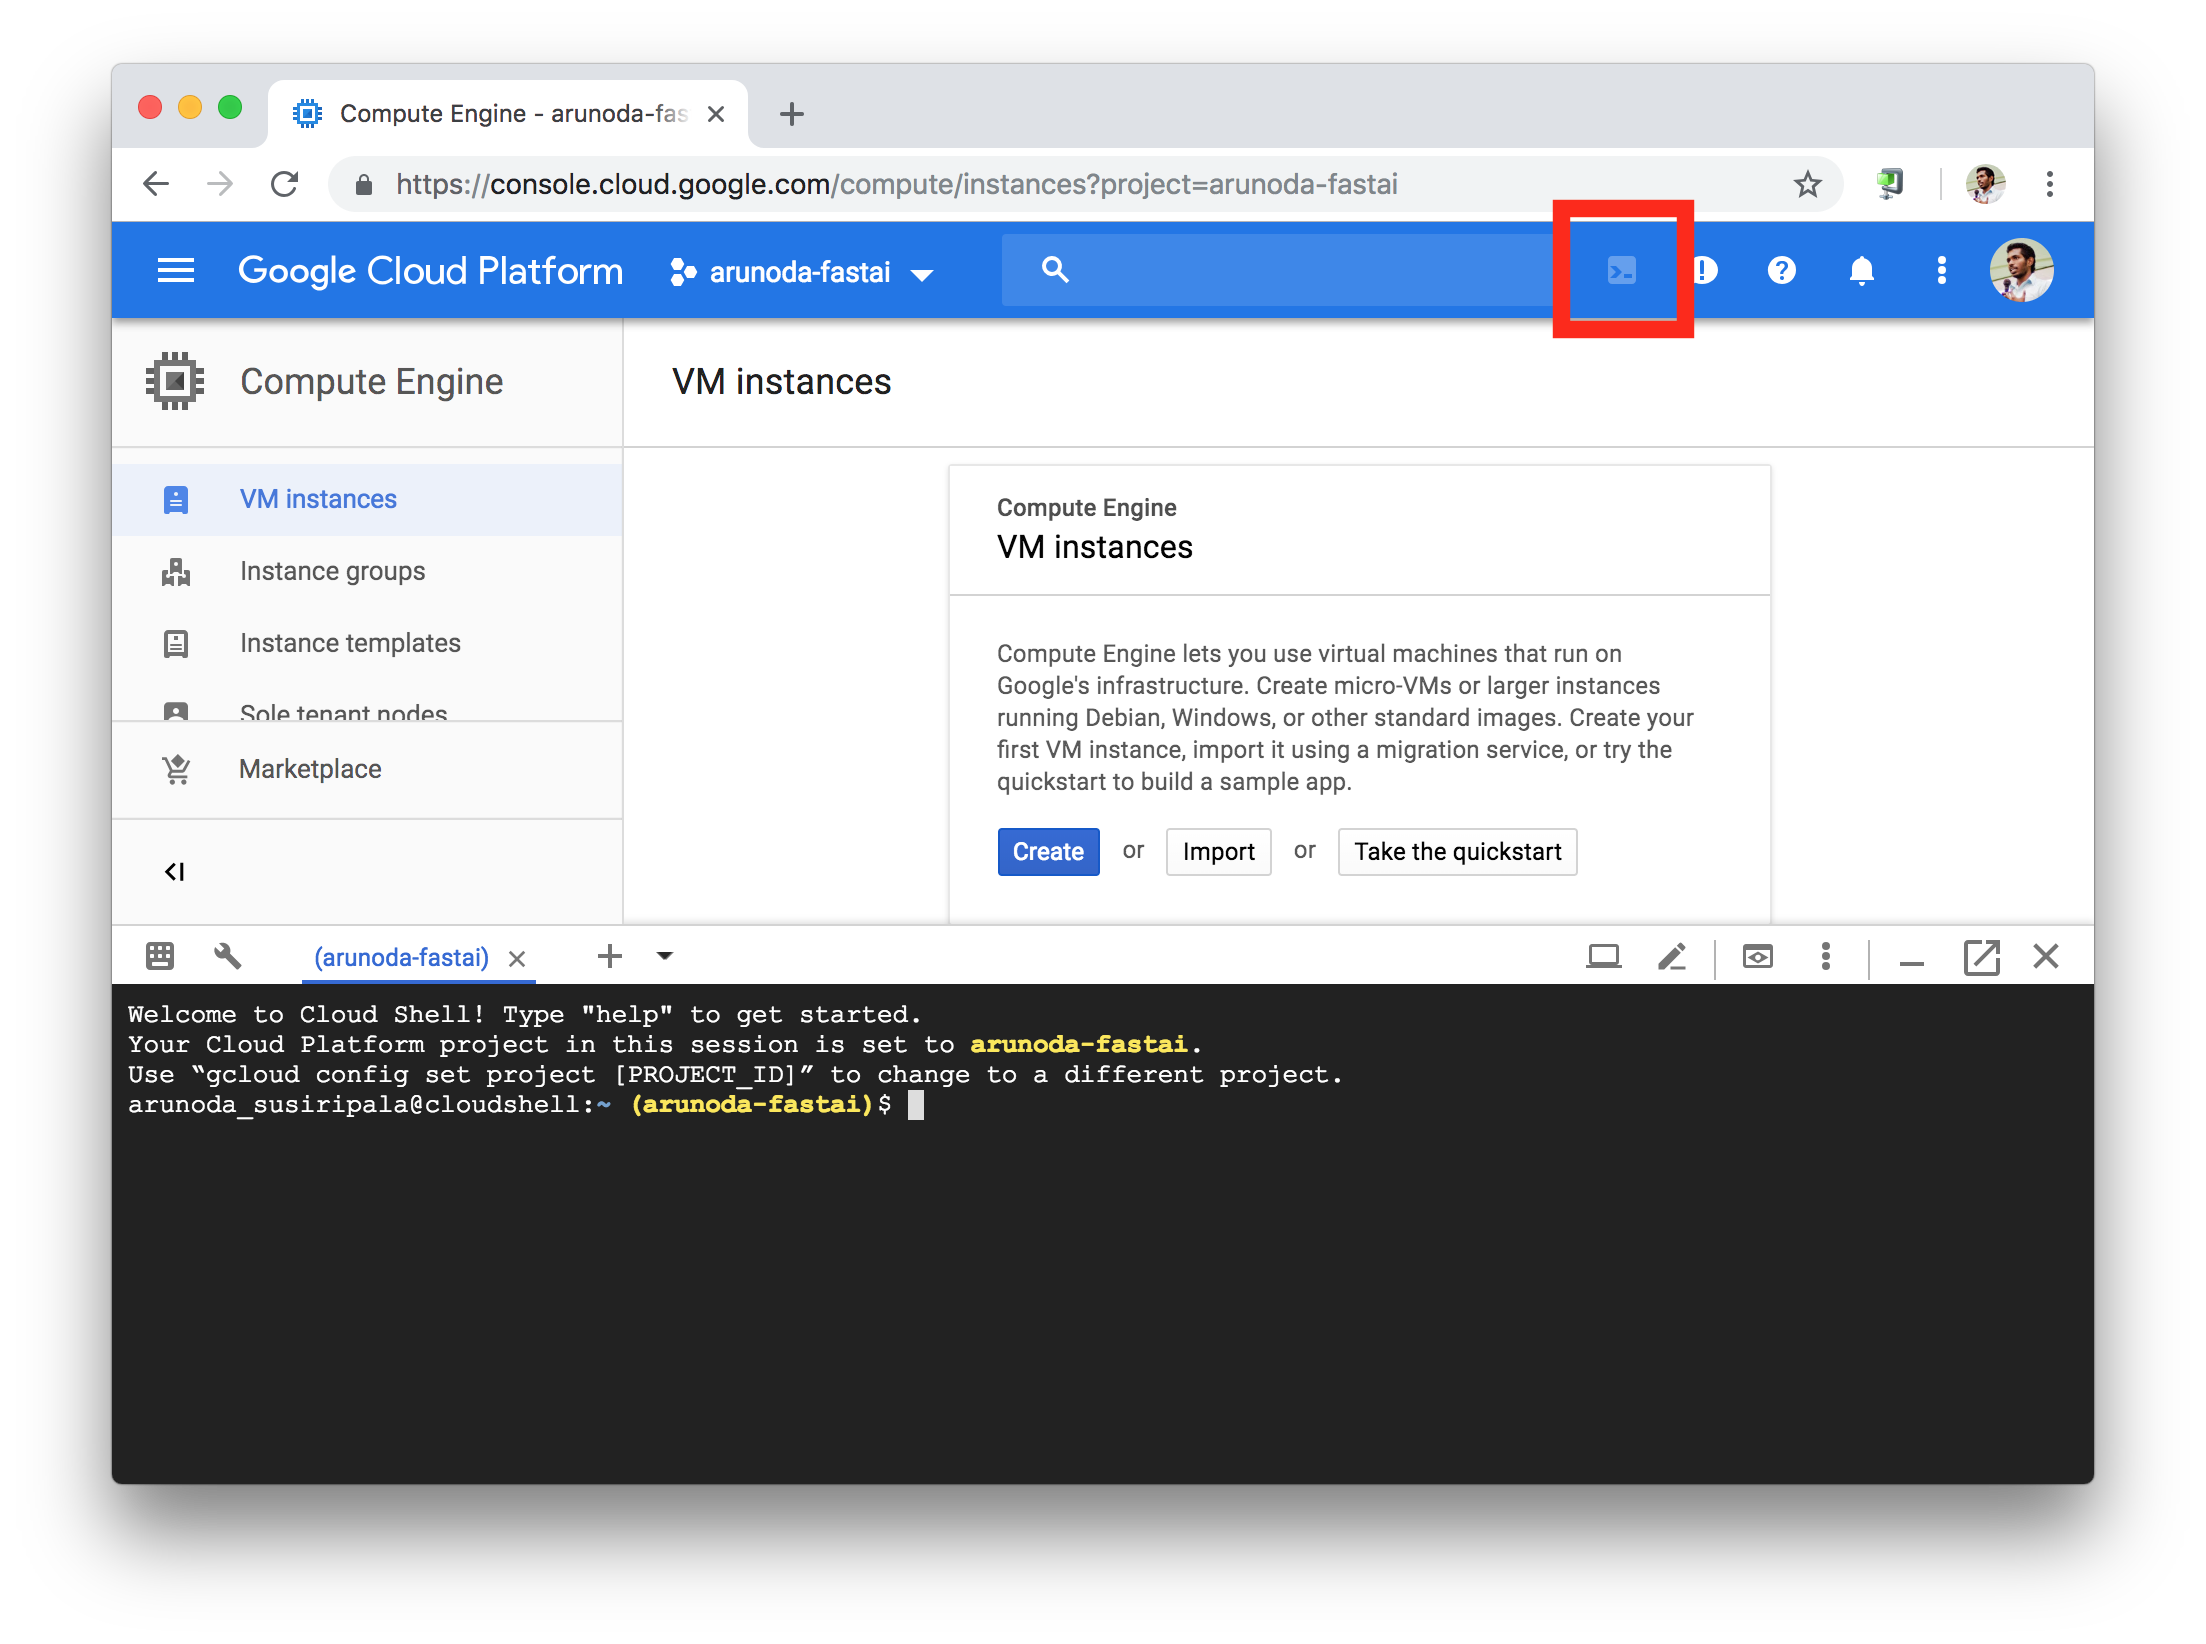
Go to your project and open the Google Cloud shell as shown below:
Then run the following commands:
curl -L https://git.io/fpeMb | bash
source ~/.bashrc
You can create a fastai instance with:
fastai create
Then you can start that instance by running:
fastai start
That will show you a list of GPU options available. You can select one based on your requirements and cost.
After you have finished with your instance, run:
fastai stop
This will delete the instance and stop paying for the GPU.
But it will keep the all of the data you saved and any additional tool you installed.
The next time, you can simply type fastai start and continue working with your project.
Here we use preemptible instances, so the cost will be very low.
After you type fastai start, you can select an instance and see the estimated hourly cost.
(It's a range between $0.02/hour to $0.83/hour.)
After you stop your instance with fastai stop, you won't get charged for the computing power and GPU.
But here we use a 50GB SSD boot disk which won't get deleted with the fastai stop command.
It will cost around $8.50/month.
You can run
fastai destroyto delete that disk.
But then, you need to runfastai createeverytime when you need to work with your notebooks.
(This will destroy everything you saved and it will take around 5-20 minutes to complete thefastai createprocess)
Sometimes the current availability zone has no resources to start an instance. In that case, we should try another zone.
Here's a simple utilty to test that.
First of all invoke the folling command:
fastai list-zones
Then select a zone and a gpu.
After that invoke this command:
fastai test-zone <zone> <gpu>
If this commands throws an error, try a different zone/gpu combination.
With the demand for computing power in the current availability zone, sometimes Google won't let you create instances. Usually this will last for a couple of hours and could happen at anytime.
Luckily with fastai-shell, you can switch your instance to a different zone and continue working with your models.
To do that, select an availability zone by typing:
fastai list-zones
Now, you will see a list of GPUs available in each zone.
Then select a zone and run:
fastai switch-to <selected-zone>
This will move your boot disk to the selected zone and it will take between 5 - 20 minutes to complete.
After that, you can simply type fastai start and continue working with your models.
This is a project that is constantly updating with your feedback.
(But we won't do breaking changes at this point.)
At anytime, you can run the following command to get the latest version:
curl -L https://git.io/fpeMb | bash
You can check the installed version by typing: fastai version
Simply type fastai help or create an issue.

