THREE.Terrain is a procedural terrain generation engine for use with the
Three.js 3D graphics library for the web.
Include the script on your page (after the three.js library):
<script src="THREE.Terrain.min.js"></script>Or with Bower (bower install THREE.Terrain):
<script src="bower_components\THREE.Terrain\build\THREE.Terrain.min.js"></script>In your own script, generate a terrain and add it to your scene:
var xS = 63, yS = 63;
terrainScene = THREE.Terrain({
easing: THREE.Terrain.Linear,
frequency: 2.5,
heightmap: THREE.Terrain.DiamondSquare,
material: new THREE.MeshBasicMaterial({color: 0x5566aa}),
maxHeight: 100,
minHeight: -100,
steps: 1,
useBufferGeometry: false,
xSegments: xS,
xSize: 1024,
ySegments: yS,
ySize: 1024,
});
// Assuming you already have your global scene
scene.add(terrainScene);
// Add randomly distributed foliage
decoScene = THREE.Terrain.ScatterMeshes(geo, {
mesh: new THREE.Mesh(new THREE.CylinderGeometry(2, 2, 12, 6)),
w: xS,
h: yS,
spread: 0.02,
randomness: Math.random,
});
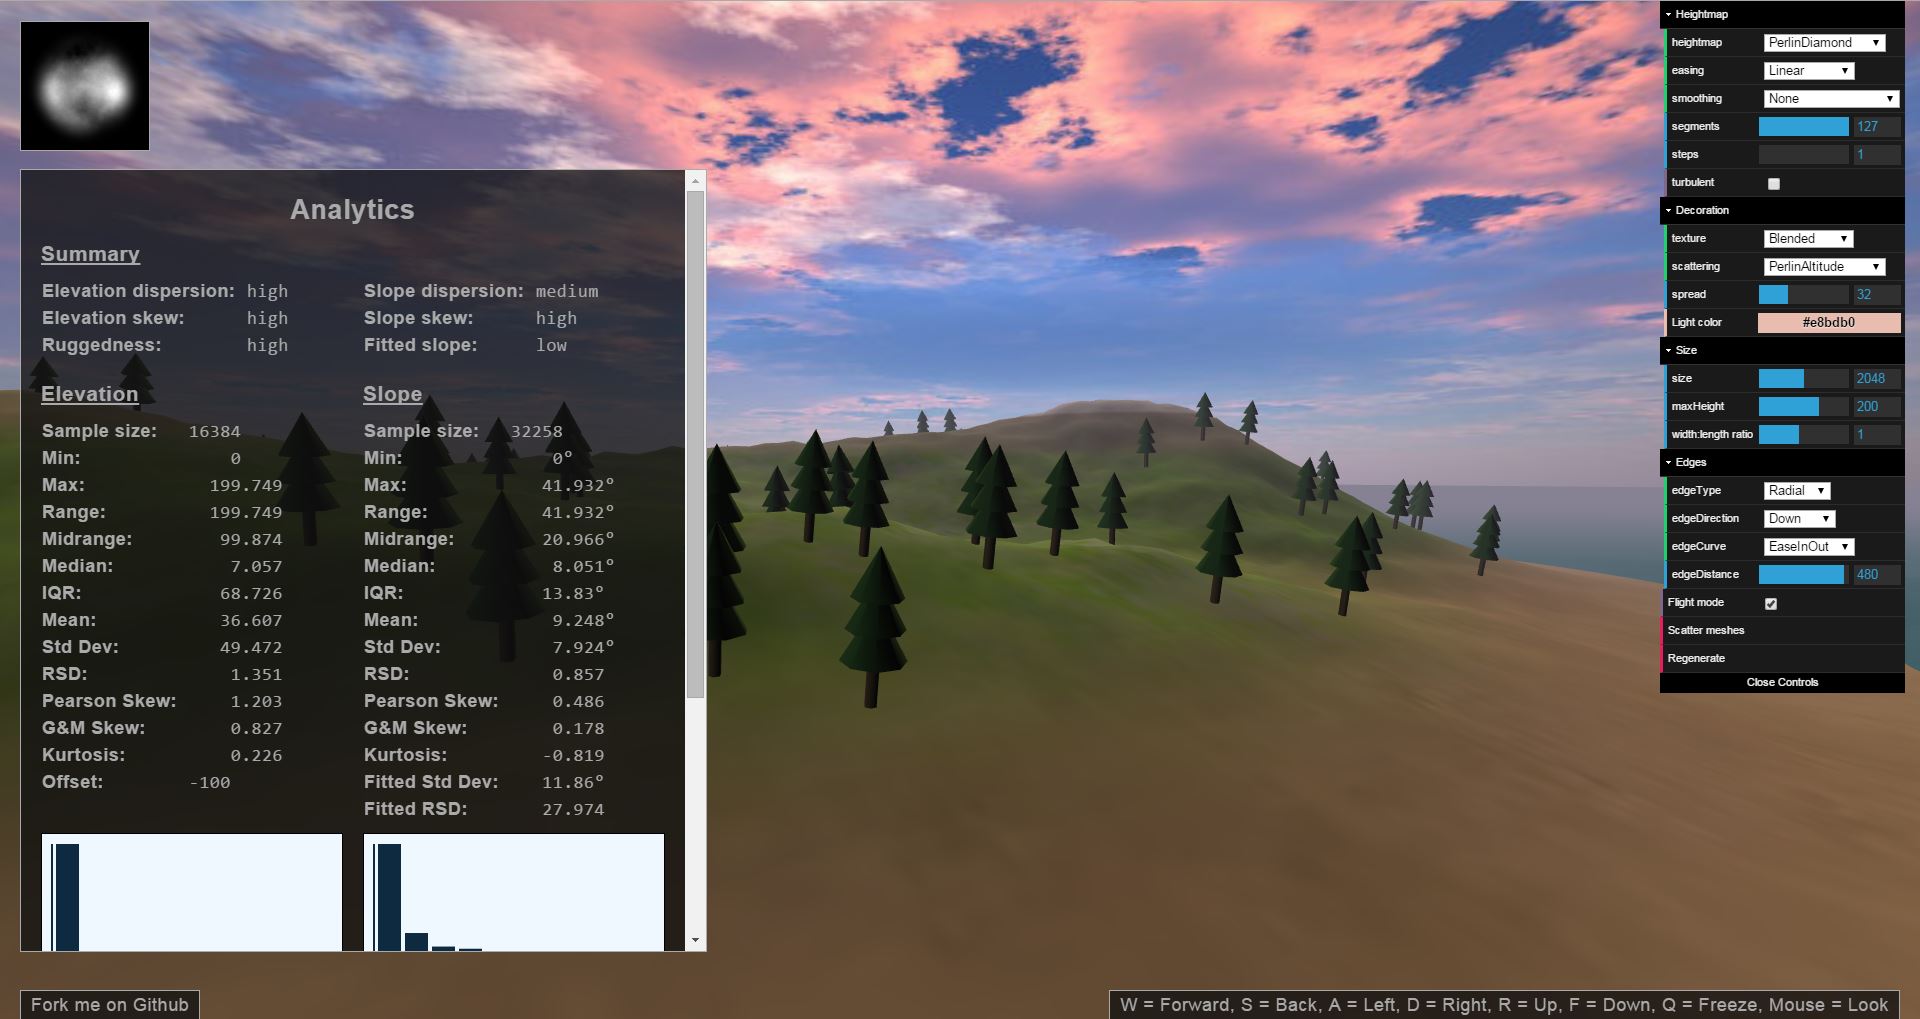
terrainScene.add(decoScene);All parameters are optional and thoroughly documented in the source code. You can play around with some of the parameters and see what happens in the demo.
Methods for generating terrain procedurally that are available by default include Cosine, Diamond-Square (a better version of Midpoint Displacement), Fault lines, Feature picking, Particle deposition, Perlin and Simplex noise, Value noise, Weierstrass functions, Worley noise (aka Cell or Voronoi noise), and various combinations of those.
Export a terrain to a heightmap image:
// Returns a canvas with the heightmap drawn on it.
// Append to your document body to view; right click to save as a PNG image.
// Note: doesn't work if you generated the terrain with `useBufferGeometry` set to `true`.
var canvas = THREE.Terrain.toHeightmap(
    // terrainScene.children[0] is the most detailed version of the terrain mesh
    terrainScene.children[0].geometry.vertices,
    { xSegments: 63, ySegments: 63 }
);
The result will look something like this:

Of course, the easy way to generate a heightmap (if all you need is a static terrain) is to use the demo and save the generated heightmap that appears in the upper-left corner. However, if you want to perform custom manipulations on the terrain first you will need to export the heightmap yourself.
To import a heightmap, create a terrain as explained above, but pass the loaded
heightmap image (or a canvas containing a heightmap) to the heightmap option
for the THREE.Terrain() function (instead of passing a procedural generation
function).
If you want to export and import the scattered foliage with the terrain or if you want to export/import the whole scene, you can do this the usual Three.js way using SceneExporter and SceneLoader. This will work just fine in general with the caveat that the exported files will be much larger than a heightmap. Note that if you do it this way and you're using the dynamic texture generator, you'll need to re-generate the texture in code and apply it to the terrain.
When generating terrains procedurally, it's useful to automatically texture
terrains based on height/biome, slope, and location. A utility function is
provided that generates such a material (other than blending textures together,
it is the same as a MeshLambertMaterial).
// t1, t2, t3, and t4 must be textures, e.g. loaded using `THREE.ImageUtils.loadTexture()`.
// The function takes an array specifying textures to blend together and how to do so.
// The `levels` property indicates at what height to blend the texture in and out.
// The `glsl` property allows specifying a GLSL expression for texture blending.
var material = THREE.Terrain.generateBlendedMaterial([
    // The first texture is the base; other textures are blended in on top.
    {texture: t1},
    // Start blending in at height -80; opaque between -35 and 20; blend out by 50
    {texture: t2, levels: [-80, -35, 20, 50]},
    {texture: t3, levels: [20, 50, 60, 85]},
    // How quickly this texture is blended in depends on its x-position.
    {texture: t4, glsl: '1.0 - smoothstep(65.0 + smoothstep(-256.0, 256.0, vPosition.x) * 10.0, 80.0, vPosition.z)'},
    // Use this texture if the slope is between 27 and 45 degrees
    {texture: t3, glsl: 'slope > 0.7853981633974483 ? 0.2 : 1.0 - smoothstep(0.47123889803846897, 0.7853981633974483, slope) + 0.2'},
]);Many other utilities are provided, for example for compositing different terrain generation methods; creating islands, cliffs, canyonjs, and plateaus; manually influencing the terrain's shape at different locations; different kinds of smoothing; and more. These will be documented online soon. In the mean time, these features are all fully documented in the source code. Additionally, you can create custom methods for generating terrain or affecting other processes. How to do so will also be documented soon. A writeup on how it all works under the hood is in order as well.