The first two modules in this tutorial will rely on Jupyter Notebooks which are targeted for running on Google's Colaboratory Platform. This platform gives the user a virtual machine in which to run python codes including machine learning codes. The VM comes with a preinstalled environment that includes most of what is needed for these tutorials.
The latter two modules will be performed with simple Python scripts executed on the ThetaGPU machine.
Do the following before you come to the tutorial:
- You need a Google Account to use Colaboratory
- Goto Google's Colaboratory Platform
- You should see this page
- Click on the
New Python Notebook - Now you will see a new notebook where you can type in python code.
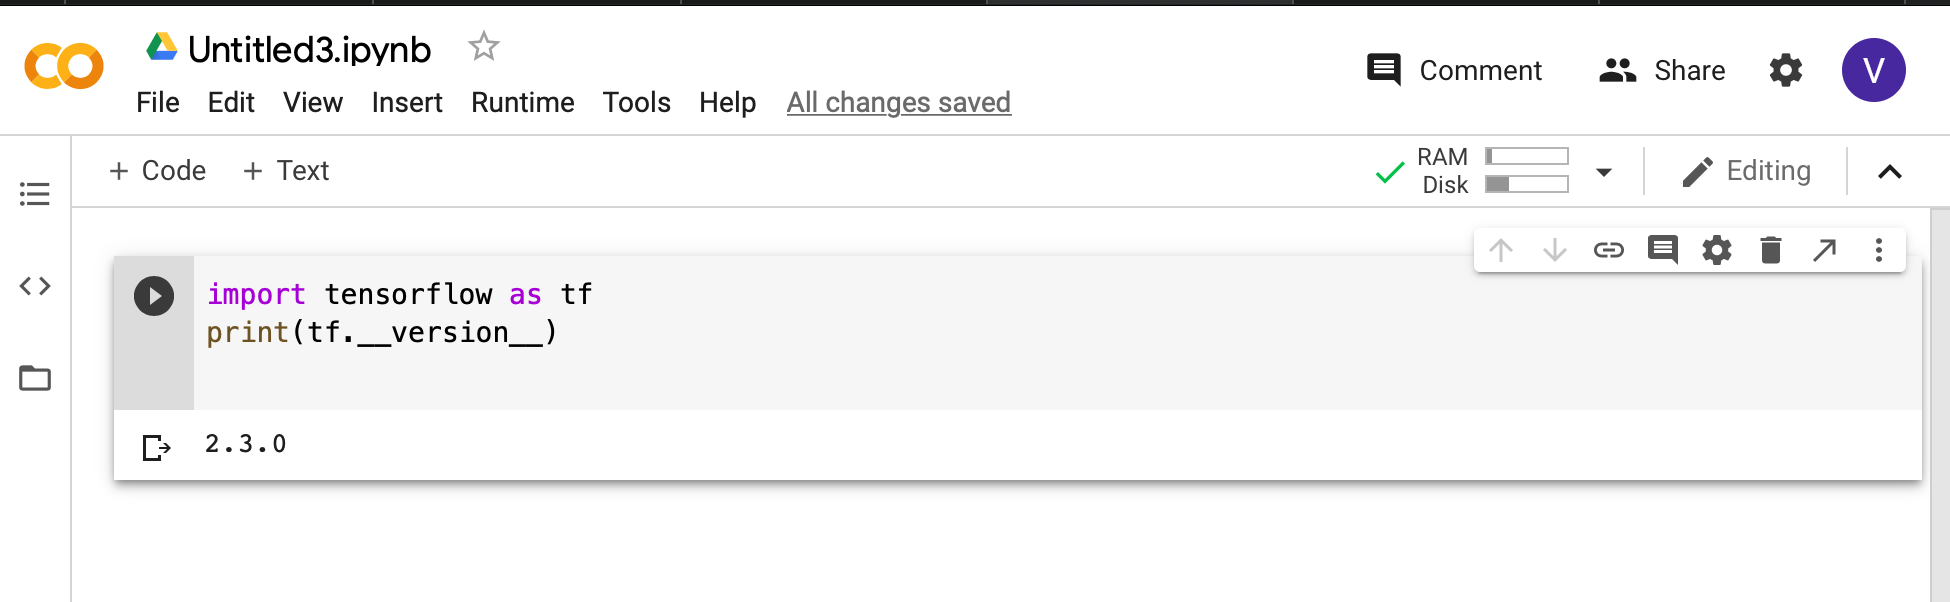
- After you enter code, type
<shift>+<enter>to execute the code cell. - A full introduction to the notebook environment is out of scope for this tutorial, but many can be found with a simple Google search
- We will be using notebooks from this repository during the tutorial, so you should be familiar with how to import them into Colaboratory
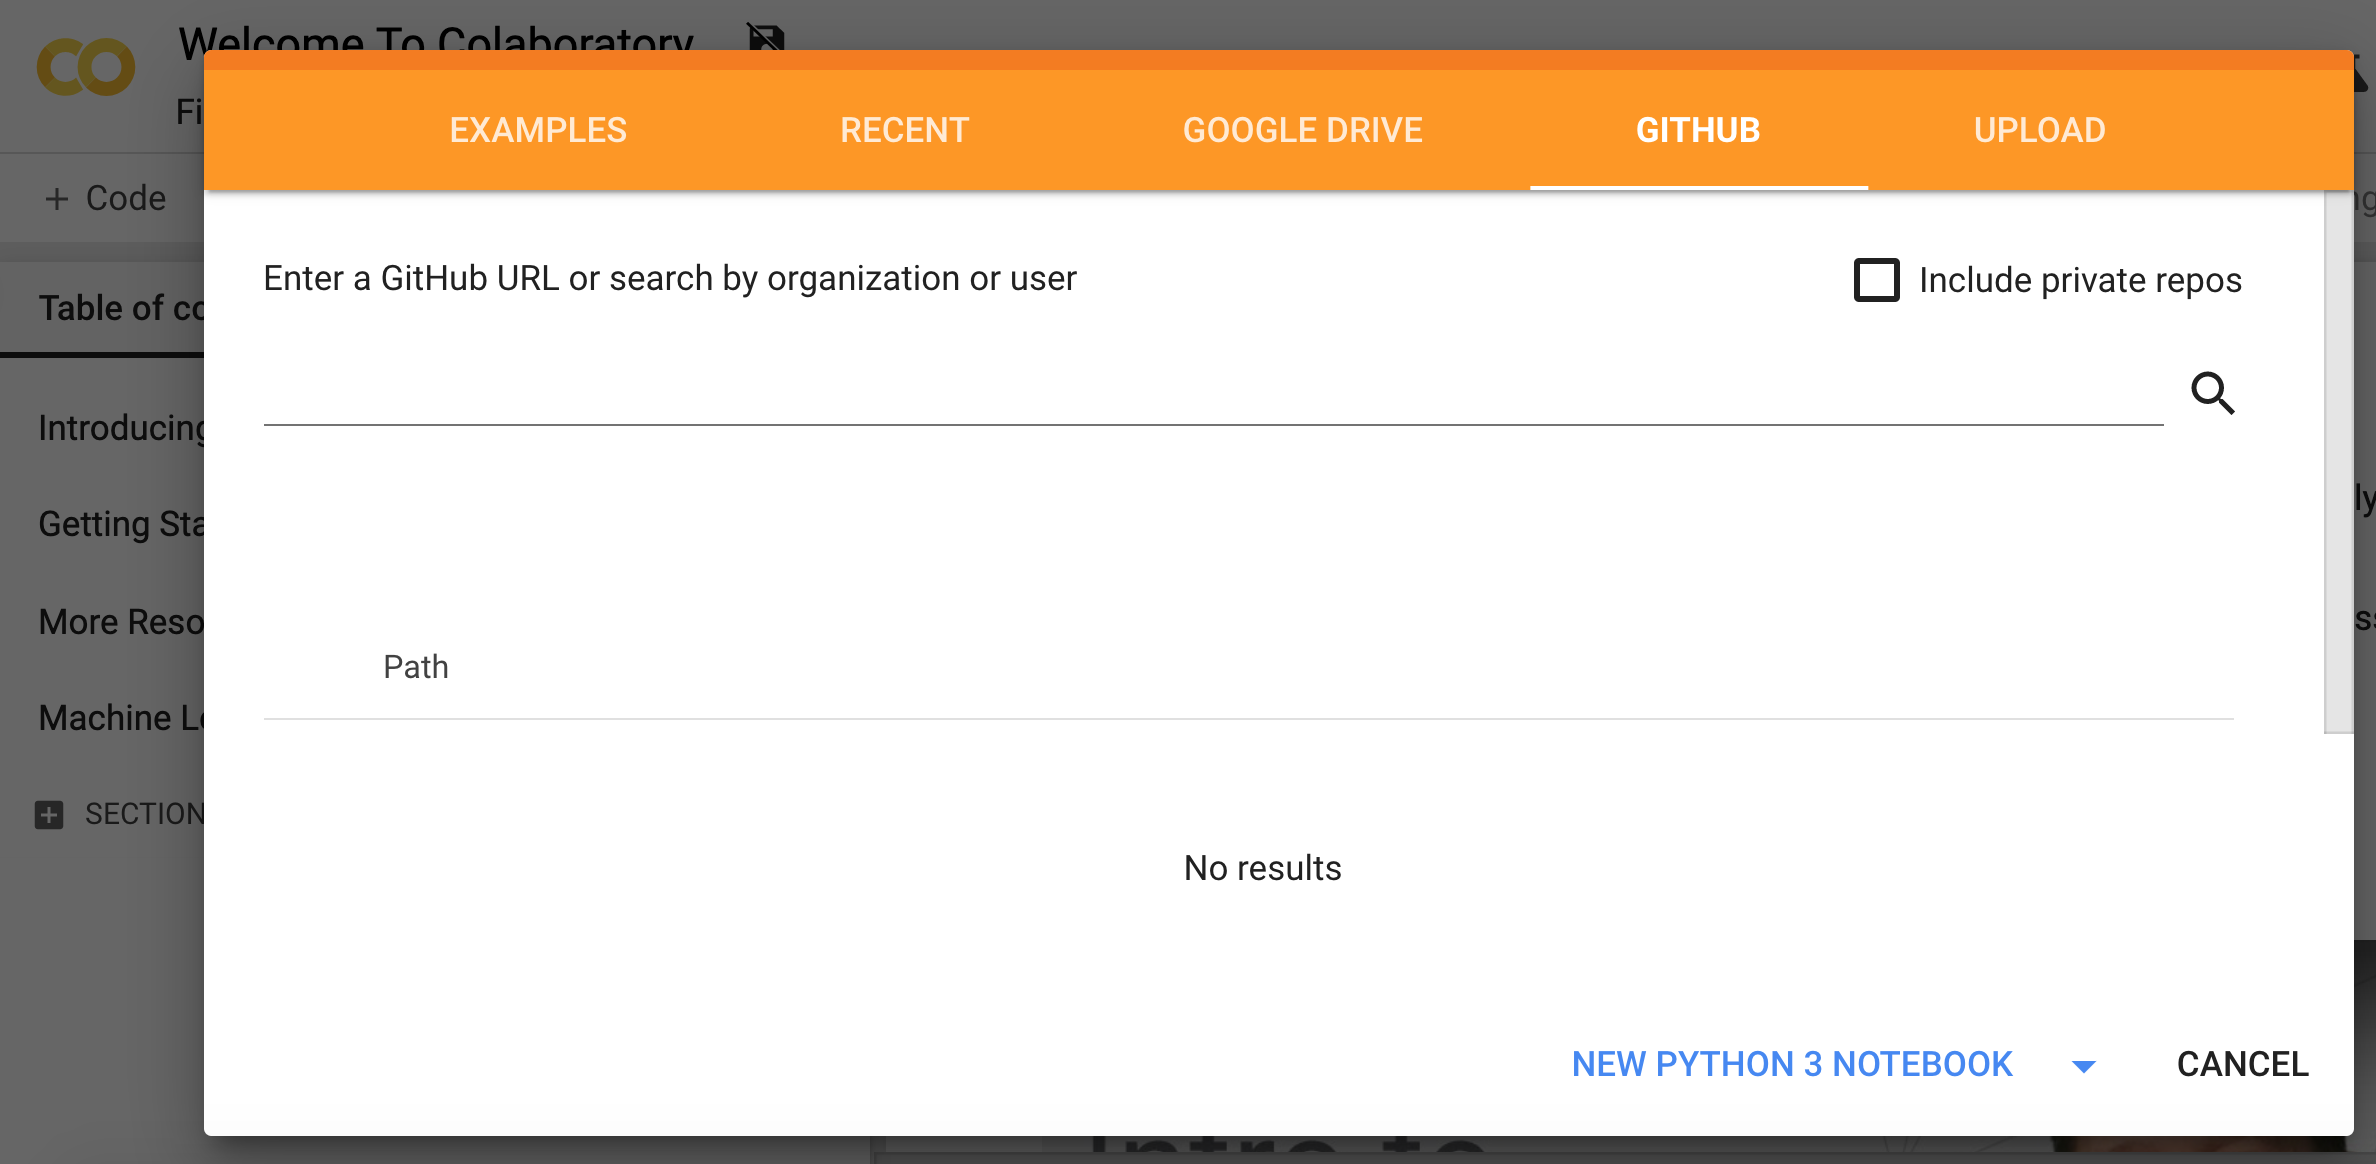
- Now you can open the
Filemenu at the top left and selectOpen Notebookwhich will open a dialogue box. - Select the
GitHubtab in the dialogue box. - From here you can enter the url for the github repo:
https://github.com/argonne-lcf/ATPESC_MachineLearningand hit<enter>.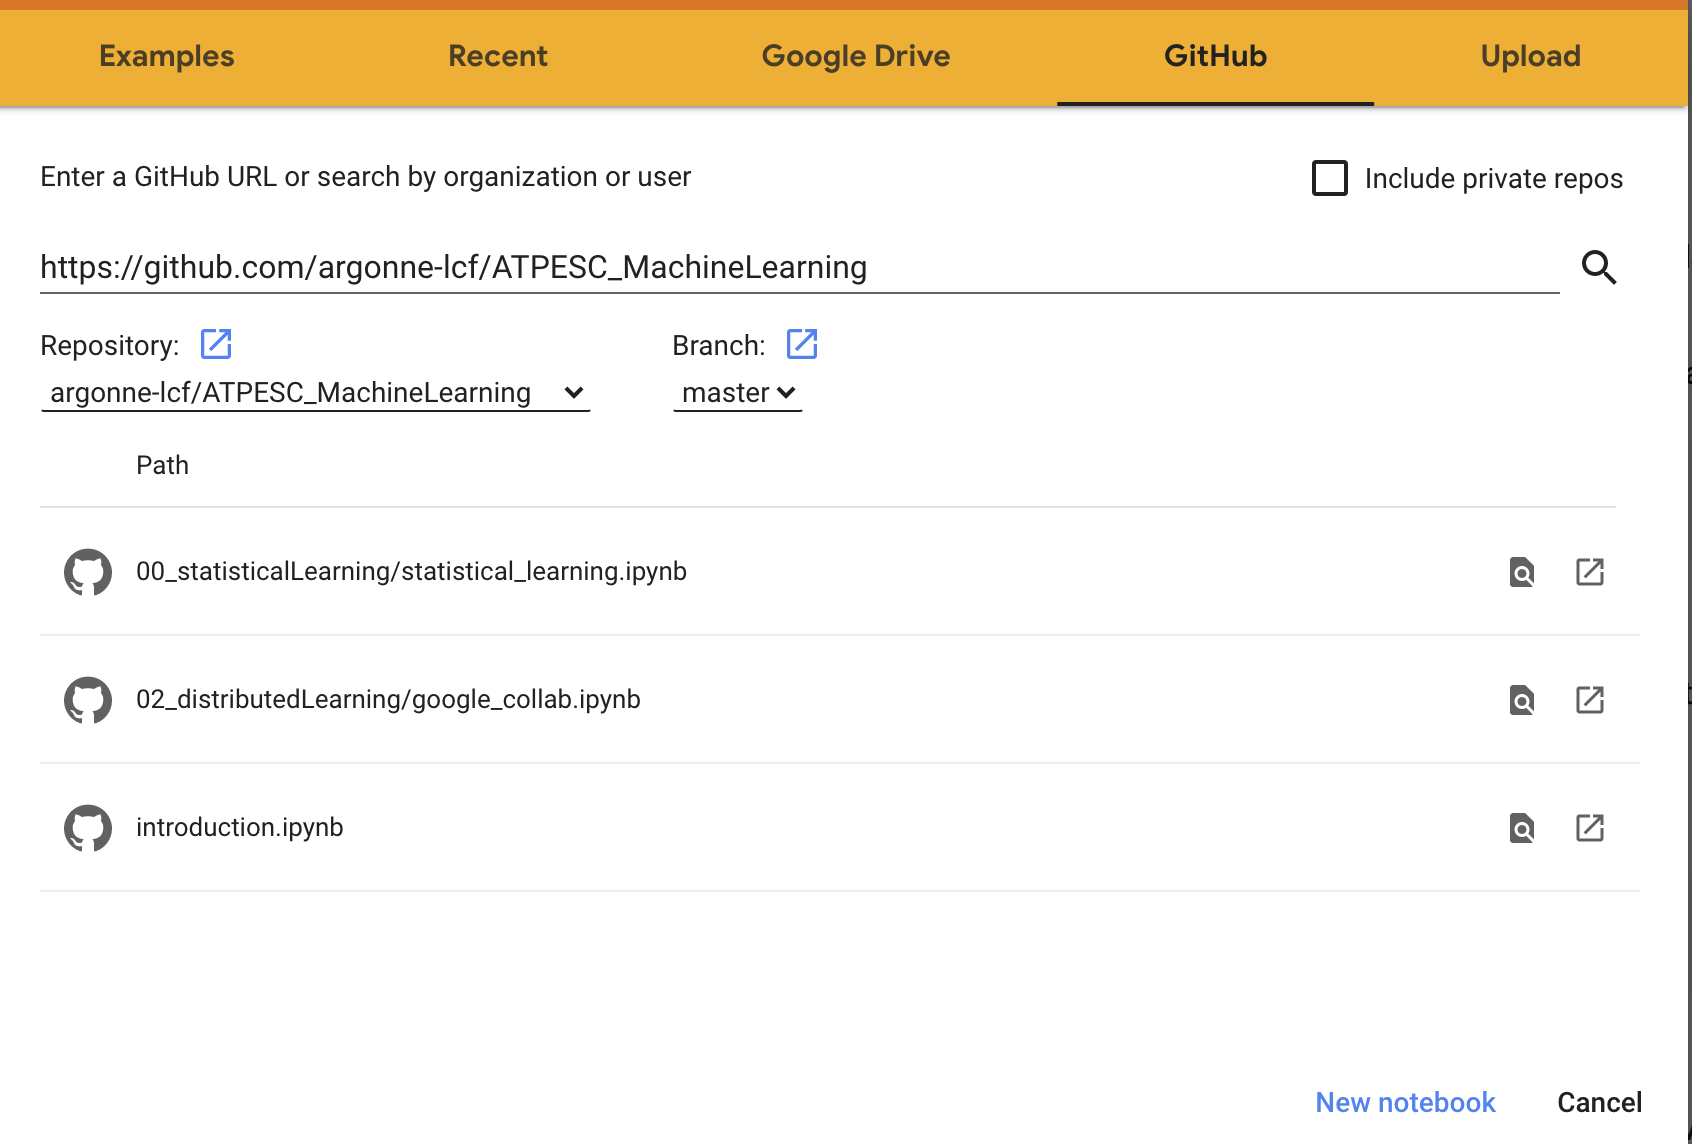
- This will show you a list of the Notebooks available in the repo.
- Select the
introduction.ipynbfile to open and work through it. - As each session of the tutorial begins, you will simply select the corresponding notebook from this list and it will create a copy for you in your Colaboratory account (all
*.ipynbfiles in the Colaboratory account will be stored in your Google Drive). - To use a GPU, in the notbook the select
Runtime->Change Runtime Typeand you have a dropbox list of hardward settings to choose from where the notebook can run.


