AssistAI is an Eclipse IDE plugin that brings a Large Language Model (LLM) assistant (similar to ChatGPT) into your development environment. This an experimental plugin..
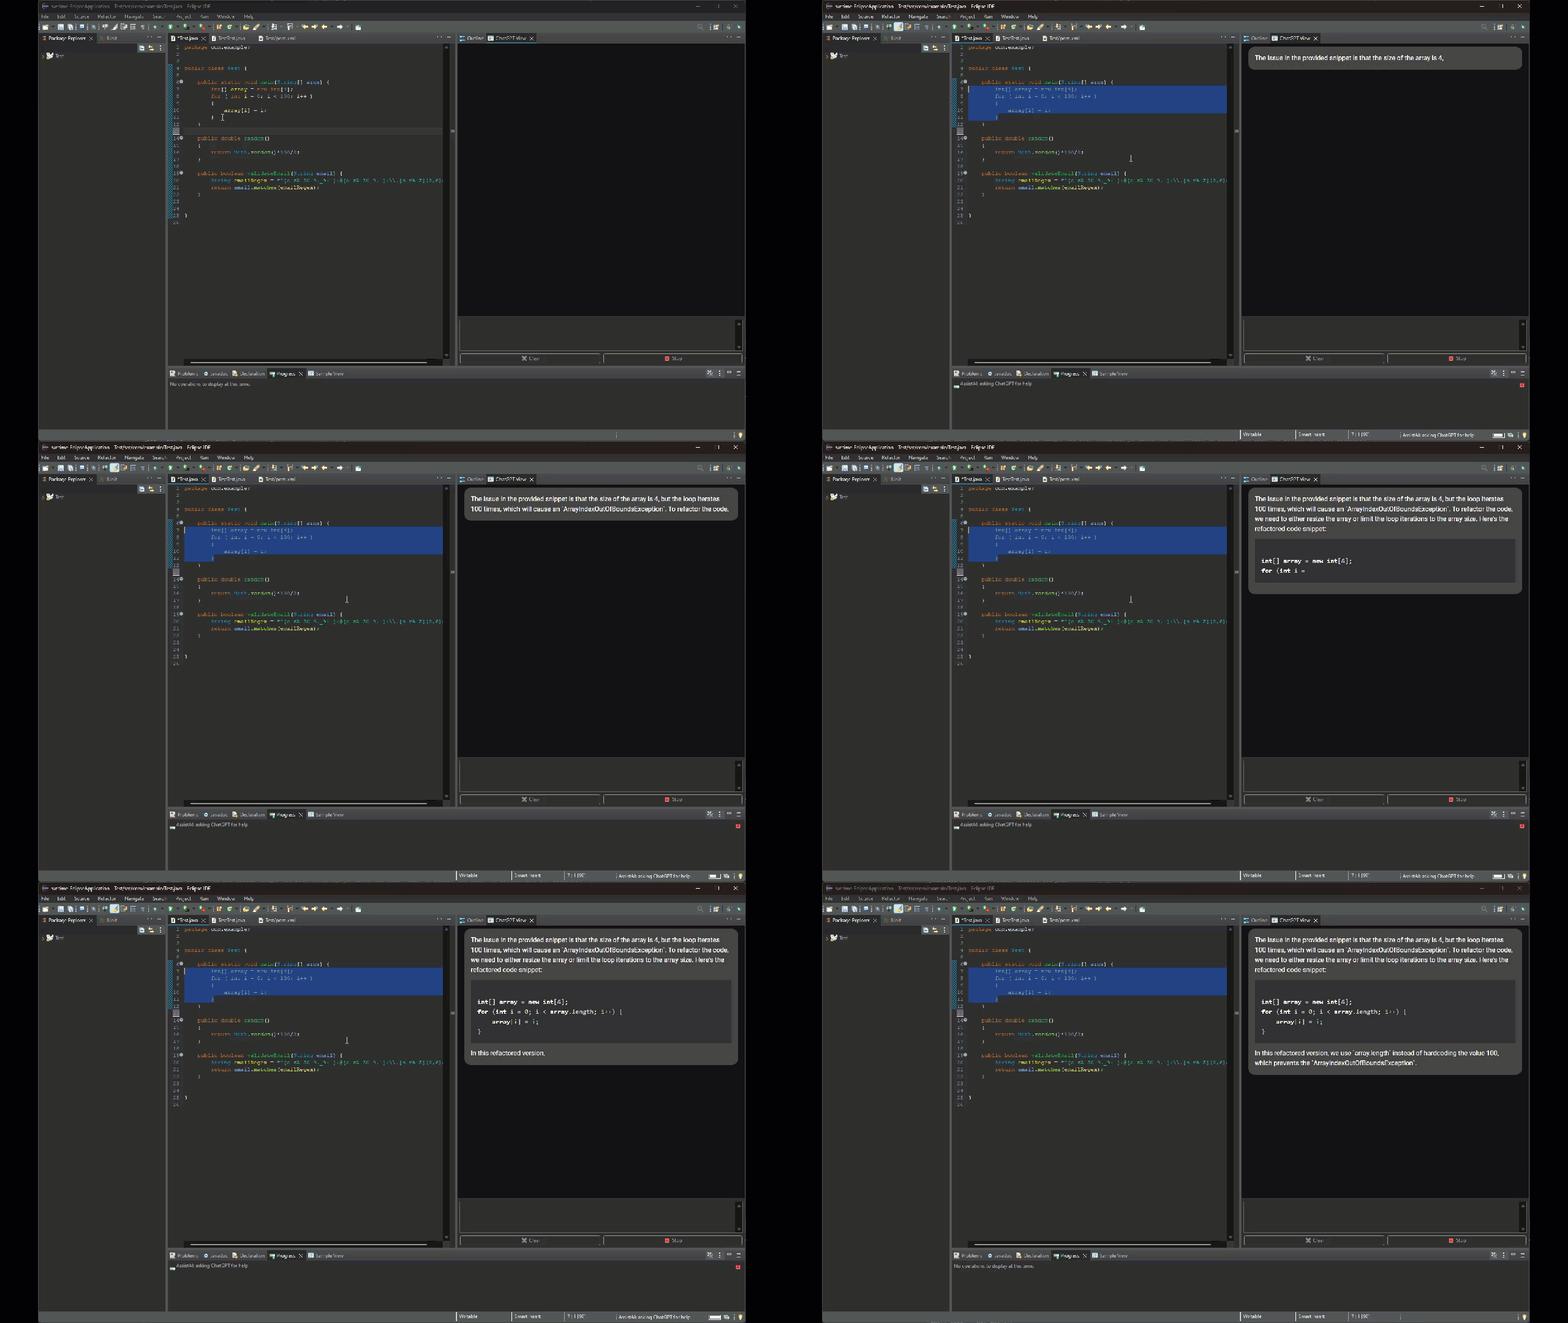
- Refactor selected code snippets with LLM
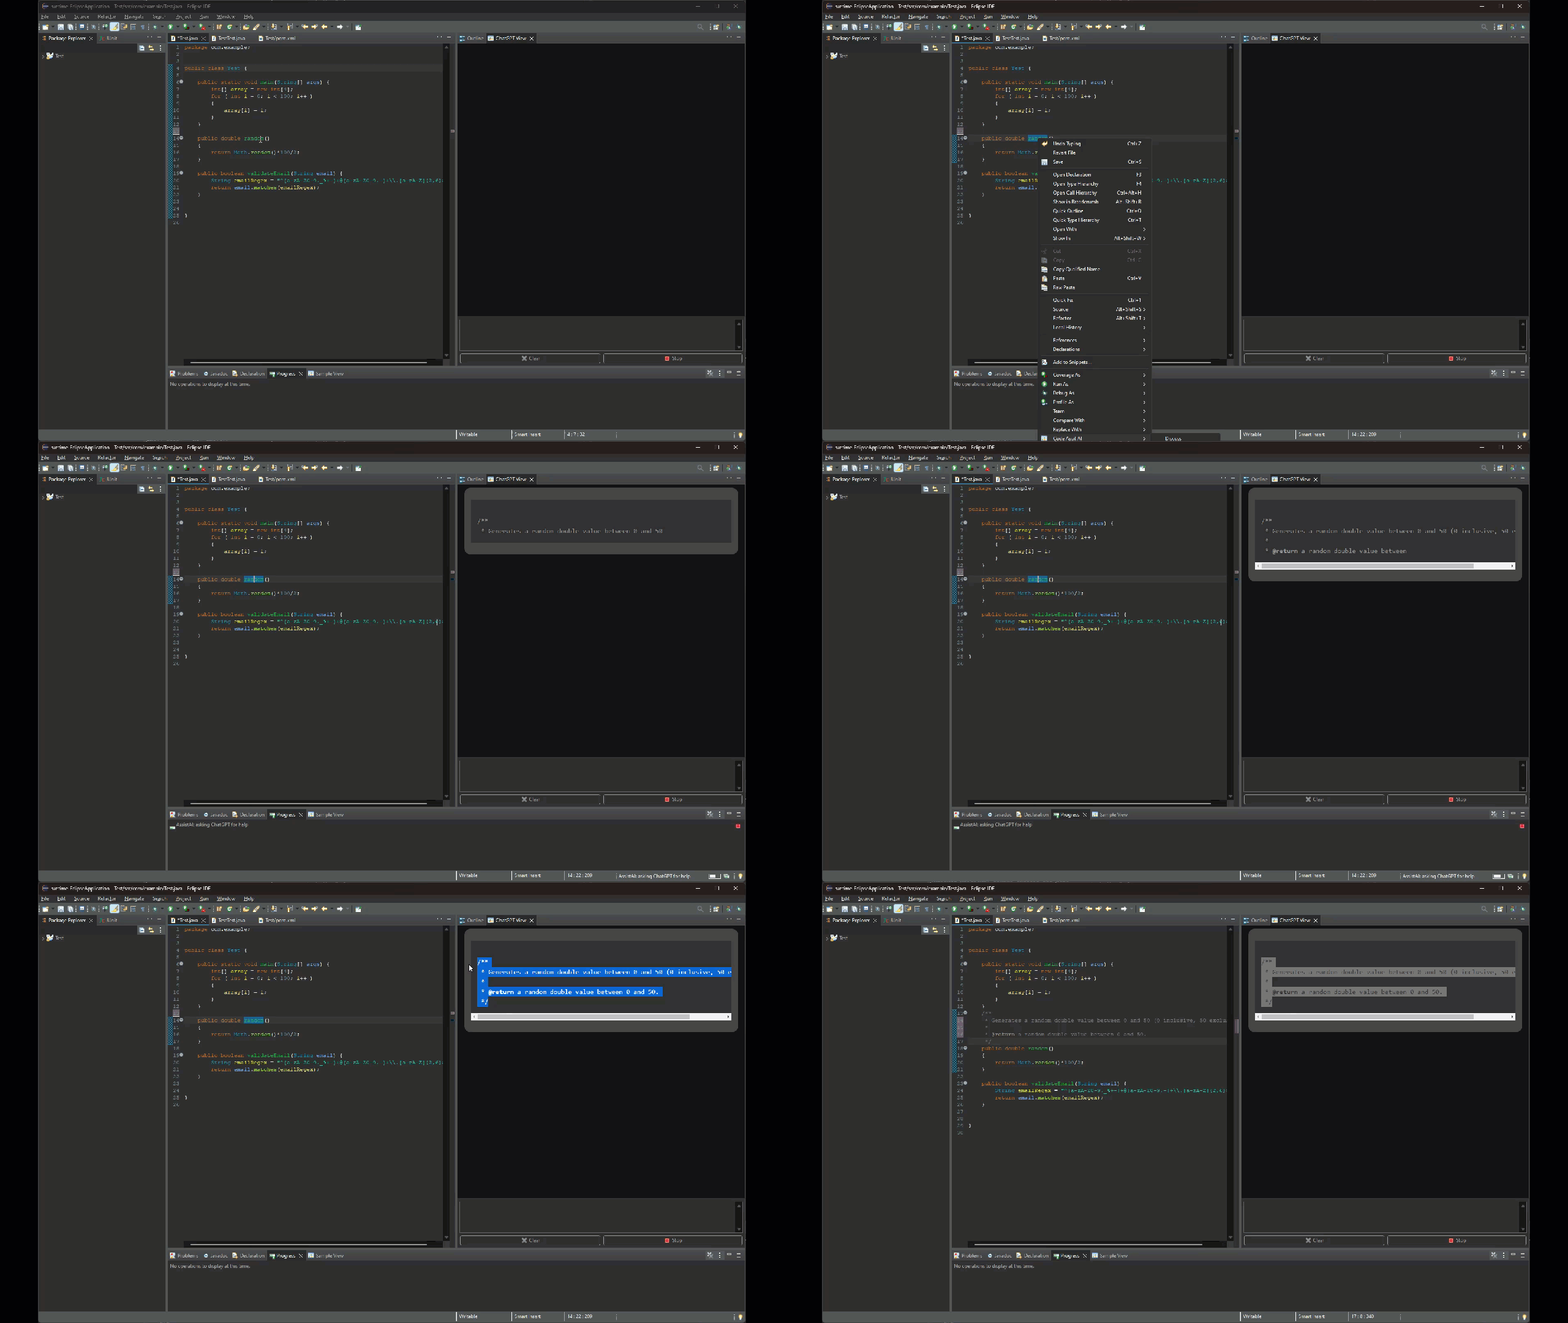
- Generate JavaDoc comments for chosen classes or methods with LLM's help
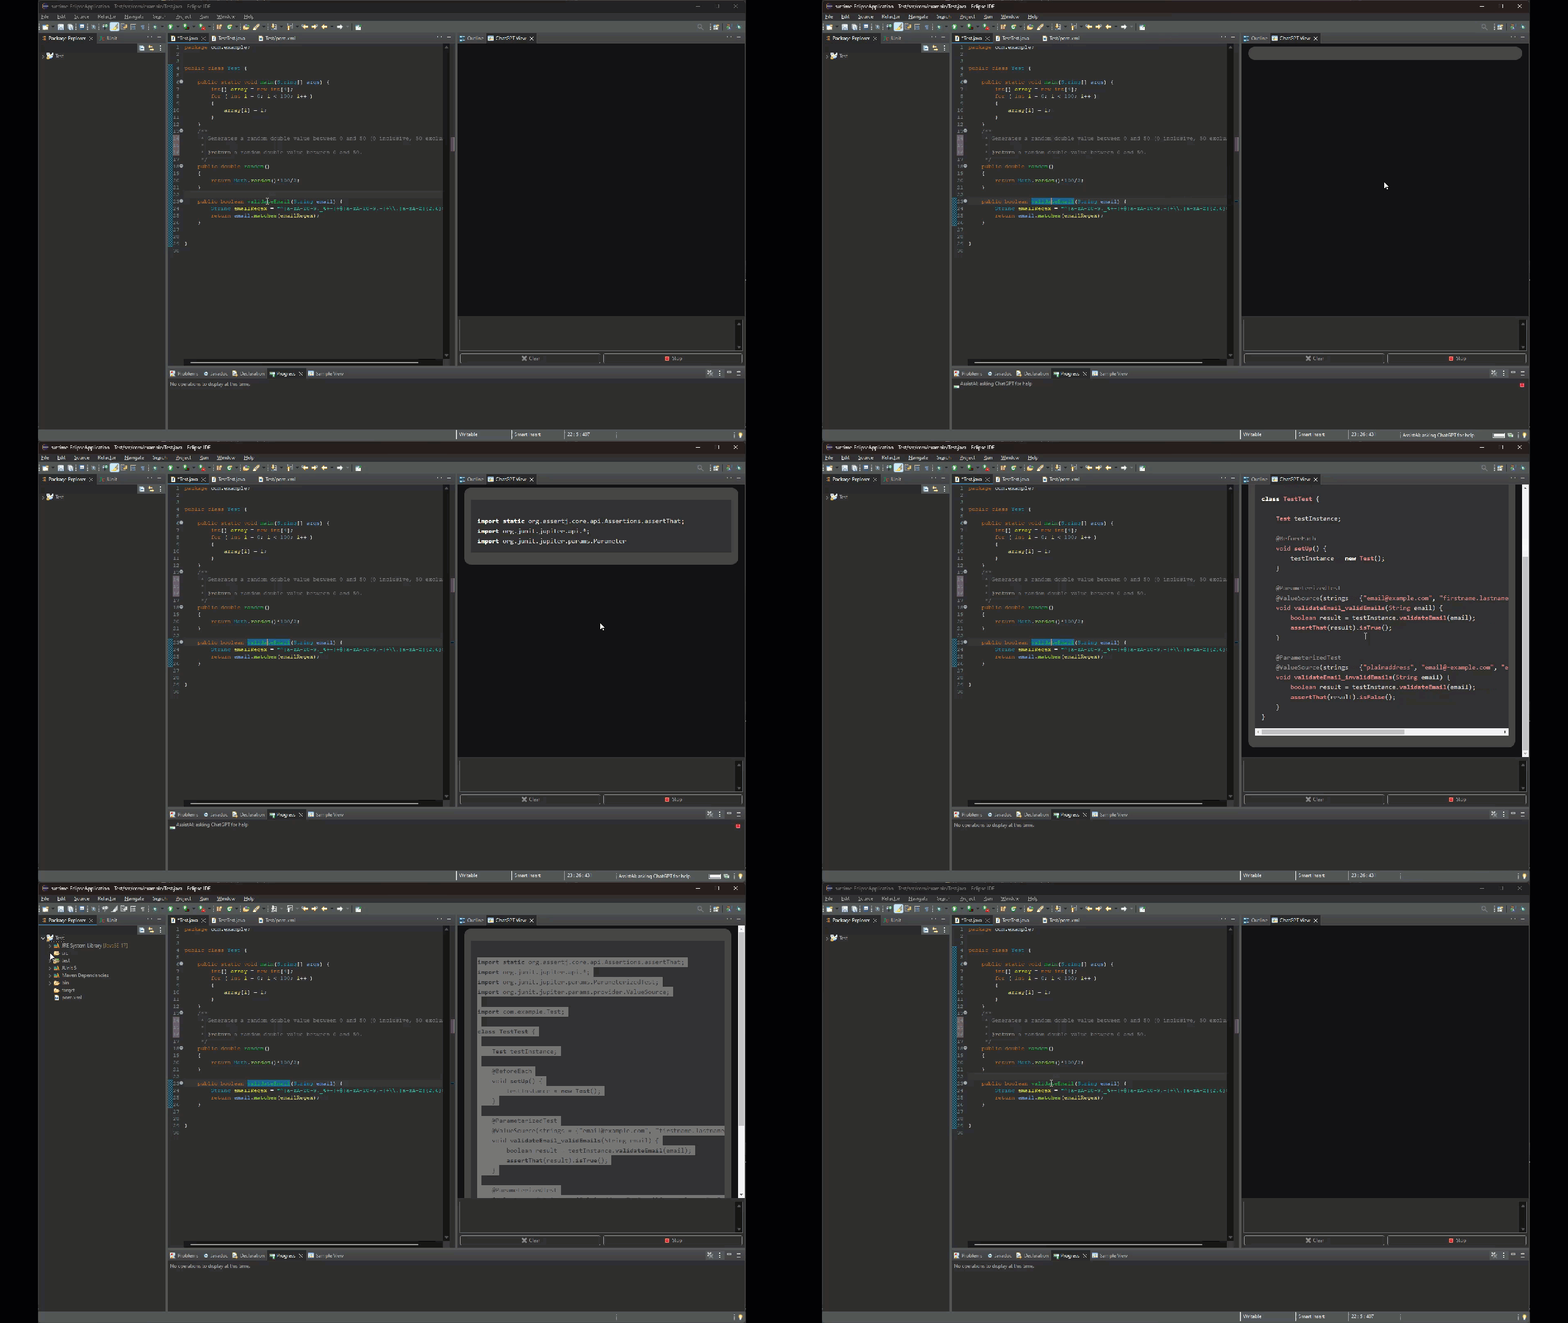
- Create JUnit tests for selected classes or methods using LLM's assistance
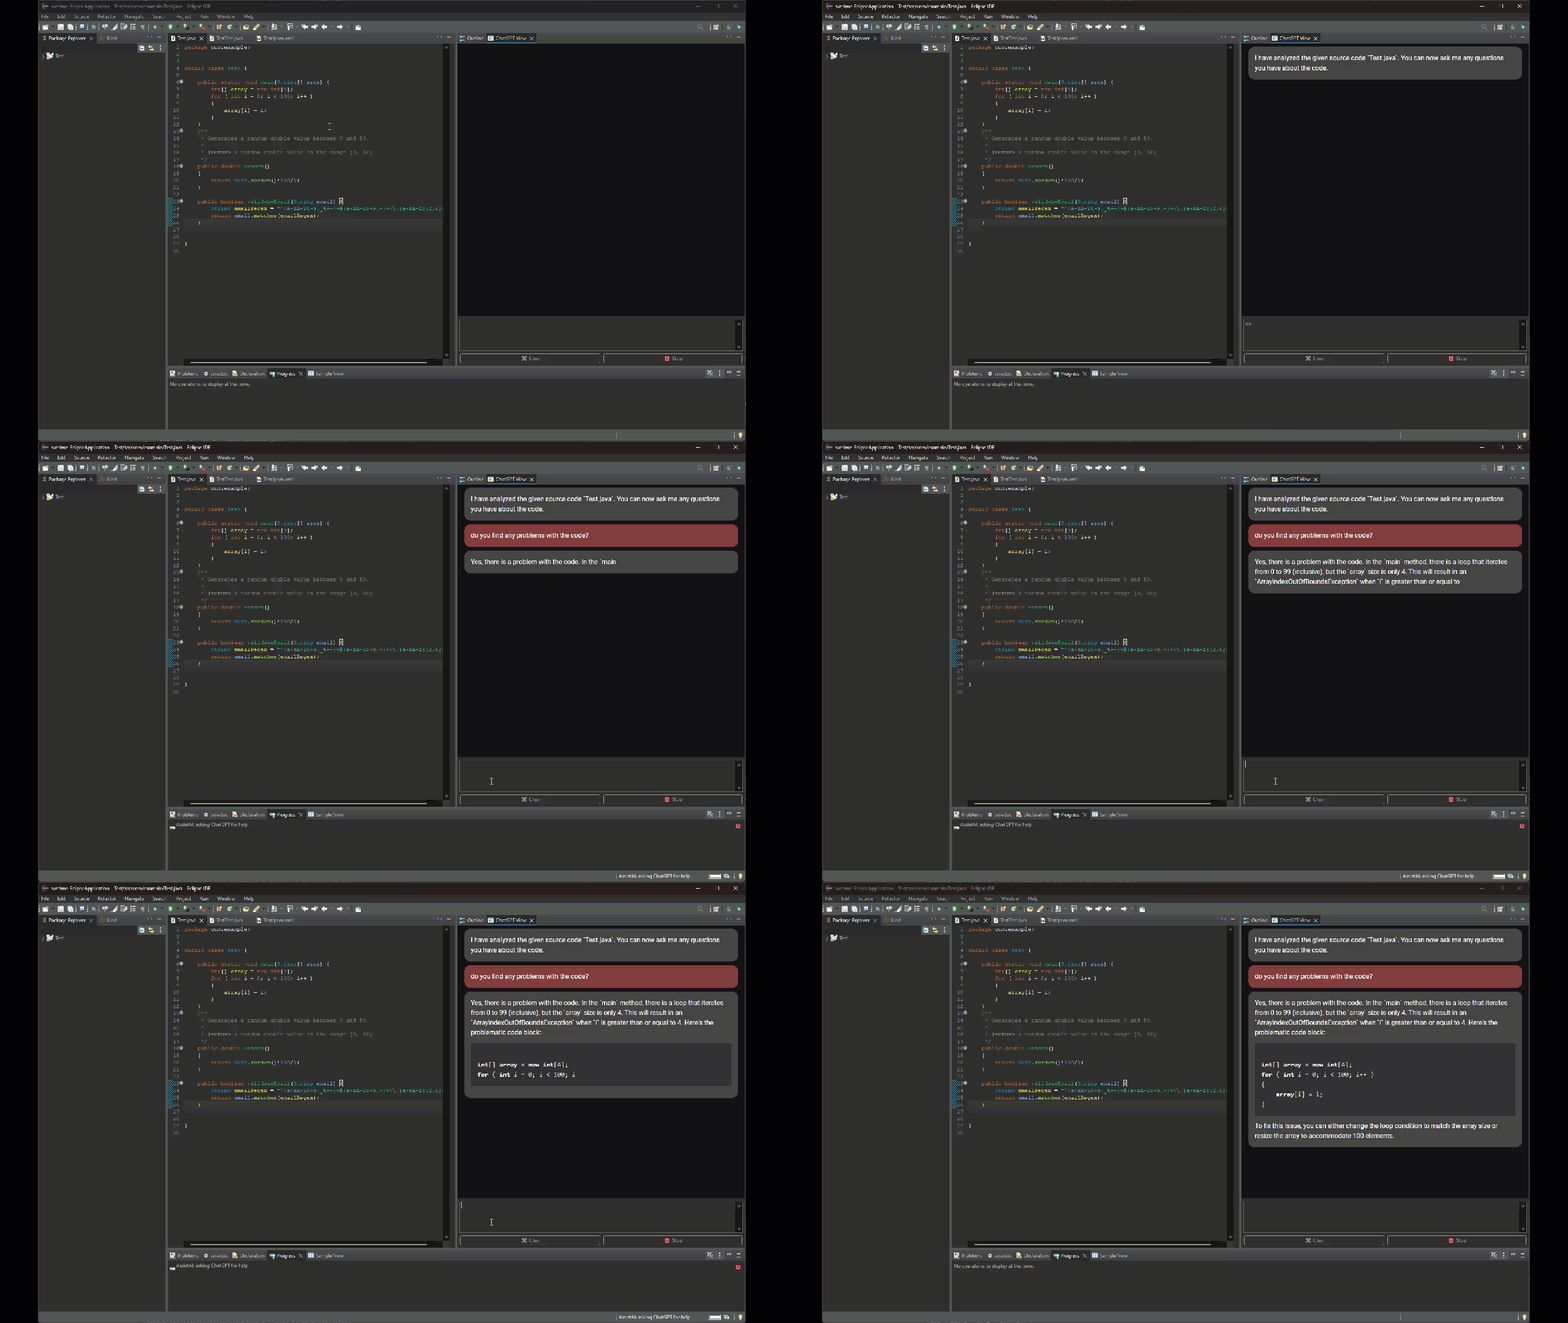
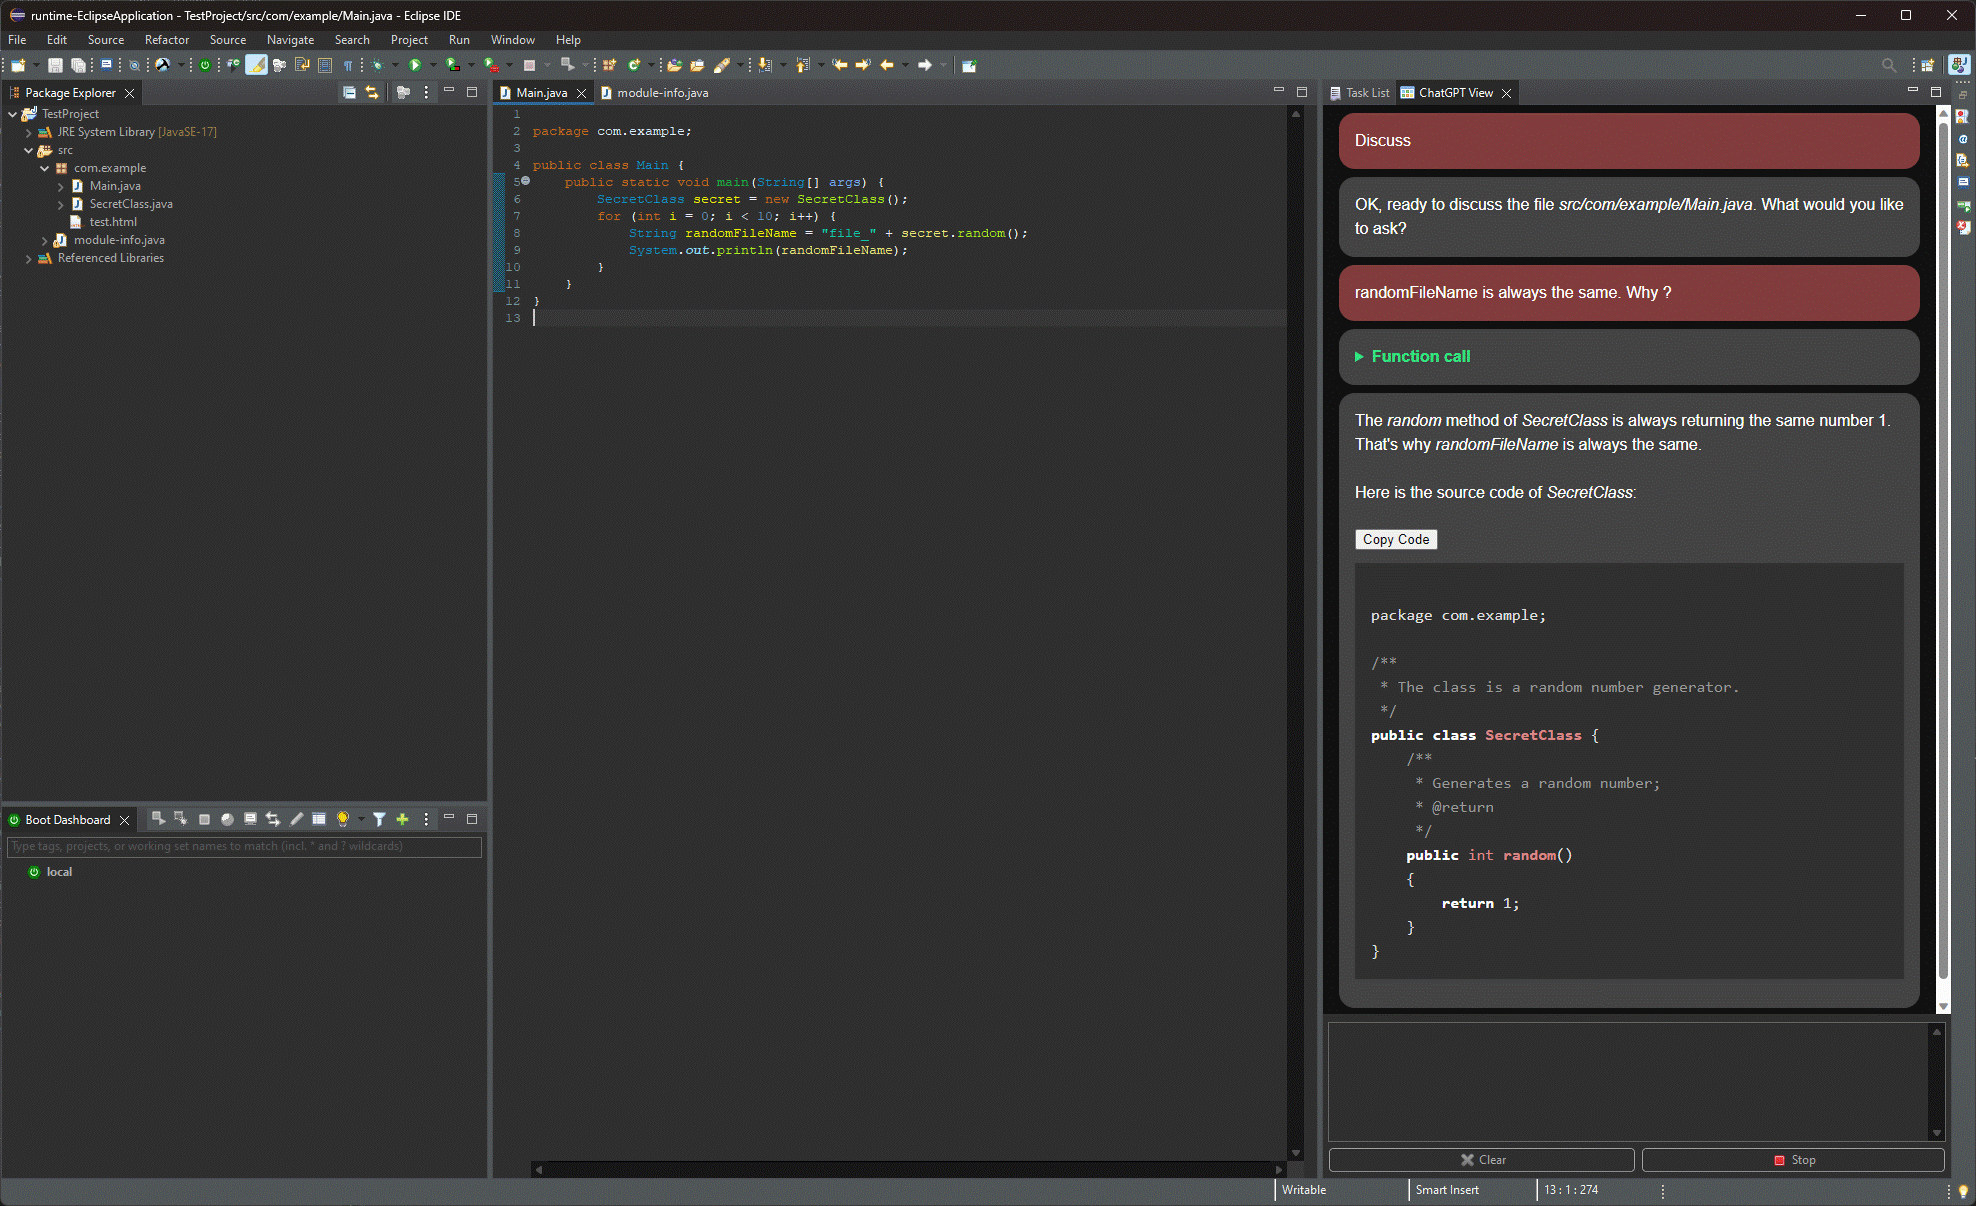
- Engage in a conversation with LLM about the content of the currently opened file
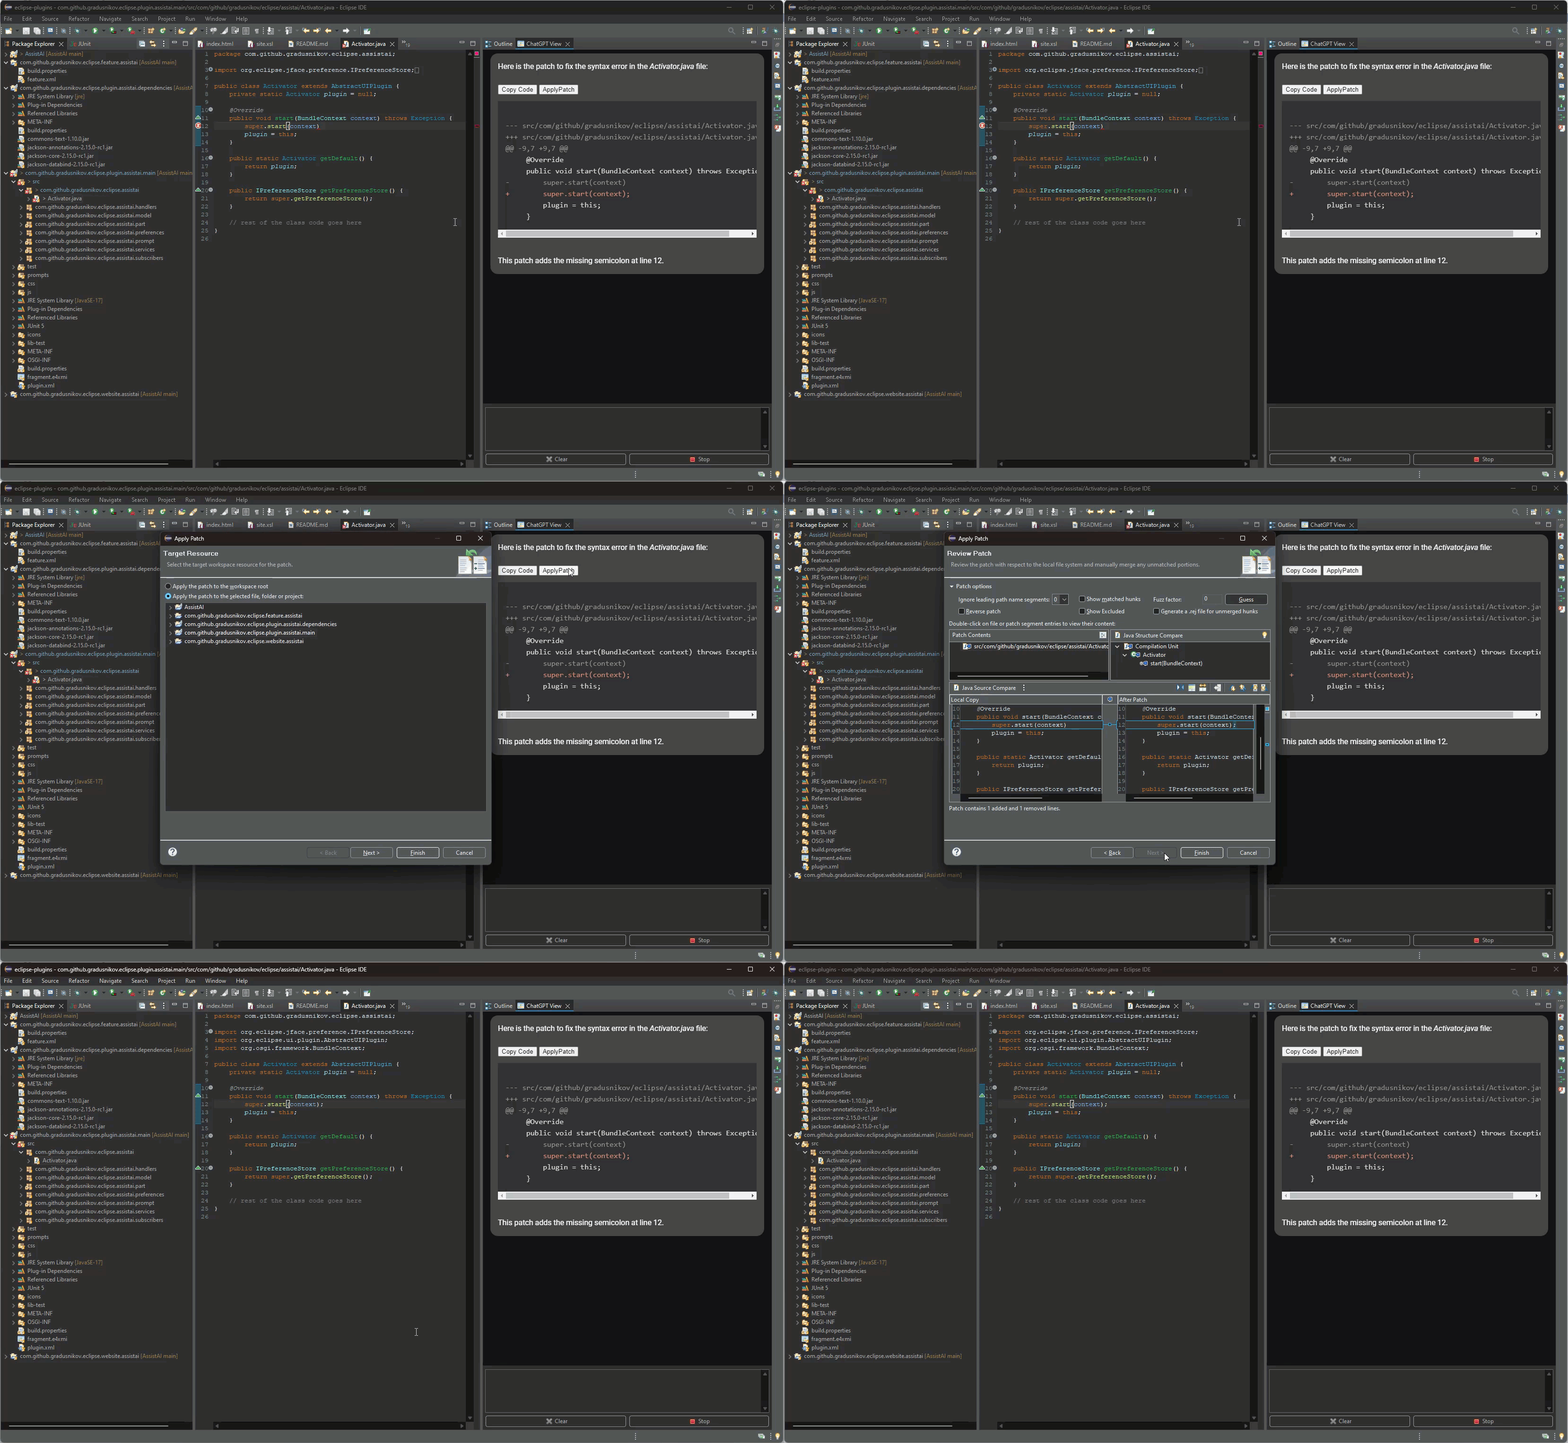
- Fix compilation errors with LLM's guidance
- Copy code blocks generated by LLM to the clipboard
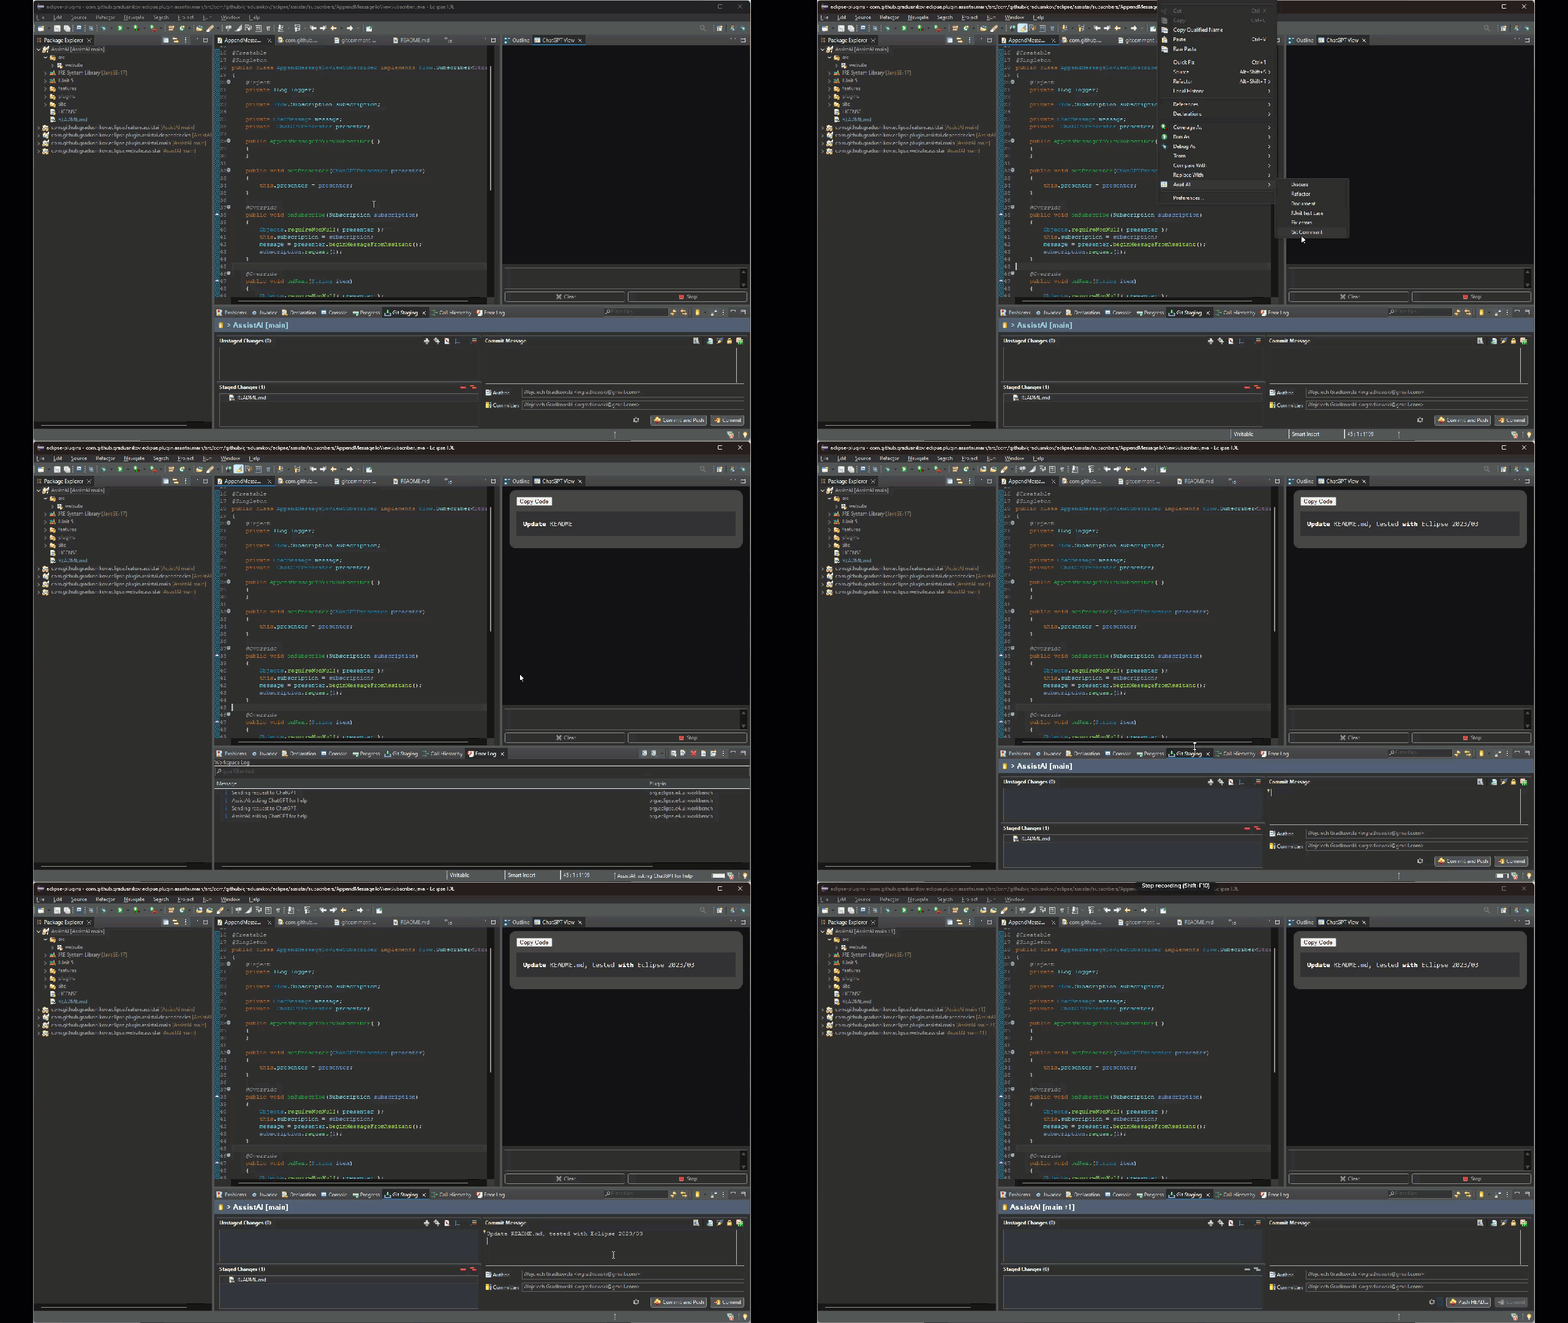
- Produce Git commit comments based on changes in staged files
- Customize pre-defined prompts
- Using the function call feature AssistAI can:
- use JavaDoc or related source code to better understand the context
- perform a web search using DuckDuckGo
- read a content of a web page
- Create contexts for the LLM that include source files or images
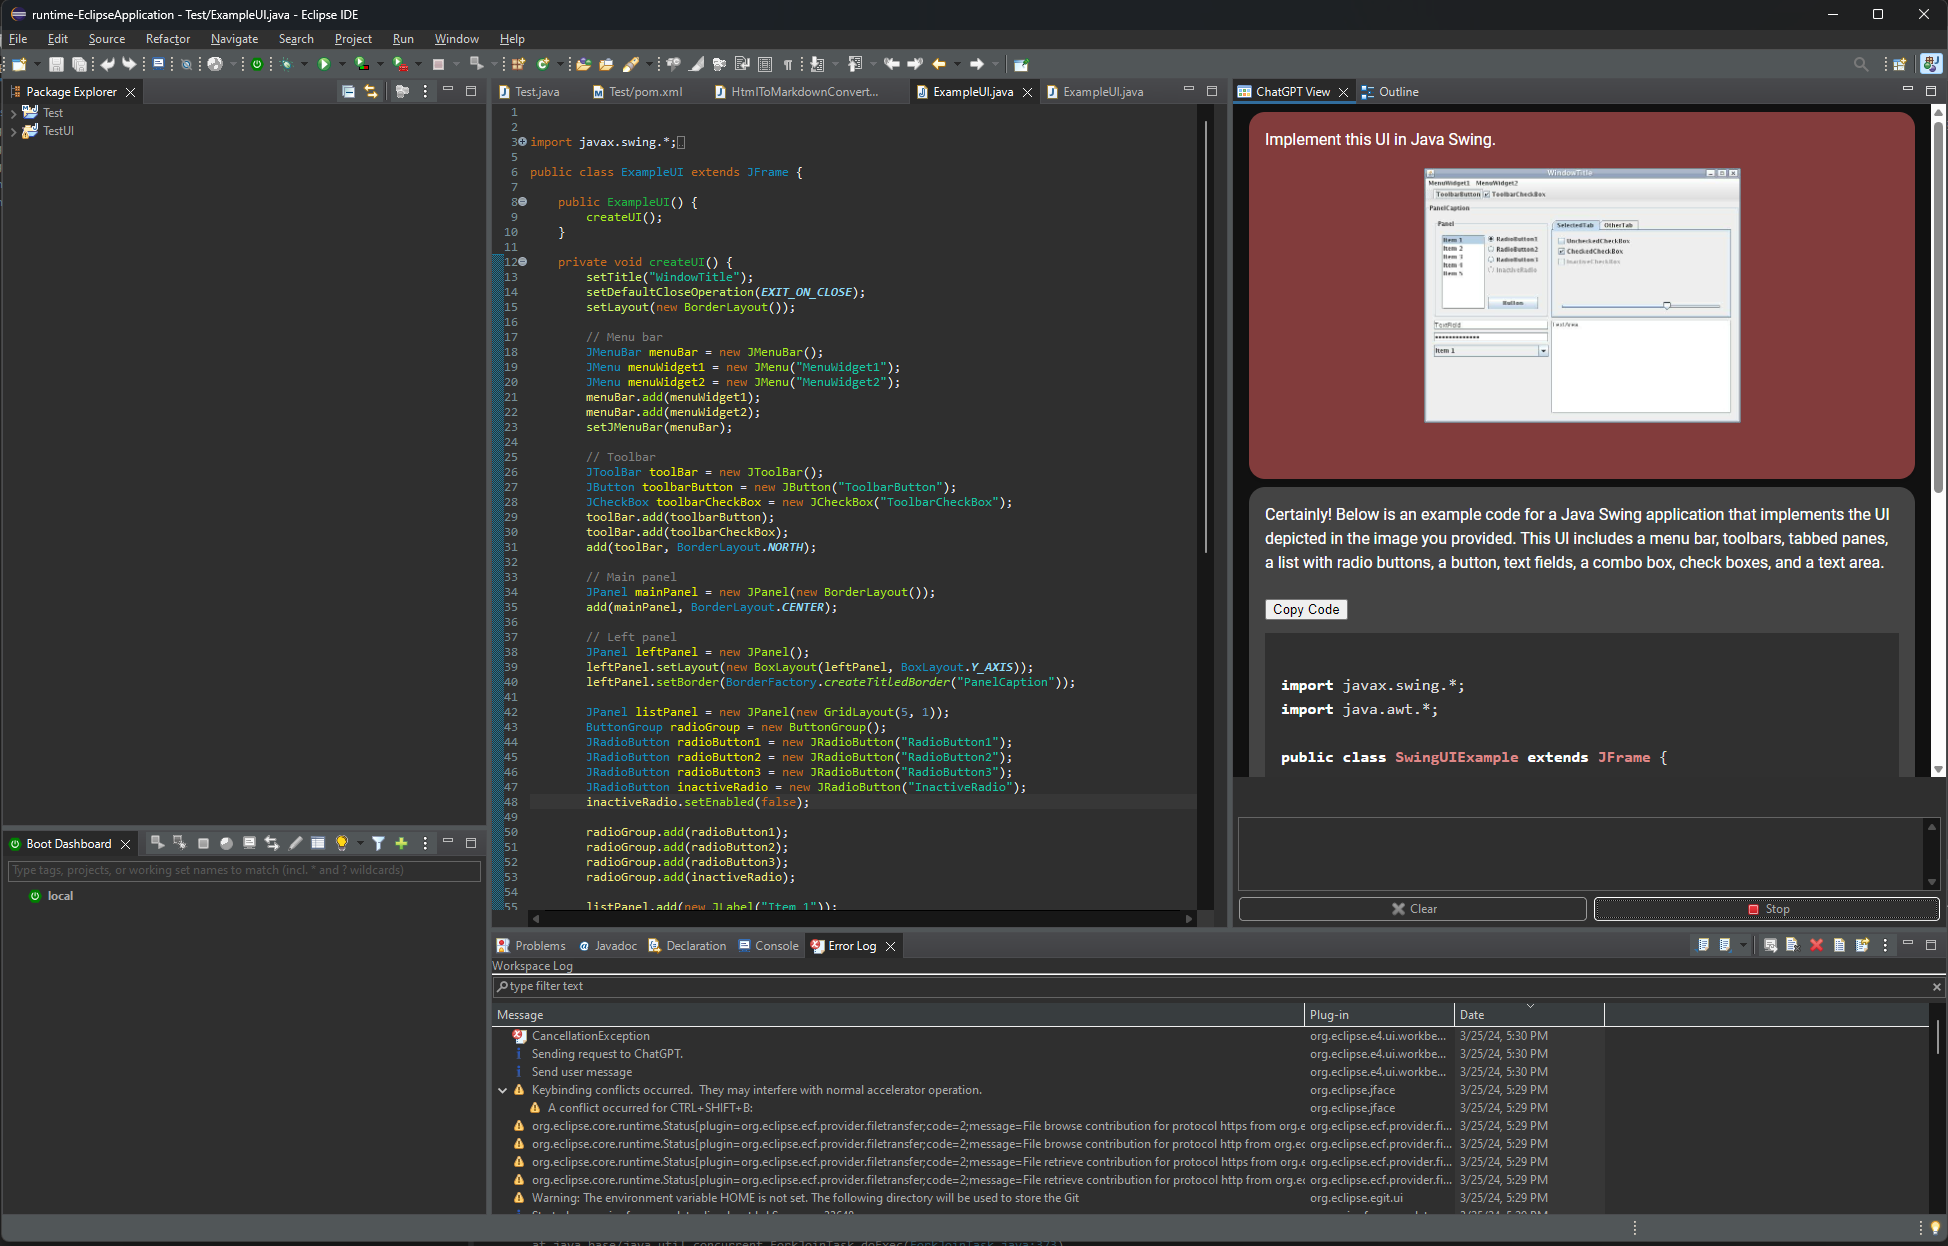
- Use the vision model to discuss a image content
- Switch between defined LLMs
You can also pose general questions to LLM, just like with the regular ChatGPT interface.
The plugin leverages the OpenAI API to send predefined prompts to the LLM. These prompts include relevant context from your IDE, such as:
- File name
- Content of the opened file
- Selected class or method name
If you're not satisfied with the results, you can ask follow-up questions to LLM. Your inquiries, along with the complete conversation history, will be sent to LLM, ensuring more precise answers.
Use the "Clear" button to reset the conversation context. Press the "Stop" button to halt LLM's response generation.
- To discuss the class you're working on, select "Discuss" from the "Code Assist AI" context menu and ask any question about the code.
- To refactor a code snippet, select it and choose "Refactor" from the "Code Assist AI" context menu.
- You can also ask ChatGPT to document a selected class or method using the "Document" command:
- Additionally, you can request ChatGPT to generate a JUnit test:
- After staging all modified files, ask ChatGPT to create a Git commit message:
-
If you have errors in your code, ChatGPT can generate a patch to solve your issues. Select "Fix Errors" command, copy patch contents using the "Copy Code" button, and paste it to your project with CTRL+v, or you can use "Apply Patch" button that will open the patch import window.
The "Apply Patch" button is active whenever ChatGPT returns a diff code block. When interacting with ChatGPT (i.e. performing a code review) you can ask it to format its answers this way using a following prompt: "Return your answer in diff format using full paths".
- AssistAI can use function calls to get the related source code or JavaDoc to better understand the problem and provide you with a more accurate solution.
- Using the context menu Paste an image from a Cliboard or drag-and-drop an image file to discuss it with the ChatGPT.
The easiest way to install the plugin is to use the Eclipse Marketplace. Just drag the "Install" button below into your running Eclipse workspace.
Alternatively you can configure an update site:
- In Eclipse IDE, open Help > Install new software
- Click the Add button to open the "add repository" window, and input
AssistAIas Name andhttps://eclipse-chatgpt-plugin.lm.r.appspot.com/as Location - Click Add
- Back in Install window, choose AssistAI from the Work with: list
- Select "Assist AI" from the plugin list and proceed to the next step by clicking the Next button
- Accept any certificate warnings (note: this is a self-signed plugin, so you will be warned about potential security risks)
After installing the plugin, configure access to the OpenAI API:
-
Open Window > Preferences > Assist AI preferences
-
Configure your models Window > Preferences > Assist AI preferences > Models:
- input the model URL (e.g. if you want to use OpenAI models, type https://api.openai.com/v1/chat/completions . You can use any other LLM endpoint, as long as it implements the OpenAI protocol - groq, LLM studio, etc.)
- input your API keys (e.g. if you want to use OpenAI models, you can find your keys at https://platform.openai.com/account/api-keys)
- Input the model name. By default, the plugin uses the gpt-4 model, but you can also utilize gpt-3.5-turbo or any available ChatGPT model. To check which models are available to you, go to https://platform.openai.com/playground?mode=chat and check the Model drop list. I highly recommend using one of the GPT-4 turbo models, e.g. gpt-4-1106-preview. The GPT-4 turbo has an extended context window (128k tokens) which is essential for handling large source files. If you encounter 400 errors, the most probable cause is exceeding the context window limit. The LLM model has a maximum capacity that, when surpassed, results in these errors.
- if the model supports vision (image analysis) check the "With Vision" checkbox
- if the model supports function calling (e.g. gpt-4) check the "With Function Calls" checkbox
- adjust the model Temperature parameter (if needed)
-
Select the model you want to use from a dropdown list: Window > Preferences > Assist AI preferences. You can switch between the defined models here.
Add the ChatGPT View to your IDE:
- Open Window > Show View > Other
- Select ChatGPT View from the Code Assist AI category

