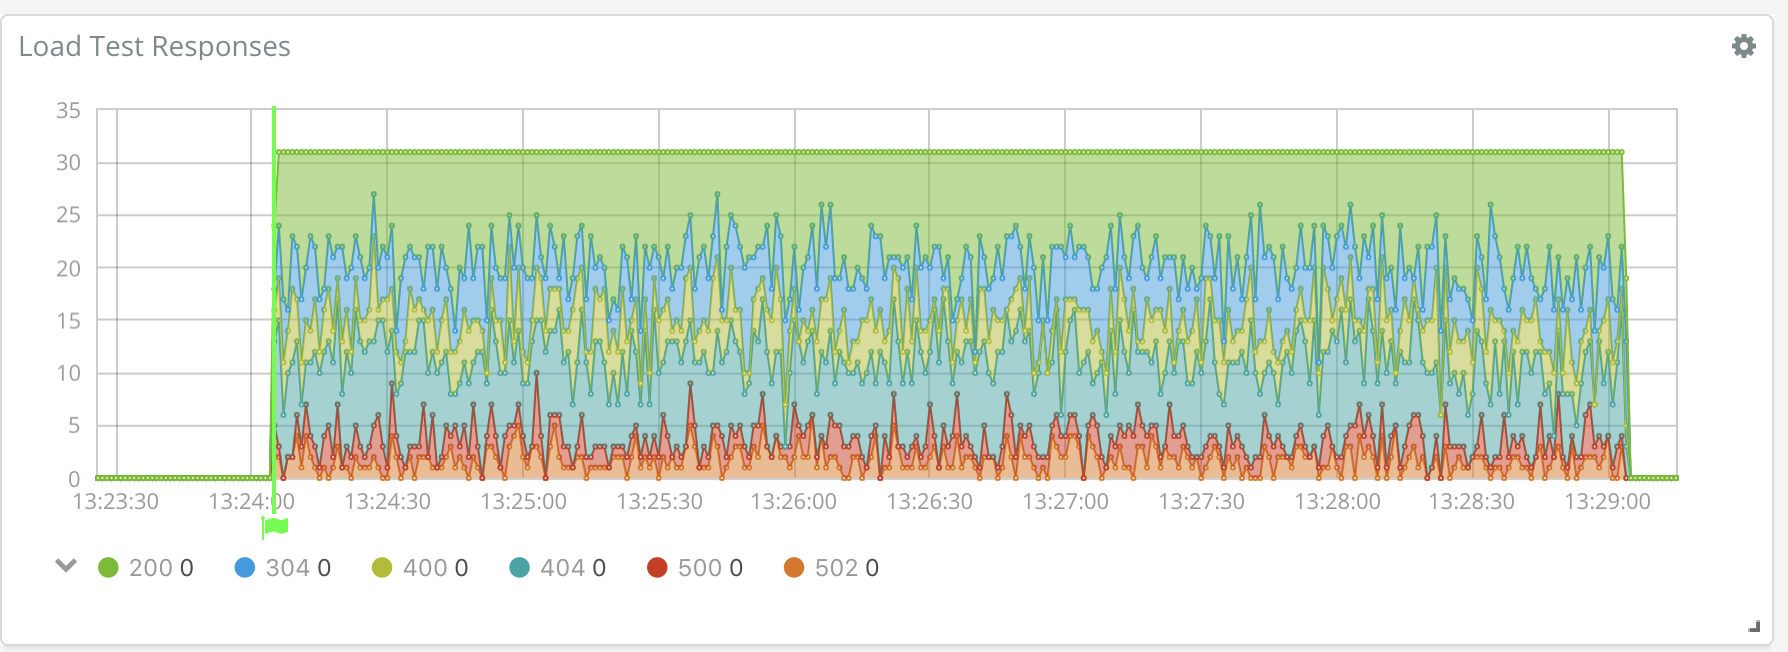
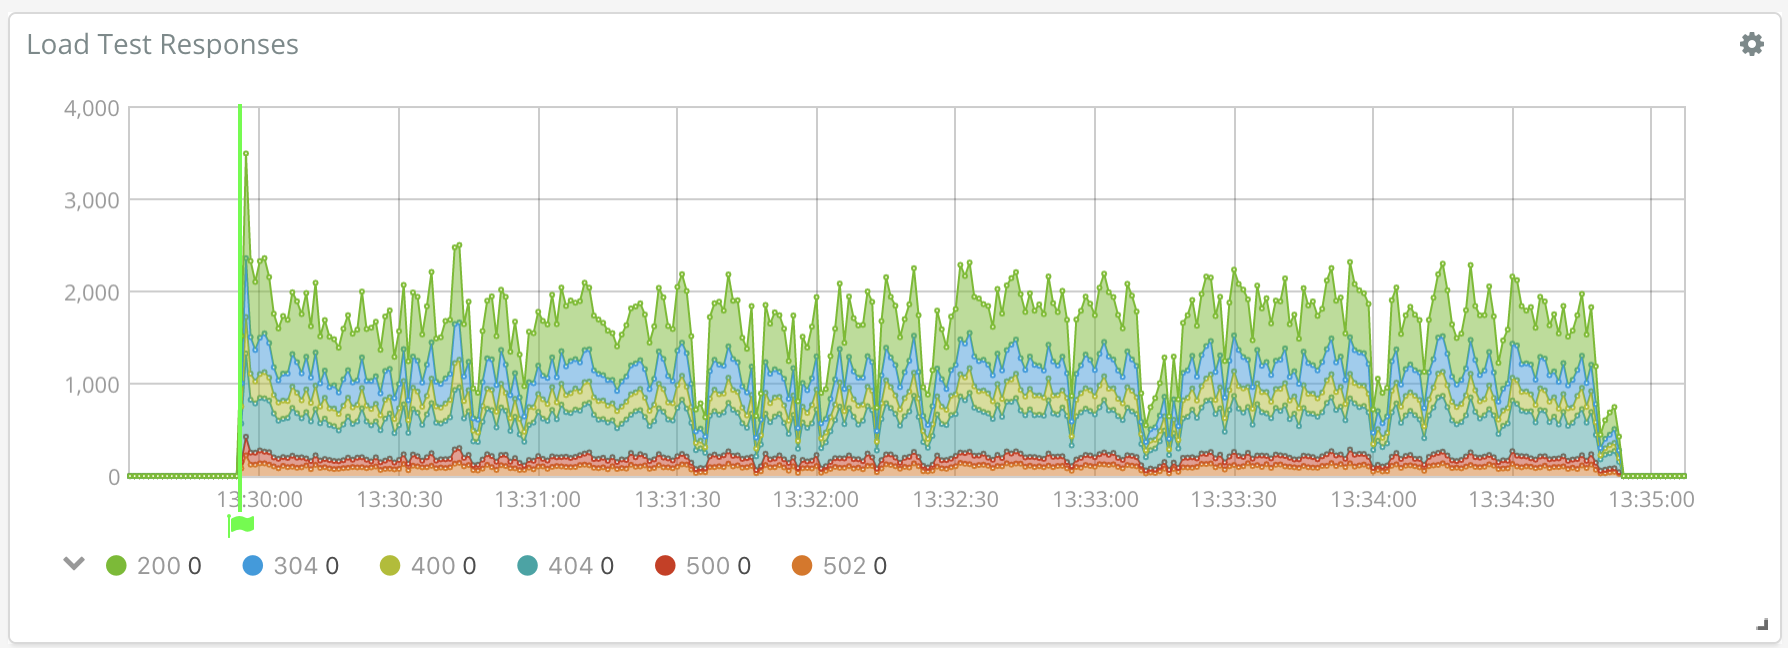
Welcome to Loadbeat, an HTTP load generator utilizing the Elastic Stack to analyze results.
Create a load profile in yaml, eg config.yml.
This example will send GET /health no more than once per second and
POST /v1/user no more than 10 times per second per each of 3 workers (~30 QPS):
loadbeat:
  targets:
    - concurrent: 1
      qps: 1
      method: GET
      url: health
    - concurrent: 3
      qps: 10
      method: POST
      url: v1/user
      headers:
        - Content-Type:application/json
      body: >
      	{"id": 12345}
Run loadbeat, using that profile as the configuration:
loadbeat -E loadbeat.base_urls=["http://load-test-target:8080/"] -e -c config.yml
Set QPS to 0 to let loadbeat push as much traffic as it can.
loadbeat generates two types of events:
- Results
A result captures request and response data corresponding to an individual request:
{
  "@timestamp": "2018-02-15T02:29:04.928Z",
  "beat": {
      "name": "localhost.localdomain",
      "hostname": "localhost.localdomain",
      "version": "7.0.0-alpha1"
  },
  "url": "/health",
  "bodysize": 0,
  "duration": 657720072,
  "trace": {
      "dns": 2968649,
      "request": 2512090,
      "response": 47751,
      "server": 650543614,
      "reused": false,
      "connection": 4589713
  },
  "code": 200,
  "method": "GET",
  "complete": true
}
More details about HTTP tracing are available at https://blog.golang.org/http-tracing.
- Annotations
A document is produced at the beginning of each run for each type of request that will be issued:
{
  "@timestamp": "2018-02-20T18:29:56.596Z",
  "annotation": "GET http://load-test-target:8080/health - 0 (0 gz) bytes",
  "beat": {
      "name": "localhost",
      "hostname": "localhost",
      "version": "7.0.0-alpha1"
  }
}
Annotations can be added to graphs created with the time series visual builder (TSVB).
Ensure that this folder is at the following location:
${GOPATH}/src/github.com/graphaelli/loadbeat
- Golang 1.7
To get running with Loadbeat and also install the dependencies, run the following command:
make setup
It will create a clean git history for each major step. Note that you can always rewrite the history if you wish before pushing your changes.
To push Loadbeat in the git repository, run the following commands:
git remote set-url origin https://github.com/graphaelli/loadbeat
git push origin master
For further development, check out the beat developer guide.
To build the binary for Loadbeat run the command below. This will generate a binary in the same directory with the name loadbeat.
make
To run Loadbeat with debugging output enabled, run:
./loadbeat -c loadbeat.yml -e -d "*"
To test Loadbeat, run the following command:
make testsuite
alternatively:
make unit-tests
make system-tests
make integration-tests
make coverage-report
The test coverage is reported in the folder ./build/coverage/
Each beat has a template for the mapping in elasticsearch and a documentation for the fields
which is automatically generated based on fields.yml by running the following command.
make update
To clean Loadbeat source code, run the following commands:
make fmt
make simplify
To clean up the build directory and generated artifacts, run:
make clean
To clone Loadbeat from the git repository, run the following commands:
mkdir -p ${GOPATH}/src/github.com/graphaelli/loadbeat
git clone https://github.com/graphaelli/loadbeat ${GOPATH}/src/github.com/graphaelli/loadbeat
For further development, check out the beat developer guide.
The beat frameworks provides tools to crosscompile and package your beat for different platforms. This requires docker and vendoring as described above. To build packages of your beat, run the following command:
make package
This will fetch and create all images required for the build process. The hole process to finish can take several minutes.

