Welcome 🎉! Thanks for your interest in starting fresh with Grommet, we are thrilled to have you on board.
Deploy preview of the finished app.
This tutorial assumes that you have node.js and a package manager; either npm (npm is installed with node.js) or yarn package manager. Create react app can be installed globally or locally using npx (npx comes with npm 5.2+).
Node Download Page - The latest LTS version will have node.js, npm, and npx.
Create React App Local Install - Instructions to install it locally can be found here (npm versions 5.2+).
Create React App Global Install - Not Recommended - Instructions to install it globally can be found here (npm versions 5.1 or earlier).
Yarn Package Manager - Not Required.
We are going to leverage and install the awesome create-react-app. We will call it CRA from now on.
npx create-react-app my-app
cd my-app
CRA will automatically install dependencies for you. It uses Yarn as a package manager behind the scenes. If you prefer to use NPM for your package management, you can delete the yarn.lock file and run npm install manually.
rm -rf yarn.lock
rm -rf node_modules
npm install
Start the development server.
npm startOr if you are using yarn:
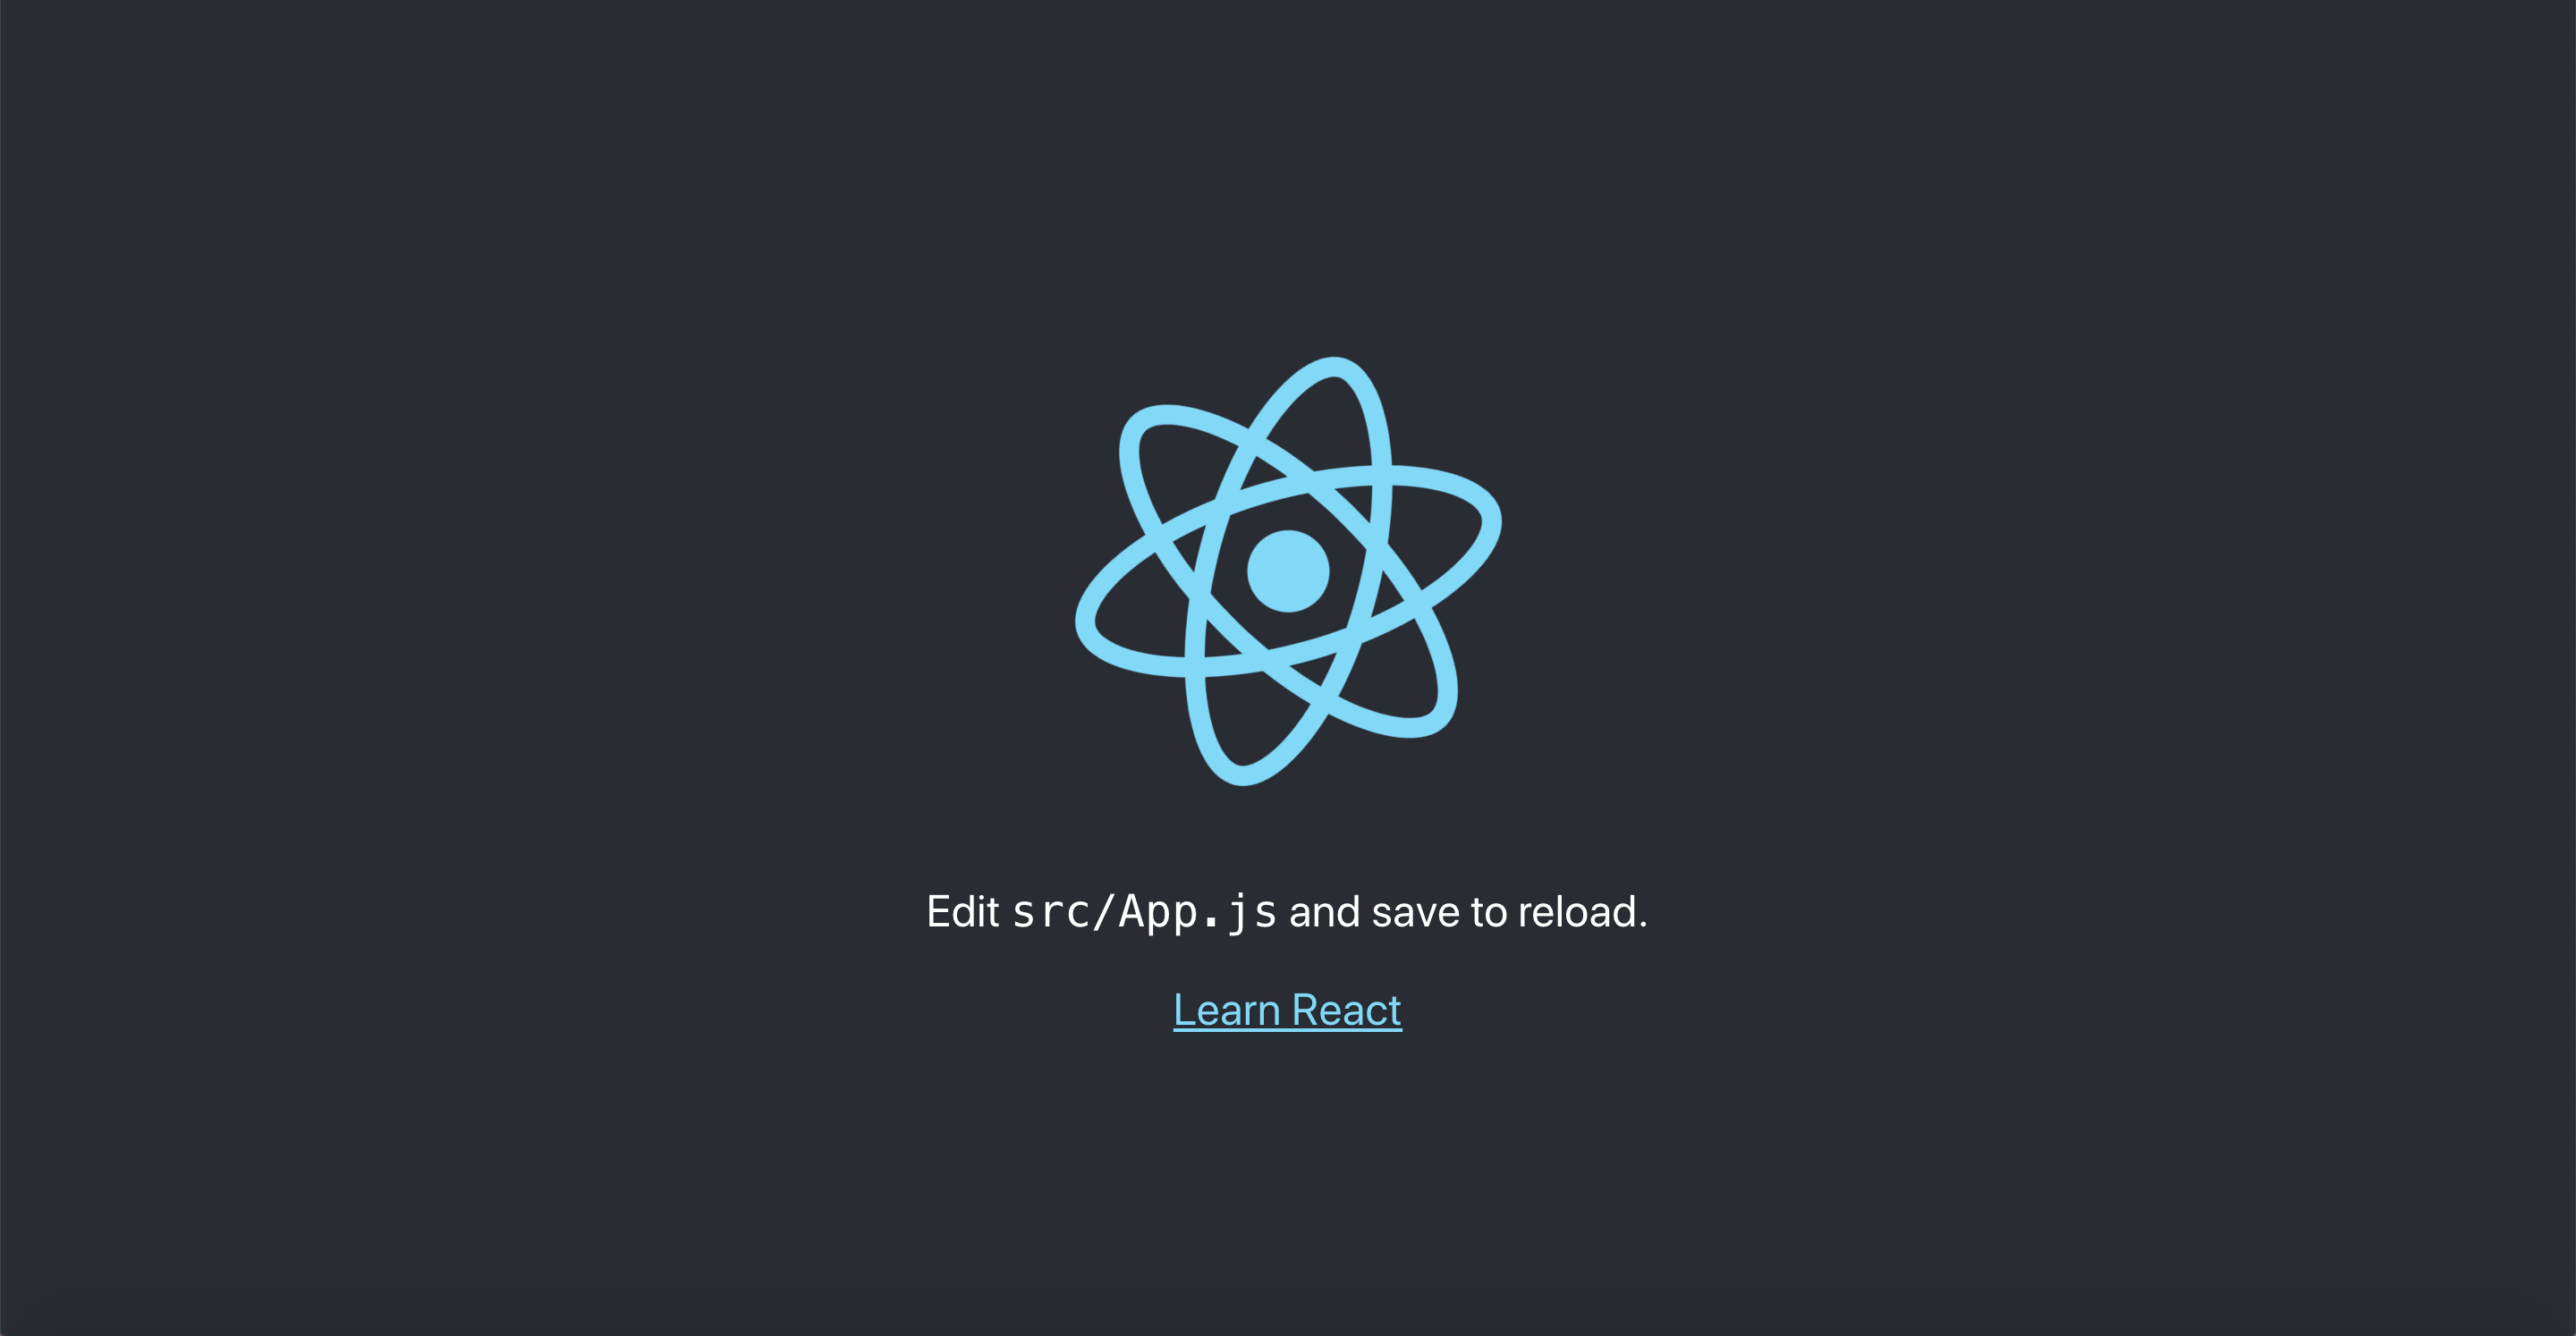
yarn startYou should see the CRA landing page. They keep updating it, but it will look something like this:
We like a clean house. Let's first remove the modules and components we are not going to be using for this exercise.
Remove these files from the 'src' directory:
src/App.csssrc/App.test.jssrc/index.csssrc/logo.svg
Inside src/index.js, remove the import of index.css.
import ReactDOM from 'react-dom/client';
- import './index.css';
import App from './App';
Inside src/App.js, remove the logo and the import of app.css
- import logo from './logo.svg';
- import './App.css';

function App() {
  return (
    <div className="App">
      <header className="App-header">
-        <img src={logo} className="App-logo" alt="logo" />
        <p>
          Edit <code>src/App.js</code> and save to reload.
        </p>
        <a
          className="App-link"
          href="https://reactjs.org"
          target="_blank"
          rel="noopener noreferrer"
        >
          Learn React
        </a>
      </header>
    </div>
  );
}

export default App;
You should see a beautiful, mostly black and white (accessible), landing page 😄.
src/App.js is the only module in this example (to keep things simple). All the steps from here on will just assume you are inside src/App.js.
To add grommet you first need to install our packages
npm install grommet grommet-icons styled-components --saveOr if you are using yarn:
yarn add grommet grommet-icons styled-components --saveYou can now add the import of the Grommet component to the App.js file.
+ import { Grommet } from 'grommet';Typically, you should include Grommet only once as one of your top-level nodes.
Let's replace the main div with Grommet.
- <div className="App">
+ <Grommet full>
  <header className="App-header">
    <p>
      Edit <code>src/App.js</code> and save to reload.
    </p>
    <a
      className="App-link"
      href="https://reactjs.org"
      target="_blank"
      rel="noopener noreferrer"
    >
      Learn React
    </a>
  </header>
+ </Grommet>
- </div>
You will notice no visible change resulted from including Grommet. Everything in Grommet is self-contained with very minimal global settings.
You might be asking, 'Why do you include it if nothing is changing?'
The answer is simple: Although not strictly required,
we recommend you add Grommet from day one, so that you can customize it
in the future by using a theme.
Let's now add a custom font-family, font-size, and line-height.
Below the import statements, let's add an initial theme declaration:
const theme = {
  global: {
    font: {
      family: "Roboto",
      size: "18px",
      height: "20px",
    },
  },
};
And modify the Grommet tag with our new theme:
<Grommet theme={theme} full>This theme will propagate to all components under this given Grommet instance.
FYI. To access Roboto you need to include the font-face. Let's update public/index.html to include the font and fix some browser defaults.
<!DOCTYPE html>
<html lang="en">
  <head>
    ...
+   <link rel="stylesheet" href="https://fonts.googleapis.com/css?family=Roboto:300,400,500" />
    <title>React App</title>
+   <style type="text/css">
+     body {
+       margin: 0;
+     }
+   </style>
  </head>
Look at your updated landing page, and you should see that the font-size and font-family are properly applied.
Good job, you just completed an important step in your Grommet journey.
Box is an abstraction over Flexbox, and it is very likely you will be using it very frequently in your Grommet app.
Box is the main building block container for Grommet. There are also Grommet
components that in essence are just Box components with a few initial props
defined. For example the Header, Footer, and Card components are built using Box
and can accept any props that Box can. The benefit of using components like
Header and Footer is Grommet takes care of some of the work for you by
pre-defining some props.
To start off we are going to use the Header and Text components in our app.
Let's go the the App.js file and import them:
- import { Grommet } from 'grommet';
+ import { Grommet, Header, Text } from 'grommet';
We like to keep our imports in alphabetical order 😄.
Let's create an AppBar component and replace the header tag with it.
+const AppBar = (props) => (
+ <Header
+   background="brand"
+   pad={{ left: "medium", right: "small", vertical: "small" }}
+   elevation="medium"
+   {...props}
+ />
+);

const App = () => {
  return (
    <Grommet theme={theme}>
-     <header className="App-header">
-       <p>
-         Edit <code>src/App.js</code> and save to reload.
-       </p>
-       <a
-         className="App-link"
-         href="https://reactjs.org"
-         target="_blank"
-         rel="noopener noreferrer"
-       >
-         Learn React
-       </a>
-     </header>
+     <AppBar>
+       <Text size="large">My App</Text>
+     </AppBar>
    </Grommet>
  );
}
AppBar is just a Box with row direction. Children are justified between (a space will be added in between them). We add an elevation to simulate the same box-shadow from the original example.
Look at your browser again. You should see the AppBar with the brand background and some elevation.
With Grommet it is very easy to apply custom brand colors. The place to change colors is in the theme object as you might have already guessed.
const theme = {
  global: {
+   colors: {
+     brand: '#228BE6',
+   },
    font: {
      family: 'Roboto',
      size: '18px',
      height: '20px',
    },
  },
};
The AppBar now has a different color. You can create colors with any name; brand was just an example.
Another great Grommet feature is the ability to easily declare context-aware colors which automatically
adapt to light and dark themes. That is, any color can have two variations: dark and light. For
example, use a light text color in a dark background, and vice-versa. We have created this
codesandbox with more details on color usage.
For more information on the theme checkout the theme wiki page.
Now that we have an AppBar setup let's add the Page, PageContent, and PageHeader components into our App.
- import { Grommet, Header, Text } from 'grommet';
+ import { Grommet, Header, Page, PageContent, PageHeader, Text } from 'grommet';
<Grommet theme={theme} full>
+ <Page>
<AppBar>
<Text size="large">My App</Text>
</AppBar>
+ <PageContent>
+ <PageHeader title="Welcome to Grommet!" />
+ </PageContent>
+ </Page>
</Grommet>Page is a helpful container for providing consistent layout across pages in an application. Page and PageContent work together to ensure horizontal alignment, max-width, and responsive behaviors are applied in a consistent, turnkey manner.
Notice that the AppBar is not a child of PageContent. This allows the AppBar to stretch across the full width of the screen without being constrained by the max-width of the PageContent.
Everything is so static here. Let's add some state. We are going to add a button to the AppBar to switch between light and dark modes.
We need to import useState from React and grab some icons from the grommet-icons library.
- import React from "react";
+ import React, { useState } from "react";
- import { Grommet, Header, Page, PageContent, PageHeader, Text } from 'grommet';
+ import {
+   Button,
+   Grommet,
+   Header,
+   Page,
+   PageContent,
+   PageHeader,
+   Text,
+ } from "grommet";
+ import { Moon, Sun } from "grommet-icons";
Let's make this a little easier to read for you and your future co-workers by breaking the long import statement down to one component per line. You may want to consider using prettier to auto format for you (Tip: you may want to change prettier config default to prettier.singleQuote: true).
const App = () => {
+ const [dark, setDark] = useState(false);
+
  return (
-   <Grommet theme={theme} full>
+   <Grommet theme={theme} full themeMode={dark ? "dark" : "light"}>
      <Page>
        <AppBar>
          <Text size="large">My App</Text>
+         <Button
+           a11yTitle={dark ? "Switch to Light Mode" : "Switch to Dark Mode"}
+           icon={dark ? <Moon /> : <Sun />}
+           onClick={() => setDark(!dark)}
+         />
        </AppBar>
...
We are just leveraging React state by creating a dark flag initially set to false.
Once we click the theme mode toggle button, we toggle the dark state. The button then switches the theme between 'dark' and 'light'.
Notice that switching between light and dark mode isn't currently causing any changes. This is because our current theme doesn't have anything specified for dark mode. Lets merge our custom theme with the grommet theme so that we can see what a theme looks like when it is setup for dark mode.
First we need to import the deepMerge function that will allow us to combine two
grommet themes. We will also need to import the grommet theme.
import {
  Button,
  Grommet,
+ grommet,
  Header,
  Page,
  PageContent,
  PageHeader,
  Text,
} from "grommet";
+ import { deepMerge } from "grommet/utils";
Now lets adjust our custom theme.
- const theme = {
+ const theme = deepMerge(grommet, {
  global: {
    colors: {
      brand: "#228BE6",
    },
    font: {
      family: "Roboto",
      size: "14px",
      height: "20px",
    },
  },
+ });
- };
Now when we toggle our dark and light button we should see some changes.
The purpose of our light/dark toggle button may not be obvious just from the icons.
Let's add a Tip to the Button that gives some additional guidance.
import {
+ Box,
  Button,
  Grommet,
  grommet,
  Header,
  Page,
  PageContent,
  PageHeader,
  Text,
} from "grommet";
<Button
a11yTitle={dark ? "Switch to Light Mode" : "Switch to Dark Mode"}
icon={dark ? <Moon /> : <Sun />}
onClick={() => setDark(!dark)}
+ tip={{
+ content: (
+ <Box
+ pad="small"
+ round="small"
+ background={dark ? "dark-1" : "light-3"}
+ >
+ {dark ? "Switch to Light Mode" : "Switch to Dark Mode"}
+ </Box>
+ ),
+ plain: true,
+ }}
/>Now when we hover over the Button it will give us more info on what the Button does.
Let's add some more content to our App. We will need to add the following components:
import {
  Box,
  Button,
+ Card,
+ CardHeader,
+ CardBody,
+ CardFooter,
+ Grid,
  Grommet,
  grommet,
  Header,
+ Heading,
  Page,
  PageContent,
  PageHeader,
+ Paragraph,
  Text,
} from "grommet";
Let's create a CardTemplate component.
+ const CardTemplate = ({ title }) => {
+   return (
+     <Card>
+       <CardHeader pad="medium">
+         <Heading level={2} margin="none">
+           {title}
+         </Heading>
+       </CardHeader>
+       <CardBody pad="medium">
+         <Paragraph>
+           Lorem ipsum dolor sit amet, consectetur adipiscing elit. Maecenas
+           porttitor non nulla ac vehicula. Aliquam erat volutpat. Mauris auctor
+           faucibus est at mattis. Aliquam a enim ac nisi aliquam consectetur et
+           ac velit. Mauris ut imperdiet libero.
+         </Paragraph>
+       </CardBody>
+       <CardFooter pad="medium" background="background-contrast">
+         Footer
+       </CardFooter>
+     </Card>
+   );
+ };
Now let's add some cards to the PageContent within the App.
<PageContent>
  <PageHeader title="Welcome to Grommet!" />
+ <CardTemplate title={"Card 1"} />
+ <CardTemplate title={"Card 2"} />
+ <CardTemplate title={"Card 3"} />
</PageContent>
Our App now contains some Cards but they looks a little strange stretching across the entire Page. Let's organize our Cards within a Grid.
<PageContent>
  <PageHeader title="Welcome to Grommet!" />
+ <Grid columns="medium" gap="large" pad={{ bottom: "large" }}>
    <CardTemplate title={"Card 1"} />
    <CardTemplate title={"Card 2"} />
    <CardTemplate title={"Card 3"} />
+ </Grid>
</PageContent>
Now that are Cards are contained within a Grid, they sit nicely side by side.
If you adjust the size of the browser window, not ice that Grommet is taking care of a lot of the responsive behavior for us.
On a small screen (around the size of most mobile devices) the content within the cards gets to be a bit long. Let's change the text content in the c=Cards so that it truncates after 3 lines when we are in a small viewport.
First we need to import ResponsiveContext.
import {
  Box,
  Button,
  Card,
  CardHeader,
  CardBody,
  CardFooter,
  Grid,
  Grommet,
  grommet,
  Header,
  Heading,
  Page,
  PageContent,
  PageHeader,
  Paragraph,
+ ResponsiveContext,
  Text,
} from "grommet";
Now let's change CardTemplate to use ResponsiveContext. ResponsiveContext uses react context api behind the scenes.
const CardTemplate = ({ title }) => {
+ const size = useContext(ResponsiveContext);
  return (
    <Card>
      <CardHeader pad="medium">
        <Heading level={2} margin="none">
          {title}
        </Heading>
      </CardHeader>
      <CardBody pad="medium">
-       <Paragraph>
+       <Paragraph maxLines={size === "small" ? 3 : undefined}>
          Lorem ipsum dolor sit amet, consectetur adipiscing elit. Maecenas
          porttitor non nulla ac vehicula. Aliquam erat volutpat. Mauris auctor
          faucibus est at mattis. Aliquam a enim ac nisi aliquam consectetur et
          ac velit. Mauris ut imperdiet libero.
        </Paragraph>
      </CardBody>
      <CardFooter pad="medium" background="background-contrast">
        Footer
      </CardFooter>
    </Card>
  );
};
Now when you view the page with a narrow viewport the Paragraph content in the Cards will be truncated at 3 lines.
Well, let's celebrate because now we have a responsive Grommet app, thanks for hanging with us until now.
We will keep updating this starter page with more steps. The latest completed version of this exercise is available in this repo in the master branch.
Grommet can co-exist with other frameworks. We will never add global styles that will affect your existing components. Although the reverse is not true. By helping other teams migrate to Grommet, we have identified a common problem: global CSS modifiers affecting Grommet components. Whenever you see something weird, try to reproduce it outside your application environment.
If you are able to reproduce it, be nice, file an issue. If you cannot reproduce it, inspect your elements, and you will probably find some global CSS applying unexpected overly opinionated changes to our components. As always, you can join our Slack and share your pain with us.
Finally, here are some additional pointers to keep you engaged:
- Using Grommet in an existing app tutorial
- Grommet Storybook - a lot of examples on how to use our components. Most of them are not real app scenarios though. They are there to illustrate our different props.
- Grommet Sandbox - more friendly when you want to edit and play with the examples, also does not have real app scenarios.
- Grommet Site - resources and documentation for Grommet components can be found here.
- Grommet Slack Inviter - don't forget to join our awesome community!