- Overview
- Requirements
- Installation
- Testing
- Monitoring
- Documentation
- Frontend (Angular)
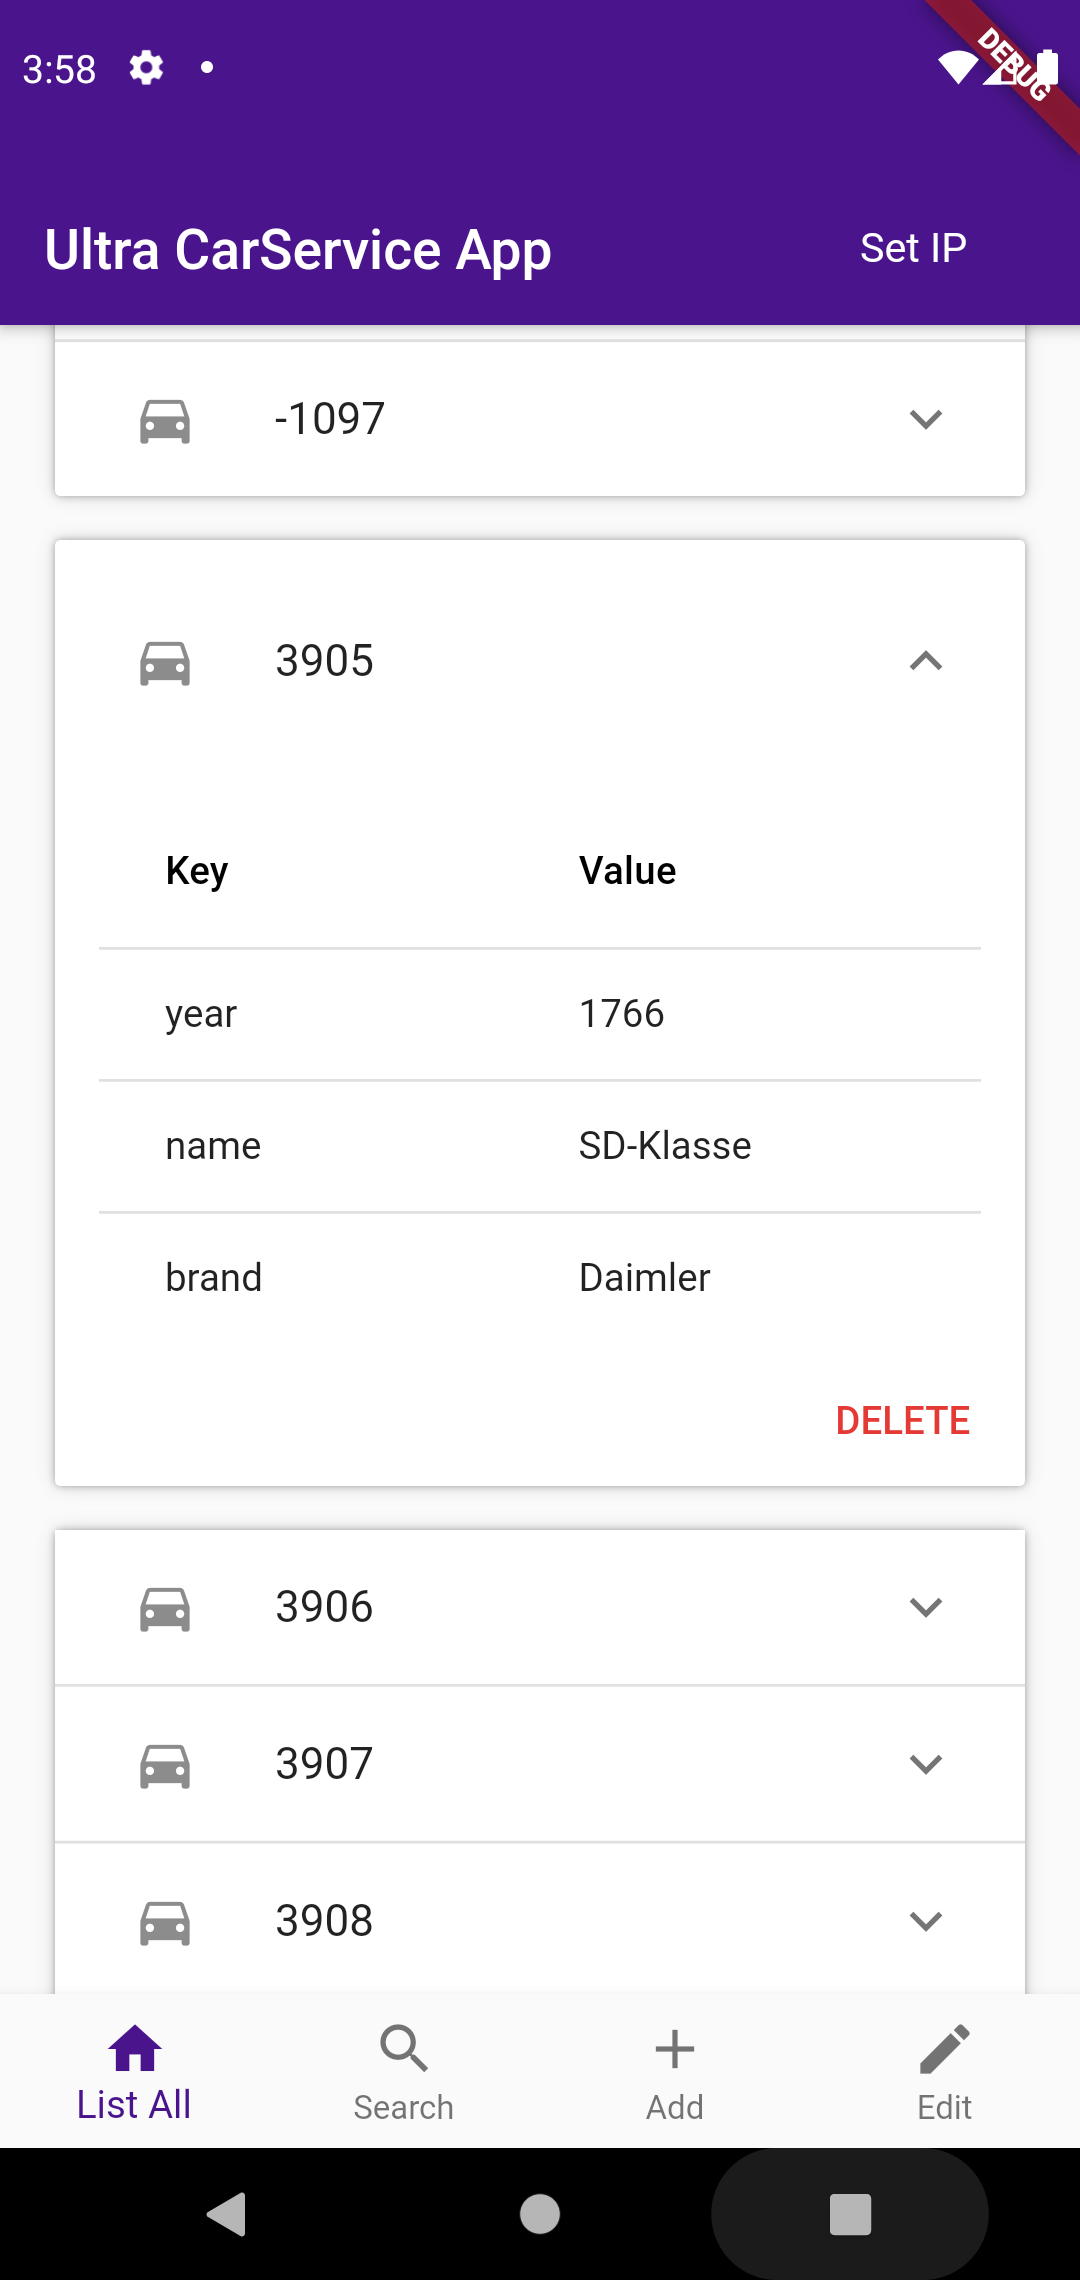
- Frontend (Flutter)
- Usage
A web application based on a restful CRUD API, that allows you to manage an Inventory of cars, with options to list, create, update and delete entrys. The Project utilizes the Spring Boot framework in order to manage it's API, postgres to store the data and angular to display it in the front end. And unlike many similar APIs, it is ULTRA cool
- JVM and JRE running on Java 11 (or higher)
- Helm (Prometheus, Grafana)
- Kubernetes
- Typescript
- Minikube
- Angular
- NodeJs
- Docker
- Maven
- (for app)
- Android Studio
- Flutter sdk
- Dart
- Step 1: Install all dependencies named above (example given using chocolaty)
choco install openjdk:11 maven docker nodejs minikube helmnpm intsall -g typescript angular
- Step 2: Add
ultraservicespringbootto the host file and point it towards the minikube ip- Example:
192.168.99.107 ultraservicespringboot
- Example:
- Step 3: Run the deployment script
bash ./deploy.sh - Step 4: The webapp should now be running at
http://minikube/list-all - Step 5: If failed run:
eval "$(minikube docker-env --shell=bash)"and repeat steps 2-3
- Step 1: Install all dependencies named above (example given using chocolaty)
choco install openjdk:11 maven docker nodejs minikubenpm intsall -g typescript angular
- Step 2: Add
ultraservicespringbootandpostgres-k8s-serviceto the host file and point them towards localhost- Example:
localhost ultraservicespringboot
- Example:
- Step 3: Pull up docker-compose file (to get postgres to run)
docker-compose up -d -f ./deploymen/docker-compose-local.yml
- Step 4: Run Angular and Spring Boot
mvn package && java -jar ./target/car-service-0.0.1-SNAPSHOT.jarcd ./src/main/angular && ng serve --open
- Step 5: Access the service over
http://localhost:4200
- Run integration tests over Newman:
newman run ./src/test/newman/test_ulta_carservice.kubernetes.postman_collection.json
- The project has two types of test already setup:
- Integration tests using Newman (/Postman)
- Unit tests using Junit
- Newman test:
- Generate local newman tests with:
cd ./deployments && bash ./generate_local_newman_test.sh - The Newman tests can then be found under
./src/test/newman/test_ulta_carservice.postman_collection.json - The integration tests can be run using
newman run ./src/test/newman/test_ulta_carservice.postman_collection.jsonfrom the project root
- Generate local newman tests with:
- Unit Tests can be found under
./src/test/java - Running all Unit tests at once can be achieved by running the Test Suite
TestAll.java
- Monitoring for this project utilizes prometheus to scan the backend applications and Grafana to visualize these
- The prometheus ui Dashboard can be accessed by:
- port-forwarding the prometheus-operator pod:
kubectl port-forward -n monitoring-ns kubectl port-forward -n monitoring-ns prometheus-monitoring-grafana-6bc57bcb-4r9mv 3000 9090 - viewing it at:
http://localhost:9090
- port-forwarding the prometheus-operator pod:
- The Grafana Dashboard can be accessed by:
- port-forwarding the grafana pod:
kubectl port-forward -n monitoring-ns prometheus-prometheus-monitoring-prom-prometheus-0 9090 - viewing it at:
http://localhost:3000
- port-forwarding the grafana pod:
- A pre built dashboard for Grafana can be found under:
./deployment/grafana.json- import it by going to
http://localhost:3000/dashboard/import - Pressing on
importand selecting the aforementioned file
- import it by going to
- The java portion of project is compatible with java docs
- If you wish to generate that documentation, run the following command:
mvn javadoc:javadocin the project root - The files can then be found under
./target/site/apidocsin your project directory
- If you wish to generate that documentation, run the following command:
- Furthermore, precise documentation for using the API can be found under
http://minikube/backend/swagger-ui/at runtime
- Get PostgreSQL going:
docker-compose up -d - Entering Postgres
- Step 1:
docker exec -it ultra-database bash - Step 2:
psql -U postgres
- Step 1:
- To access to front end (with Spring boot and Postgres running in the background):
- navigate to
./src/main/angularfrom the root directory - make sure angular & typescript are installed
- start the angular app using:
ng serve --open - (your browser should open the page automatically)
- navigate to
- Overview:
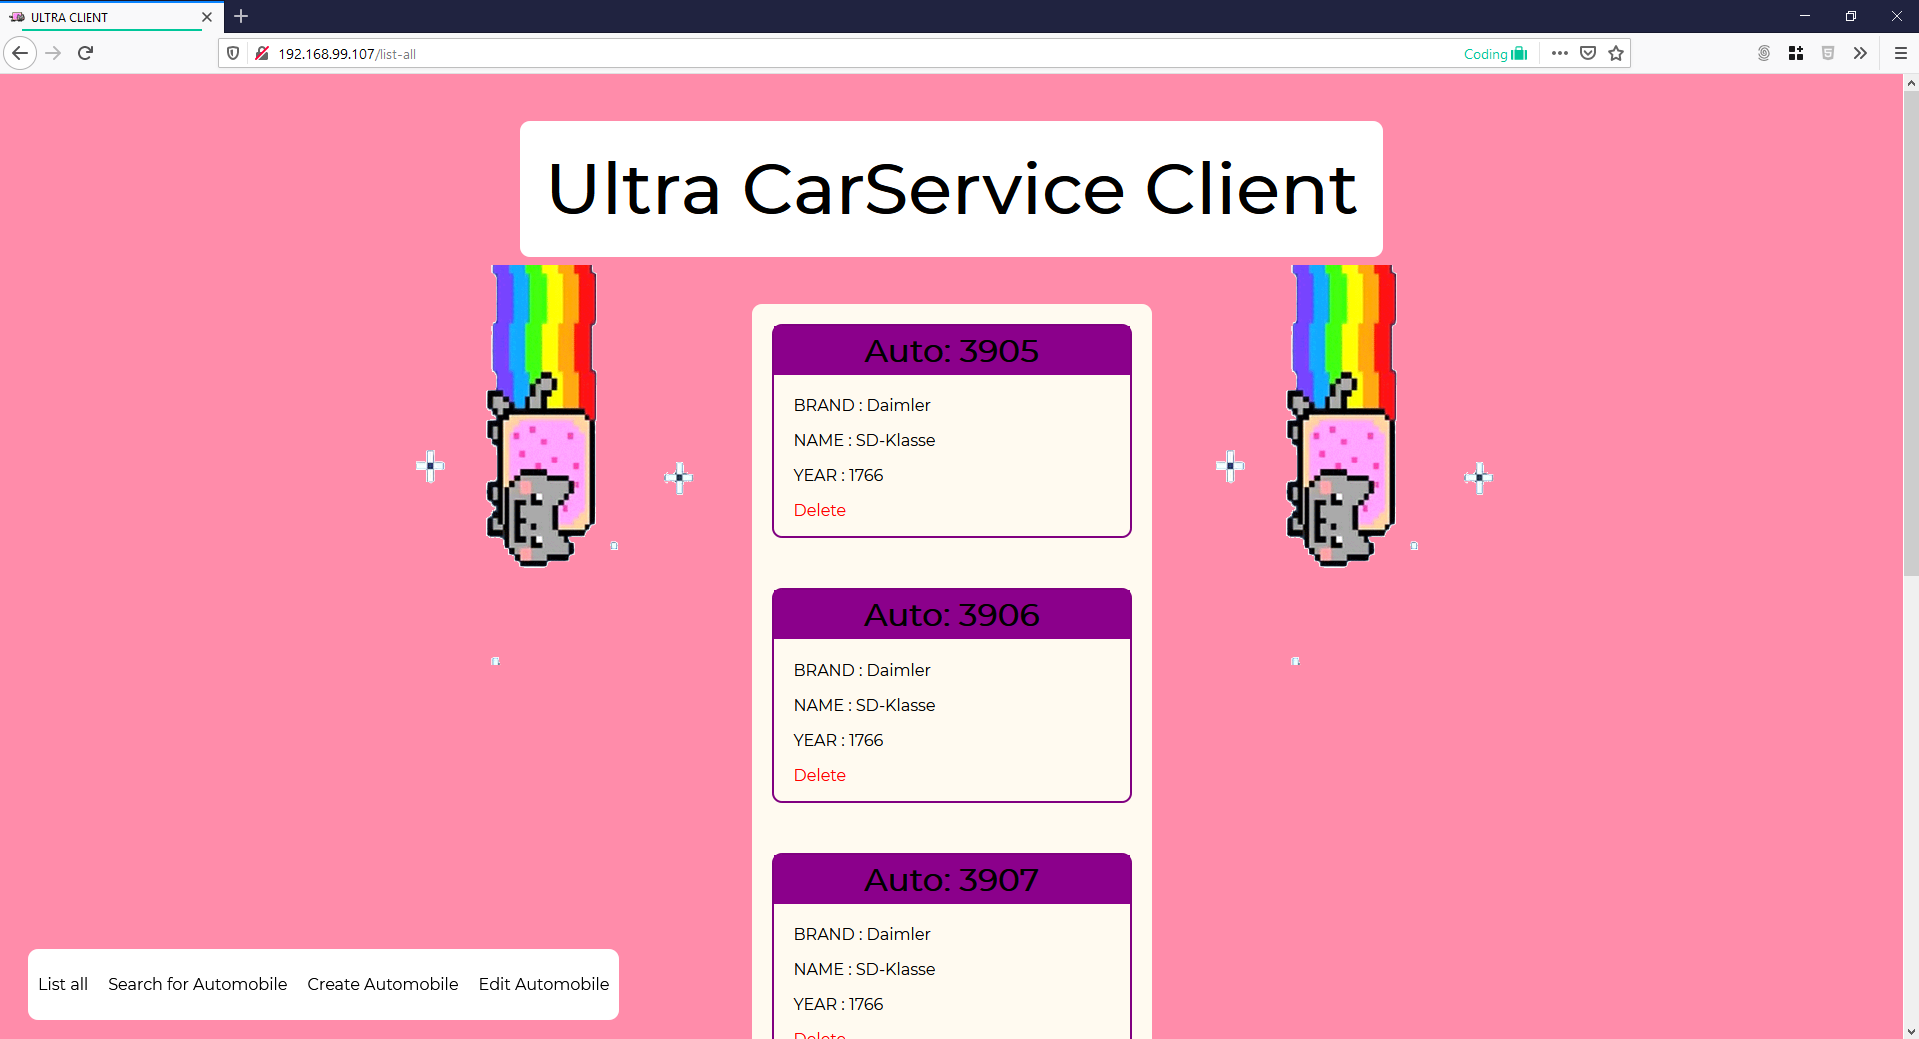
- List of all cars:
http://minikube/list-allorhttp://minikube/ - Search for individual cars:
http://minikube/search - Create car entries:
http://minikube/create - Edit existing car entries:
http://minikube/edit
- List of all cars:

|

|
- Step 1: Install prerequisites
- Android Studio (needed to build project) ~ don't forget to install the flutter plugin
- Dart
- Flutter sdk
- Step 2: Open app folder
./src/main/flutterin Android Studio - Step 3: Select physical or virtual device and press
Run- (in order to access the backend, the springboot application has to be running on port 8080 on an ip accessible by the device running the app)
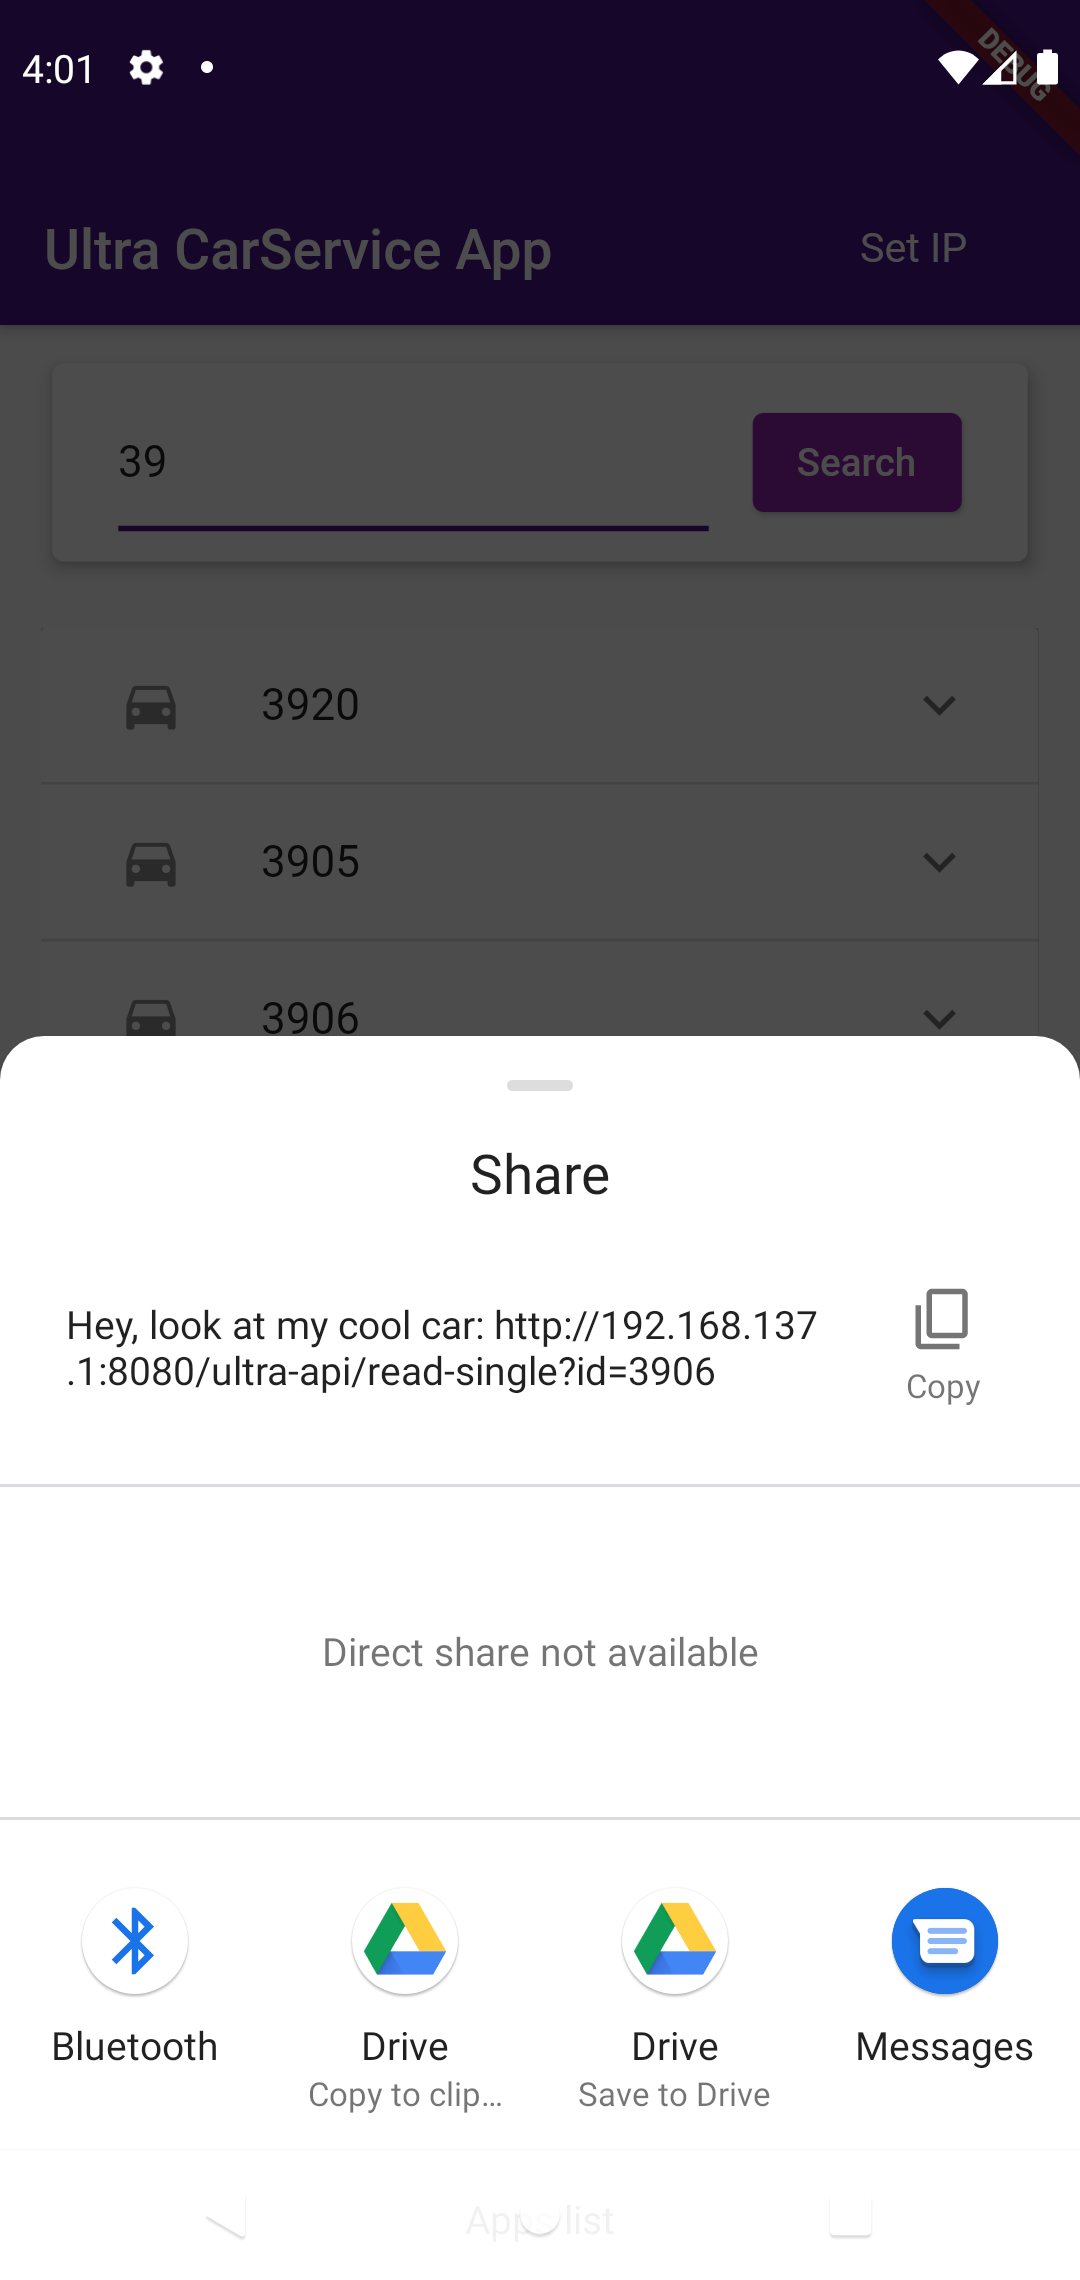
- Step 4: Enjoy the amazing share feature in the app
- General Overview:
- Create entries: POST-Request to
http://minikube/backend/ultra-api/create-carand a JSON Object in the body containing the following items:- name
- model
- Read entries
- to read all entries: GET-Request to
http://minikube/backend/ultra-api/read-all - to read out single entries: GET-Request to
http://minikube/backend/ultra-api/read-single?id&19(here the id 19 is being checked)
- to read all entries: GET-Request to
- Update entries: PUT-Request to
http://minikube/backend/ultra-api/update-car?id=19- with the id number (here 19) displaying the id of what car has to be updated
- as well as a JSON Object in the body containing the same items as the create method
- Delete entries: DELETE-Request to
http://minikube/backend/ultra-api/delete-car?id=19(here the entry with id number 19 is being deleted)
- Create entries: POST-Request to
- For precise Usage info, please visit
http://minikube/backend/swagger-ui/
