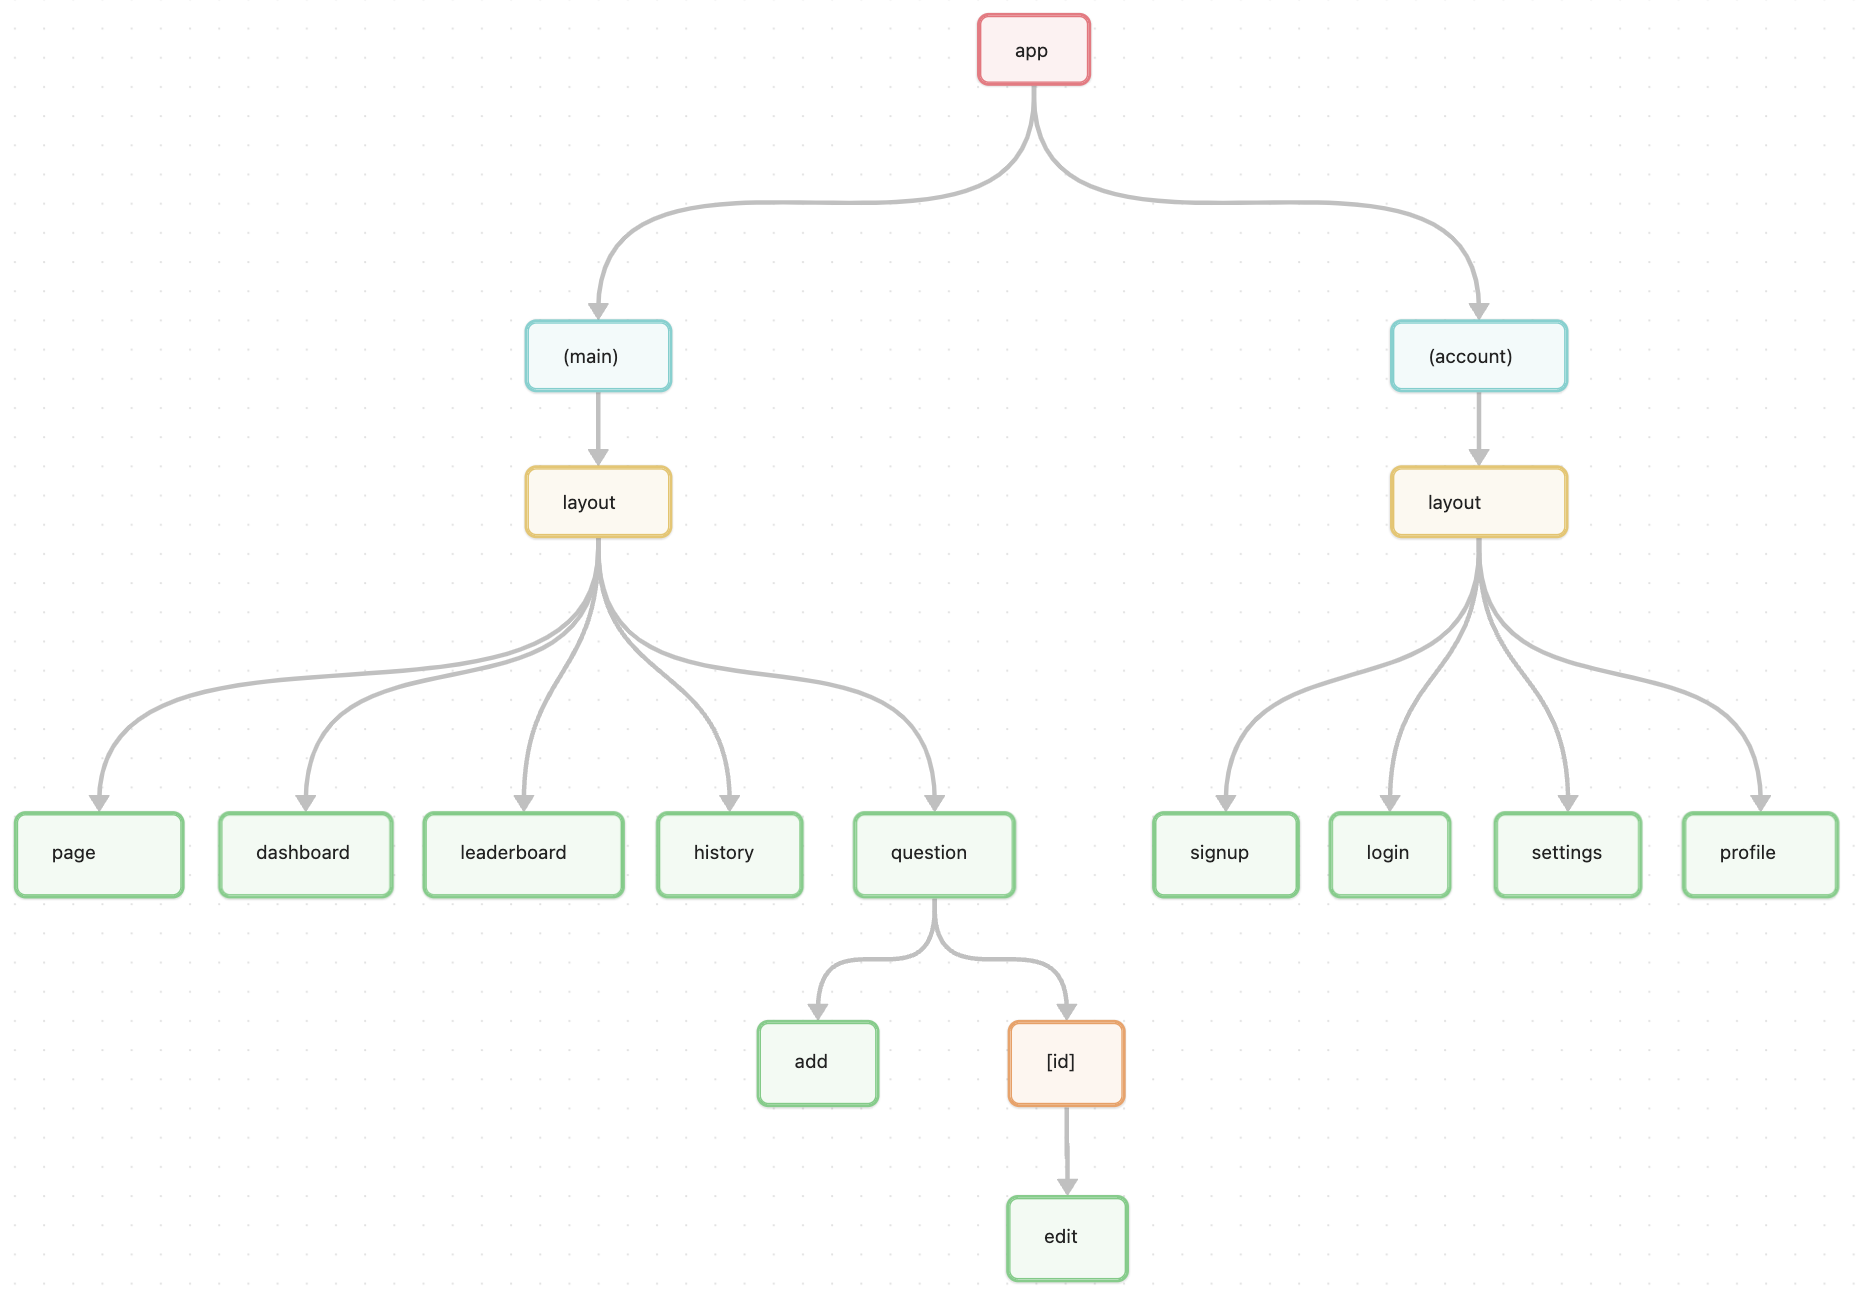
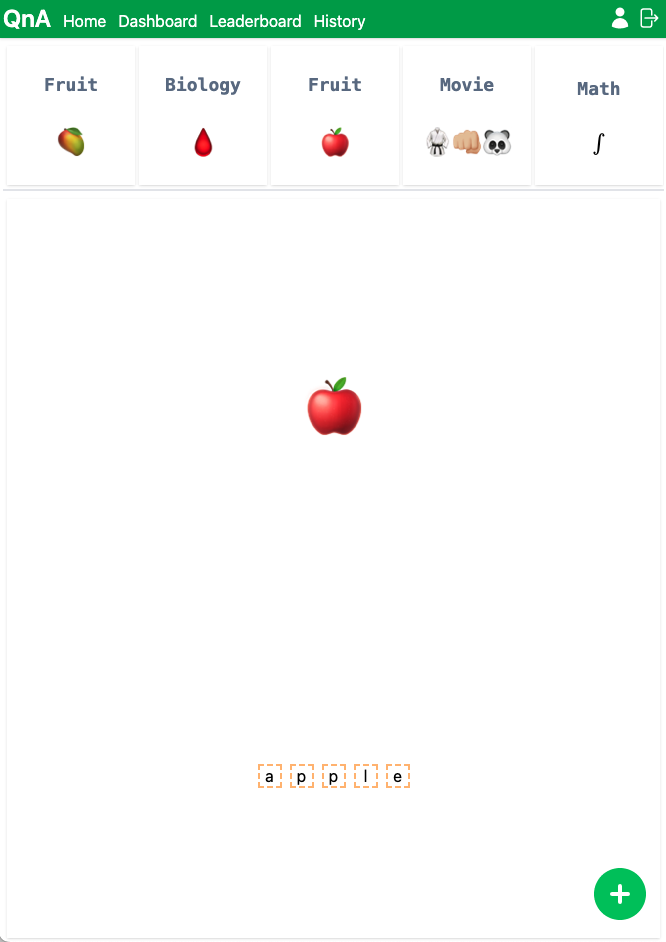
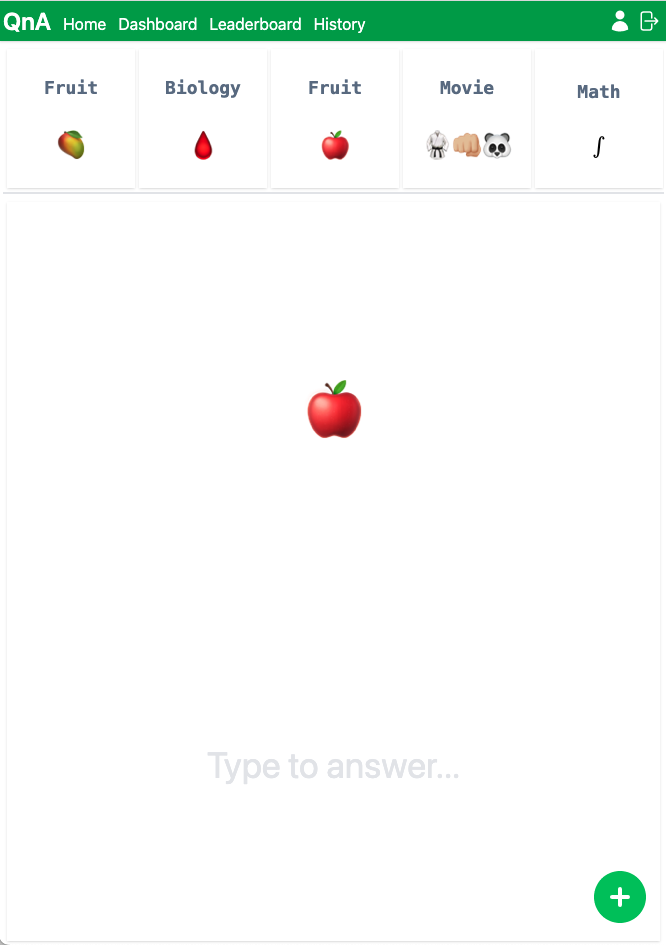
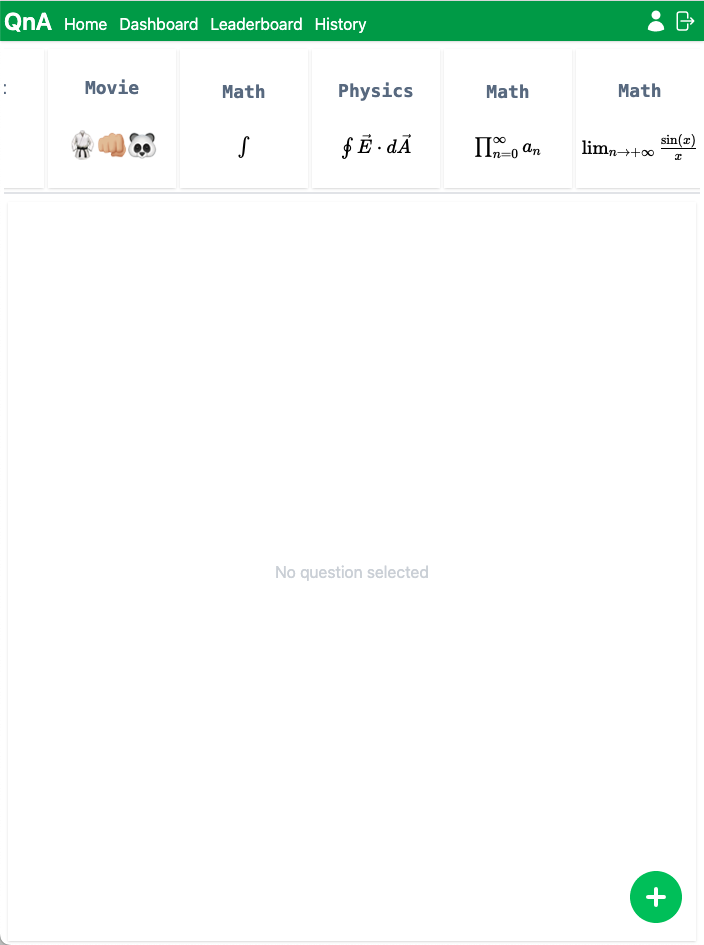
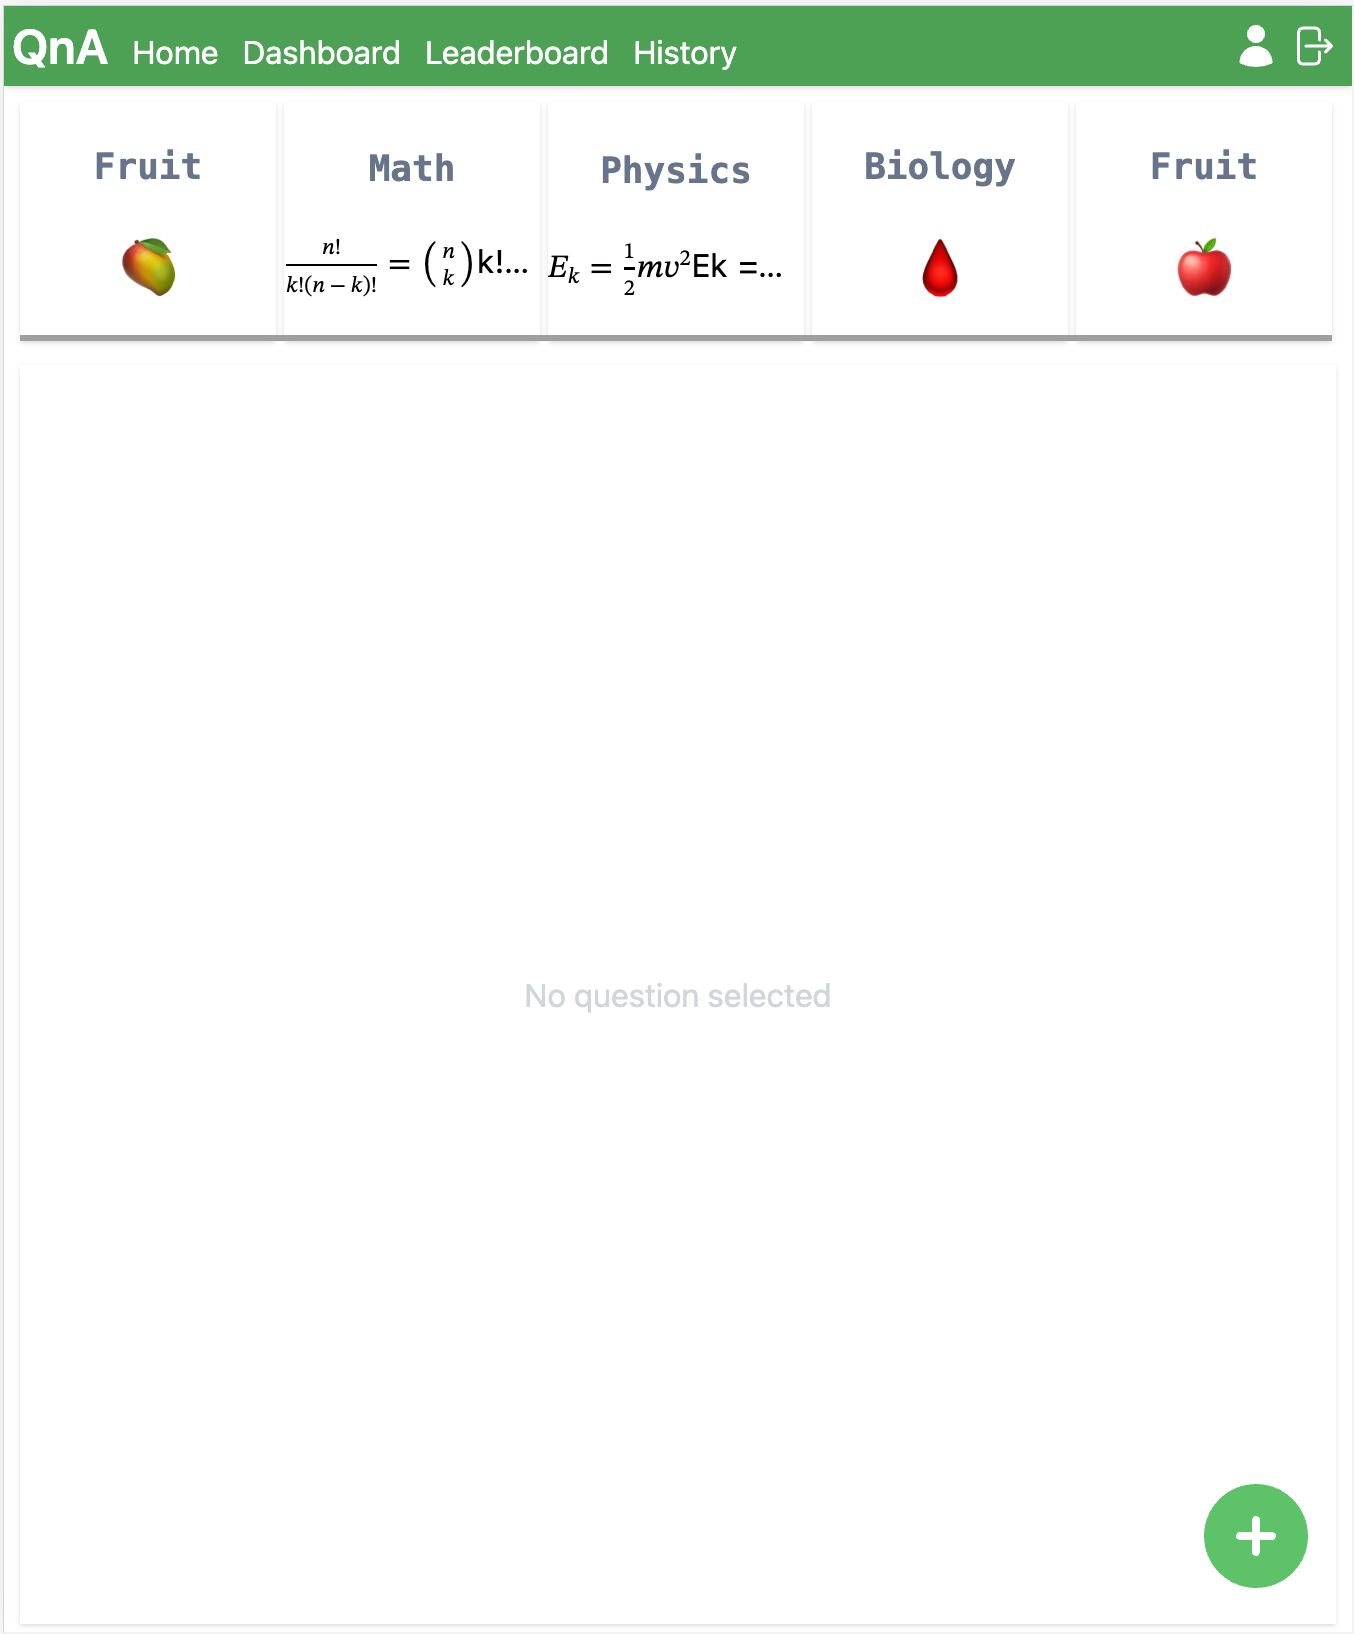
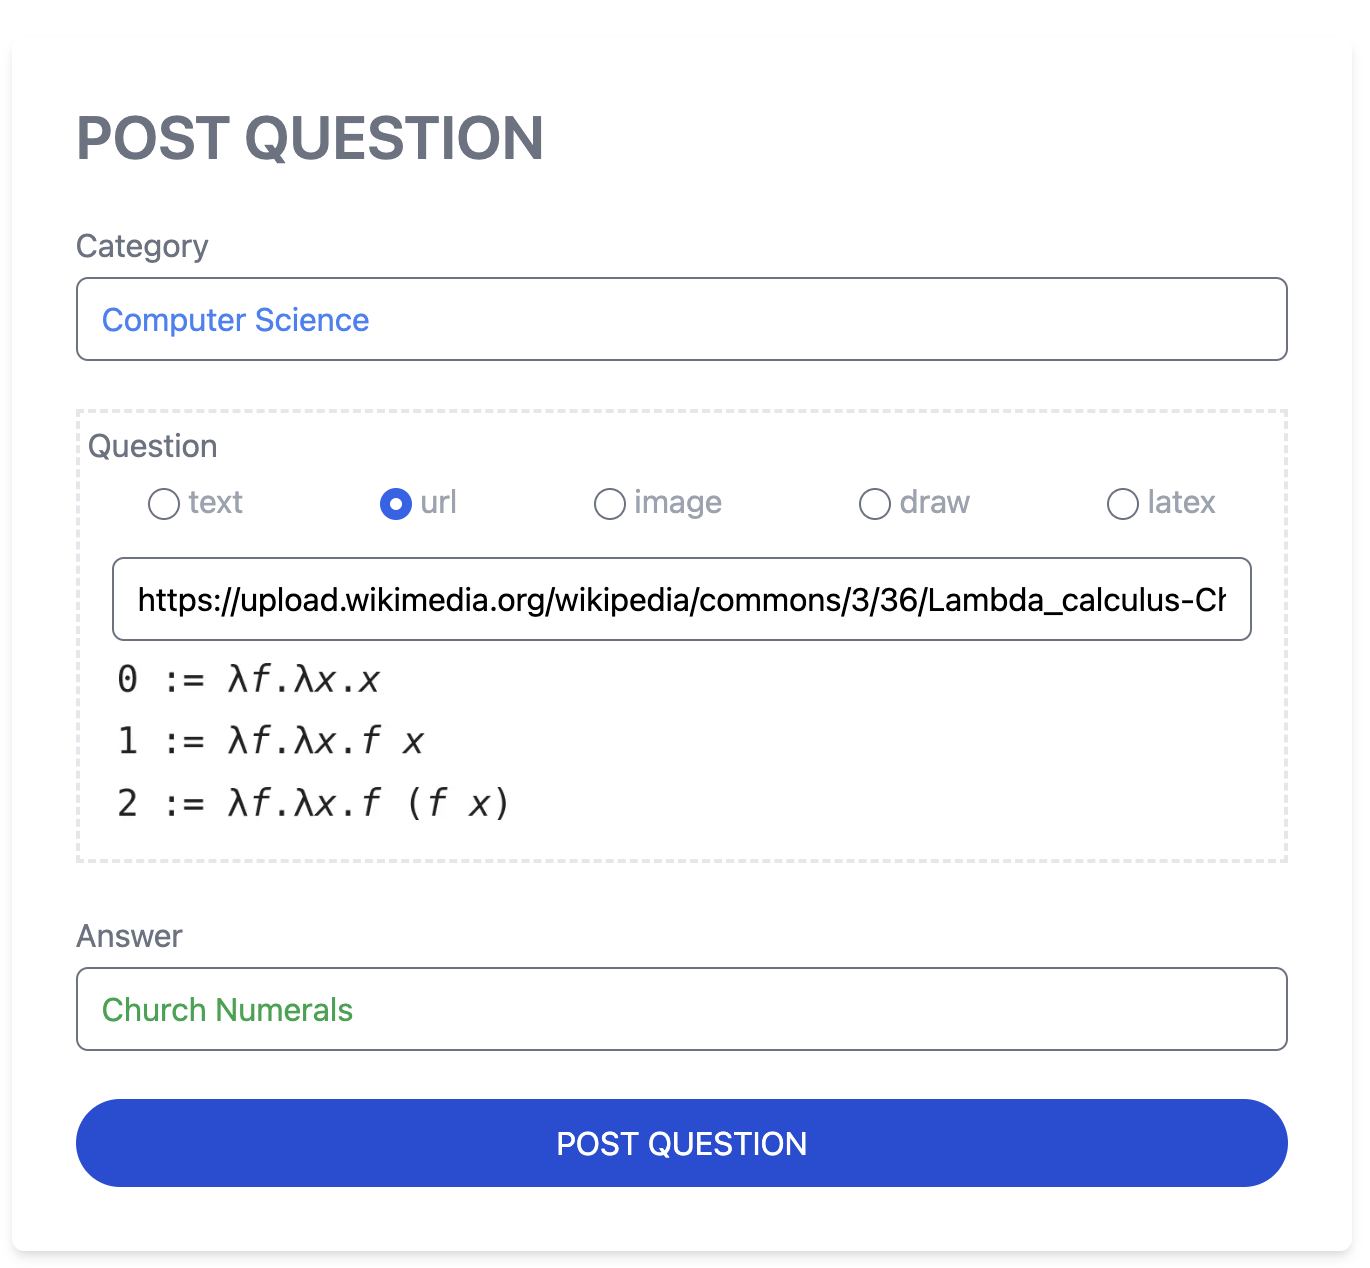
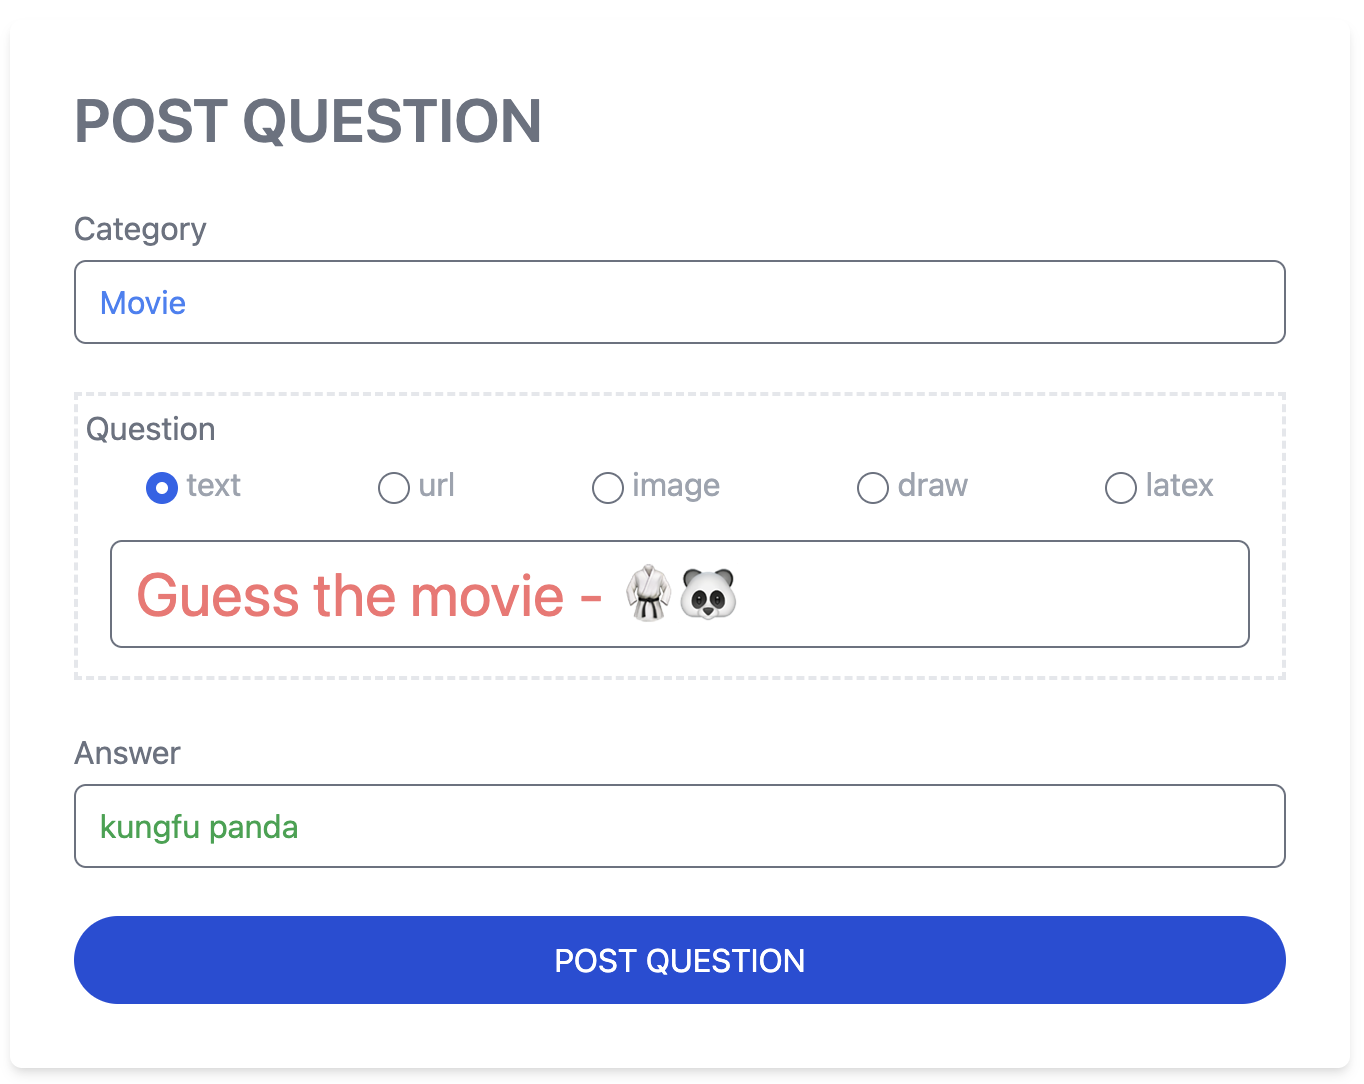
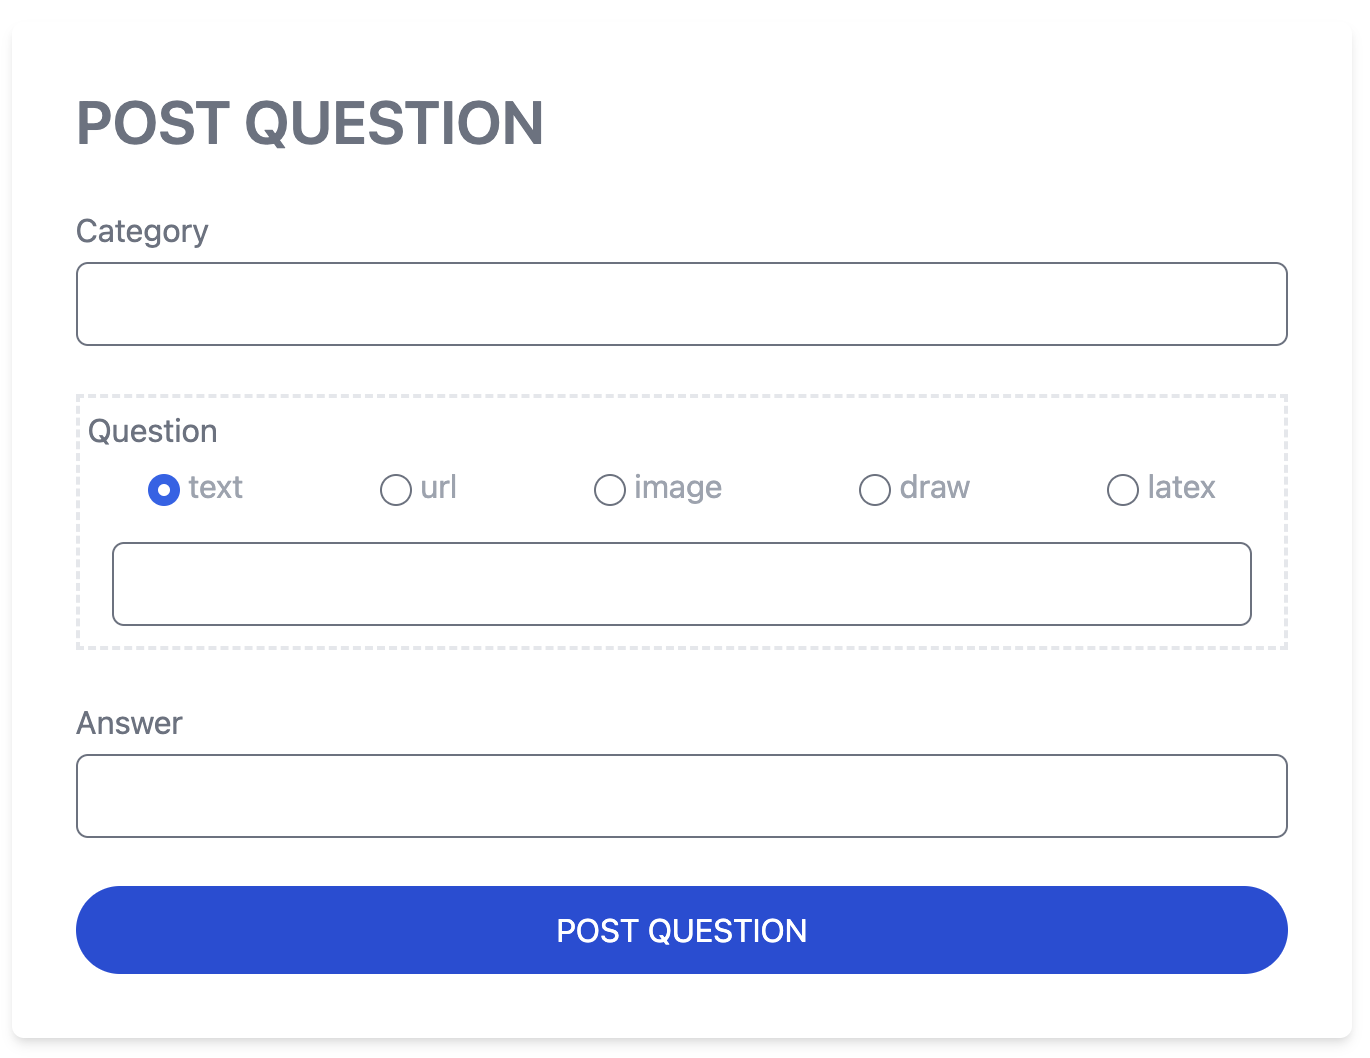
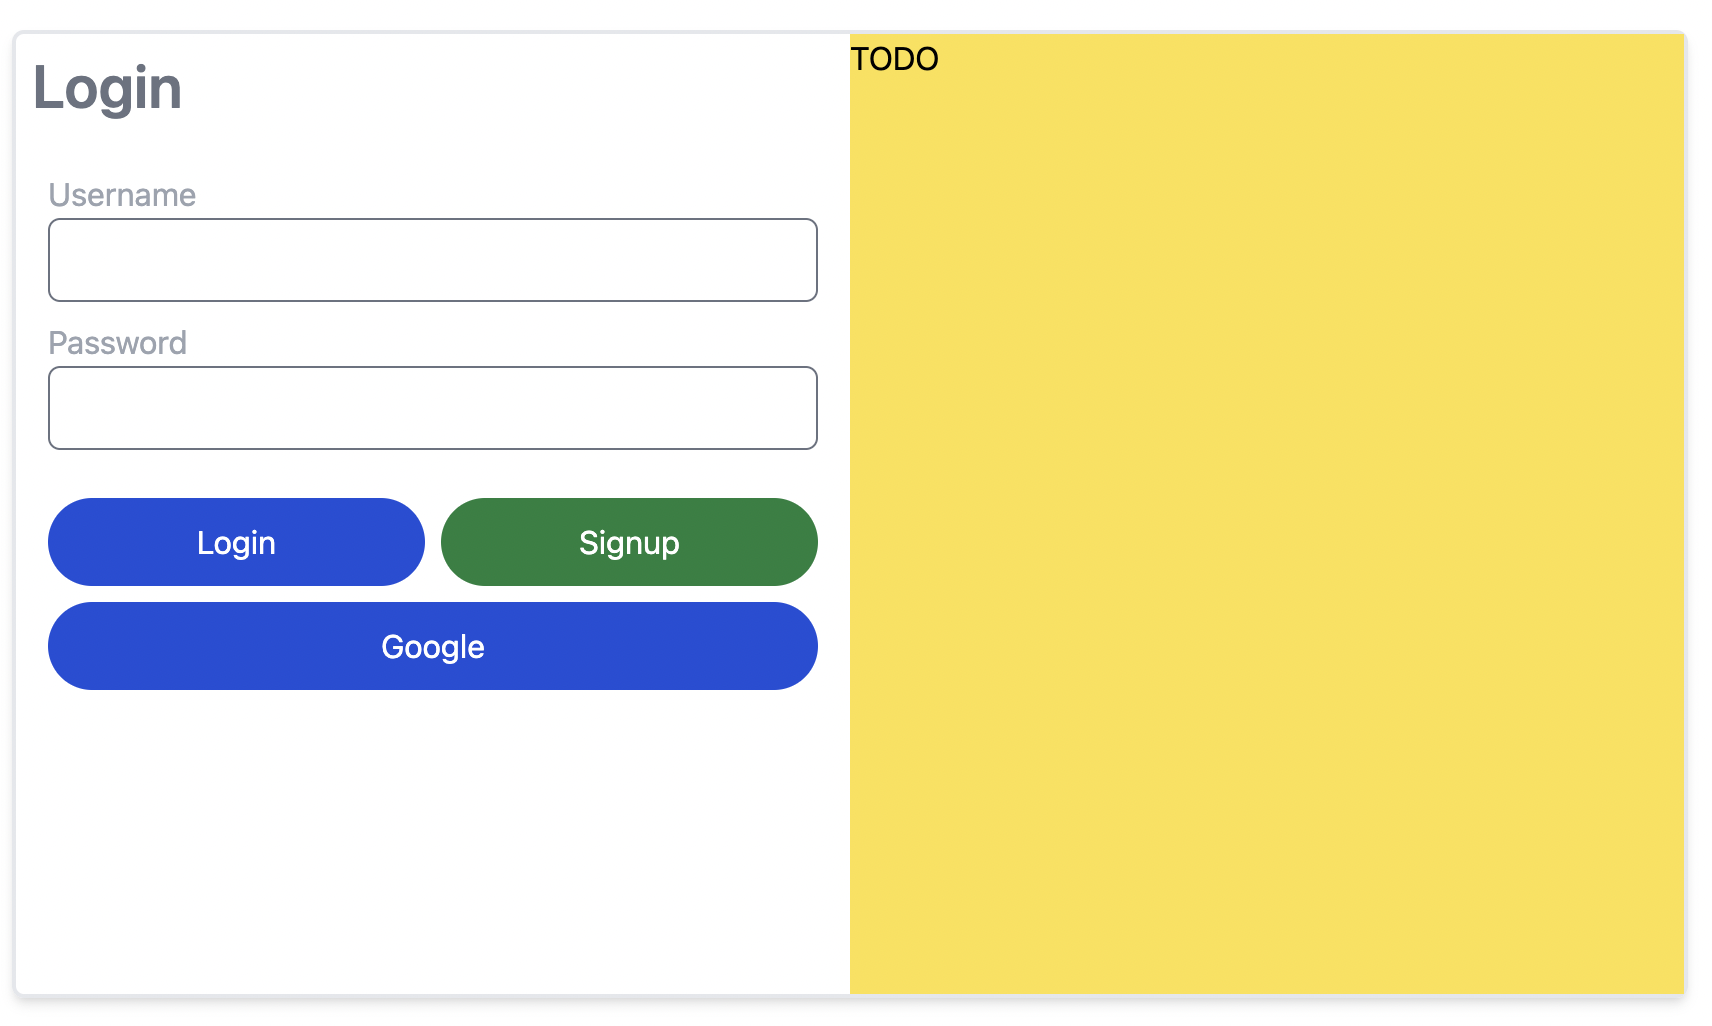
This project aims to develop a question-and-answer web app where users can solve the questions posted by other users or the system. They will also have the ability to post their questions. The app will allow users to bookmark or group questions and challenge others.
FR- Functional Requirement,NFR- Non Functional RequirementER- Extended RequirementSR- System Requirement
| ID | Description | Status |
|---|---|---|
| FR1 | User must be able to login via email and password, gmail, and others supported by Supabase |
DONE |
| FR2 | User must be able to view list of questions | INPROGRESS |
| FR3 | User must be able to view and attempt a specific question | TODO |
| FR4 | User must be able to add new question | TODO |
| FR5 | User must be able to delete his question | TODO |
| FR6 | User must be able to Group existing questions that further can be shared as challenge to others | TODO |
| FR7 | User must be able to see his score and activity history | TODO |
| FR8 | Add support for google and facebook OAuth provider | TODO |
| FR9 | Add validation for email signup | TODO |
| FR10 | Send to profile update page on first login | TODO |
| SR1 | System must handle realtime notification | TODO |
| SR2 | System should allow new question ingestion | TODO |
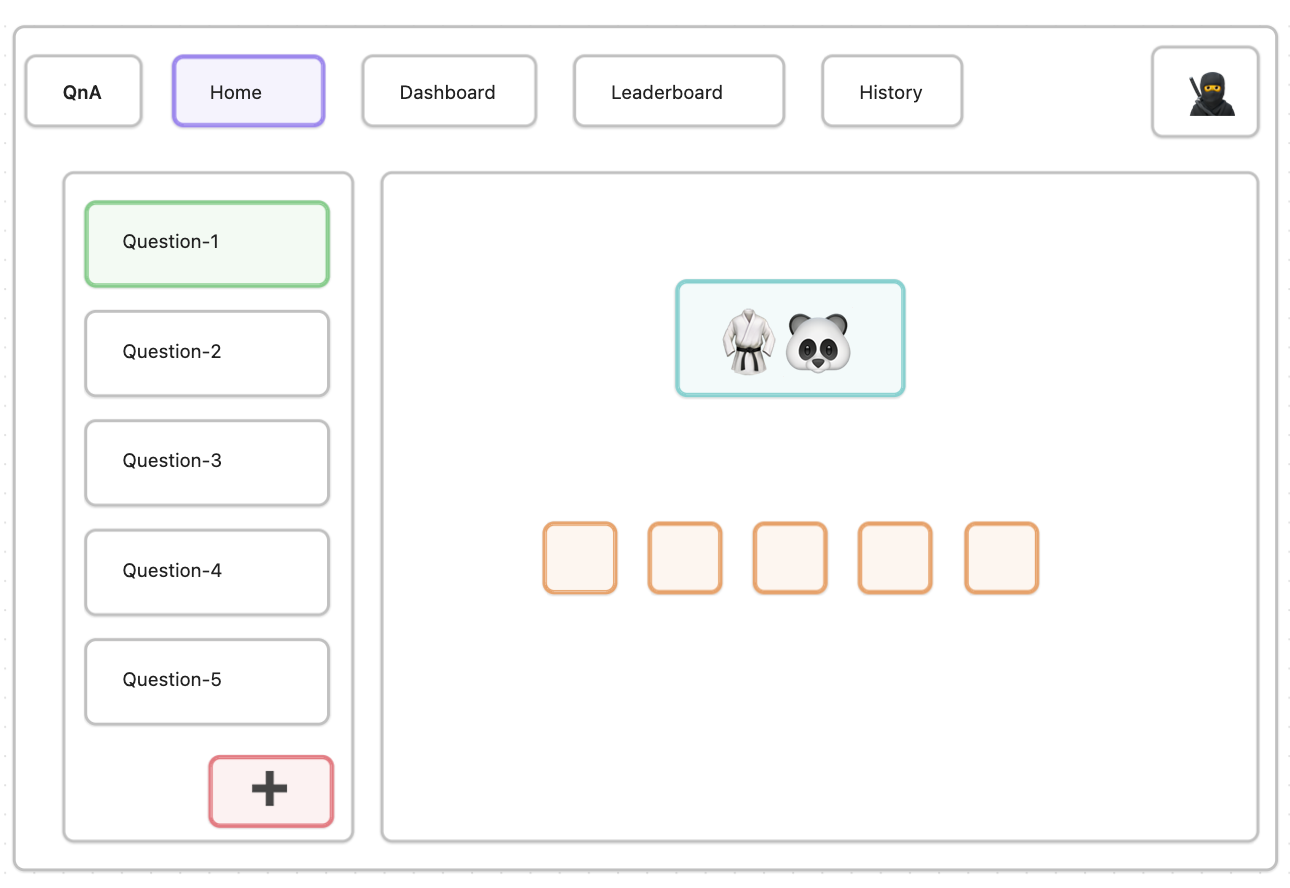
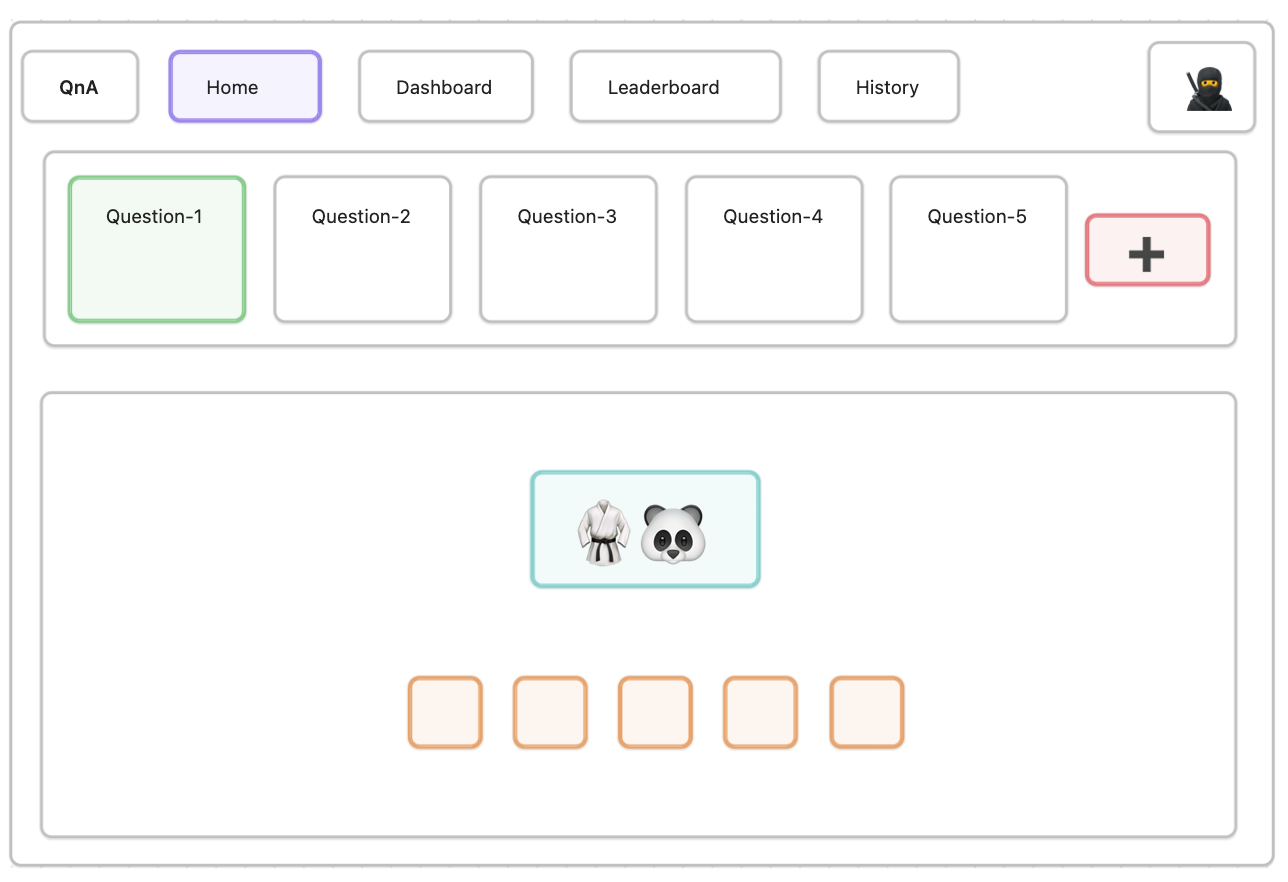
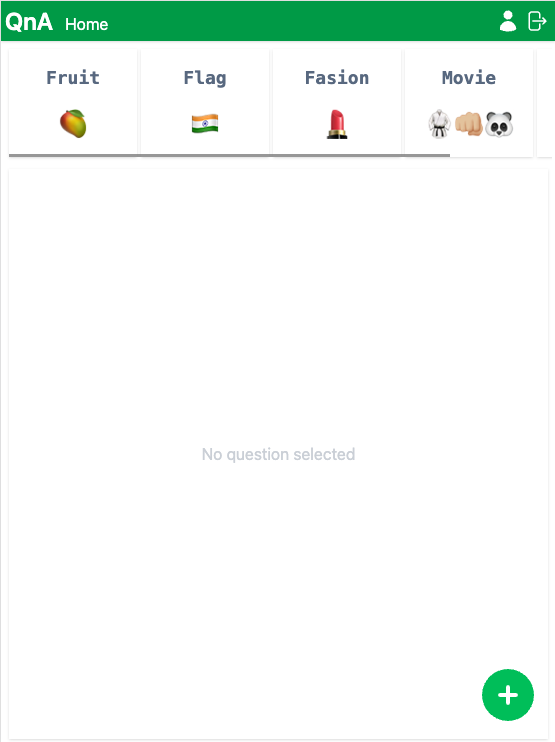
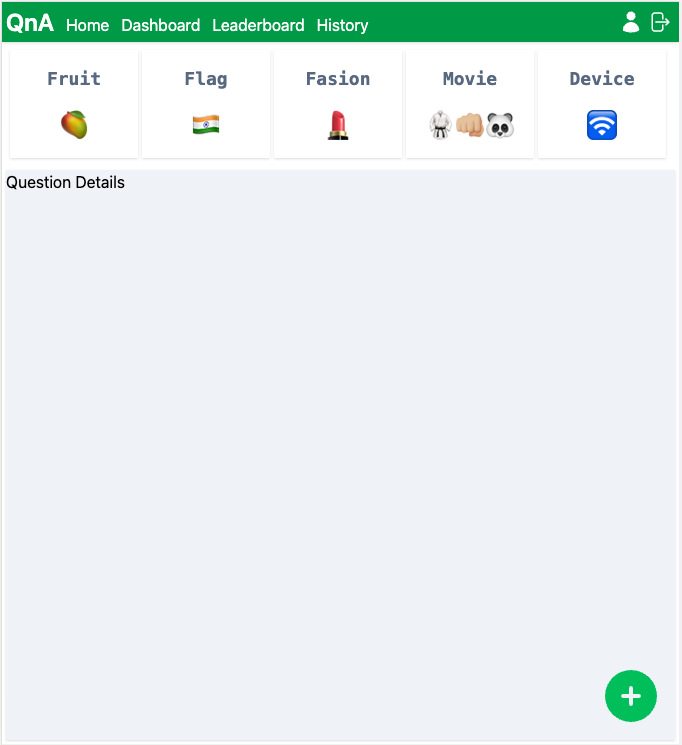
Small, Medium, and Large Device
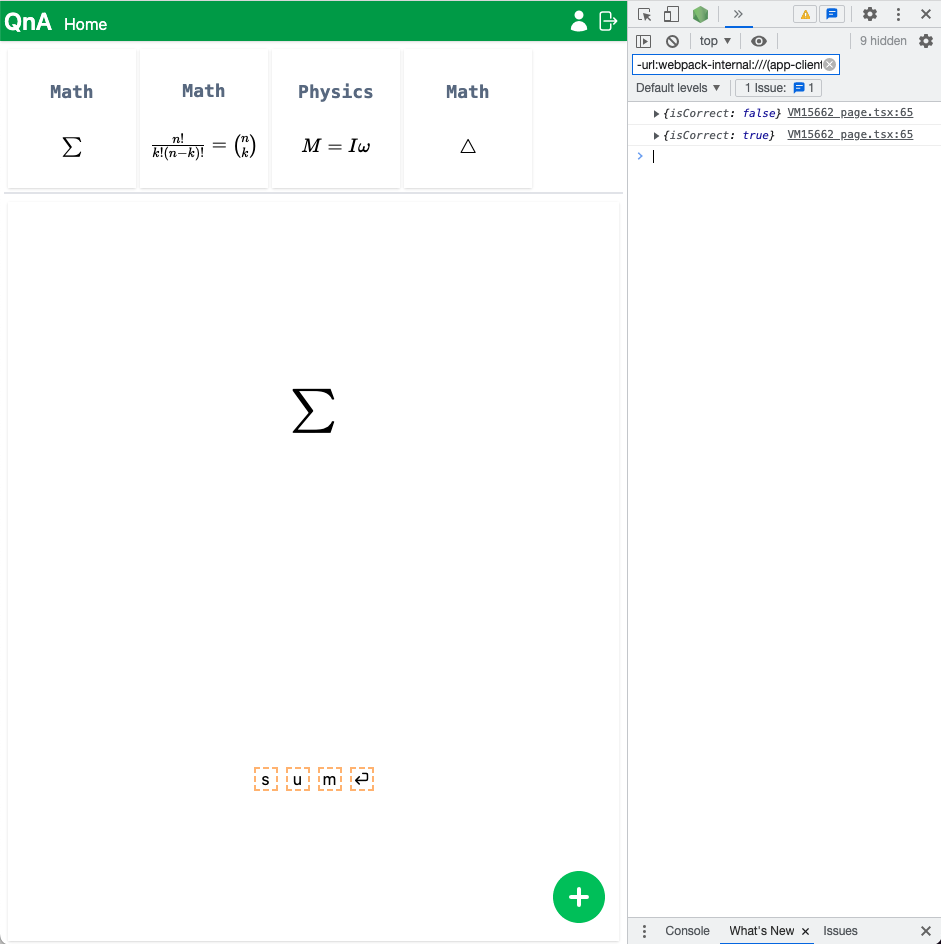
Mobile Device
demo-4.webm
demo-3.webm
output.mp4
demo.mp4
Implemented backend logic to verify answer
Type to answer - ui update
Updated Question details ui
Implemented Question click handler
Fixed scroll issue
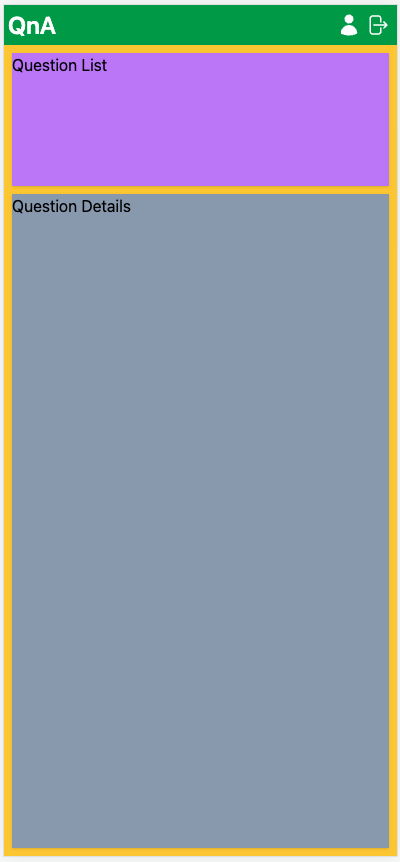
Question list rendering
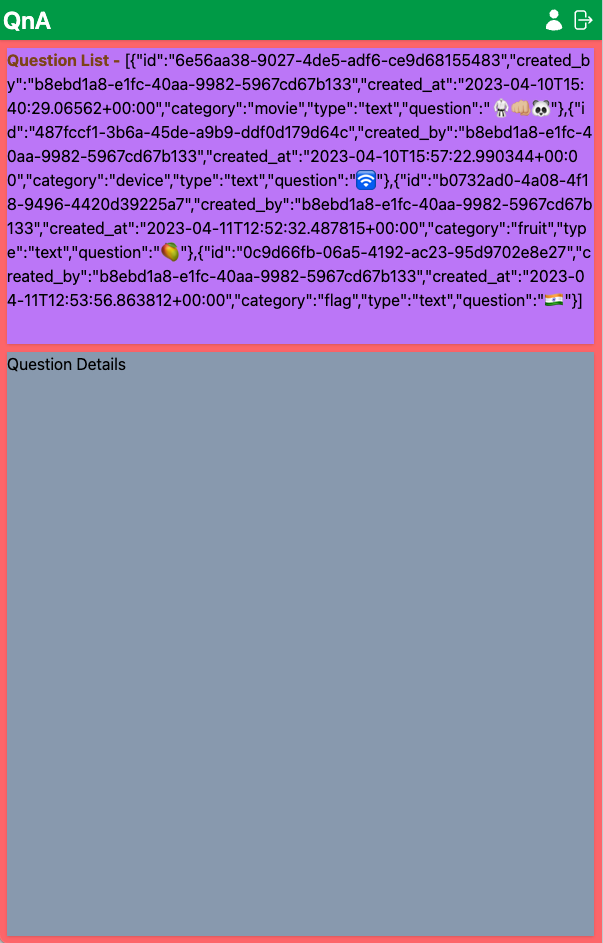
Question List from backend
Small, Medium, and Large Device
Mobile Device
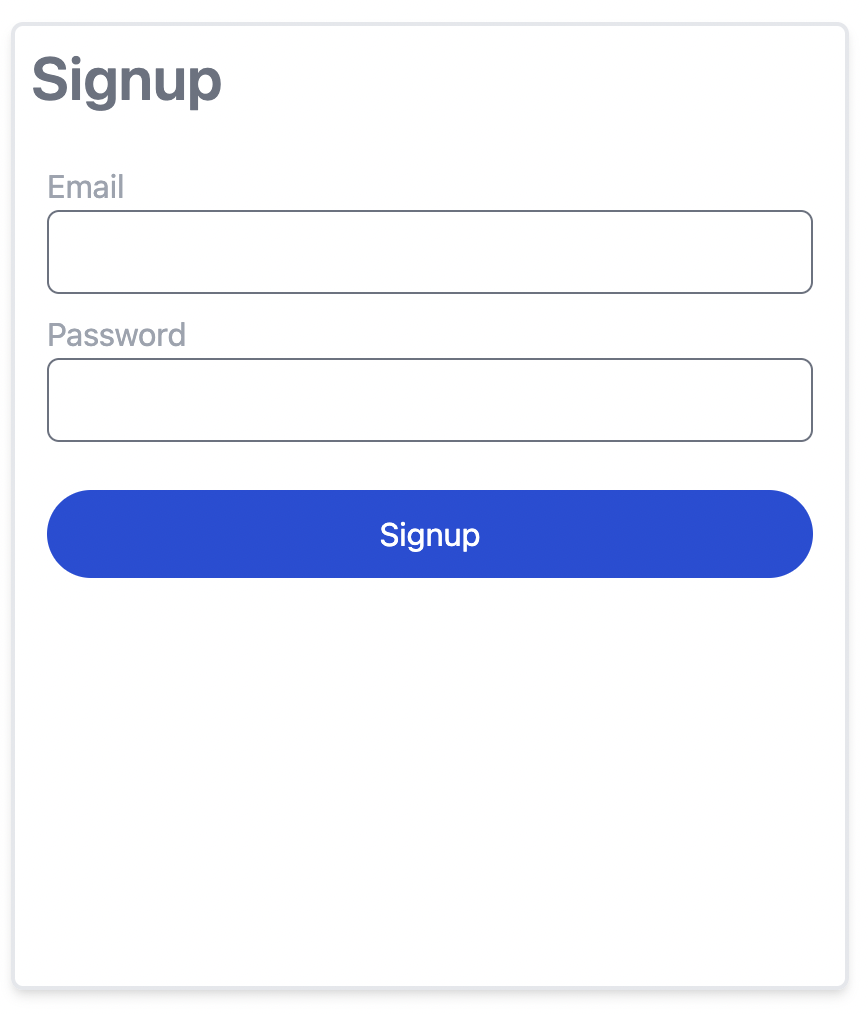
- Improve Login page
- Improve Signup page
- Implement loading page for page transitions
TODO
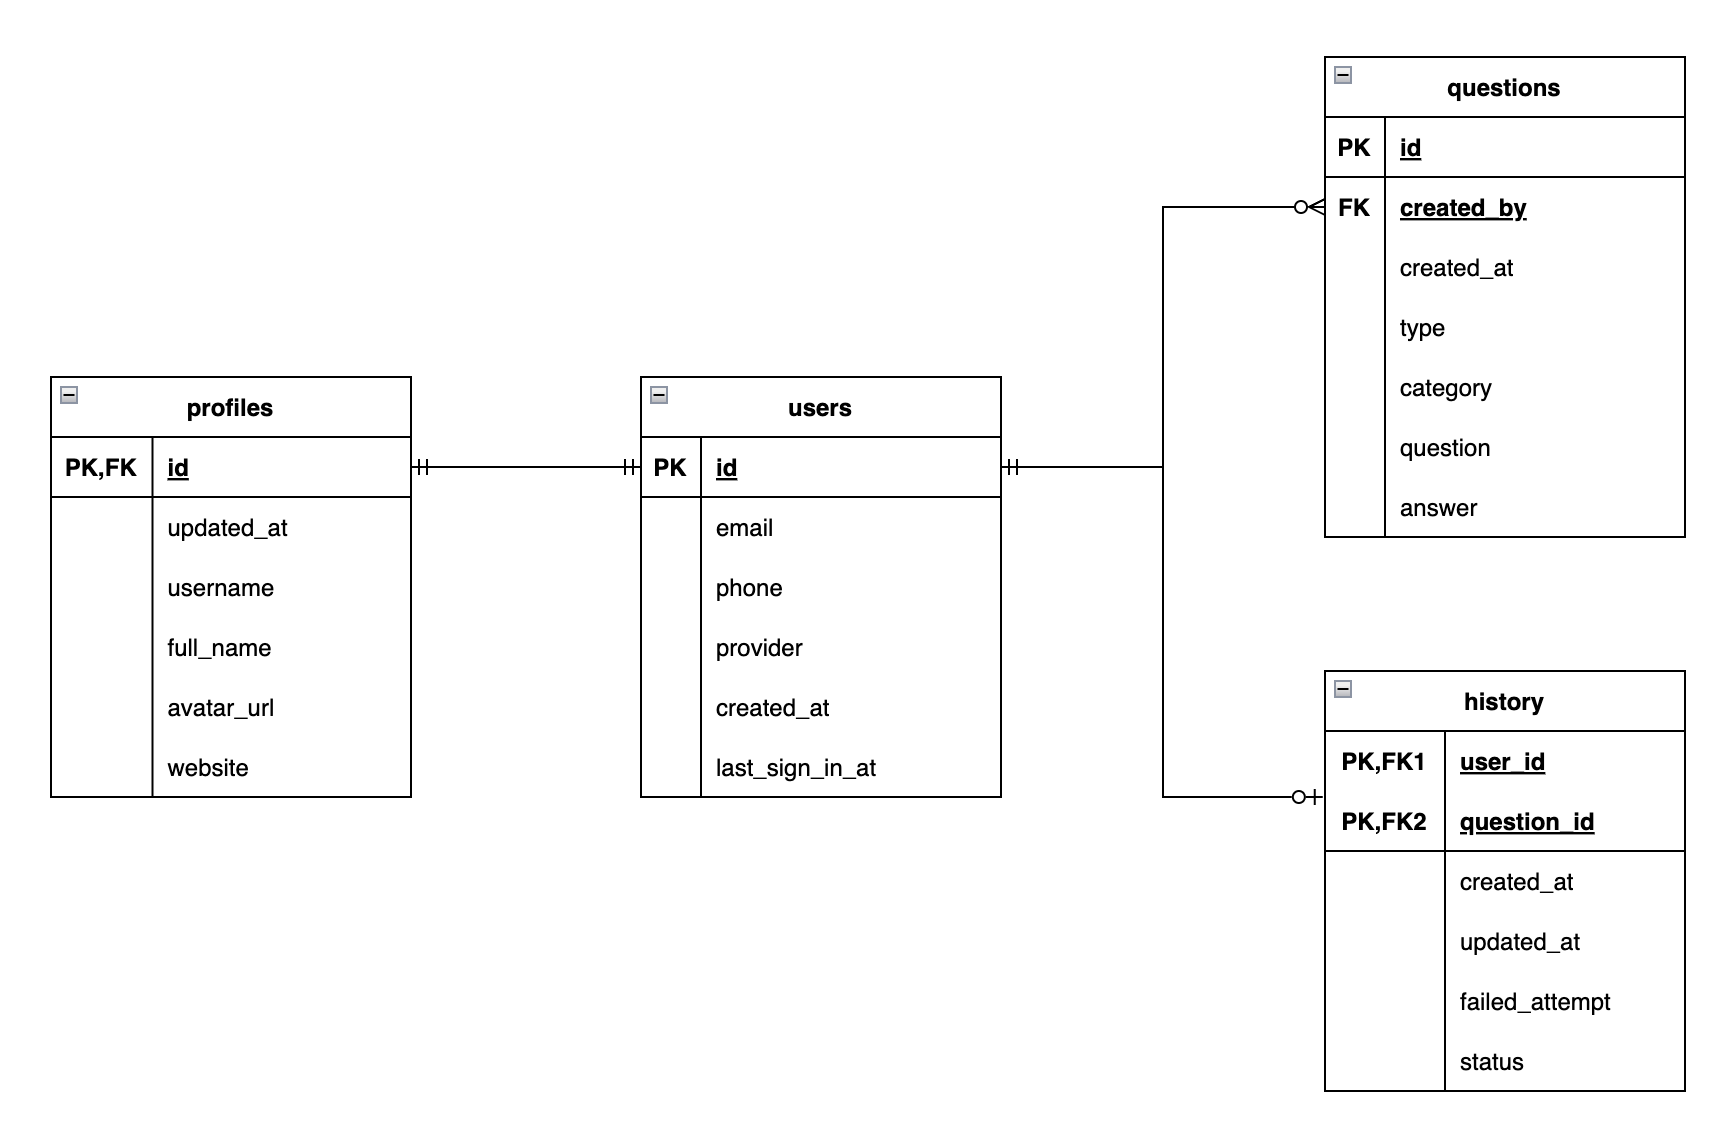
| Name | Type | Description |
|---|---|---|
| id | uuid | system generated user id |
| string | user email id | |
| phone | string | user phone number |
| provider | string | oAuth provider |
| created | datetime | user creation date |
| last_sign_in | datetime | last sign in date |
| Name | Type | Description |
|---|---|---|
| id | uuid | system generated user id |
| updated_at | datetime | last profile update date |
| username | string | username |
| full_name | string | user full name |
| avatar_url | url | user profile pic |
| website | url | user website |
| Name | Type | Description |
|---|---|---|
| id | uuid | question id |
| created_by | uuid | creators user id |
| created_at | datetime | creation time |
| category | string | question category |
| type | string | question type - text, url, image, draw, and latex |
| question | string | question description |
| answer | string | single or multi-word answer |
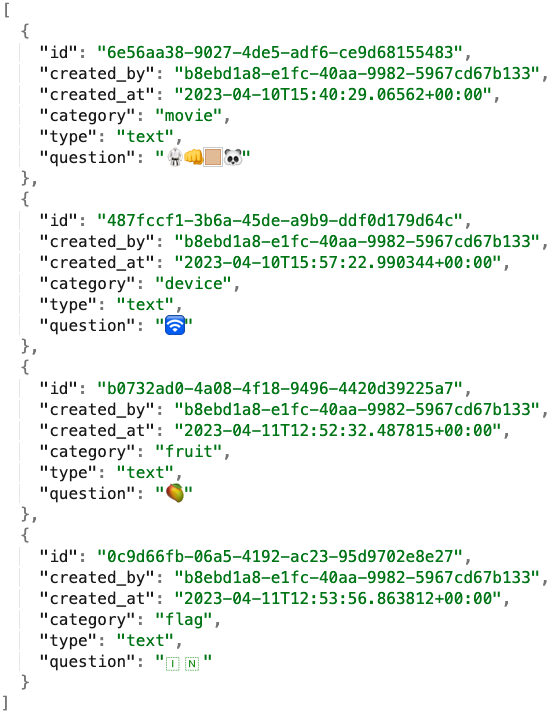
Above is the response presented to the browser. Answer field is removed in backend.
| Name | Type | Description |
|---|---|---|
| user_id | uuid | id of user trying to attempt the question |
| question_id | uuid | question id the user is trying to answer |
| created_at | datetime | datetime for first attempt |
| updated_at | datetime | datetime for later attempt till its solved |
| failed_attempt | number | count for failed attempts |
| status | enum | status for user attempts |
TODO
TODO
TODO
- Fullstack Framework - Next.js
- Database - Supabase
- Authentication - Supabase Auth, Youtube Tutorial, Example
- Client State Management - Zustand
- Client Data Fetching - Swr
- Server Data Fetching - fetch
- CSS framework - Tailwindcss
- Tailwindcss Forms Plugin - Tailwindcss Forms
- Tailwindcss Prettier Plugin - Prettier Plugin
- Form Validation - zod
- Drag and Drop - dndkit
- Icons - heroicons
- Version Control - GitHub
- Deployment - Vercel
First, run the development server:
Run command
nvm useto usenodeversion configured in.nvmrc
npm run devOpen http://localhost:3000 with your browser to see the result.
You can start editing the page by modifying app/page.tsx. The page auto-updates as you edit the file.
API routes can be accessed on http://localhost:3000/api/hello. This endpoint can be edited in pages/api/hello.ts.
The pages/api directory is mapped to /api/*. Files in this directory are treated as API routes instead of React pages.
This project uses next/font to automatically optimize and load Inter, a custom Google Font.
> git checkout main
> git pullAll feature work should be done on a branch. The branch should start with word "feature/". Dash (-) should be used as separator the branch name.
> git checkout -b feature/<name-of-feature>Example branch name could be "feature/update-docs-for-new-feature"
This should create branch and change to it.
Work on the feature. You may have to add new files or update existing ones. Add to local git after testing the changes
# cd to the top of the project tree
> git add .Git commit messages should follow the convention from coding guideline. A feature comment should start with word feature:. A documentation only change should start with docs:
> git commit -m 'feature: <feature desciption>'All the words that could be at the begining of the commit message can be found at commitlint.config.js
This commit would trigger some checks. Fix any failures.
> git push --set-upstream origin <feature-branch-for-github-which-could-be-same-as-local-feature-branch>Feature branch should follow same naming convention as local feature branch where branch name starts with "feature/feature-name". Git push will trigger push check as defined in husky setup. Fix any failures
Click on 'Pull Request' tab in github. Click on [New pull request] button. Under "Compare changes", make change to go from feature branch to main
main <- 'feature-branch'
Select a reviewer in the right. Submit pull request.
A reviewer might approve changes. In that case, pull request can be merged to main by cliking the MERGE button. In case reviwer, doesn't approve, you will have to make changes to satify the reviewer by making changes and notifying the reviewer through the pull request on github.
Fixes should be committed with commit message with prefix "fix: "
- Create
GitHubrepository - Create NextJs project on laptop
npx create-next-app@latest --experimental-app
- Execute the following steps. Final step will push changes to GitHub repository.
- Create
.nvmrcin root directory to specify which node version to be used in this project i.e.lts/hydrogen - v18.15.0 - Create
.npmrcin root directory to indicate which package manager is to be used strictly.
NextJs use Node
v16.8.0orlater. If node version used is lower thanv16.8.0, then change it usingnvmby doing following.
nvm lswill show what node version is currently set to.nvm install v18.15.0to installv18.15.0or anyother you want.nvm useif.nvmrcis specified with node version ornvm use v18.15.0
- Update
package.jsonto indicatenodeandnpmversion.
"engines": {
    "node": ">=18.15.0",
    "yarn": "please-use-npm",
    "npm": ">=9.5.0"
},- Create
.eslintrc.jsonfile in root directory with following content
{
  "extends": ["next", "next/core-web-vitals", "eslint:recommended"],
  "globals": {
    "React": "readonly"
  }
}- Run
npm run lint
- Install
prettieras dev dependency. Runnpm add -D prettier
"devDependencies": {
    "prettier": "^2.8.4"
}- Create
.prettierrcfile in root directory with the following content.
{
  "trailingComma": "es5",
  "tabWidth": 2,
  "semi": true,
  "singleQuote": true
}- Create
.prettierignorefile in root directory with the following content.
.yarn
.next
dist
node_modules- Update
package.json
"scripts": {
    "dev": "next dev",
    "build": "next build",
    "start": "next start",
    "lint": "next lint",
    "prettier": "prettier --write ."
}- Run
npm run prettier
- Install
Husky- Run
npm add -D husky - Run
npx husky install. It creates.huskyfolder
- Run
"devDependencies": {
    "husky": "^8.0.3",
    "prettier": "^2.8.4"
}- Update
package.jsonin the scripts section"prepare": "husky install"so thatHuskygets installed automatically when other developers run the project.
"scripts": {
    "dev": "next dev",
    "build": "next build",
    "start": "next start",
    "lint": "next lint",
    "prettier": "prettier --write .",
    "prepare": "husky install"
}- Create following hooks
- Run
npx husky add .husky/pre-commit "npm run lint" - Run
npx husky add .husky/pre-push "npm run build"
- Run
$ > npx husky add .husky/pre-commit "npm run lint"
husky - created .husky/pre-commit
$ > ls  .husky
_          pre-commit

$ > cat .husky/pre-commit
#!/usr/bin/env sh
. "$(dirname -- "$0")/_/husky.sh"

npm run lint
$ > npx husky add .husky/pre-push "npm run build"
husky - created .husky/pre-push
$ > ls  .husky
_          pre-commit pre-push

$ > cat .husky/pre-push
#!/usr/bin/env sh
. "$(dirname -- "$0")/_/husky.sh"

npm run build- Install
commitlintpackage as dev dependency- Run
npm add -D @commitlint/config-conventional @commitlint/cli
- Run
"devDependencies": {
    "@commitlint/cli": "^17.4.4",
    "@commitlint/config-conventional": "^17.4.4",
    "husky": "^8.0.3",
    "prettier": "^2.8.4"
}- Create
commitlint.config.jsin root directory - Enable
commitlintwithHusky- Run
npx husky add .husky/commit-msg 'npx --no -- commitlint --edit "$1"'
- Run
$ > npx husky add .husky/commit-msg 'npx --no -- commitlint --edit "$1"'
husky - created .husky/commit-msg

$ > ls  .husky
_          commit-msg pre-commit pre-push

$ > cat .husky/commit-msg
#!/usr/bin/env sh
. "$(dirname -- "$0")/_/husky.sh"

npx --no -- commitlint --edit "$1"- Create
.vscode/settings.jsonfile with following content
{
  "typescript.tsdk": "node_modules/typescript/lib",
  "typescript.enablePromptUseWorkspaceTsdk": true,
  "editor.defaultFormatter": "esbenp.prettier-vscode",
  "editor.formatOnSave": true,
  "editor.codeActionsOnSave": {
    "source.fixAll": true,
    "source.organizeImports": true
  }
}- Create
.vscode/launch.jsonfile with following content.
{
  "version": "0.2.0",
  "configurations": [
    {
      "name": "Next.js: debug server-side",
      "type": "node-terminal",
      "request": "launch",
      "command": "npm run dev"
    },
    {
      "name": "Next.js: debug client-side",
      "type": "chrome",
      "request": "launch",
      "url": "http://localhost:3000"
    },
    {
      "name": "Next.js: debug full stack",
      "type": "node-terminal",
      "request": "launch",
      "command": "npm run dev",
      "serverReadyAction": {
        "pattern": "started server on .+, url: (https?://.+)",
        "uriFormat": "%s",
        "action": "debugWithChrome"
      }
    }
  ]
}- Install
cross-envas dev dependency.- Run
npm add -D cross-env
- Run
"devDependencies": {
    "@commitlint/cli": "^17.4.4",
    "@commitlint/config-conventional": "^17.4.4",
    "cross-env": "^7.0.3",
    "husky": "^8.0.3",
    "prettier": "^2.8.4"
}- Update
package.json
"scripts": {
    "dev": "cross-env NODE_OPTIONS='--inspect' next dev",
    "build": "next build",
    "start": "next start",
    "lint": "next lint",
    "prettier": "prettier --write .",
    "prepare": "husky install"
}- Create
.env.localin root directory
.env.localalways overrides the defaults set.Note:
.env,.env.development, and.env.productionfiles should be included in your repository as they define defaults..env*.localshould be added to.gitignore, as those files are intended to be ignored..env.localis where secrets can be stored.
Reference- NextJs Environment Variables
- Inatall
Zustandpackagenpm install zustand
npm install -D tailwindcss postcss autoprefixernpx tailwindcss init -p- Update
tailwind.config.js
/** @type {import('tailwindcss').Config} */
module.exports = {
  content: ['./src/**/*.{js,ts,jsx,tsx}'],
  theme: {
    extend: {},
  },
  plugins: [],
};- Update
globals.cssinsrc/appfolder
@tailwind base;
@tailwind components;
@tailwind utilities;- Update
src/app/page.tsxto test if tailwind is configured correctly.
export default function Home() {
  return <h1 className="text-3xl font-bold underline">Hello world!</h1>;
}- Run
npm run devto test
- Install
@tailwindcss/formspackagenpm install -D @tailwindcss/forms
- Update
tailwind.config.js
// tailwind.config.js
module.exports = {
  theme: {
    // ...
  },
  plugins: [
    require('@tailwindcss/forms'),
    // ...
  ],
};
Reference: @tailwindcss/forms
-
Install
prettier-plugin-tailwindcssnpm install -D prettier prettier-plugin-tailwindcss
-
Update
prettier.config.js
// prettier.config.js
module.exports = {
  plugins: [require('prettier-plugin-tailwindcss')],
};
Reference: prettier-plugin-tailwindcss
- Install
zodpackagenpm install zod
- Install
dndkitpackagenpm install @dnd-kit/core
- Install
supabase-jspackagenpm install @supabase/supabase-js
- Install
heroiconspackagenpm install @heroicons/react
git add .git commit -m "ci: configure development environment"git remote add origin https://github.com/groupsvkg/qna.gitgit push -u origin main
./node_modules/node-fetch/lib/index.js Module not found: Can't resolve 'encoding' in '/Users/vishalgupta/work/personal/programming/project/qna/qna/node_modules/node-fetch/lib'
Solution - Github
- Delete
.nextfoldernpm install -D encoding
To learn more about Next.js, take a look at the following resources:
- Next.js Documentation - learn about Next.js features and API.
- Learn Next.js - an interactive Next.js tutorial.
You can check out the Next.js GitHub repository - your feedback and contributions are welcome!
- Install
vercel clinpm install -g vercel
- Execute
vercelcommand from root to deploy(non-production deployment) - Add environment variables - executed once
vercel env add NEXT_PUBLIC_SUPABASE_URLvercel env add NEXT_PUBLIC_SUPABASE_ANON_KEYvercel env add SUPABASE_SERVICE_KEY
Reference


