
Homebridge LG webOS TV


Homebridge plugin for LG webOS. Tested with OLED65G6V, 32LM6300PLA, 49SK8500, OLED65C7T, 55SK800PLB, OLED48CX.
Package Requirements
| Package | Installation | Role | Required |
|---|---|---|---|
| Homebridge | Homebridge Wiki | HomeKit Bridge | Required |
| Config UI X | Config UI X Wiki | Homebridge Web User Interface | Recommended |
| LG webOS TV | Plug-In Wiki | Homebridge Plug-In | Required |
Abut The Plugin
- Power and Screen ON/OFF short press tile in HomeKit app.
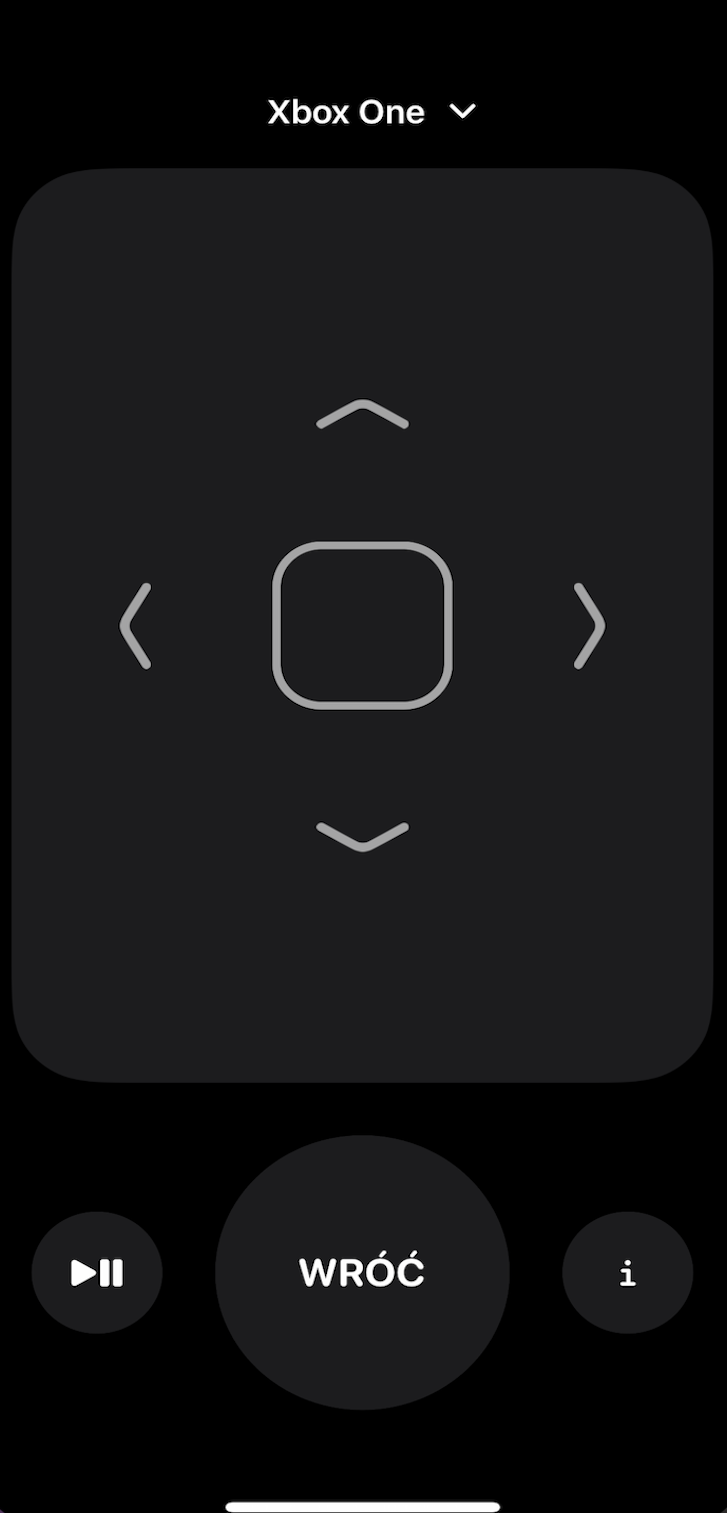
- RC/Media control is possible after you go to the RC app on iPhone/iPad.
- Speaker control is possible after you go to RC app on iPhone/iPad
Speaker Service. - Legacy Volume and Mute control is possible throught extra
lightbulb/fan(slider). - Inputs can be changed using Inputs selector in HomeKit.app, additionally can create separate tile.
- Channels can be changed using Channels selector in HomeKit app, additionally can create separate tile.
- Brightness, Contrast, Backlight, Color, Picture Mode and Sound Mode can be changed using extra tile.
- Siri can be used for all functions, some times need create legacy buttons/switches/sensors.
- Automations can be used for all functions, some times need create legacy buttons/switches/sensors.
- RESTful server:
- Request:
http//homebridge_ip_address:port/path. - Path:
systemnfo,softwareinfo,channels,apps,power,audio,currentapp,currentchannel,picturesettings,soundmode. - Respone as JSON data.
- Request:
- MQTT client:
- Topic:
System Info,Software Info,Channels,Apps,Power,Audio,Current App,Current Channel,Picture Settings,Sound Mode. - Publish as JSON data.
- Topic:
Configuration
- Please configure LG Connect Apps
- Run this plugin as a Child Bridge (Highly Recommended), this prevent crash Homebridge if plugin crashes.
- Install and use Homebridge Config UI X to configure this plugin.
- The
sample-config.jsoncan be edited and used as an alternative. - Be sure to always make a backup copy of your config.json file before making any changes to it.
| Key | Description |
|---|---|
name |
Here set the accessory Name to be displayed in Homebridge/HomeKit. |
host |
Here set the Hsostname or Address IP of TV. |
mac |
Here set the Mac Address of TV. |
getInputsFromDevice |
This enable load inputs and apps direct from device. |
filterSystemApps |
This enable filter sysem apps, only if getInputsFromDevice is true. |
disableLoadDefaultInputs |
This function disable load default inputs Live TV, HDMI 1, HDMI 2 in to the inputs list. |
inputsDisplayOrder |
Here select display order of the inputs list, None, Ascending by Name, Descending by Name, Ascending by Reference, Ascending by Reference.. |
inputs.name |
Here set Name which You want expose to the Homebridge/HomeKit. |
inputs.reference |
Here set Reference. Live TV, HDMI 1, HDMI 2 are created by default. |
inputs.mode |
Here select input mode, Input/App, Live TV Channel. |
buttons.name |
Here set Name which You want expose to the Homebridge/HomeKit. |
buttons.mode |
Here select button mode, Input/App, Live TV Channel or Remote Control. |
buttons.reference |
Here set Reference, only for Input/App or Live TV Channel mode, in other case leave empty. |
buttons.command |
Here select Remote Control command which will be assigned to the button. |
buttons.displayType |
Here select display type in HomeKit app, possible None/Disabled, Outlet, Switch. |
sensorPower |
If enabled, then the Power will be exposed as a Contact Sensor (active on Power ON) to use with automations. |
sensorPixelRefresh |
If enabled, then the PoPixel Refresh will be exposed as a Contact Sensor (active on Pixel Refresh ON) to use with automations. |
sensorVolume |
If enabled, then the Volume will be exposed as a Contact Sensor (active on every Volume change) to use with automations. |
sensorMute |
If enabled, then the Mute will be exposed as a Contact Sensor (active on Mute ON) to use with automations. |
sensorInput |
If enabled, then the Input will be exposed as a Contact Sensor (active on every Input change) to use with automations. |
sensorChannel |
If enabled, then the Channel will be exposed as a Contact Sensor (active on every Channel change) to use with automations. |
sensorSoundMode |
If enabled, then the Sound Mode will be exposed as a Contact Sensor (active on every Sound Mode change) to use with automations. |
sensorPictureMode |
If enabled, then the Picture Mode will be exposed as a Contact Sensor (active on every Pictue Mode change) to use with automations. |
sensorScreenOnOff |
If enabled, then the Screen On/Off will be exposed as a Contact Sensor (active on Screen OFF) to use with automations. |
sensorScreenSaver |
If enabled, then the Screen Saver will be exposed as a Contact Sensor (active on Screen Saver ON) to use with automations. |
sensorInputs.name |
Here set own Name which You want expose to the Homebridge/HomeKit for this sensor. |
sensorInputs.reference |
Here set Reference like com.webos.app.hdmi1 to be exposed as sensor (active on switch to this Input). |
sensorInputs.displayType |
Here select sensor type to be exposed in HomeKit app, possible None/Disabled, Motion Sensor, Occupancy Sensor, Contact Sensor. |
enableDebugMode |
If enabled, deep log will be present in homebridge console. |
disableLogInfo |
If enabled, disable log info, all values and state will not be displayed in Homebridge log console. |
disableLogDeviceInfo |
If enabled, add ability to disable log device info by every connections device to the network. |
disableTvService |
If enabled, TV service will be disabled and prevent display double services if TV already support HomeKit native. |
turnScreenOnOff |
This enable possibility turn the screen ON/OFF, only for webOS >= 4.0. |
sslWebSocket |
If enabled, SSL WebSocket will support TV with new firmware. |
infoButtonCommand |
Here select the function of I button in RC app. |
volumeControl |
Here select volume control mode None/Disabled, Slider, Fan. |
enableRestFul |
If enabled, RESTful server will start automatically and respond to any path request. |
restFulPort |
Here set the listening Port for RESTful server, every device need own port. |
restFulDebug |
If enabled, deep log will be present in homebridge console for RESTFul server. |
enableMqtt |
If enabled, MQTT Broker will start automatically and publish all awailable PV installation data. |
mqttHost |
Here set the IP Address or Hostname for MQTT Broker. |
mqttPort |
Here set the Port for MQTT Broker, default 1883. |
mqttClientId |
Here optional set the Client Id of MQTT Broker. |
mqttPrefix |
Here set the Prefix for Topic or leave empty. |
mqttAuth |
If enabled, MQTT Broker will use authorization credentials. |
mqttUser |
Here set the MQTT Broker user. |
mqttPasswd |
Here set the MQTT Broker password. |
mqttDebug |
If enabled, deep log will be present in homebridge console for MQTT. |
reference |
All can be found in homebridge_directory/lgwebosTv, inputs_xxx file, where reference == id, or channels_xxx file, where reference == channelId. |
Volume Control |
-1 - None/Disabled, 0 - Slider, 1 - Fan. |
Display Type Inputs/Buttons |
-1 - None/Disabled, 0 - Outlet, 1 - Switch. |
Display Type Sensors |
-1 - None/Disabled, 0 - Motion Sensor, 1 - Occupancy Sensor, 2 - Contact Sensor. |