This project challenged me to combine all the skills and knowledge I've gained and implement it into my future webpage that will present me and my work and allow future clients to reach out to me. This project began just with a ReadMe that told me the parameters of how my webpage must look and screenshots at desktop, 768px and 400px. My job was to create the webpage from scratch. Using [bootstrap] (https://www.getbootstrap.com) to help with predefined CSS styling and the bootstrap grid. I began by setting up three HTML pages: index.html , contact.html , and portfolio.html. I also set up four different css style sheets: style.css (which is the root styling sheet for all my webapges) , index.css , contact.css , and portfolio.css . I decided to use a css style sheet for each html for two main reasons. First, I did not want to get lost in one style.css sheet and therefore allowing mistakes to happen. Second, I liked the idea of a cleaner/root sheet and then each individual html having its own css sheet and therefore really being able to customize each html to its specific needs. Next, I began setting up the navigation bar that would be used across all three html's. My biggest challenge was getting the 'portfolio' and 'contact' links to the right side of the navigation bar but once I saw a youtube video (see credits) I was able to instantly fix my issue and set up the navigation bar for the rest of the html's.
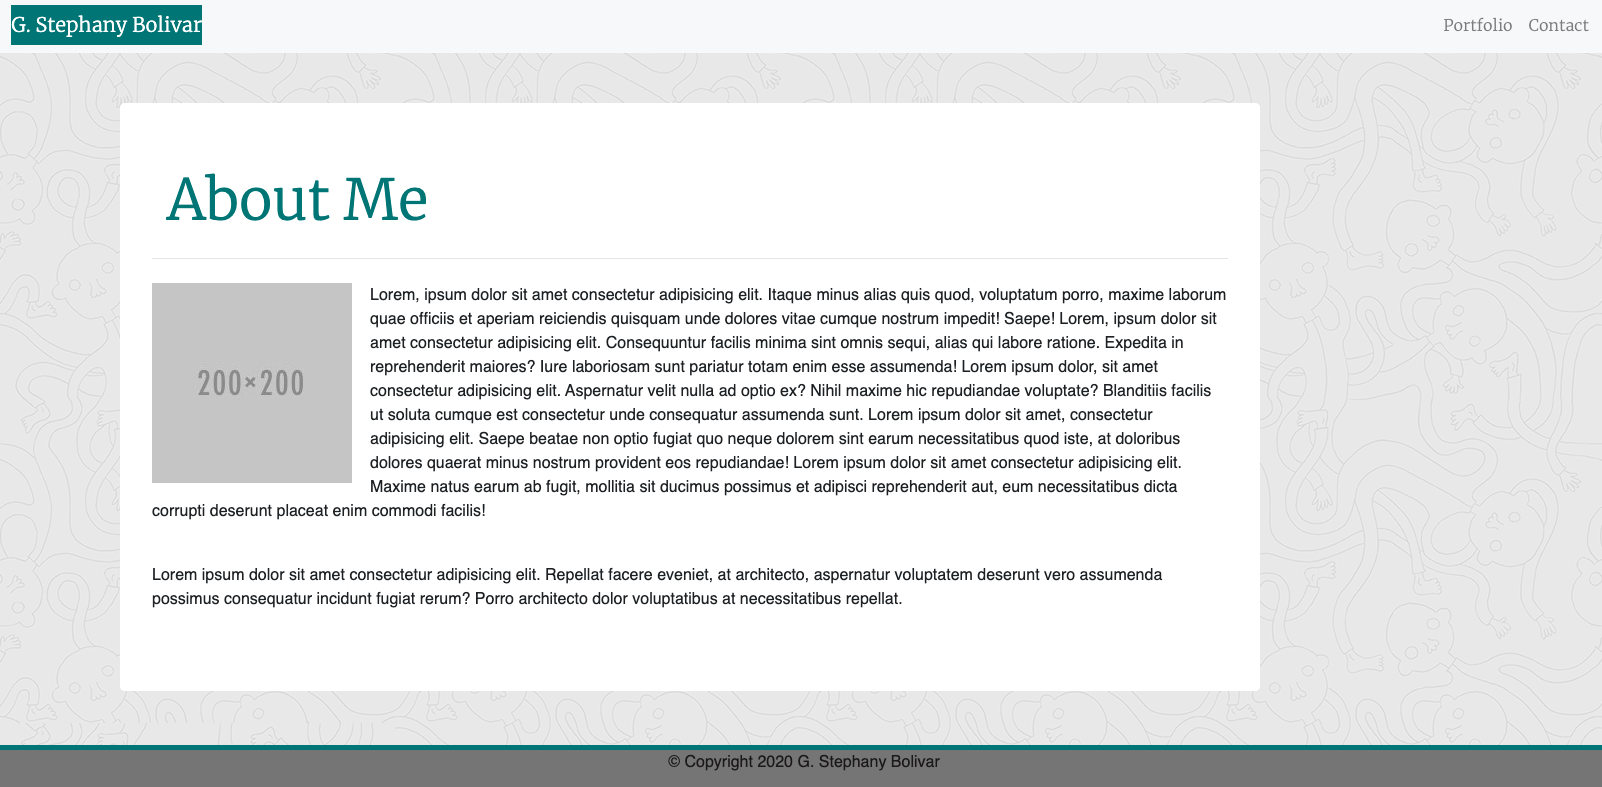
Next, I began to layout my 'About Me' homepage of the website. I used a jumbotron component to set up this section and edited what I needed to get the future headshot image and text inside. My biggest challenge in this entire section was getting the text to wrap around the image. It took me sometime and really digging into the bootstrap website but once I did some css styling to the headshot image, the text eventually wrapped around the image.
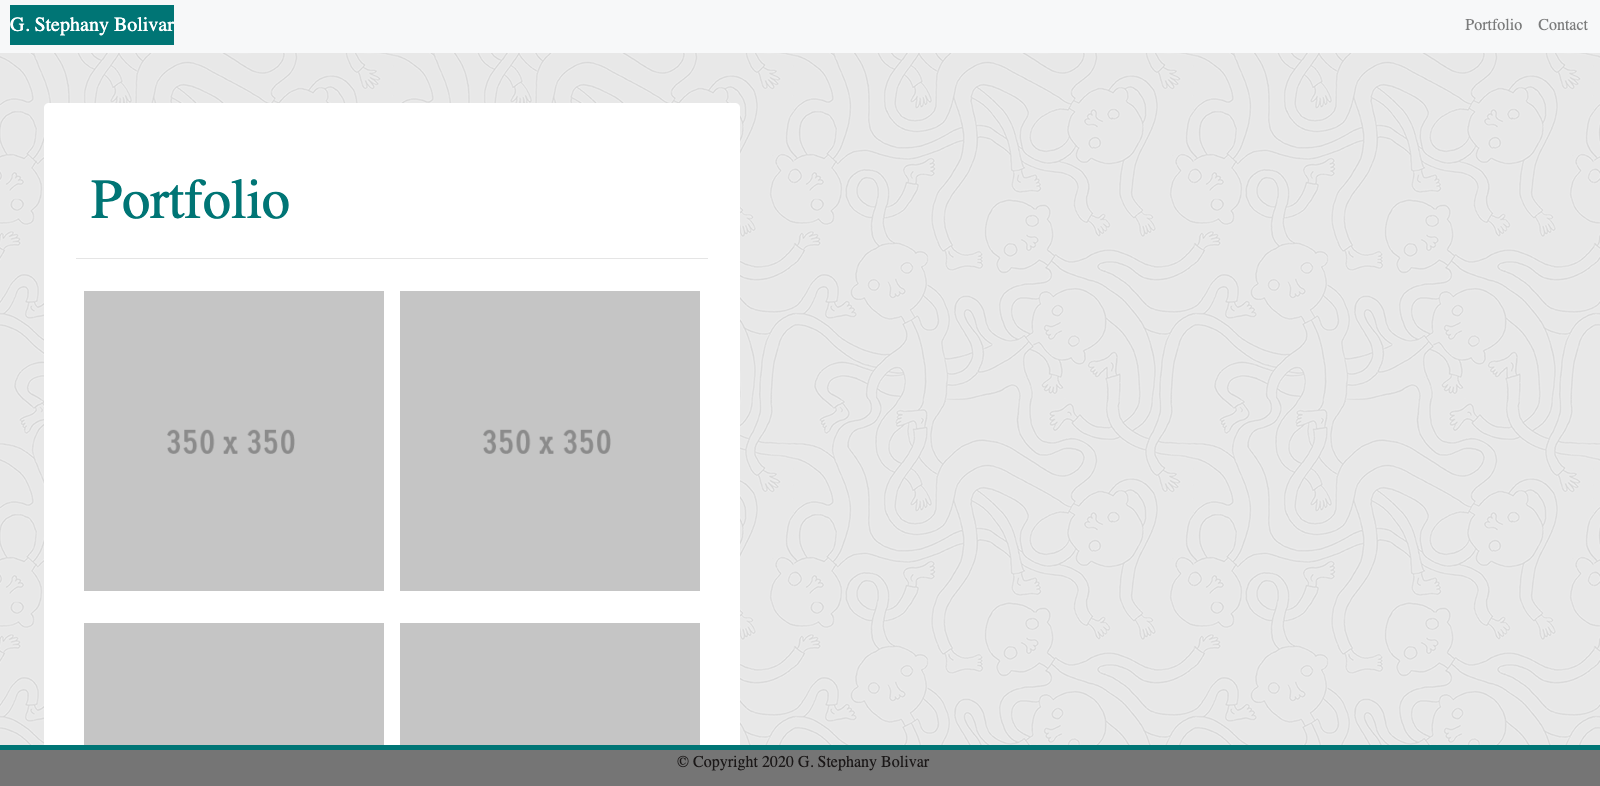
I then decided to start on my portfolio page, I knew this would be the trickest and wanted to get it set up. Again, I used the jumbotron component from the bootstrap website, took out all the extra and found the correct image size. My biggest issue with this was getting the images to go into three rows and two columns. Again, I had to google and really read a lot of information with trial and error on the code but eventually found what I needed on the boostrap website. Using 'flex-rows" and editing some of the components from bootstrap I was able to get the images to do what I wanted and also be mobile responsive. This was the most difficult section of the entire project for me. I also realized that sometimes I really need to keep it simple and just realize that the answer can be as easy as adding 'xs' to the sizing of the column.
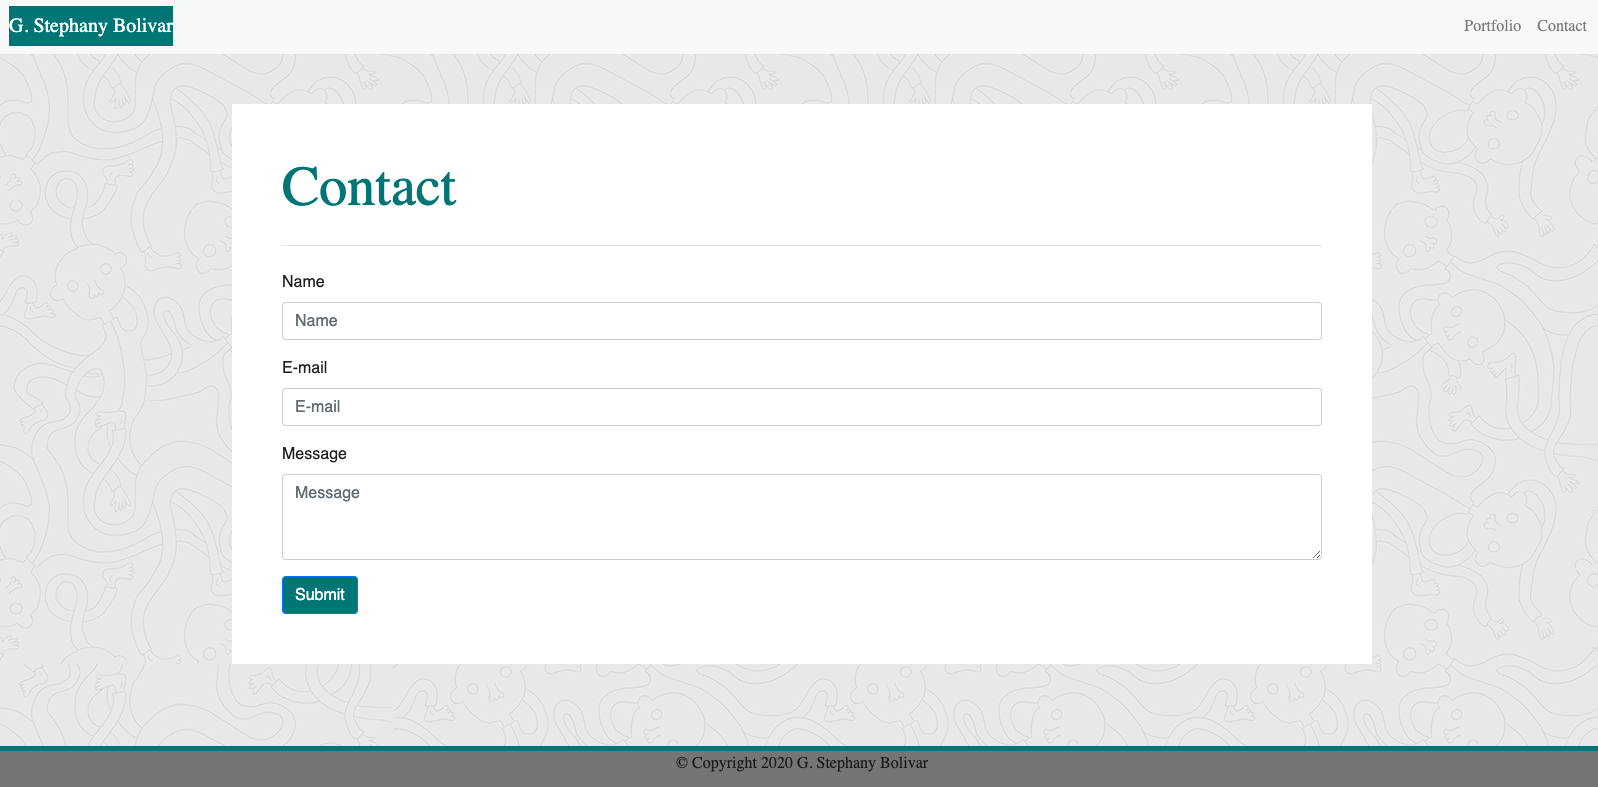
Finally, I began with the contact page. I hoped this would be the easiest to set up and with a little digging and copy and pasting from bootstrap, I was able to get through this section rather (and suprisingly!) quickly. My biggest issue came when I tried to see what it would look like on smaller devices. The white space of the container wasn't fitting correctly or shifting towards the right. After playing with some css styling though, I was finally able to make it work.
Fork repository at https://github.com/gstephbolivar/gstephanybolivar-portfolio .
Clone repository to local terminal.
Open HTML then open webpage to default browser.
Happy editing!
This [website] (https://gstephbolivar.github.io/gstephanybolivar-portfolio/) allows for possible future clients to see my work as a web developer in the portfolio page. The 'About Me' page allows for the client to learn more about me and finally, the contact page allows for the user to reach out to me with any inquiries about my work and possible future hire.
Collaborated with [Manuela] (https://github.com/manucaicedo) .
I credit [W3Schools] (https://www.w3schools.com) for both the HTML and CSS assistance provided.
Bootstrap links and code were used from [Bootstrap] (https://www.getbootstrap.com) .
Tutorial for correcting navigation bar through [YouTube] (https://www.youtube.com/watch?v=uduTSA_bkVY) .
- Github: @gstephbolivar
- Email: g.stephanybolivar@gmail.com
MIT License
Copyright (c) [2020] [Gloria Stephany Bolivar]
Permission is hereby granted, free of charge, to any person obtaining a copy of this software and associated documentation files (the "Software"), to deal in the Software without restriction, including without limitation the rights to use, copy, modify, merge, publish, distribute, sublicense, and/or sell copies of the Software, and to permit persons to whom the Software is furnished to do so, subject to the following conditions:
The above copyright notice and this permission notice shall be included in all copies or substantial portions of the Software.
THE SOFTWARE IS PROVIDED "AS IS", WITHOUT WARRANTY OF ANY KIND, EXPRESS OR IMPLIED, INCLUDING BUT NOT LIMITED TO THE WARRANTIES OF MERCHANTABILITY, FITNESS FOR A PARTICULAR PURPOSE AND NONINFRINGEMENT. IN NO EVENT SHALL THE AUTHORS OR COPYRIGHT HOLDERS BE LIABLE FOR ANY CLAIM, DAMAGES OR OTHER LIABILITY, WHETHER IN AN ACTION OF CONTRACT, TORT OR OTHERWISE, ARISING FROM, OUT OF OR IN CONNECTION WITH THE SOFTWARE OR THE USE OR OTHER DEALINGS IN THE SOFTWARE.


