Setup a new Raspberry Pi 3 B+ with Ansible
I bought a new Raspberry Pi 3 B+ and as I love to automate things, I want to automate the setup as far as possible. This repo contains my notes, what I did - maybe it is of help to you.
I want to use my Raspberry as a home server only - so no need for Desktops whatsoever. And it will only be connected via Ethernet - directly to my Router.
-
Download latest Raspbian Stretch Lite image from https://www.raspberrypi.org/downloads/raspbian/ (around 350MB)
-
Unzip
2018-11-13-raspbian-stretch-lite.zip, which will extract the image file2018-11-13-raspbian-stretch-lite.img -
Connect the SD card to your Mac
-
Install Flash-Utility etcher (available for Mac, Win & Linux), e.g. with homebrew (see https://www.raspberrypi.org/documentation/installation/installing-images/README.md for more info)
brew cask install balenaetcher
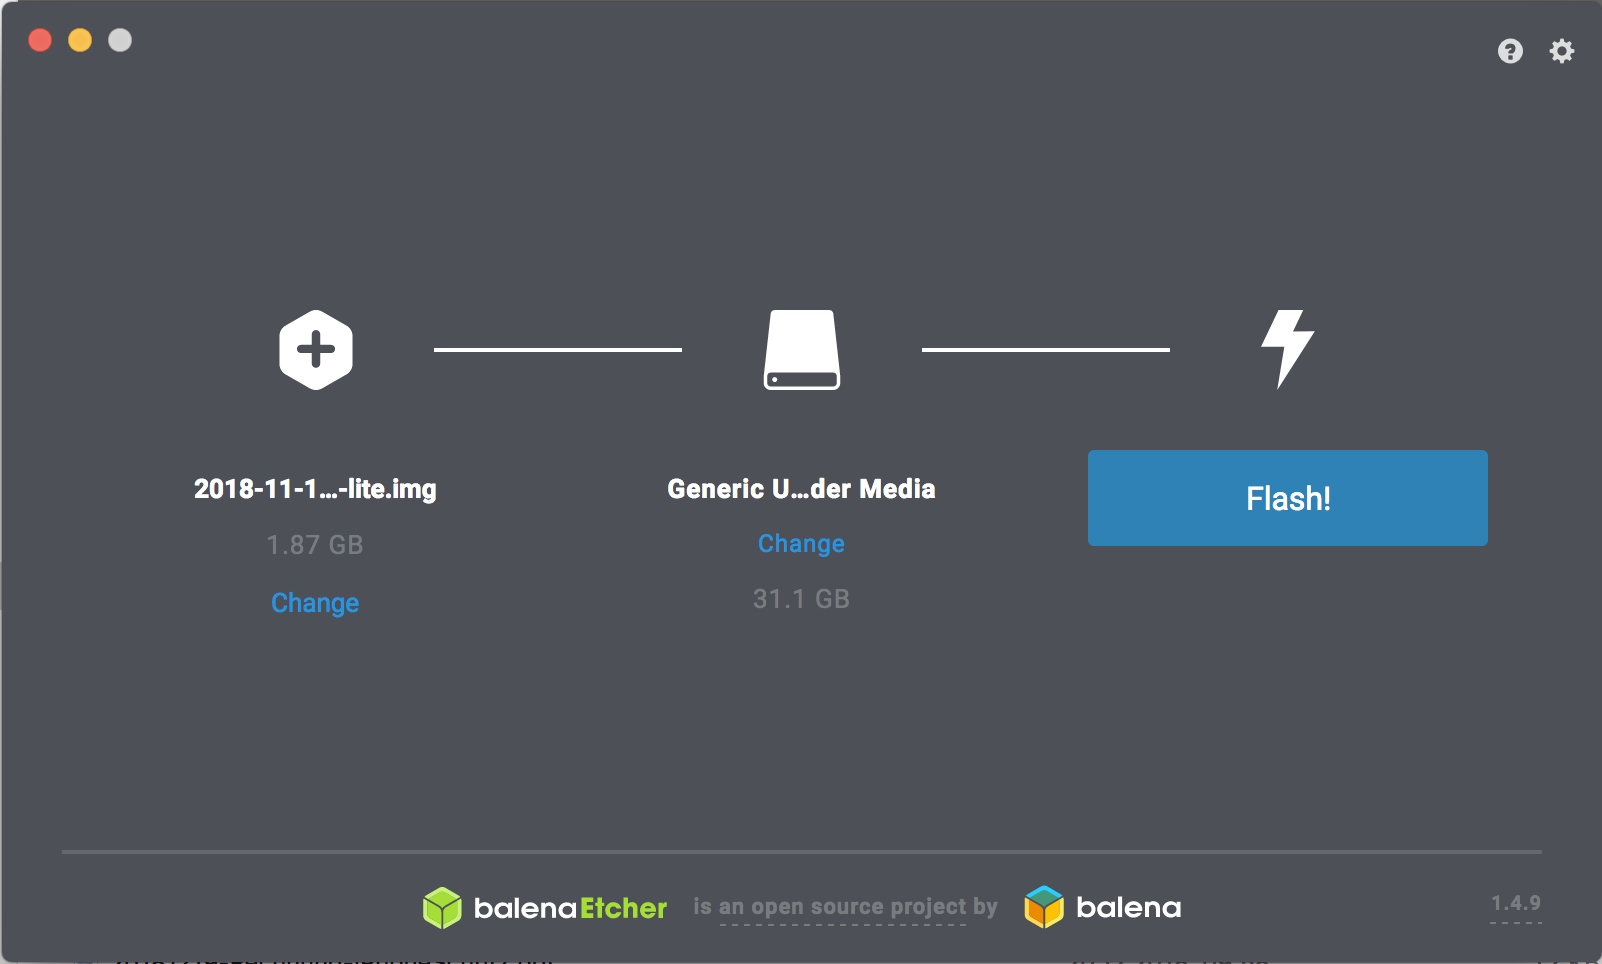
- Write the image to the SD card using Etcher
-
Remove and reconnect SD card to your Mac
-
Enable SSH on Raspberry by creating
sshfile on the SD card inside/bootdirectory (because by default Raspbian disables sshd, we have to enable it):
touch /Volumes/boot/ssh
-
Remove the SD card, plug it into your Raspberry and then connect your Pi to your Network via Ethernet (additional configuration needed for Wifi). Plug in your power adapter and wait for your Pi to boot up.
-
Try to connect to your Pi via SSH using
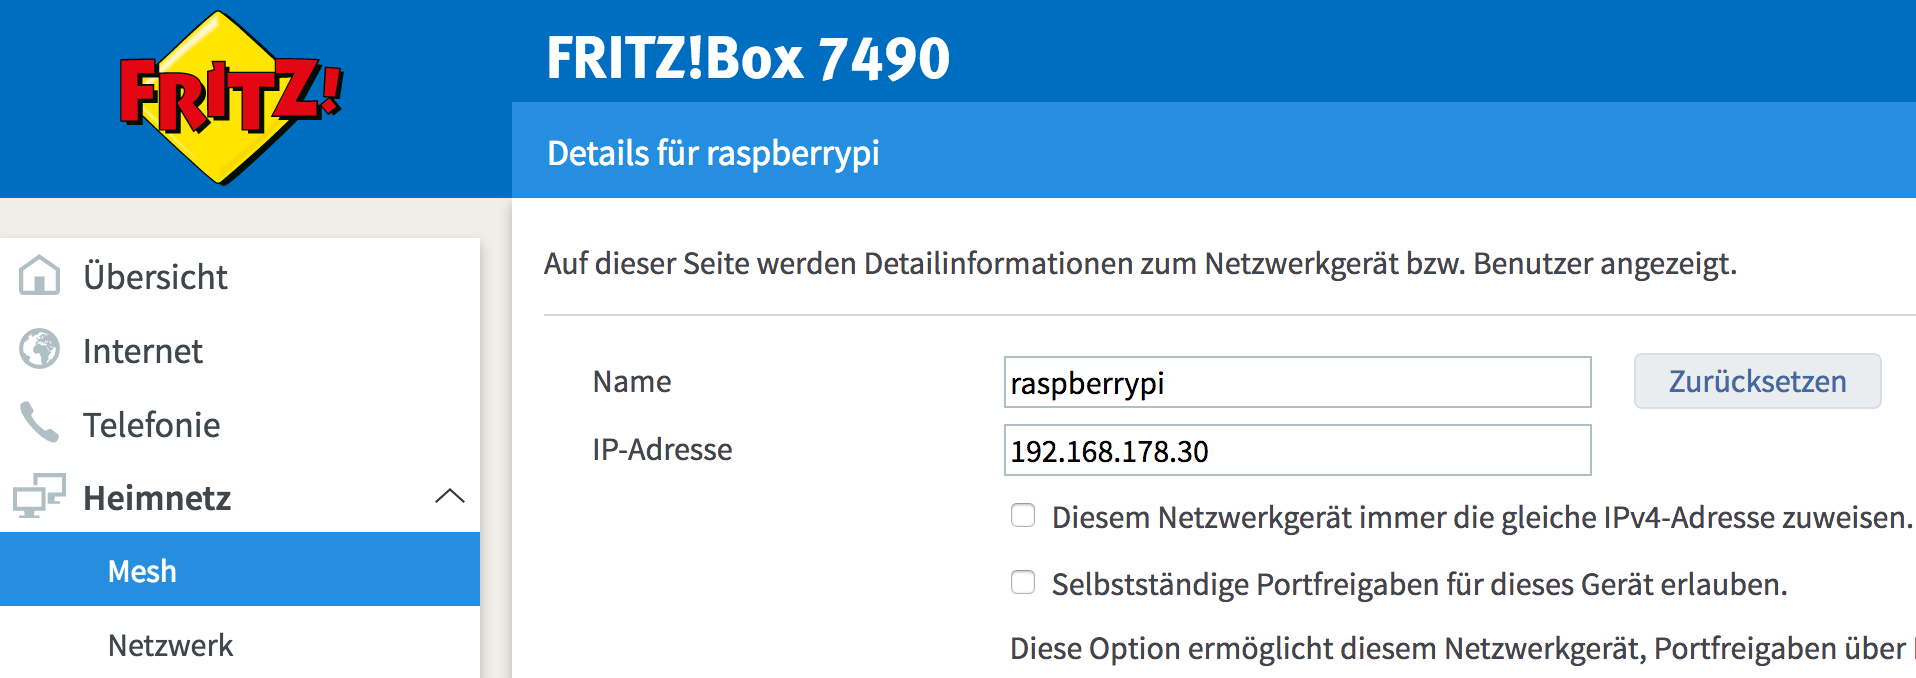
piuser & passwordraspberry. Therefore you may need to find your Raspberry's IP at in your Router - or you try the second option:
ssh pi@yourIpHere

# or without IP
ssh pi@raspberrypi.local
- Initial configuration
Run sudo raspi-config to change the default password (1 Change User Password) and expand the file system, to make the entire space of SD card available (7 Advanced Options / A1 Expand Filesystem). Then go to Finish, which will issue a reboot.
- Copy your public key to your Pi
Prereq: Have your public key available (e.g. by generating a new keypair with ssh-keygen)
ssh-copy-id -i ~/.ssh/id_rsa.pub pi@raspberrypi.local
Run the Ansible playbook with:
ansible-playbook rpi-nextcloud.yml -i hosts
See https://hub.docker.com/_/nextcloud/
Choose an appropriate docker-compose.yml for you - this one may be a good choice, as it inherits an front-end reverseproxy & let's encrypt for security reasons, alongside a Postgres for your data, that can easily backuped later:
MariaDB didn't work for me, as it wasn't able to pull the MariaDB docker image (maybe this image isn't available for armhf any more?)
$ sudo docker pull mariadb
Using default tag: latest
latest: Pulling from library/mariadb
no matching manifest for unknown in the manifest list entries
Here's my docker-compose.yml - I don't like the *.env files and have those environment variables inside my docker-compose.yml and the values (later) in Ansible group_vars:
version: '3'

services:
  db:
    image: postgres:alpine
    restart: always
    volumes:
      - db:/var/lib/postgresql/data
    environment:
      - POSTGRES_PASSWORD=
      - POSTGRES_DB=nextcloud
      - POSTGRES_USER=nextcloud

  app:
    image: nextcloud:apache
    restart: always
    volumes:
      - nextcloud:/var/www/html
    environment:
      - VIRTUAL_HOST=
      - LETSENCRYPT_HOST=
      - LETSENCRYPT_EMAIL=
      - POSTGRES_HOST=db
      - POSTGRES_PASSWORD=
      - POSTGRES_DB=nextcloud
      - POSTGRES_USER=nextcloud
    depends_on:
      - db
    networks:
      - proxy-tier
      - default

  proxy:
    build: ./proxy
    restart: always
    ports:
      - 80:80
      - 443:443
    labels:
      com.github.jrcs.letsencrypt_nginx_proxy_companion.nginx_proxy: "true"
    volumes:
      - certs:/etc/nginx/certs:ro
      - vhost.d:/etc/nginx/vhost.d
      - html:/usr/share/nginx/html
      - /var/run/docker.sock:/tmp/docker.sock:ro
    networks:
      - proxy-tier

  letsencrypt-companion:
    image: jrcs/letsencrypt-nginx-proxy-companion
    restart: always
    volumes:
      - certs:/etc/nginx/certs
      - vhost.d:/etc/nginx/vhost.d
      - html:/usr/share/nginx/html
      - /var/run/docker.sock:/var/run/docker.sock:ro
    networks:
      - proxy-tier
    depends_on:
      - proxy

volumes:
  db:
  nextcloud:
  certs:
  vhost.d:
  html:

networks:
  proxy-tier:
Now we have SSH running, we should be able to use Ansible with our Raspi! As we are developing infrastructure code, we shouldn't miss to make use of Test-driven development (TDD) - therefore we also use Molecule & Testinfra. If you don't know them, read this post about Test-driven infrastructure development with Ansible & Molecule and come back here.
Be sure to have Ansible & Molecule installed. As we need to have a testing infrastructure ready, we should install Docker too. Use the package manager of your choice for Ansible & Docker but always use pip for Molecule (and for docker-py, which is needed for Molecule + Docker integration)
brew install ansible
brew install docker
brew install python
pip3 install molecule
pip3 install docker-py
Now let's initiate a new Ansible role skeleton with Molecule:
molecule init role --driver-name docker --role-name rpi-nextcloud --verifier-name testinfra
As we need to emulate a PI on our Mac/Win/Linux machine to test what we're doing with Ansible, we need to keep in mind that a Raspberry uses ARM instead of x86/amd64 architecture! So we need a Docker image, that is based on ARM. Luckily there is resin/rpi-raspbian, which is maintained quite well. We could have also started with HyperiotOS, which is also a great starting point. But then we also need to flash this as the Raspberry image already at the beginning - maybe I'll give it a try later, for now I'll stick to the standard raspbian image.
So let´s change the Docker image inside our molecule.yml:
scenario:
  # default scenario is Docker
  name: default

driver:
  name: docker
platforms:
  - name: docker-rpi
    image: resin/rpi-raspbian
    privileged: true

provisioner:
  name: ansible
  lint:
    name: ansible-lint
    enabled: false
  playbooks:
    prepare: prepare-docker-in-docker.yml
    converge: ../playbook.yml

lint:
  name: yamllint
  enabled: false
verifier:
  name: testinfra
  directory: ../tests/
  env:
    # get rid of the DeprecationWarning messages of third-party libs,
    # see https://docs.pytest.org/en/latest/warnings.html#deprecationwarning-and-pendingdeprecationwarning
    PYTHONWARNINGS: "ignore:.*U.*mode is deprecated:DeprecationWarning"
  lint:
    name: flake8
  options:
    # show which tests where executed in test output
    v: 1
As described in Continuous Infrastructure with Ansible, Molecule & TravisCI we also need to install Docker in Docker. Add the prepare-docker-in-docker as described in the post and rebuild your project to Molecule multi scenario style (enhance the docs here!).
cd into rpi-nextcloud and run:
molecule --debug create
There are Qemu problems - seem that Docker is unable to fully emulate armhf:
$ docker exec -it 44 sh
# docker ps
qemu: uncaught target signal 4 (Illegal instruction) - core dumped
Illegal instruction
So it's not that easy to emulate the Docker installation on an x86 hardware (like MacOS) - so the whole Molecule idea for the Docker installation would lead to an custom Molecule driver development for Qemu (see https://gist.github.com/hfreire/5846b7aa4ac9209699ba for example).
For now I don't have that much time, so I'll go with the great Docker-enabled Raspbian releases from

