Objective
So far, we created just one lower resolution for the web which is 1080x720, but we also want lower resolutions for small devices or poor connections so the broadcaster or the video player can use the best fit. We want to run multiple transcoder operations in parallel when a file is uploaded in S3: Three different resolutions for the video and also another extracting only the audio. We will use AWS SNS to get a notification when the transcoding pipeline job has completed, leading to multiple actions: sending a mail notification to us, storing this data in the user profile video list, and dispatching an AWS Lambda to process the audio file. Once the audio file is generated, we will create a pipeline where we will first create a speech-to-text file with Amazon Transcribe, storing it in a different DynamoDB table.
Considerations before starting
Before starting this project consider veryfying that all necessary servies are available in your region.
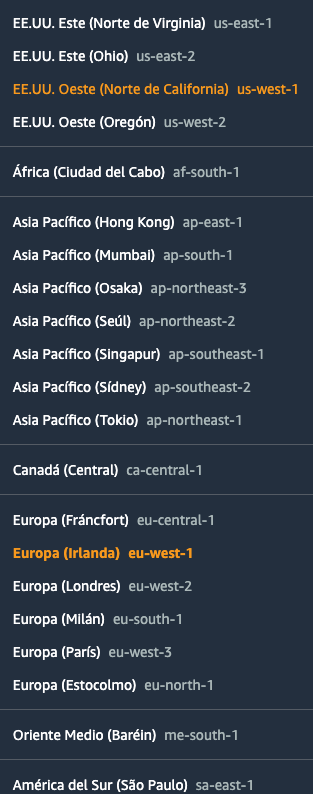 One way of knowing if those services are available is checking the FAQ:
- ElasticTranscoder FAQ You can also refer to the AWS Global Infraestructure Regional Table
The services that your region has to support are and that are more infrequent or experimental are:
- AWS Elastic Transcoder
- Amazon Comprehend
- AWS Transcribe
Workflow
1. Create lower resolutions for small devices and extracting audio only
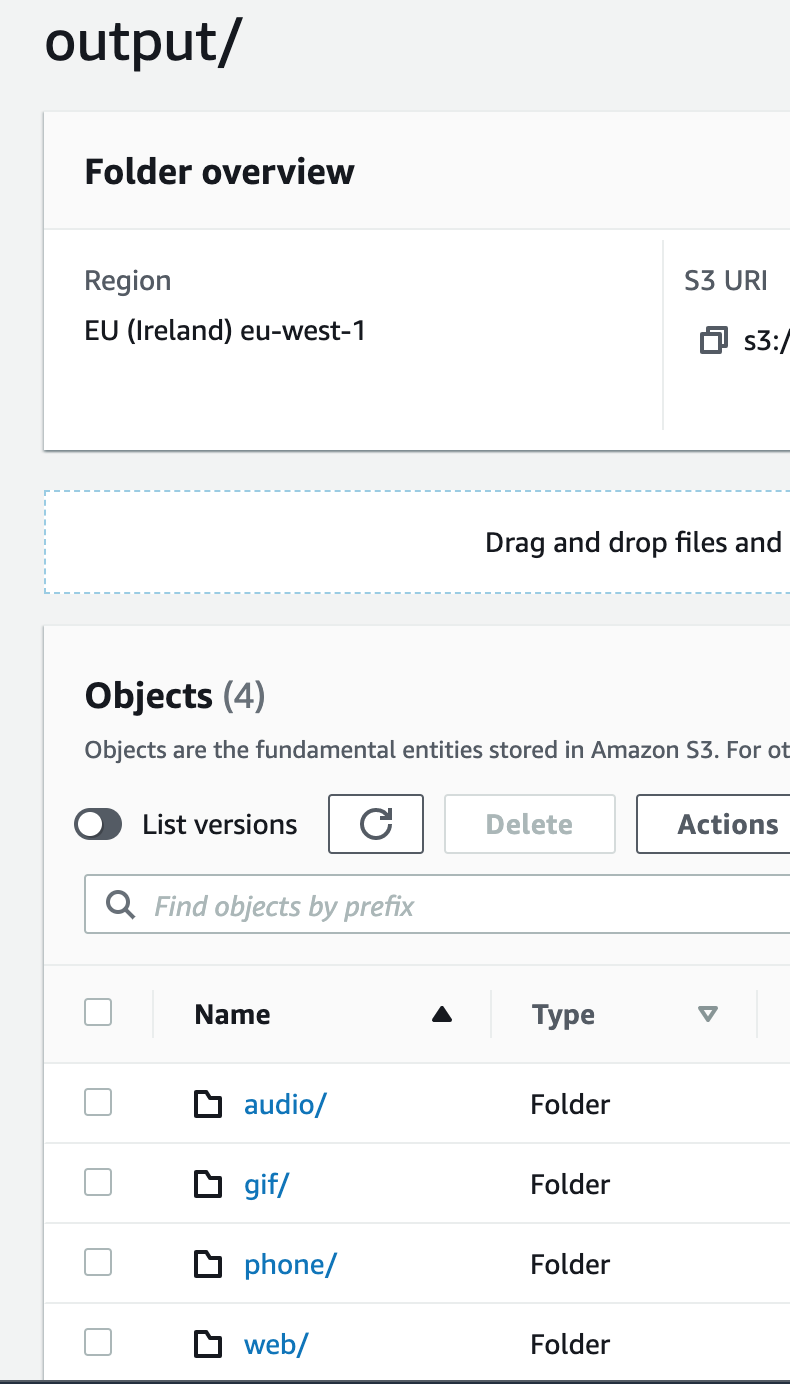
A part from the Web preset we will use the iPhone4S, Audio_MP3 and Gif_Animated presets.
So the Elastic Transcoder will generate all the codifications at the same time, and the
output directory should look like the following:
2. Create a mail notification when a video is processed correctly and also when an error has happened. For this, we need to configure the AWS Simple Email Service (SES).
- First you have to register and confirm a mail to receive the notifications.
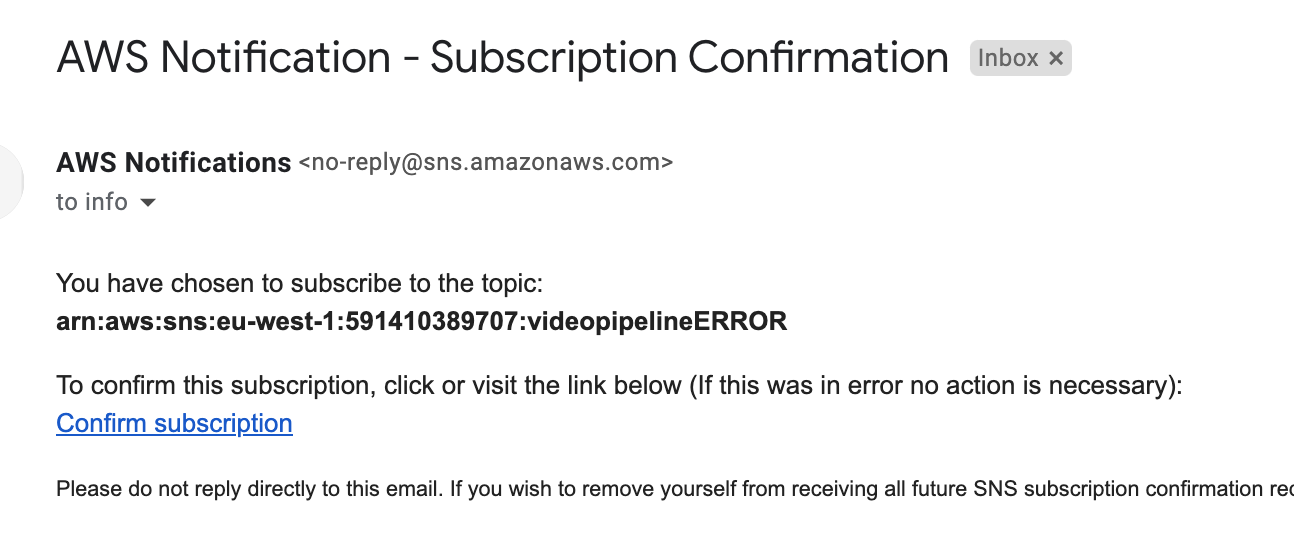
- Then create SNS topics for both cases and attach this mail to it.
- Configure Elastic Transcoder to use the previous topics when there's an error and when the job is complete.
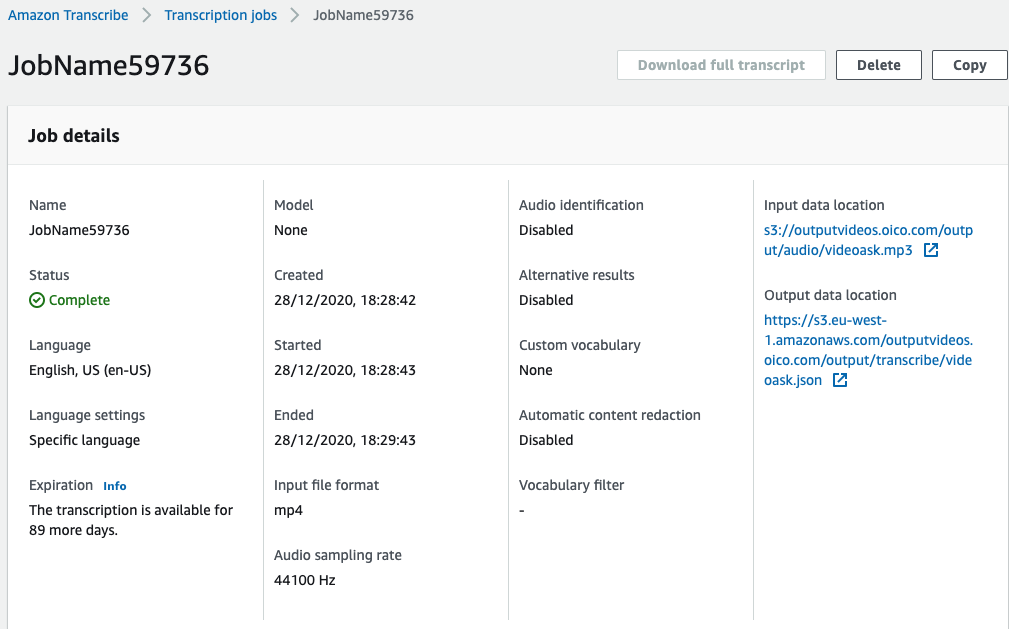
3.Create another function that is triggered when the audio-only file is created in S3 and executes Amazon Transcribe with it. Boto S3 Amazon Transcribe works like the following:
    job_name = "JobName"
    job_uri = "s3://outputvideos.oico.com/output/audio/test.mp3"
    get_transcribe_client().start_transcription_job(
        TranscriptionJobName=job_name,
        Media={'MediaFileUri': job_uri},
        MediaSampleRateHertz=44100,
        MediaFormat='mp4',
        LanguageCode='en-US',
        OutputBucketName='outputvideos.oico.com',
        OutputKey='output/transcribe/test.json',
    )

    status = get_transcribe_client().get_transcription_job(TranscriptionJobName=job_name)
    print(status)
It's useful to follow the same convention as the rest of the output file structure. We are planning to store it in the same outpub S3 bucket and following the folder structure: /output/transcribe/ Notice that on the S3 event.key we can have the full path and name: output/audio/file.mp3. So we can use the same event.type and replacing it for json format and audio folder for the transcribe folder.
4.Reuse the previous function and capture when the transcription JSON output text from Amazon Transcribe is created in S3 to store it in DynamoDB
This function will parse the JSON file and store the transcription in DynamoDB.
Once Amazon Transcribe is completed a JSON document will be stored in S3.
This JSON structure will be like the following:
{
  "jobName": "TestTranscribe",
  "accountId": "591#######07",
  "results": {
    "language_code": "en-US",
    "transcripts": [
      {
        "transcript": "Hey, this is the full transcription!"
      }
    ],
    "language_identification": [
      {
        "score": "0.9968",
        "code": "en-US"
      },
      {
        "score": "0.0032",
        "code": "en-GB"
      }
    ],
    "items":[
        ...
    ]
  },
  "status": "COMPLETED"
}
What we want to store in DynamoDB is the transcript entry where you can find the full transcription: results > transcripts > 0 > transcript
Also, to store the transcription and all the following metadata information that we can extract out from the JSON file we will create a different DynamoDB table.
We will use the following template for it:
AWSTemplateFormatVersion: "2010-09-09"
Resources:
  responsesTable:
    Type: AWS::DynamoDB::Table
    Properties:
      AttributeDefinitions:
        - AttributeName: "JsonFile"
          AttributeType: "S"
      KeySchema:
        - AttributeName: "JsonFile"
          KeyType: "HASH"
      ProvisionedThroughput:
        ReadCapacityUnits: "5"
        WriteCapacityUnits: "5"
      TableName: "metadata"
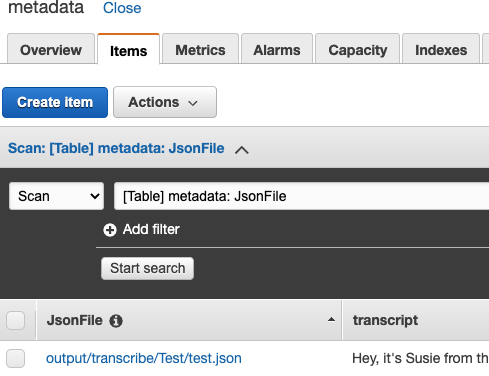
Once everything is done, we should have an entry like this:
Mileston 3: Submit Your Work
The deliverable is the AWS Chalice Python project.
Mileston 3: Solution
The solution is on "Milestone 3 Github"
1. Create lower resolutions for small devices and extracting audio only
A part from the Web preset we will use the iPhone4S, Audio_MP3 and Gif_Animated presets.
So the Elastic Transcoder will generate all the codifications at the same time, and the
output directory should look like the following:

To create the previous structure we have to specified in the output array that we pass as an argument to the elastic_transcoder_job.
# Define the various outputs
    outputs = [
        {
            'Key': 'web/' + output_file,
            'PresetId': system_preset_web_preset_id
        },
        {
            'Key': 'phone/' + output_file,
            'PresetId': system_preset_iPhone4S
        },
        {
            'Key': 'audio/' + output_file.replace("mp4", "") + "mp3",
            'PresetId': system_preset_Audio_MP3_320k
        },
        {
            'Key': 'gif/' + output_file.replace("mp4", "") + "gif",
            'PresetId': system_preset_Gif_Animated
        }
    ]
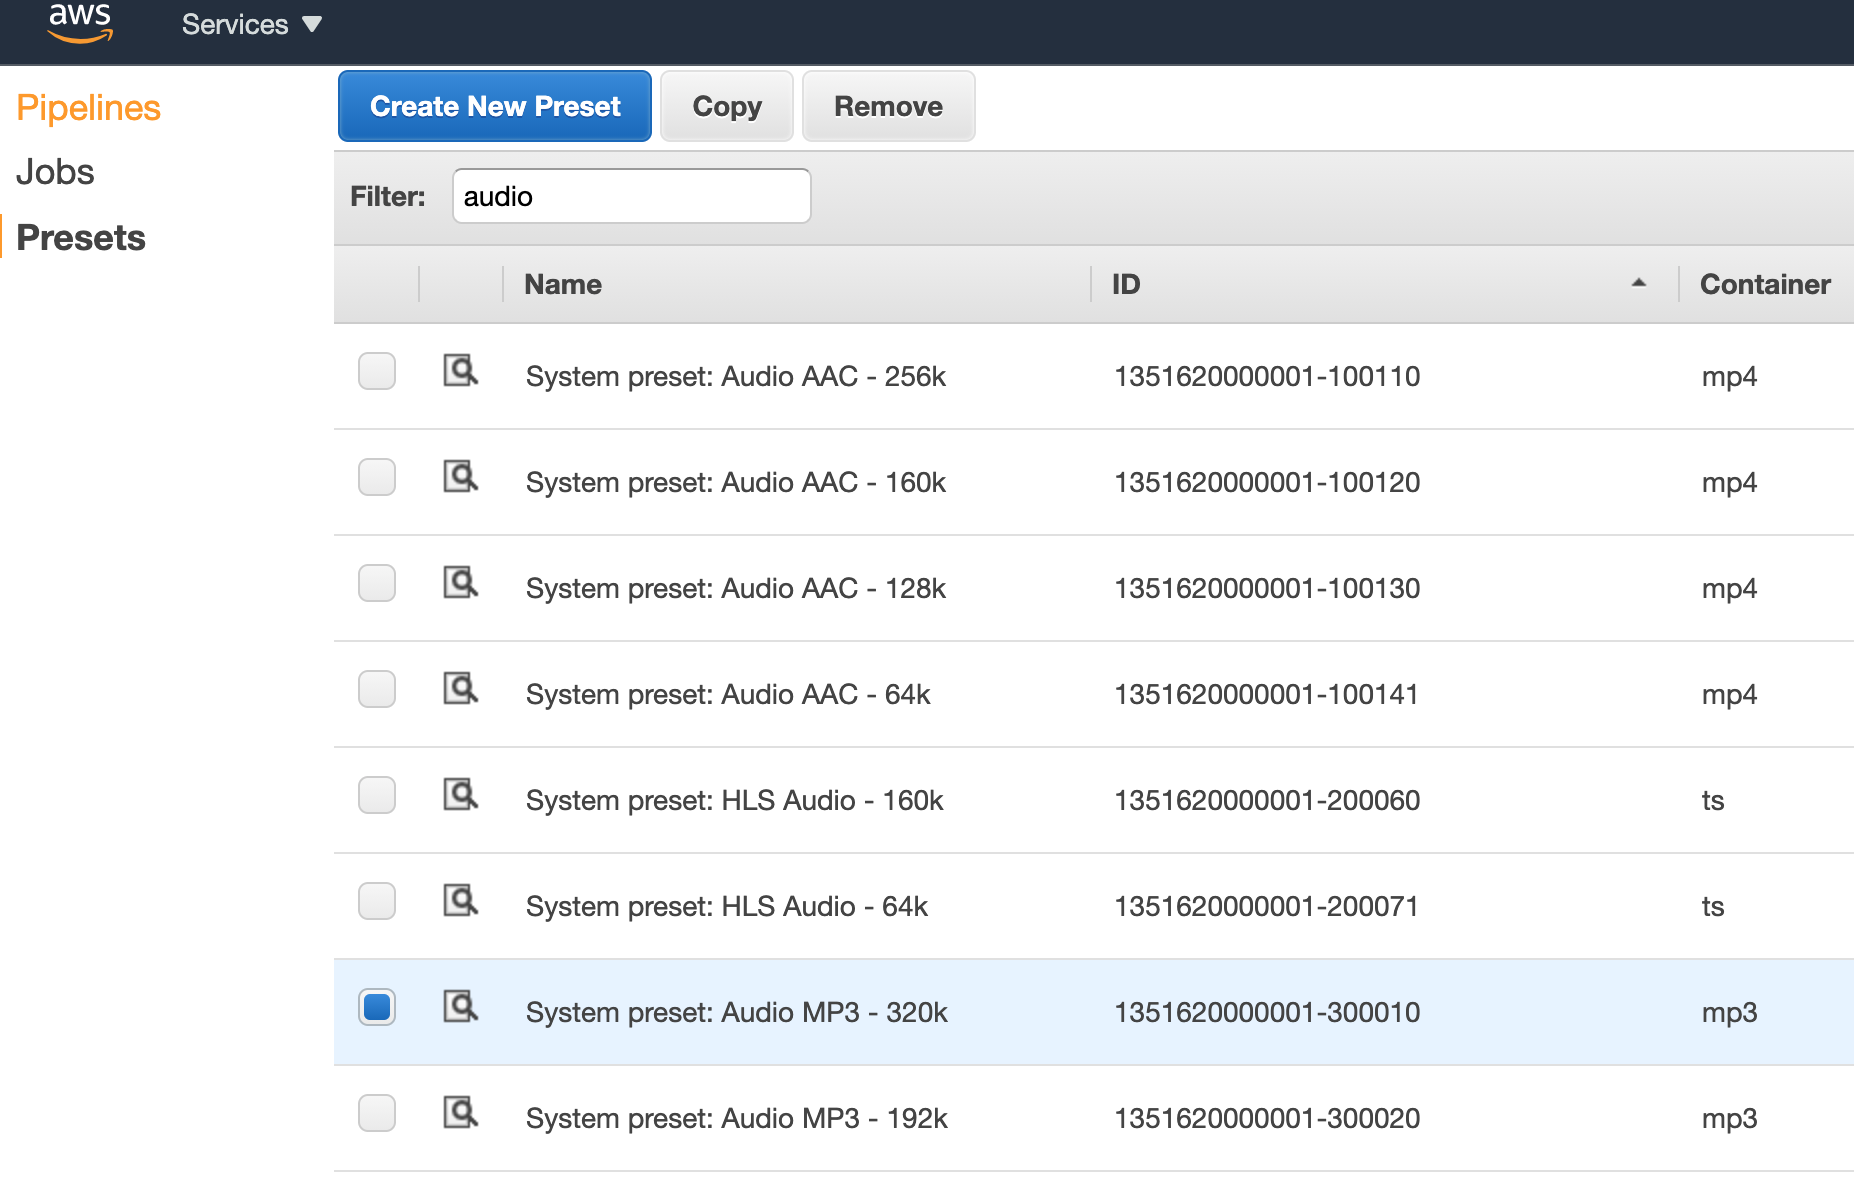
We also need to know the Presets Ids for all the different outputs that we want to generate:
    output_file_prefix = 'output/'  # Prefix for all output files

    system_preset_web_preset_id = '1351620000001-100070' #mp4
    system_preset_iPhone4S = '1351620000001-100020' #mp4
    system_preset_Audio_MP3_320k = '1351620000001-100110' #mp3
    system_preset_Gif_Animated = '1351620000001-100200' #gif
To find out the concrete Preset Id you have to search it in the Preset section in the Elastic Transcoder:
2. Create a mail notification when a video is processed correctly and also when an error has happened. For this, we need to configure the AWS Simple Email Service (SES).
-
First you have to register and confirm a mail to receive the notifications.
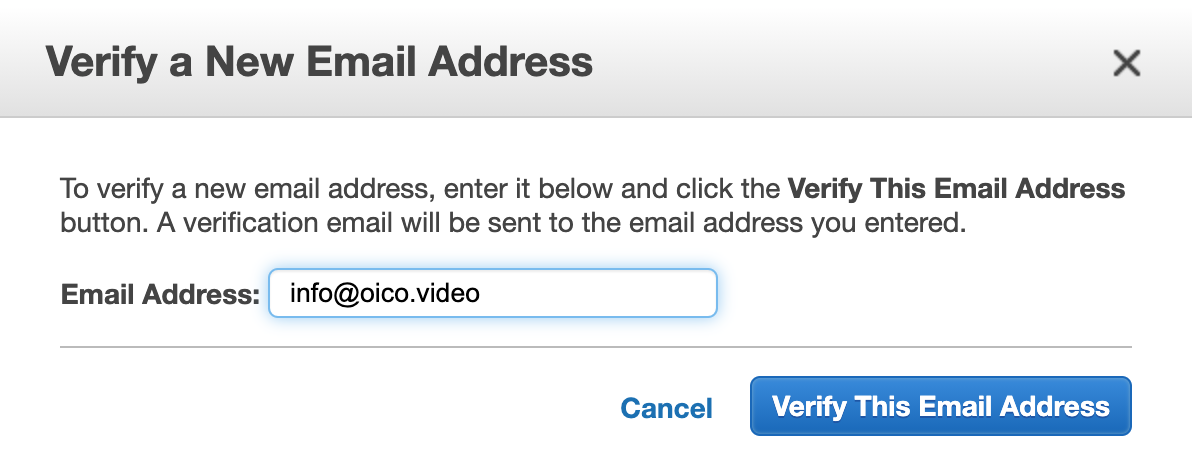 You will receive a mail to cofirm it, click on the link below.
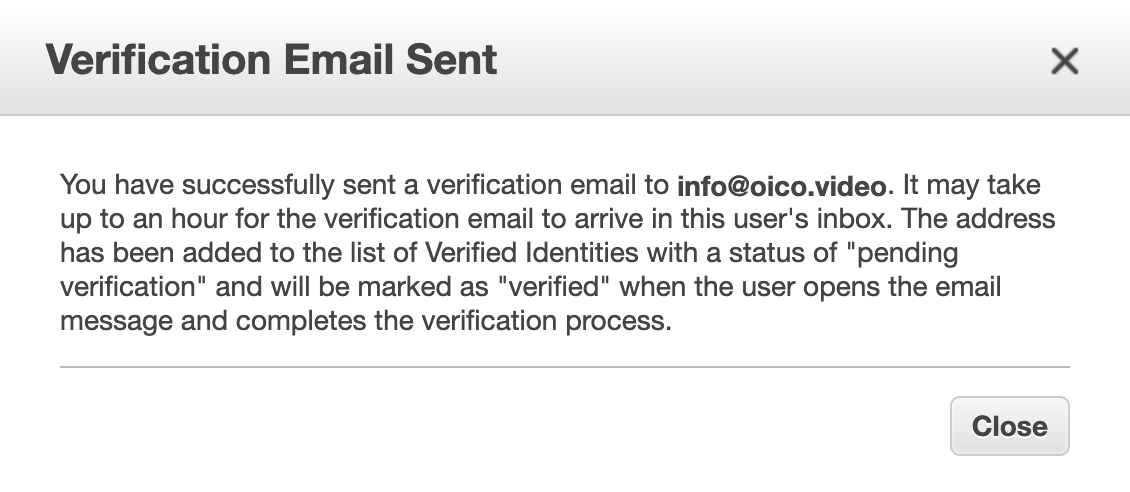 In SES it will remain pending until it's not confirm

-
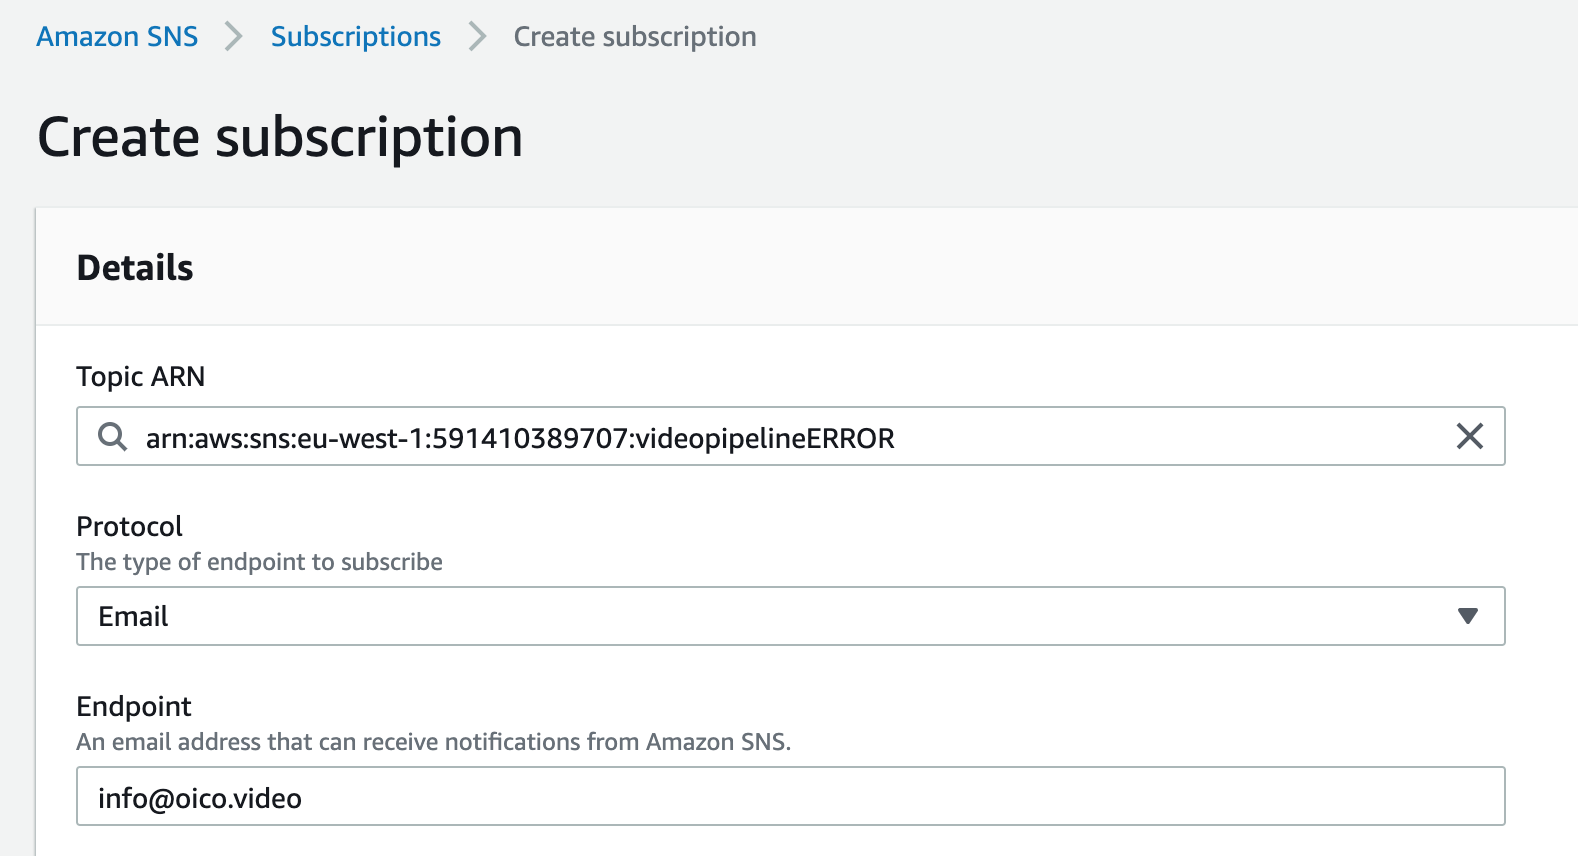
Then create SNS topics for both cases and attach this mail to it. Create the topics and subscribe the previous validated mail

-
Configure Elastic Transcoder to use the previous topics when there's an error and when the job is complete. If you did it correctly you will receive a mail when the job is completed:
3.Create another function that is triggered when the audio-only file is created in S3 and executes Amazon Transcribe with it. The same that we did when a file was uploaded to S3 and we did all the codification we will do it when a file is created in the second S3 bucket.
@app.on_s3_event(bucket=AUDIO_MEDIA_BUCKET_NAME,
                 events=['s3:ObjectCreated:*'])
def handle_audio_created(event):
    print("handle_audio_created: " + event.key)
    if _is_audio(event.key):
        print("Correct Audio generated: " + event.key)
        random_name = str(random.randint(10000, 99999))
        job_name = "JobName" + random_name
        job_uri = "s3://" + AUDIO_MEDIA_BUCKET_NAME + "/" + event.key
        get_transcribe_client().start_transcription_job(
            TranscriptionJobName=job_name,
            Media={'MediaFileUri': job_uri},
            MediaSampleRateHertz=44100,
            MediaFormat='mp4',
            LanguageCode='en-US',
            OutputBucketName=AUDIO_MEDIA_BUCKET_NAME,
            OutputKey=event.key.replace("mp3", "json").replace("audio", "transcribe"),
        )

        status = get_transcribe_client().get_transcription_job(TranscriptionJobName=job_name)
        print(status)
        return {'transcribe': job_name}
To make it work we created some helper functions:
def get_transcribe_client():
    global _TRANSCRIBE_CLIENT
    if _TRANSCRIBE_CLIENT is None:
        _TRANSCRIBE_CLIENT = boto3.client('transcribe')
    return _TRANSCRIBE_CLIENT

def _is_audio(key):
    return key.endswith(_SUPPORTED_AUDIO_EXTENSIONS)
So like we did to access S3 and Elastic Transcoder we have to add custom policy permissions in our project. For that we have to include the following rules in .chalice/policy-dev.json
  {
      "Effect": "Allow",
      "Action": [
        "transcribe:*"
      ],
      "Resource": "*"
    }
4.Reuse the previous function and capture when the transcription JSON output text from Amazon Transcribe is created in S3 to store it in DynamoDB
It's useful to follow the same convention as the rest of the output file structure. We are planning to store it in the same outpub S3 bucket and following the folder structure: /output/transcribe/ Notice that on the S3 event.key we can have the full path and name: output/audio/file.mp3. So we can use the same event.type and replacing it for json format and audio folder for the transcribe folder.
We will reuse the same function:
@app.on_s3_event(bucket=AUDIO_MEDIA_BUCKET_NAME,
                 events=['s3:ObjectCreated:*'])
def handle_audio_created(event):
    print("handle_audio_created: " + event.key)
    if _is_audio(event.key):
        ...
    elif _is_text(event.key):
        print("Correct JSON generated: " + event.key)
        s3_clientobj = get_s3_client().get_object(Bucket=event.bucket,
                                                  Key=event.key)
        s3_clientdata = s3_clientobj['Body'].read().decode('utf-8')

        print("printing s3_clientdata")
        print(s3_clientdata)

        s3clientlist = json.loads(s3_clientdata)
        print("json loaded data")
        print("status: " + s3clientlist['status'])
        transcript = s3clientlist['results']['transcripts'][0]['transcript']
        print("transcript: " + transcript)
Also, to store the transcription and all the following metadata information that we can extract out from the JSON file we will create a different DynamoDB table.
We will use the following template for it:
AWSTemplateFormatVersion: "2010-09-09"
Resources:
  responsesTable:
    Type: AWS::DynamoDB::Table
    Properties:
      AttributeDefinitions:
        - AttributeName: "JsonFile"
          AttributeType: "S"
      KeySchema:
        - AttributeName: "JsonFile"
          KeyType: "HASH"
      ProvisionedThroughput:
        ReadCapacityUnits: "5"
        WriteCapacityUnits: "5"
      TableName: "metadata"
We will create this table using cloudformation from the AWS CLI:
$ aws cloudformation create-stack --stack-name dynamodb-metadata --capabilities CAPABILITY_IAM --template-body file://cloudformation/dynamodb-metadata-table.yml
We add the extra parameter in the .chalice/config.json file:
"METADATA_TABLE_NAME": "metadata",Of course we will use this variable in our project and we will create a caching mechanism around the new table
_DYNAMODB_METADATA_TABLE = None
METADATA_TABLE_NAME = os.getenv('METADATA_TABLE_NAME', 'metadata')

def get_dynamodb_metadata_table():
    global _DYNAMODB_METADATA_TABLE
    global _DYNAMODB_CLIENT
    if _DYNAMODB_METADATA_TABLE is None:
        if _DYNAMODB_CLIENT is None:
            _DYNAMODB_CLIENT = boto3.resource('dynamodb')
        _DYNAMODB_METADATA_TABLE = _DYNAMODB_CLIENT.Table(METADATA_TABLE_NAME)
    return _DYNAMODB_METADATA_TABLE
Once we have this we can extend one more time our handle_audio_created function that is triggered when an S3 object is created, and this time we will add the last step to store the transcription in our new table:
    elif _is_text(event.key):
        ...

        try:
            get_dynamodb_metadata_table().put_item(Item={
                "JsonFile": event.key,
                "transcript": transcript
            })
        except Exception as e:
            print(e)
            raise NotFoundError("Error adding an element on dynamodb")
Once everything is done, we should have an entry like this:

Importance to project In this project we have experienced a more advanced and complex Event Driven Architecture, doing multiple asynchronous steps when a file is being uploaded. Each step involves different AWS services, also getting more expertise in each of them:
- We used Amazon Elastic Transcoder extensively to do multiple media convertions from the original video to multiple resolutions, audio and a gif animation too.
- We learned how to use Amazon Transcribe and how to triggered from an AWS Lambda Python function.
Takeaways
- Experience with event-driven architectures
- Hands-on experience with Amazon Simple Email Service
- Experience with complex flows with Amazon Elastic Transcoder
- Using Amazon Transcribe
Clean up To delete the Chalice project just run the delecte command form the Chalice CLI.
$ chalice delete
This command will remove AWS Gateways and AWS Lambdas that have been created due to Chalice. To delete the cloudformation stack use the following command from the AWS CLI:
$ aws cloudformation delete-stack --stack-name dynamodb-oico
A part from all of this, if you've created any other AWS resource manually you have to also manually remove it (S3, Transcode, Transcribe, Comprehend)
Resources
