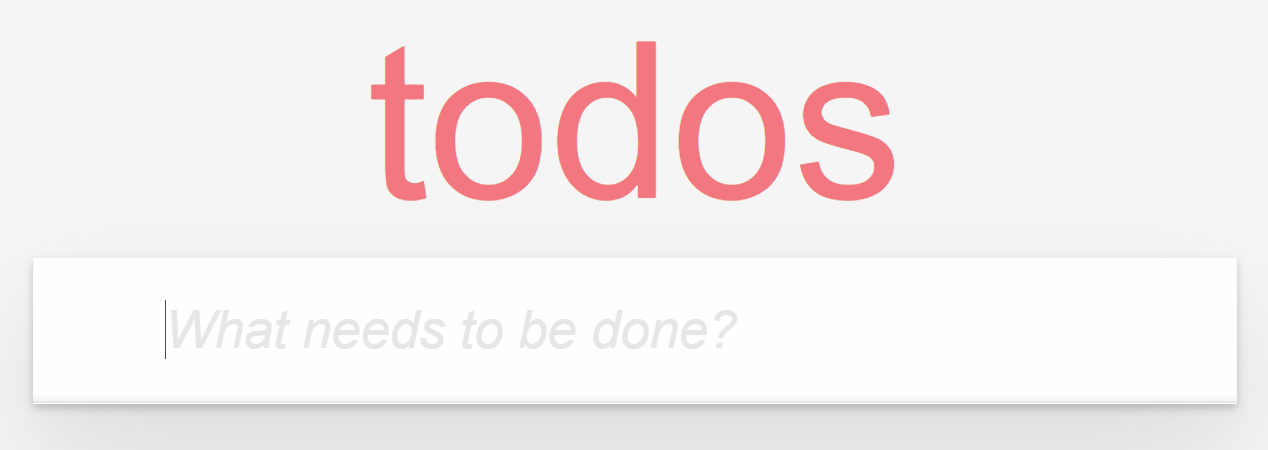
Goal: In this exercise, the participants will be asked to build the backend of a TodoReact App. The user will be exploring minimal hosting and routing APIs for writing this backend in .NET.
-
Install .NET 6.0 preview.
-
Install Node.js 14 or later.
Download or clone this repository. Unzip it, and navigate to the Tutorial folder which contains the TodoReact frontend application.
If using Visual Studio Code, install the C# extension for C# support.
Please Note: The completed exercise is available in the samples folder. Feel free to reference it at any point during the tutorial.
-
Once you clone the Todo repo, navigate to the
TodoReactfolder inside of theTutorialfolder and run the following commands:TodoReact> npm i TodoReact> npm startProxy error: Could not proxy request /api/todos from localhost:3000 to http://localhost:5000/is expected. -
The app will load but have no functionality
Keep this React app running as we'll need it once we build the back-end in the upcoming steps
-
Open a new terminal navigate to the
Tutorialfolder. -
Install the MinimalHost template using the
dotnet CLI. Copy the command below into a terminal or command prompt to install the template.Tutorial> dotnet new -i "MinimalHost.Templates::0.1.*-*" --nuget-source https://f.feedz.io/minimal/tutorial/nuget/index.jsonThis will make the
MinimalHosttemplates available in thedotnet newcommand.
-
Create a new MinimalHost application and add the necessary packages in the
TodoApifolder.Tutorial> dotnet new minimalhost -n TodoApi
-
Open the
TodoApiFolder in the editor of your choice. -
Create a file called
TodoItem.csin the TodoApi folder. Add the content below:using System.Text.Json.Serialization; public class TodoItem { [JsonPropertyName("id")] public int Id { get; set; } [JsonPropertyName("name")] public string Name { get; set; } [JsonPropertyName("isComplete")] public bool IsComplete { get; set; } }
The above model will be used for reading in JSON and storing todo items into the database.
-
Create a file called
TodoDbContext.cswith the following contents:using Microsoft.EntityFrameworkCore; public class TodoDbContext : DbContext { public DbSet<TodoItem> Todos { get; set; } protected override void OnConfiguring(DbContextOptionsBuilder optionsBuilder) { optionsBuilder.UseInMemoryDatabase("Todos"); } }
This code does 2 things:
- It exposes a
Todosproperty which represents the list of todo items in the database. - The call to
UseInMemoryDatabasewires up the in memory database storage. Data will only be persisted/stored as long as the application is running.
- It exposes a
-
Now we're going to use
dotnet watchto run the server side application:TodoApi> dotnet watch runThis will watch our application for source code changes and will restart the process as a result.
-
Above
await app.RunAsync();, create a method calledGetTodosinside of theProgram.csfile:async Task<List<TodoItem>> GetTodos() { using var db = new TodoDbContext(); return await db.Todos.ToListAsync(); } await app.RunAsync();
This method gets the list of todo items from the database and returns it. Returned values are written as JSON to the HTTP response.
-
Wire up
GetTodosto theapi/todosroute by callingMapGet. This should go beforeawait app.RunAsync();:app.MapGet("/api/todos", (Func<Task<List<TodoItem>>>)GetTodos); await app.RunAsync();
-
Navigate to the URL http://localhost:5000/api/todos in the browser. It should return an empty JSON array.

-
In
Program.cs, create another method calledCreateTodo:async Task<StatusCodeResult> CreateTodo([FromBody] TodoItem todo) { using var db = new TodoDbContext(); await db.Todos.AddAsync(todo); await db.SaveChangesAsync(); return new StatusCodeResult(204); }
The above method reads the
TodoItemfrom the incoming HTTP request and adds it to the database.[FromBody]indicates thetodoparameter will be read from the request body as JSON.Once the changes are saved, the method responds with the successful
204HTTP status code and an empty response body. -
Wire up
CreateTodoto theapi/todosroute withMapPost:app.MapGet("/api/todos", (Func<Task<List<TodoItem>>>)GetTodos); app.MapPost("/api/todos", (Func<TodoItem, Task<StatusCodeResult>>)CreateTodo); await app.RunAsync();
-
Navigate to the
TodoReactapplication which should be running on http://localhost:3000. Now, you will able to add new items. Behind the scenes when a new item is added, theTodoReactapplication makes a POST request to http://localhost:5000/api/todos which callsCreateTodoand stores the todo item in memory on the server. When theTodoReactapplication is refreshed, it makes a GET request to http://localhost:5000/api/todos callingGetTodoswhich should now return a non-empty JSON array containing the newly added items.
-
In
Program.cs, create another method calledUpdateCompletedbelowCreateTodo:async Task<StatusCodeResult> UpdateCompleted( [FromRoute] int id, [FromBody] TodoItem inputTodo) { using var db = new TodoDbContext(); var todo = await db.Todos.FindAsync(id); if (todo is null) { return new StatusCodeResult(404); } todo.IsComplete = inputTodo.IsComplete; await db.SaveChangesAsync(); return new StatusCodeResult(204); }
[FromRoute]indicates theint idmethod parameter will be populated from the route parameter of the same name (the{id}in/api/todos/{id}below).The body of the method uses the id to find the todo item in the database. It then updates it the
TodoItem.IsCompleteproperty to match the uploaded JSON todo and saves it back to the database. -
Wire up
UpdateCompletedto theapi/todos/{id}route withMapPost:app.MapGet("/api/todos", (Func<Task<List<TodoItem>>>)GetTodos); app.MapPost("/api/todos", (Func<TodoItem, Task<StatusCodeResult>>)CreateTodo); app.MapPost("/api/todos/{id}", (Func<int, TodoItem, Task<StatusCodeResult>>)UpdateCompleted); await app.RunAsync();
-
In
Program.cscreate another method calledDeleteTodo:async Task<StatusCodeResult> DeleteTodo([FromRoute] int id) { using var db = new TodoDbContext(); var todo = await db.Todos.FindAsync(id); if (todo is null) { return new StatusCodeResult(404); } db.Todos.Remove(todo); await db.SaveChangesAsync(); return new StatusCodeResult(204); }
The above logic is very similar to
UpdateCompletedbut instead. it removes the todo item from the database after finding it. -
Wire up
DeleteTodoto the/api/todos/{id}route withMapDelete:app.MapGet("/api/todos", (Func<Task<List<TodoItem>>>)GetTodos); app.MapPost("/api/todos", (Func<TodoItem, Task<StatusCodeResult>>)CreateTodo); app.MapPost("/api/todos/{id}", (Func<int, TodoItem, Task<StatusCodeResult>>)UpdateCompleted); app.MapDelete("/api/todos/{id}", (Func<int, Task<StatusCodeResult>>)DeleteTodo); await app.RunAsync();
The application should now be fully functional.


