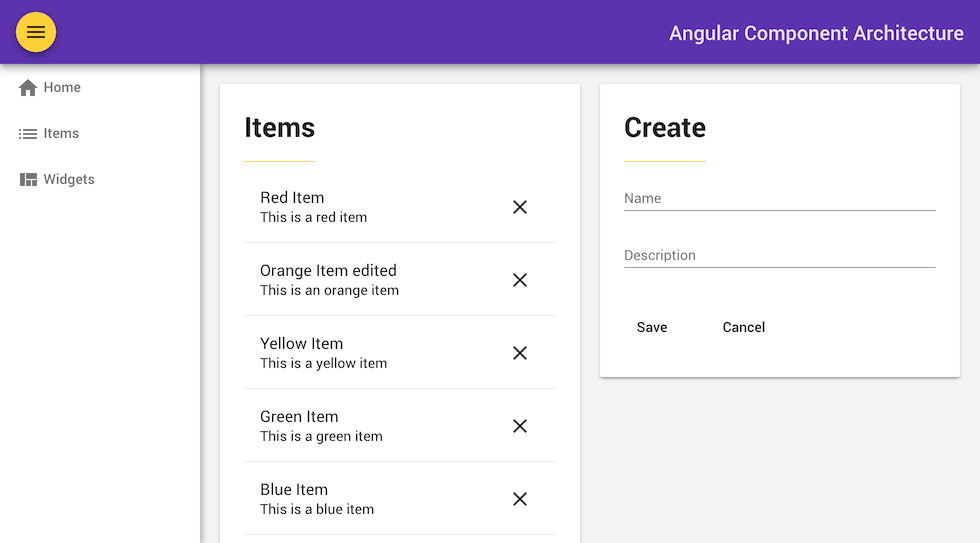
A simple REST app built using Angular, Angular Material and the Angular CLI.
This app demonstrates how to structure and handle communication between components in an Angular app.
- Git
- Node.js and NPM – we recommend using NVM (Linux/Mac) or NVM-Windows (Windows)
- Install Angular CLI via
npm i -g @angular/cli
There are two main parts to this application. The first is the REST API, for which we are using json-server. The second part is the Angular 2 application server which we will start using ng serve.
To get started run the commands below.
$ git clone https://github.com/onehungrymind/angular-component-architecture.git
$ cd angular-component-architecture
$ npm install
$ npm start
Then navigate to http://localhost:4200 in your browser.
Note: the above terminal commands are for Mac. Remember to substitute the appropriate commands for your OS.
Angular has the ability to turn a component into a standalone custom element and embed that in an HTML document.
Simply run npm run build:elements to generate a standalone element.
This will run an ng build, concatenate the resulting scripts into one file, and copy that file to the site directory.
Once that script is finished, simply serve the site directory.
Run ng generate component component-name to generate a new component. You can also use ng generate directive/pipe/service/class.
Run ng build to build the project. The build artifacts will be stored in the dist/ directory. Use the -prod flag for a production build.
Run ng test to execute the unit tests via Karma.
Run ng e2e to execute the end-to-end tests via Protractor.
Before running the tests make sure you are serving the app via ng serve.
