This Jekyll plugin provides tags used to add tabs in your content. It is heavily inspired from https://github.com/clustergarage/jekyll-code-tabs.
- It works with multiple tab panels on the same page
- It does not require a specific javascript framework
Add this line to your Gemfile:
group :jekyll_plugins do
  # ... other gems
  gem "jekyll-tabs"
end
Install the gem by running:
bundle installThen add the gem to the plugin list in your _config.yml file:
plugins:
- jekyll-tabsCopy the content of this file in your public folder (for example assets/js/tabs.js), and include the script in your layout (such as _layouts/default.html).
<!DOCTYPE html>
<html lang="en-us">
    <head>
        ...
    </head>
    <body>
        {{ content }}
        <script src="/assets/js/tabs.js"></script>
    </body>
</html>Feel free to style it the way you want. You can use this existing css file to get started.
Paste the content in a file (for example assets/css/custom.css), and include it in the html tag of your jekyll website.
<!DOCTYPE html>
<html lang="en-us">
    <head>
        ...
        <link rel="stylesheet" href="/assets/css/custom.css">
    </head>
    <body>
        ....
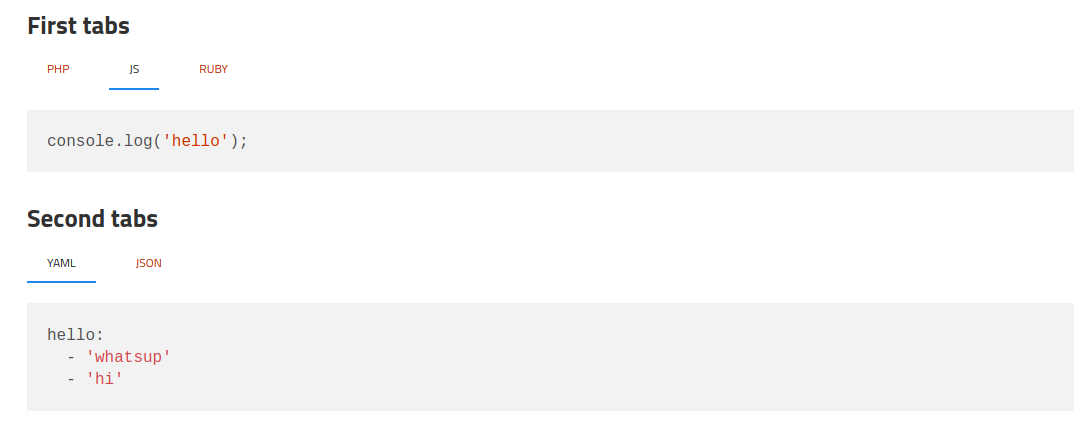
You are all set! Let's see the markup.
### First tabs

{% tabs log %}

{% tab log php %}
```php
var_dump('hello');
```
{% endtab %}

{% tab log js %}
```javascript
console.log('hello');
```
{% endtab %}

{% tab log ruby %}
```javascript
pputs 'hello'
```
{% endtab %}

{% endtabs %}

### Second tabs

{% tabs data-struct %}

{% tab data-struct yaml %}
```yaml
hello:
  - 'whatsup'
  - 'hi'
```
{% endtab %}

{% tab data-struct json %}
```json
{
    "hello": ["whatsup", "hi"]
}
```
{% endtab %}

{% endtabs %}
Here is the result:
In the following markup:
{% tab data-struct Some label here %}
- The first word after the
tabkeyword (data-structhere) is used to group tabs. - All words after will be displayed as the tab label.
Which is why in the above example, we have to groups of tabs: data-struct and log.
