- Optional build configurations
- webserver on station connecting to existing Access Point
- webserver on stand-alone Access Point
- Connect to 'http://esp32.local' for webpage access (using ESPmDNS)
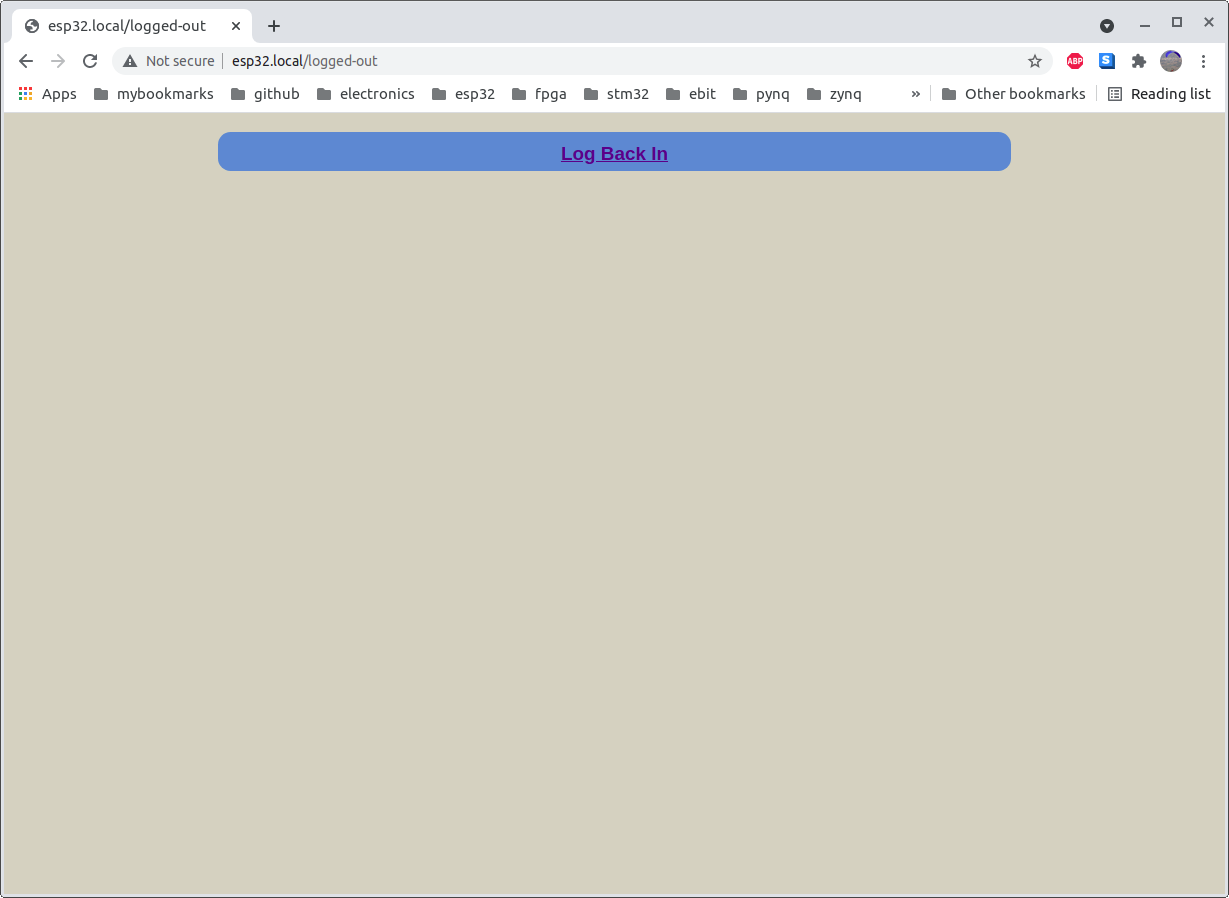
- Webpage access control with username and password
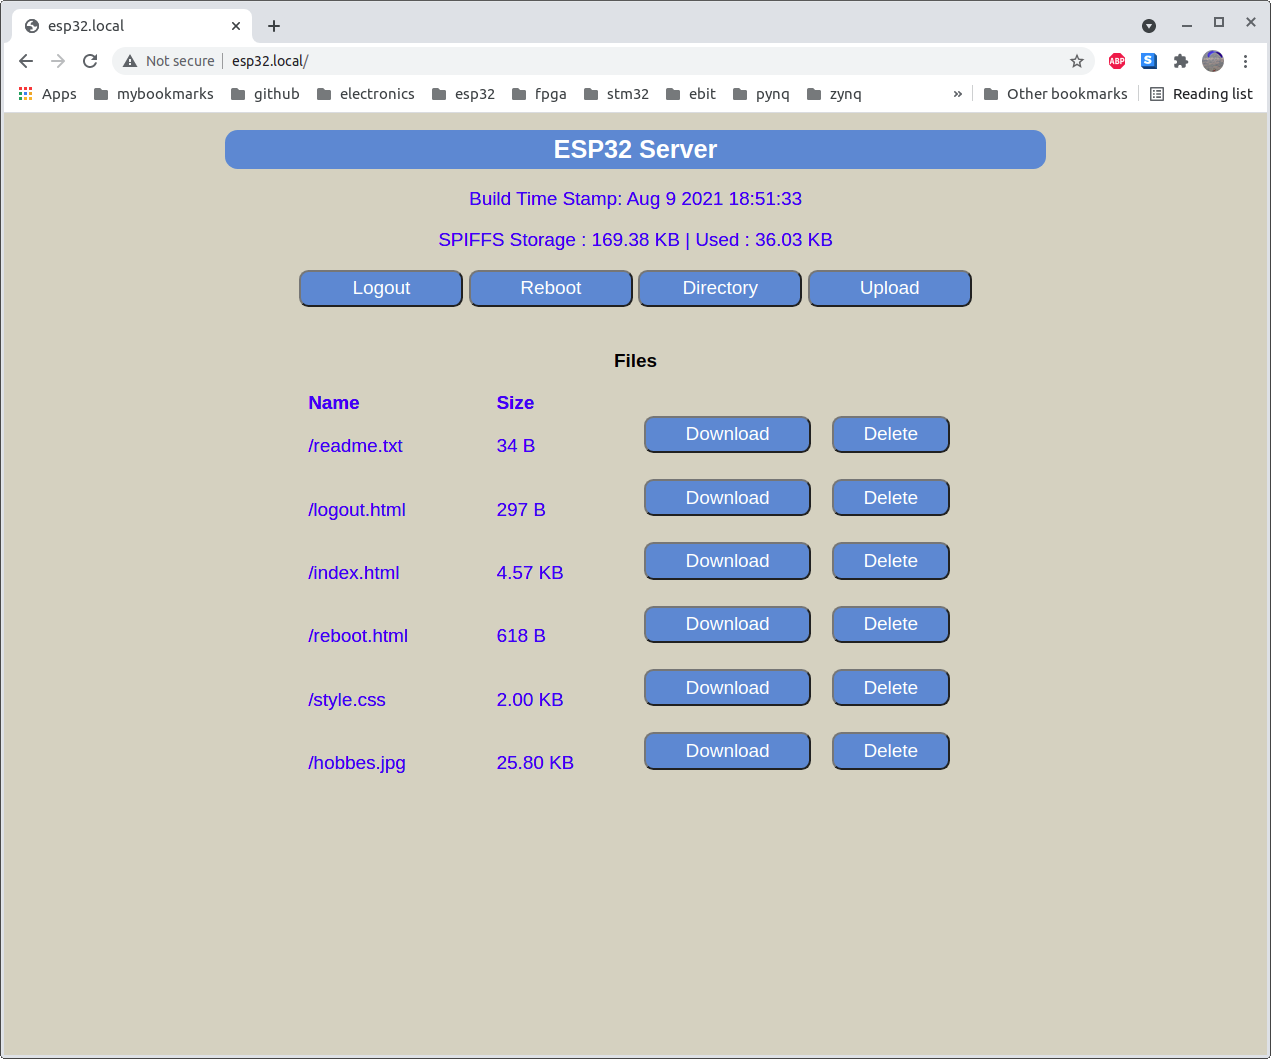
- SPIFFS directory access
- file listing
- upload replacement for existing file
- upload a new file
- download existing file
- delete existing file
- OTA firmware update : on file upload, if you select a '*.bin' file, it is processed as a firmware update instead of uploading it to the SPIFFS partition.
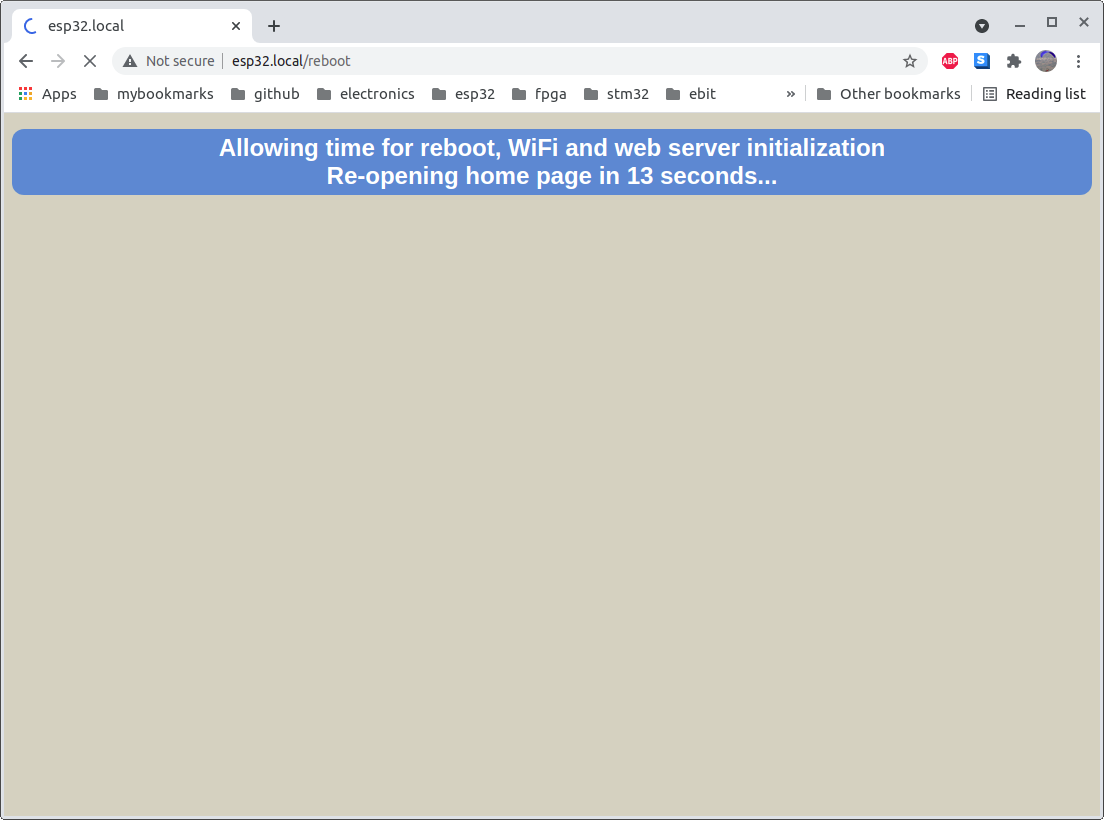
- Reboot ESP32 target
- SPIFFS hosted html and css files. These can be replaced to tweak webpage functionality and appearance without recompiling a new binary.
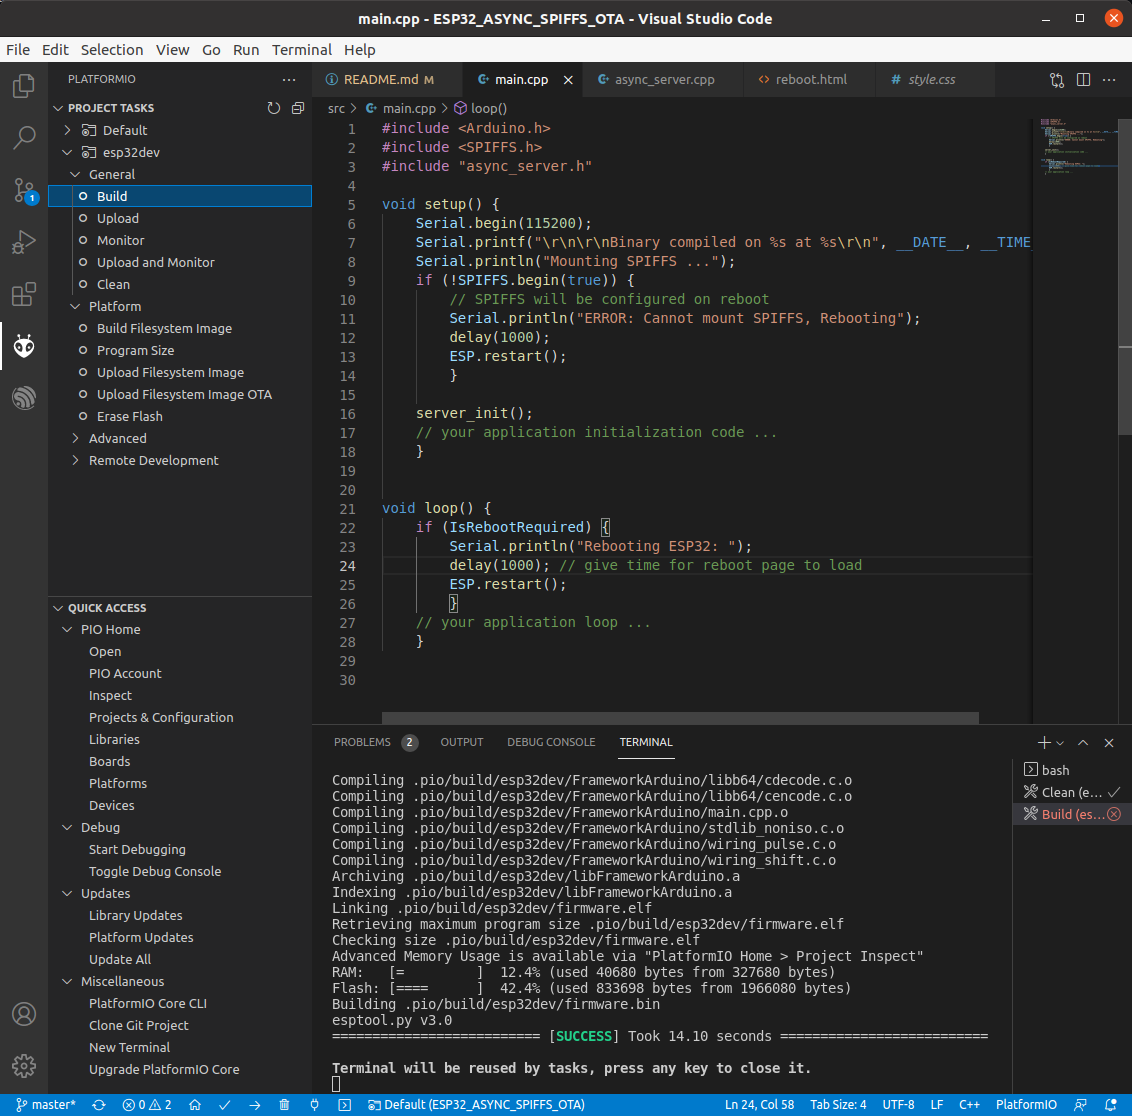
- Visual Studio Code + Platformio plugin using Espressif ESP32 Arduino framework
- Assumes the ESP32 module has 4MB flash. Uses 'min_spiffs.csv' partitition table (larger OTA code partitions, smaller SPIFFS partition)
This is a mashup of functionality from the following repositories :
- https://github.com/smford/esp32-asyncwebserver-fileupload-example
- https://randomnerdtutorials.com/esp32-web-server-spiffs-spi-flash-file-system/
Additional features added :
- OTA firmware update
- Chunked file downloads
Visual Studio Code + Platformio plugin with Espressif ESP32 Arduino framework.
- Use "Platformio->Project Tasks->Platform->Erase Flash" before uploading the firmware the first time.
- Use "Platformio->Project Tasks->Platform->Build Filesystem Image" to build a binary image of the SPIFFS file partition using the files in the project /data directory. This directory contains the webpage html and css files as well as any application-specific data files that you want to make available via the web server.
- Use "Platformio->Project Tasks->Platform->Upload Filesystem Image" to upload the SPIFFS partition image to the ESP32 target.
- Use "Platformio->Project Tasks->General->Upload" to upload the firmware binary code.


