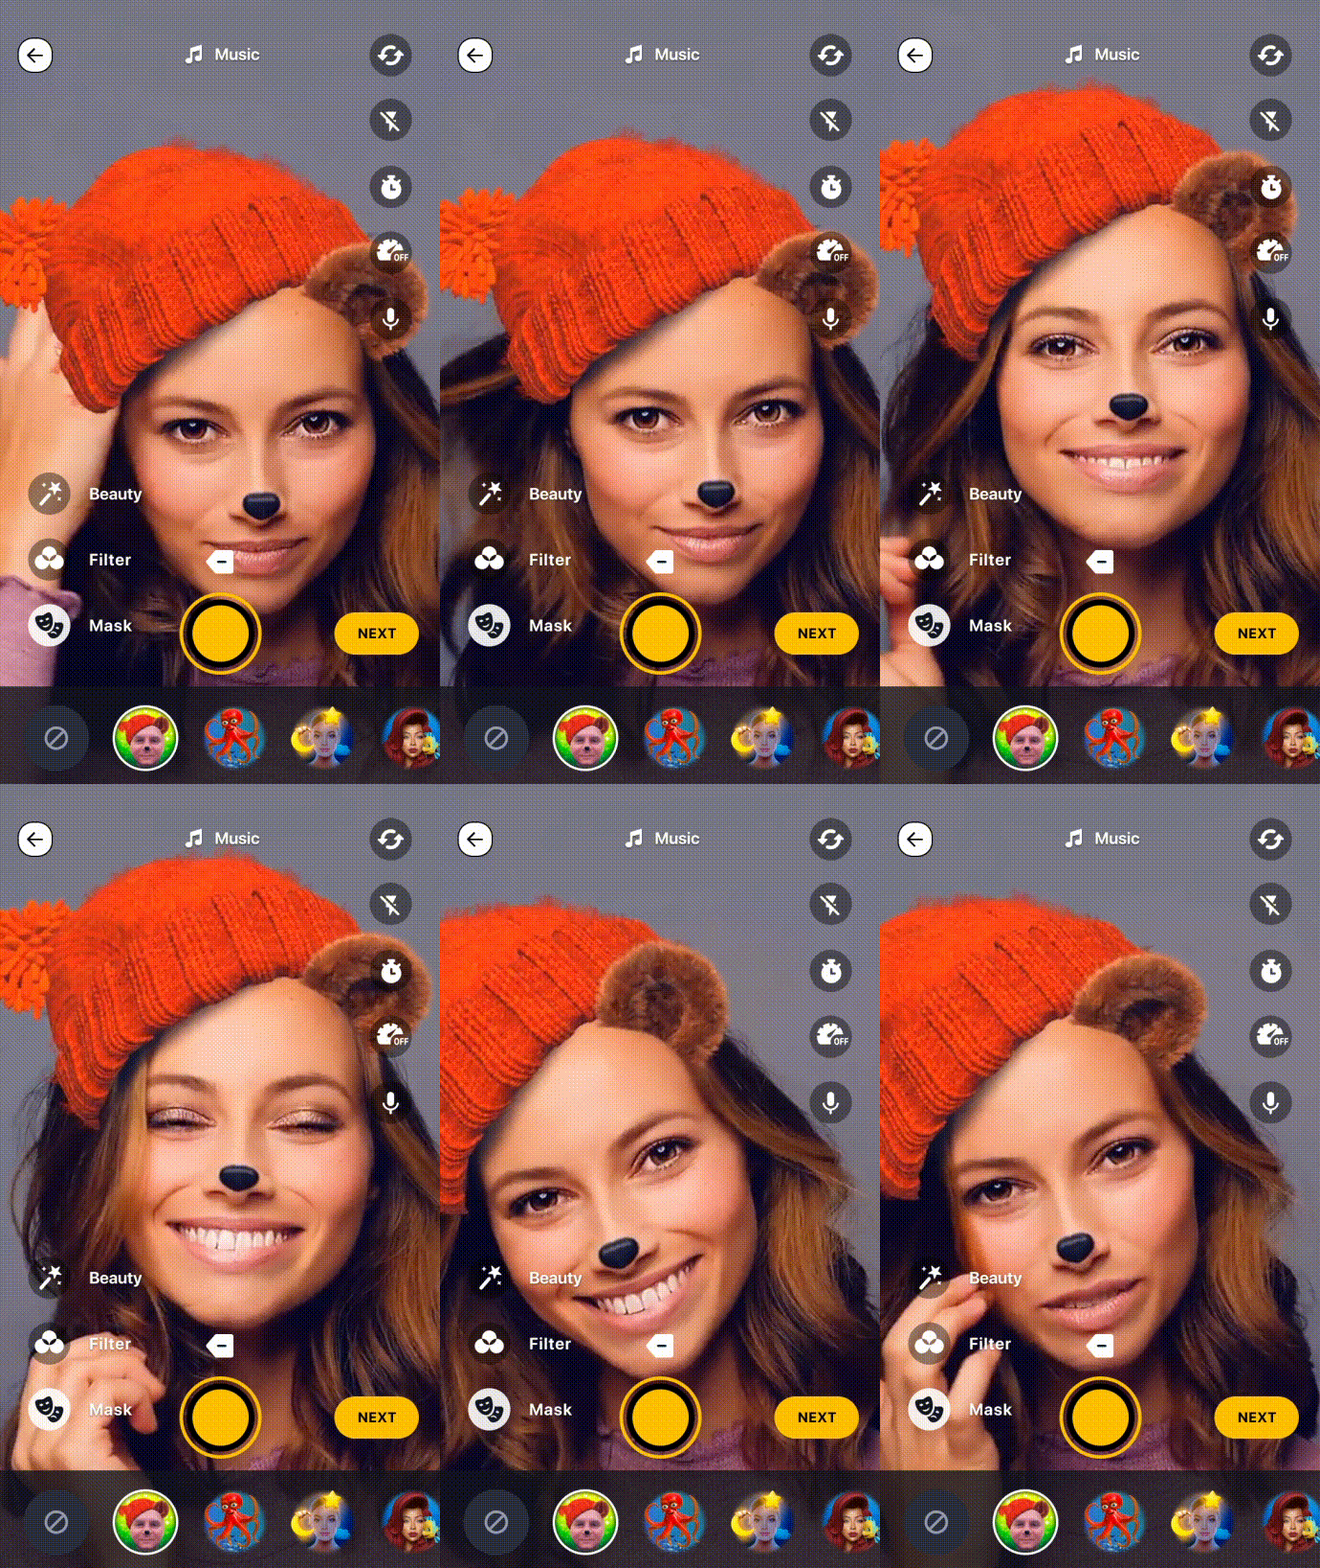
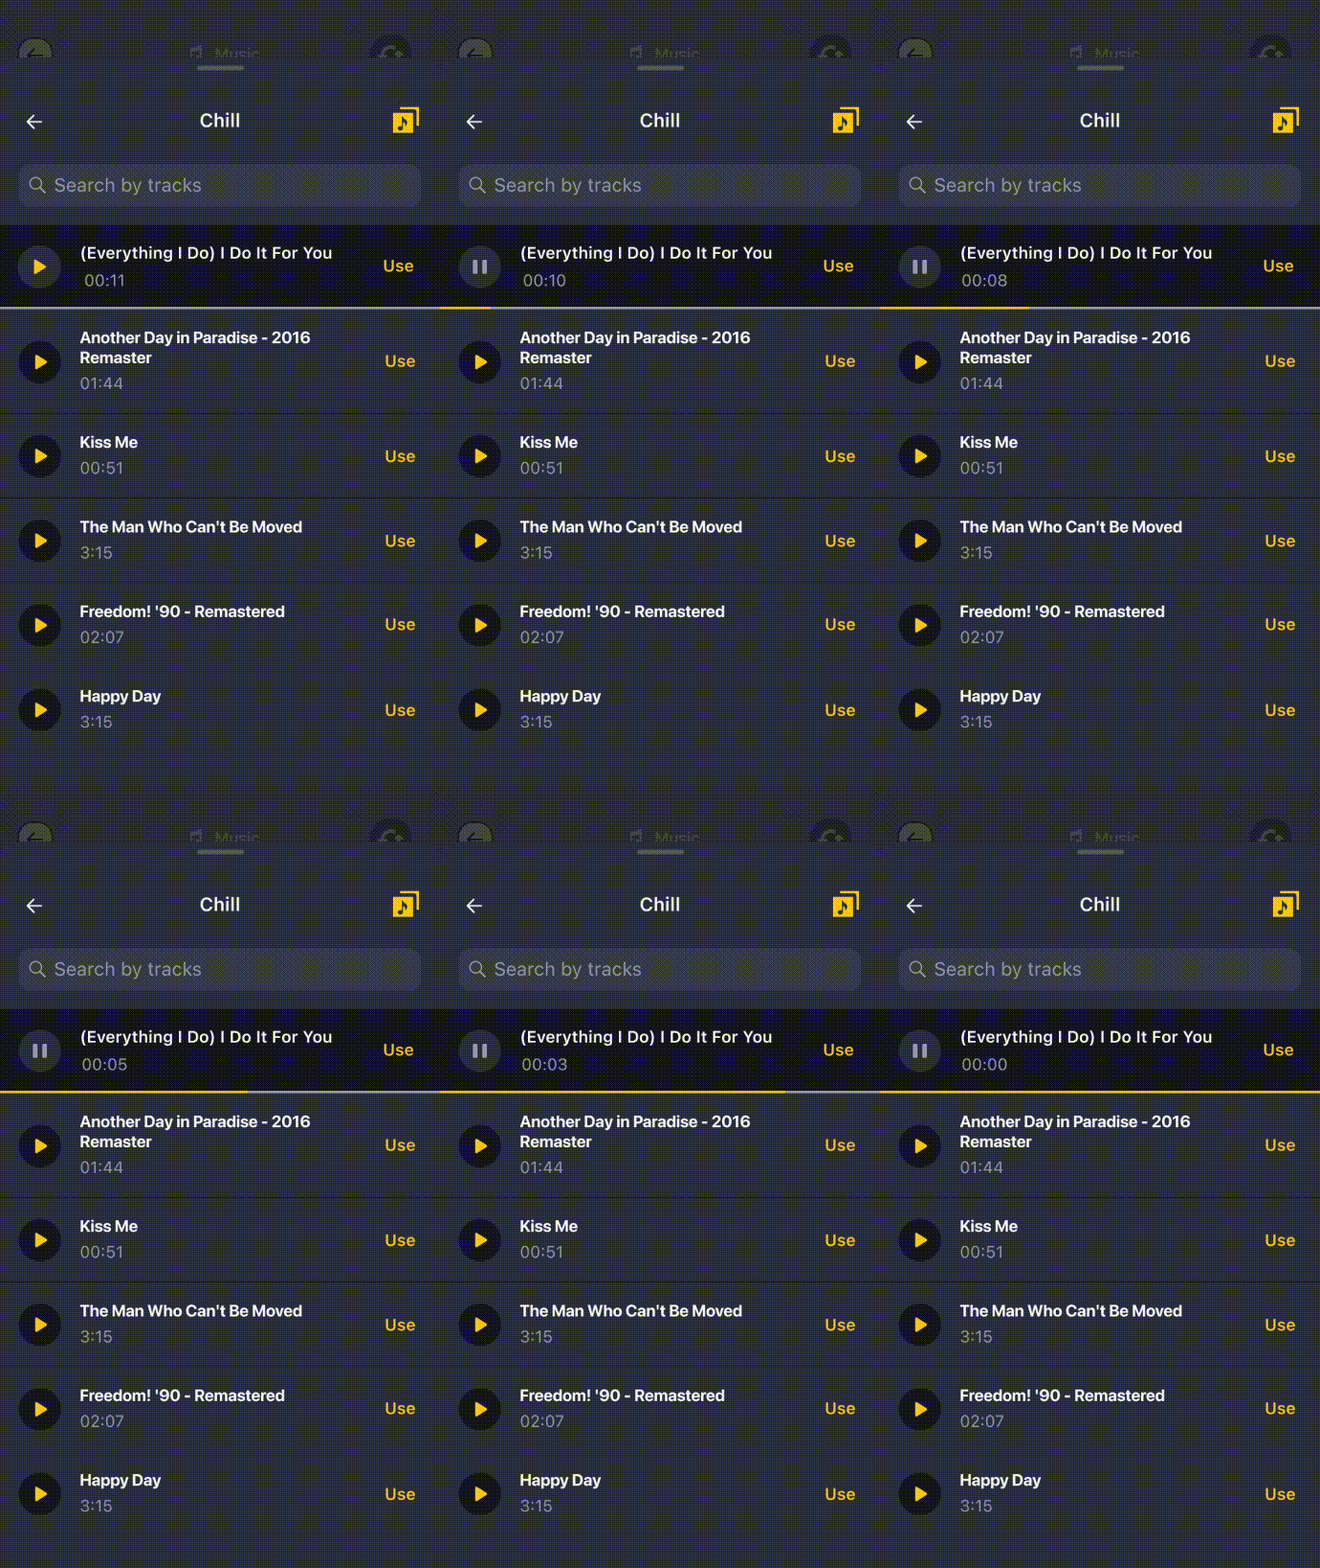
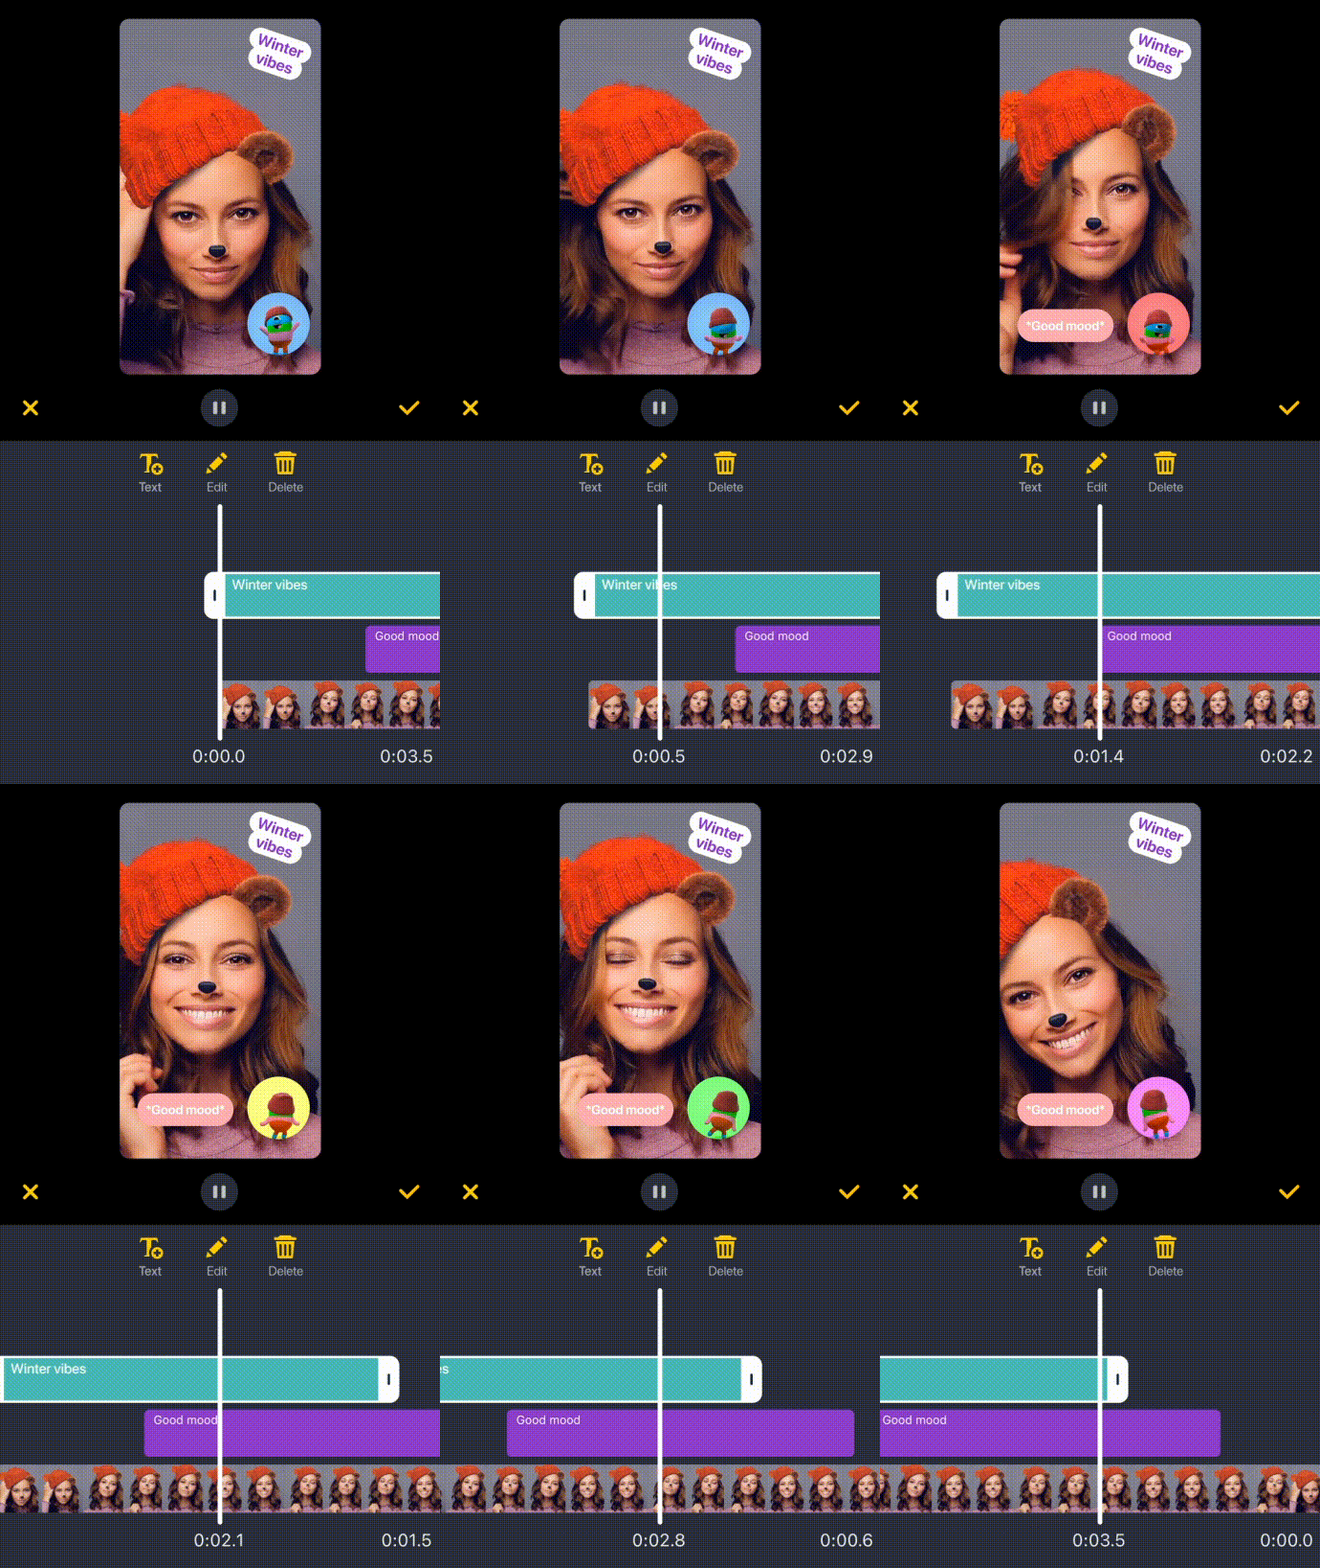
Banuba Video Editor SDK allows you to add a fully-functional video editor with Tiktok-like features, AR filters and effects in your app. The following guide explains how you can integrate our SDK into your iOS project.
- Swift 5+
- Xcode 12+
- iOS 11.0+
If you utilize the AR technology with masks (like Tiktok or Snapchat) you would need to have Face AR module, produced by Banuba. Alternatively, you may just have the app that shoots the video/pics and edit it with no AR feature. Depending on your choice, the SDK size will vary:
| Options | Mb | Note |
|---|---|---|
| ✅ Face AR SDK + bitcode enabled | 42 | AR effect sizes are not included. AR effect takes 1-3 MB in average. |
| ❌ Face AR SDK + bitcode enabled | 19 | no AR effects |
- Banuba Face AR SDK. Optional
We offer а free 14-days trial for you could thoroughly test and assess Video Editor SDK functionality in your app. To get access to your trial, please, get in touch with us by filling a form on our website. Our sales managers will send you the trial token. Put it into the app, as described below, to run the SDK.
To integrate the Video Editor SDK in your project, you need to have the client token. It helps us to prevent our software from inappropriate and unconditioned usage. The token is unique to each client and valid for a specific time. Once it expires, the access to SDK features will be blocked automatically. The token should be put here
- Paste Banuba ssh private key into .ssh folder on your Mac. (If .ssh directory doesn't exist - run mkdir -p ~/.ssh')
- Add ssh private key to SSH authentication agent. Please, use the following command in Terminal:
sudo ssh-add <banuba-ssh-private-key-file>
Video Editor SDK is available via CocoaPods. If you're new to CocoaPods, refer to the Getting Started Guide. CocoaPods is the preferred and the simplest way to get the SDK.
Important: Make sure that you have installed CocoaPods version >= 1.9.0 installed. Check your CocoaPods version using command pod --version.
Please, refer to the example of Podfile lines which you need to add.
- Make sure to have CocoaPods installed, e.g. via Homebrew:
brew install cocoapods
- Install Video Editor SDK for the provided Xcode workspace with:
pod install
- Open
Example.xcworkspacewith Xcode and run the project.
To start video editor with preselected music track input musicTrack as parameter to presentVideoEditor method. Look example
import BanubaVideoEditorSDK

class ViewController: UIViewController {

  private var videoEditorSDK: BanubaVideoEditorSDK?

  override func viewDidLoad() {
    super.viewDidLoad()

    initVideoEditor()
  }

  override func viewDidAppear(_ animated: Bool) {
    super.viewDidAppear(animated)

    videoEditorSDK?.presentVideoEditor(
      from: self,
      animated: true,
      musicTrack: nil,
      completion: nil
    )
  }

  private func initVideoEditor() {
    let configuration = VideoEditorConfig()
    videoEditorSDK = BanubaVideoEditorSDK(
      token: "place client token here",
      effectsToken: "place effects token here",
      configuration: configuration,
      analytics: nil,
      externalViewControllerFactory: nil
    )
    videoEditorSDK?.delegate = self
  }
  ...
}

// MARK: - Handle Video Editor lifecycle
extension ViewController: BanubaVideoEditorSDKDelegate {
  func videoEditorDidCancel(_ videoEditor: BanubaVideoEditorSDK) {
    videoEditor.dismissVideoEditor(animated: true, completion: nil)
  }

  func videoEditorDone(_ videoEditor: BanubaVideoEditorSDK) {
    videoEditor.dismissVideoEditor(animated: true, completion: nil)
  }
}
The Video Editor has several entry points. It can be launched at the camera screen and at trimmer screen with pre-defined videos:
/// Modally presents Video editor's root view controller
/// - Parameters:
///   - hostController: The view controller to display over.
///   - animated: Pass true to animate the presentation.
///   - musicTrack: Music track which will be played on camera recording.
///   - completion: The block to execute after the presentation finishes.
public func presentVideoEditor(
  from hostController: UIViewController,
  animated: Bool,
  musicTrack: MediaTrack? = nil,
  completion: (() -> Void)?
)

/// Modally presents Video editor's trim view controller with pre-defined videos
/// - Parameters:
///   - videoItems: An array with urls to videos located on a phone.
///   - hostController: The view controller to display over.
///   - animated: Pass true to animate the presentation.
///   - musicTrack: Music track which will be played on camera recording.
///   - completion: The block to execute after the presentation finishes.
public func presentVideoEditor(
  withVideoItems videoItems: [URL],
  from hostController: UIViewController,
  animated: Bool,
  musicTrack: MediaTrack? = nil,
  completion: (() -> Void)?
)To export video after the editing is complete use these several methods:
/// Export video with default 1280x720 (or 1920x1080 on required devices) resolution
/// - Parameters:
///   - fileUrl: url where exported video should be stored.
///   - completion: completion: (success, error), execute on background thread.
func exportVideo(fileUrl: URL, completion: @escaping (Bool, Error?) -> Void)

/// Export video with default 1280x720 (or 1920x1080 on required devices) resolution and cover image
/// - Parameters:
///   - fileUrl: url where exported video should be stored.
///   - completion: completion: (success, error, image), execute on background thread.
/// Preconfigue WatermarkConfiguration in configuration file otherwise will be used default configuration. Default cover image video indent is 0.5 second.
func exportVideoWithCoverImage(fileUrl: URL, completion: @escaping (Bool, Error?, UIImage) -> Void)

/// Export several configurable video
/// - Parameters:
///   - configurations: contains configurations for exporting videos such as file url,
///    watermark and video quality
///   - completion: completion: (success, error), execute on the background thread.
func exportVideos(using configurations: [ExportVideoConfiguration], completion: (Bool,Error?)->Void)

/// Export several configurable video with cover image
/// - Parameters:
///   - configurations: contains configurations for exporting videos such as file url,
///    watermark and video quality
///   - completion: completion: (success, error, image), execute on the background thread.
func exportVideosWithCoverImage(using configurations: [ExportVideoConfiguration], completion: (_Bool, Error?, UIImage)->Void)
Example export video flow see here. Detailed export video features you can find here
The SDK allows to override icons, colors, typefaces, text messages and button titles and many more configuration entities. Every SDK screen has its own set of styles. Below you can find how to customize VE SDK to bring your experience.
The SDK allows overriding icons, colors, typefaces and many more configuration entities. Every SDK screen has its own set of styles.
- Load icons to the Assets catalog.
- Find the desired screen for an icon in VideoEditroConfig entity.
- Find the desired UI element in the configuration entity and override the icon with the resource name or put UIImage if an option available.
Example: how to change the mask icon on the camera screen.
Feel free to edit any text in the SDK app. To localize texts (strings resources) in video editor go to the lib Localized.strings and download the file with text. Then change the text and put it into your app.
Important: Do not change keys (left values), override only right values (text itself).
Please visit our FAQ page to find more technical answers to your questions.
In progress ...


