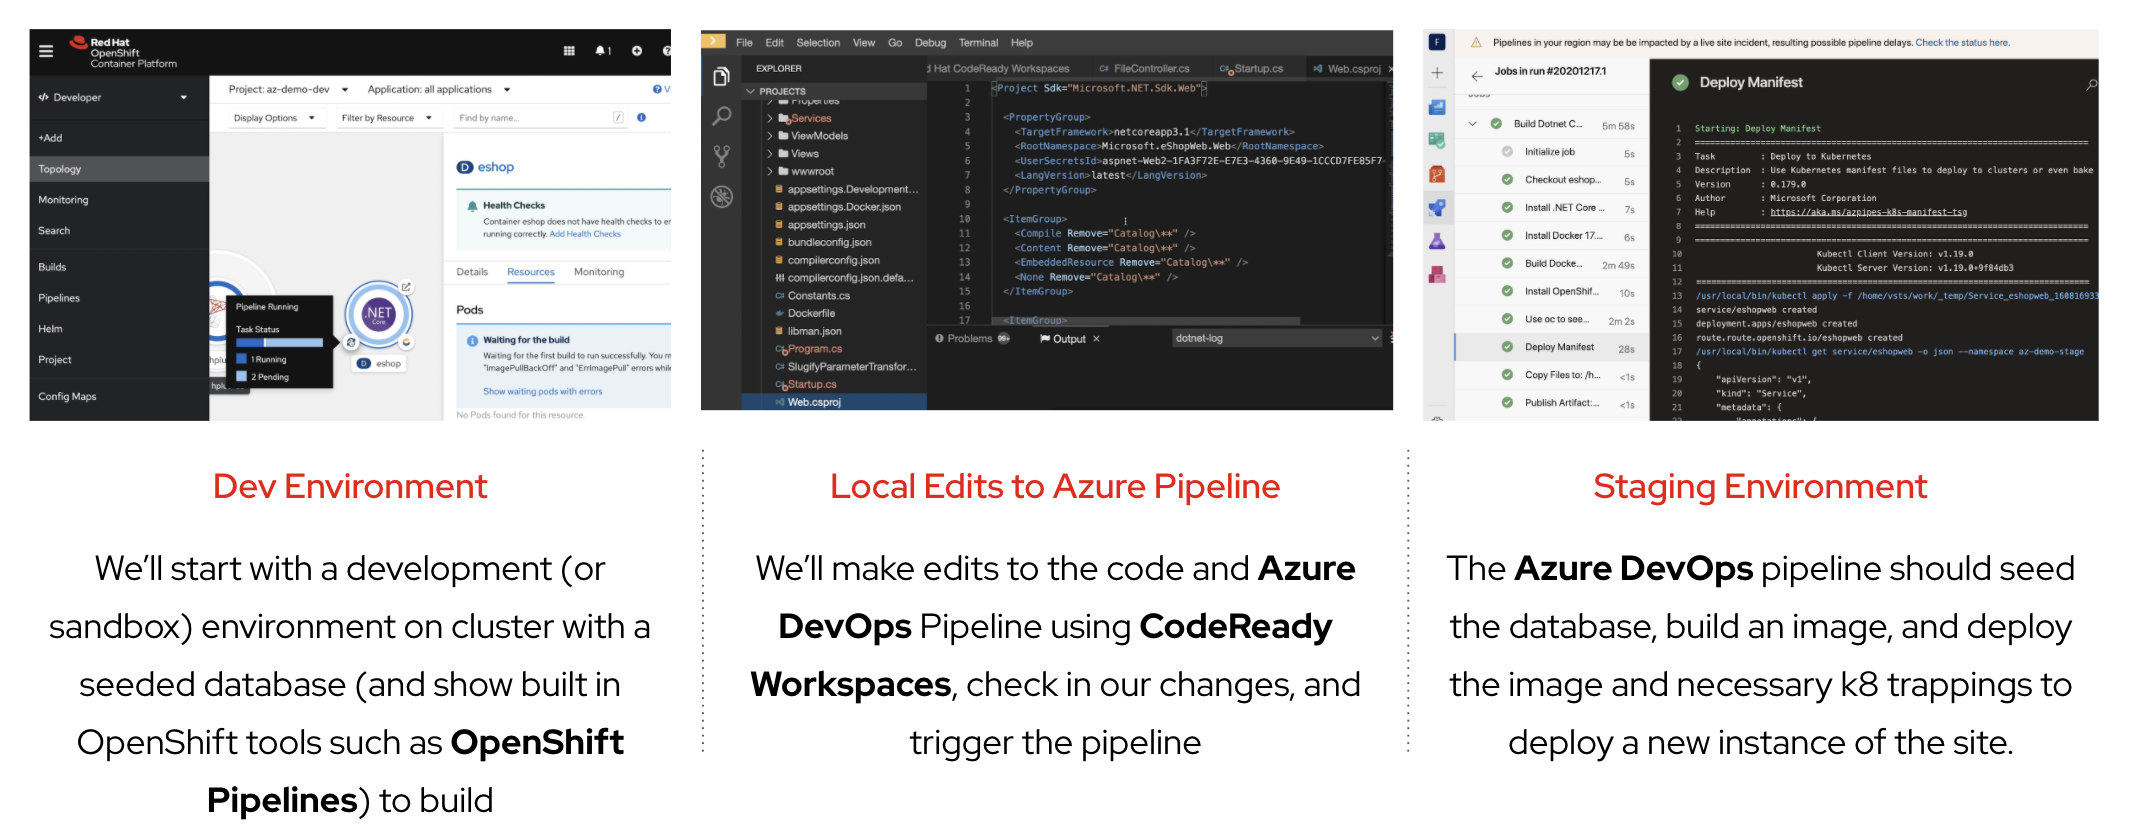
Azure DevOps Demo: Setup
Here are the instructions for setting up your environment to run a demo of how AzureDevOps can be made to integrate with OpenShift (Kubernetes).
Once you have followed these steps, you can proceed to the walkthrough steps.
Cloning This Repo
This repo has submodules. When cloning, be sure to use the following command to also pull down any linked submodules:
git clone --recurse-submodules https://github.com/hatmarch/azure-devops-demo
|
Note
|
Important for podman users
If you are using (rootless) podman containers with a non-root user on the host, you’ll need to set the following environment variable on the host export DEVCONTAINER_SUFFIX="-podman" |
Setup Prerequisites
|
Important
|
To limit the amount of incompatibility in setting up the demo, all the commands that are listed are expected to be run in an appropriately setup container. You will find this as part of the instructions below and it’s important not to skip this step This demo also supports the VS Code Remote Development (Containers) as can be seen in the .devcontainer directory. If you use the terminal in VSCode and run this repo in a container, then you don’t need to follow the commands to run docker in the shell as your terminal will already be running in a container that has all the necessary runtime components |
-
Fork or clone this repo onto your local machine (see above)
-
cdto the root of the folder -
Run the following command[1]:
docker run -u root -it -v ~/.kube:/opt/app-root/.kube -v ~/.azure:/opt/app-root/.azure -v ~/.ssh:/opt/app-root/.ssh -v $(pwd):/opt/app-root/src quay.io/mhildenb/az-demo-shell:latest /bin/zsh
-
Set the following variables accordingly:
SA_PASSWORD=<the password to use for the sa user of the SQL database>
AZURE_ORG=<the URL of the azure organization>
AZURE_PROJECT=<the name of the azure project>
-
Run the following script to install the main part of the demo by running this command
-
NOTE:
-pflag is optional and-iindicates that prerequisites (such as operators) should be installed$DEMO_HOME/scripts/create-demo.sh -q $SA_PASSWORD -p $PROJECT_PREFIX -o ${AZURE_ORG} -a ${AZURE_PROJECT} -i
-
Appendix
Creating a new shell container
As the underlying devcontainer is updated to include new versions of supporting tools, you may need to create new versions of the containers used to run the demo from a shell. You can create a new shell easily.
|
Note
|
if you want to create your own version of the container, set the REGISTRY and ACCOUNT parameters below to match your needs.
|
-
Clone the repo to a machine with docker (or equivalent) installed and change to the root of the repo
-
Ensure that you are logged into quay.io (or whichever registry you’ll be storing your container too)
-
Go into the
.devcontainerdirectory that is just under the root of this repocd .devcontainer
-
Run the following command
# instead of 1.0 change to whatever tag you want to use DEMO_SHELL_TAG=1.0 # This is an optional parameter, defaults to quay.io REGISTRY=quay.io # This is an optional parameter, defaults to mhildenb ACCOUNT=mhildenb ./build-n-push-shell.sh ${DEMO_SHELL_TAG} ${REGISTRY} ${ACCOUNT} -
When the command is done, you will be able to access the following container for use:
${REGISTRY}/${ACCOUNT}/az-demo-shell:latest
zsh locally, you can omit the -v ~/.oh-my-zsh:/home/jboss/.oh-my-zsh part of the docker run command below. You can also create a new version of the shell container
