fixture('Feature: TestCafe Example')
  .before(async (ctx) => {
    // inject global configuration in the fixture context
    ctx.config = getCurrentConfig();
  })
  .beforeEach(async (t) => {
    // inject page model in the test context
    t.ctx.inputData = pageModel;
    await given('I navigate to the testcafe sample page');
  });

test('Scenario: cannot submit my feedback when I did not enter my name', async () => {
  await then('no name should be populated');
  await and('I cannot submit my feedback on testcafe');
});

test('Scenario: can send feedback with my name only', async () => {
  await when('I enter my name');
  await then('I can submit my feedback on testcafe');
});

test('Scenario: send feedback', async () => {
  await given('I enter my name');
  await when('I send my feedback on testcafe');
  await then("a 'Thank you' message should appear with my name");
});
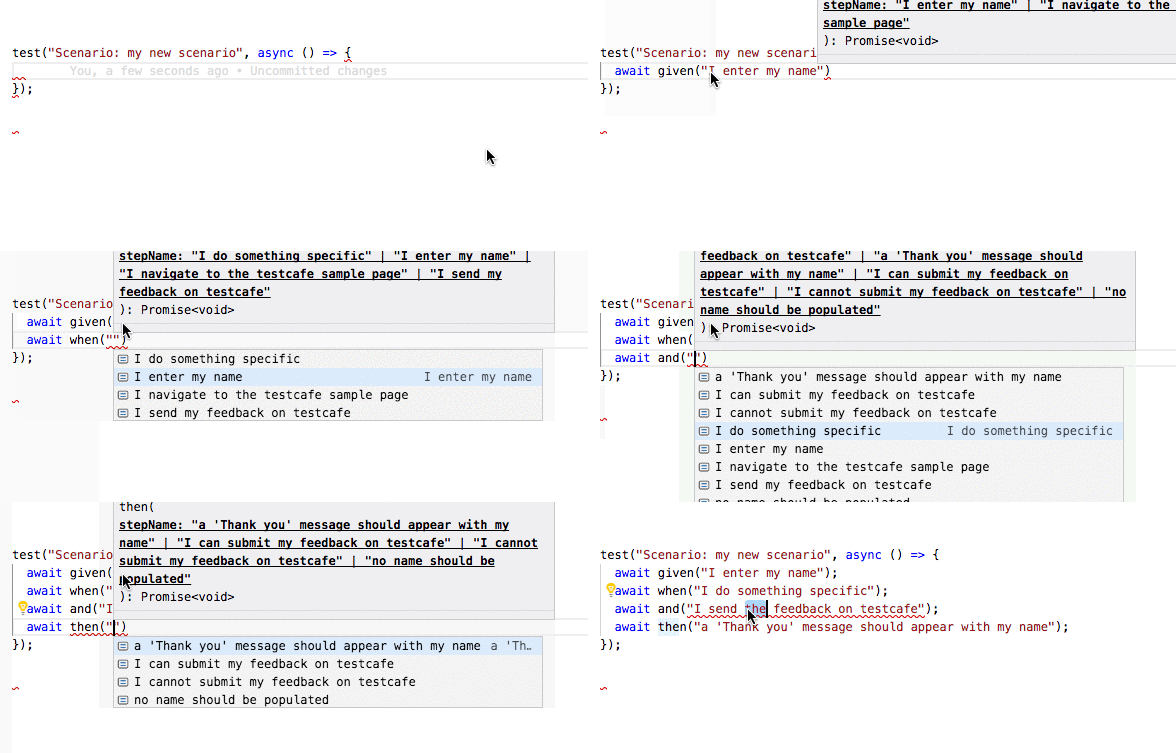
Benefit from TypeScript Strong Typing and Visual Studio Code IntelliSense to write tests that are aligned with the business
- run the command
npm install.
- run the command
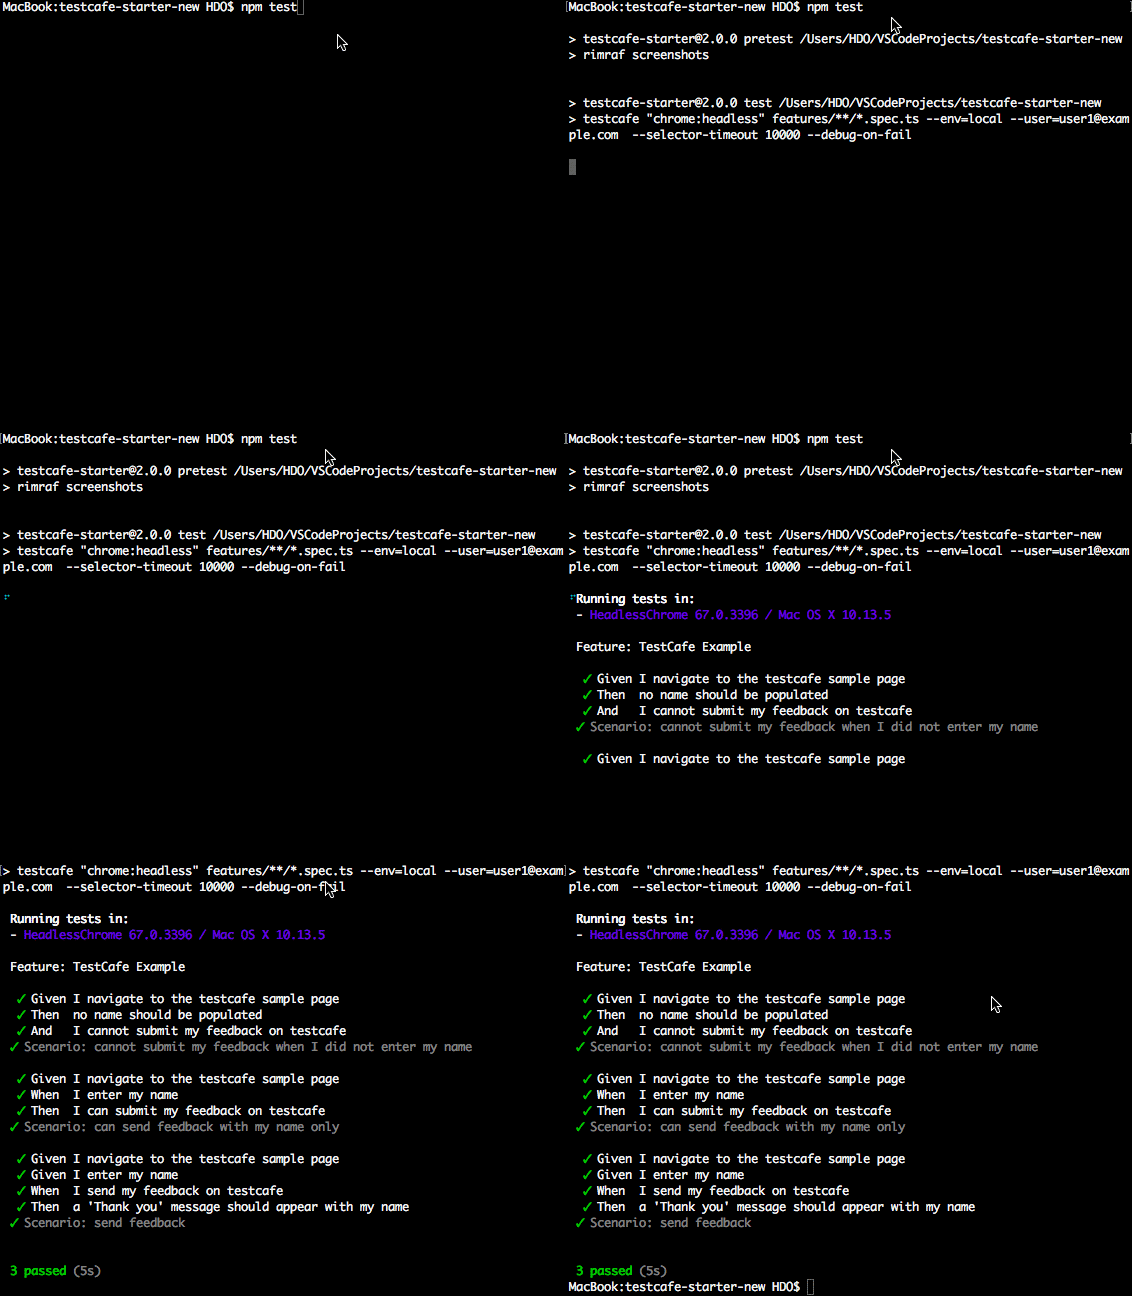
npm test.
-
run the commands:
npm run test:json
npm run report
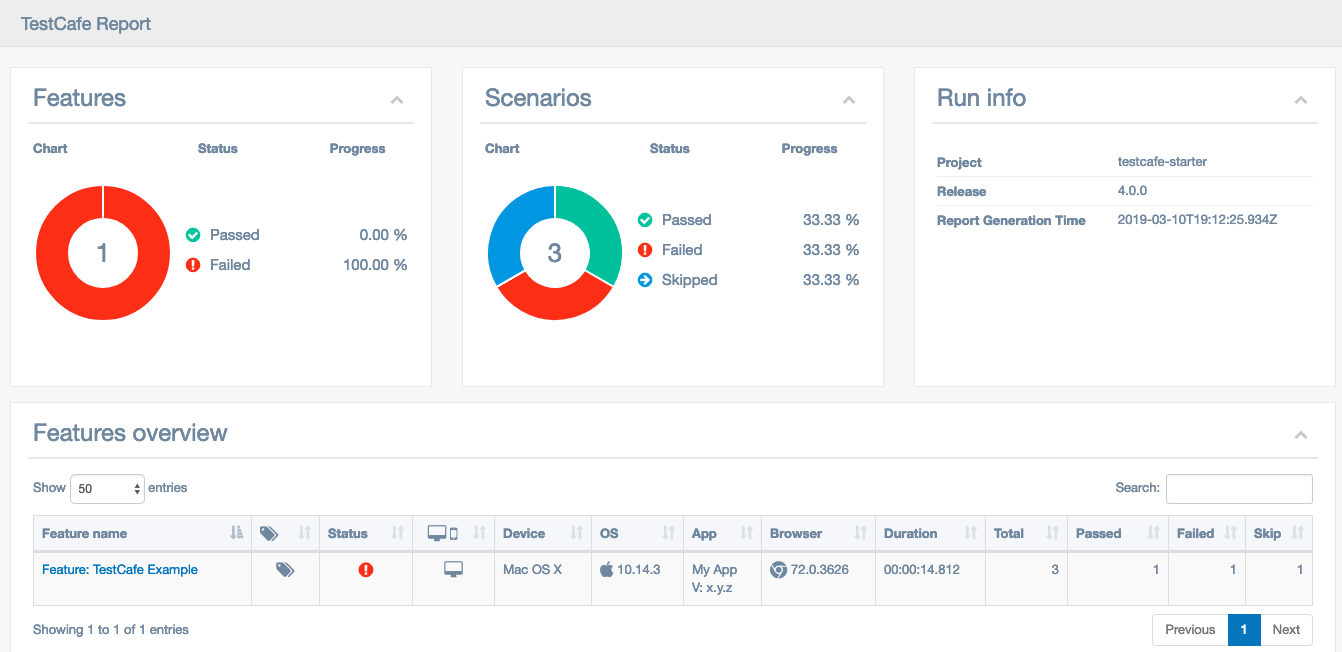
This will generate a nice and searchable HTML report like this (more details here):
- run the command
npm run test:teamcity.
- add the following options to the TestCafe command-line
--env=xxx --user=yyy - you can create any type of option on the command-line: see the readme in the config folder.
- You can add any custom command-line options to the existing TestCafe command-line options.
- To do this, customize the content of parsed-config.ts.
- run the command
npm run build.
- set one or more breakpoints in your code
- setup the TestCafe configuration used by the debug session in the default-config.ts file
- in the Debug menu, select the
TestCafeoption - if you want to start TestCafe with specific command-line options you can modify the launch.json file
- Start debugging
Live mode provides a service that keeps the TestCafe process and browsers opened the whole time you are working on tests. Changes you make in code immediately restart the tests. That is, TestCafe Live allows you to see test results instantly.
- rename the feature file into a name that ends with .live.ts
- add .only to the test(s) on which you want to work live
- run the command
npm run test:live
- the VS Code version must be >= 1.18.0
- Git Lens
- Regex Previewer by Christof Marti
- TestCafe Snippets (see say goodbye to flakyness)
- TestCafe Test Runner (see How to execute a test from Visual Studio Code IDE)
-
Go to the Command Palette with ⌘P (Ctrl+P on Windows)
-
Start typing the sentence. For example
I send my feedback on testcafe -
select the found step file:
- see the readme
- see the readme
-
The environment is the host that will execute the TestCafe tests.
-
The environment is set in the config object injected at runtime in the Fixture Context.
-
All possible values are, by convention, defined in the environments.ts file
-
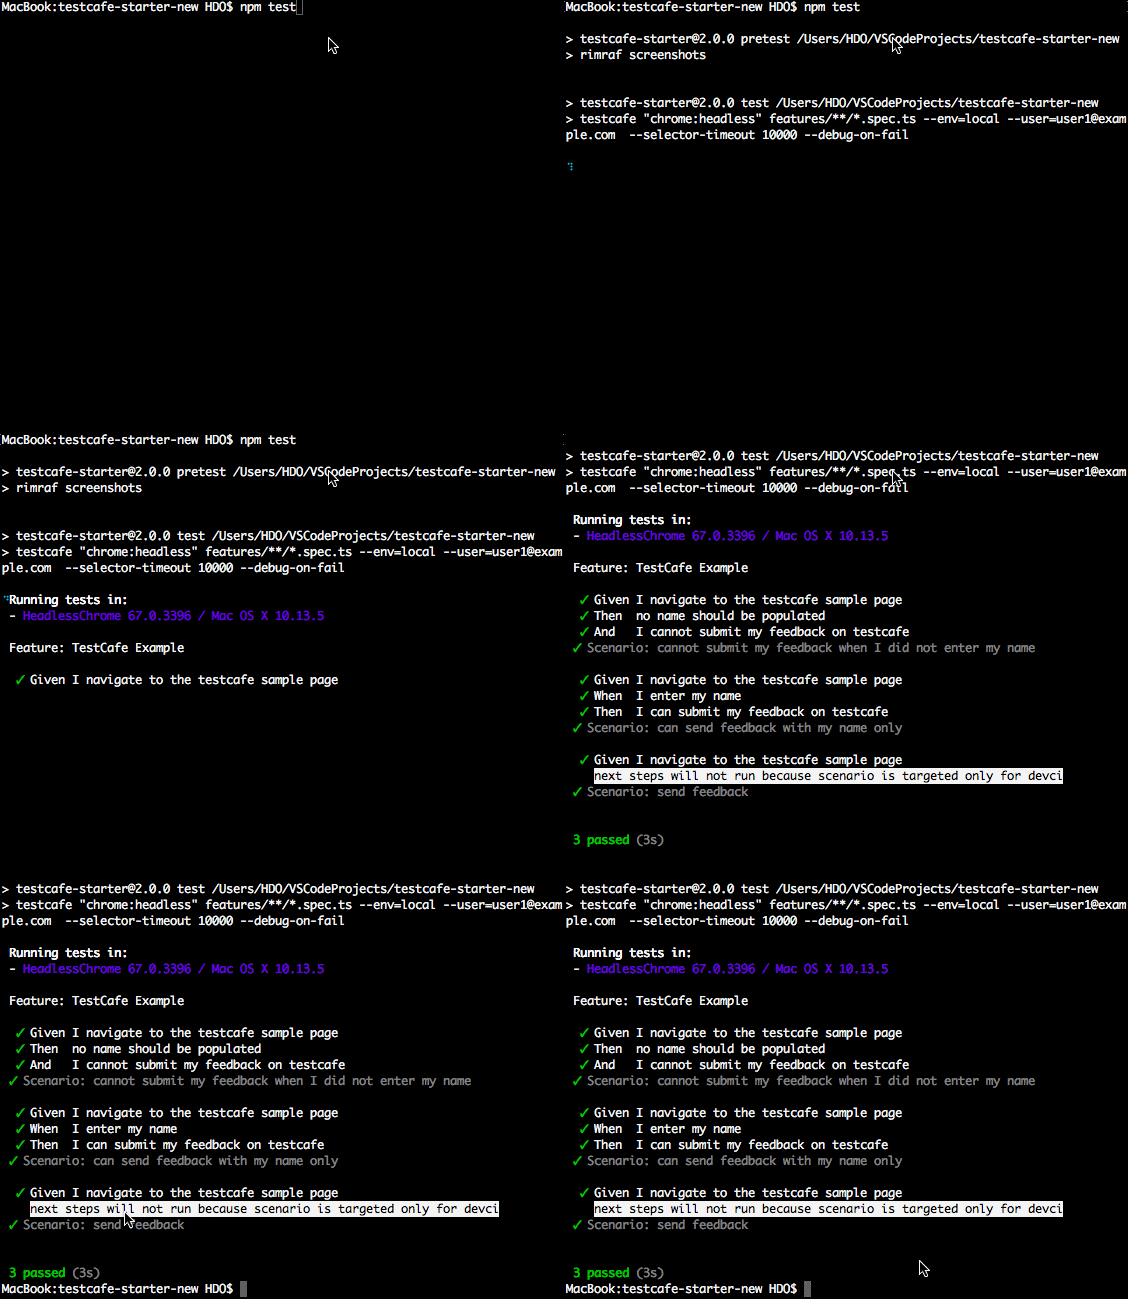
Add this line as a first step in the test:
test('Scenario: send feedback', async () => {
  await env.only('devci');
  //
  await given('I enter my name');
  await when('I send my feedback on testcafe');
  await then("a 'Thank you' message should appear with my name");
});test('Scenario: send feedback', async () => {
await env.only('uat', 'devci');
//
await given('I enter my name');
await when('I send my feedback on testcafe');
await then("a 'Thank you' message should appear with my name");
});To start a test from the IDE you need to install the Visual Studio Code extension TestCafe Test Runner.
Right-click on the test and and select TestCafe: Run Test(s) in... for the required browser.
Right-click on the feature file within the Explorer panel and select TestCafe: Run Test(s) in... for the required browser.


