Important Terminology
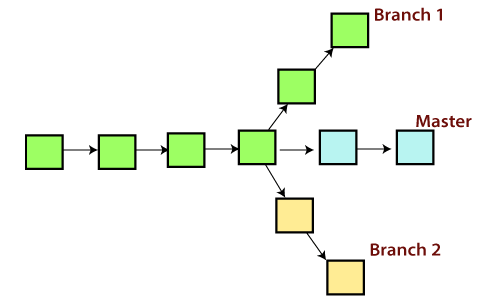
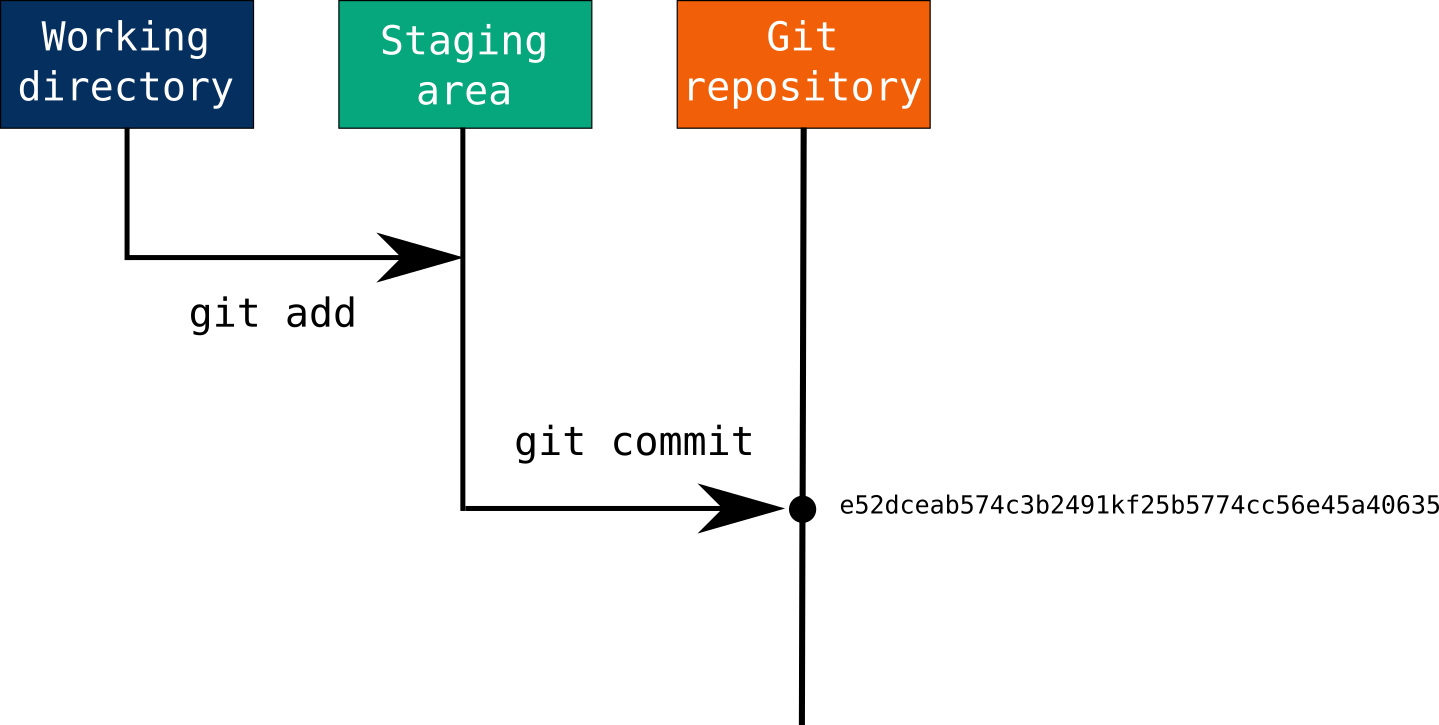
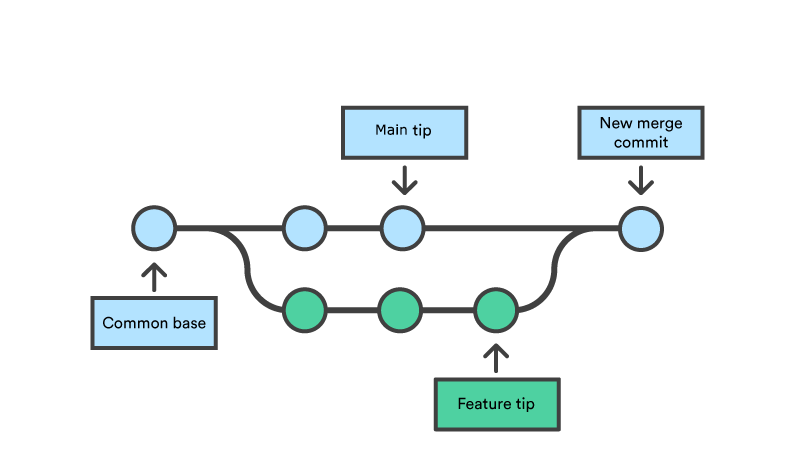
In Git, Repositories are a sort of data structure which store files and directories along with metadata about the changes that those files have undergone. Repositories track all changes made to files in your project, building a history over time. In Git, branching is when you diverge from the main branch of a repository. When you start working on a repository to add a new feature or fix a bug, you essentially make a new branch. Git add takes a modified file in your working directory and places the modified version in a staging area. Git commit takes everything from the staging area and makes a permanent snapshot of the current state of your repository that is associated with a unique identifier. When you want to switch branches but your work is not complete in the current branch you are in, you might not want to commit half done work. Stashing on git allows you to save your work and switch branches without commiting the current branch. To return to the stashed branched, the command git stash pop is used. Merging in Git is when you combine a working branch back into your main branch. The changes you made in your working branch are implemented into the main branch when you merge if there are no conflicting code.The first step is to open up terminal and type in the following command:
git init TestRepo
Once you have done this, your terminal will say:
Initialized empty Git repository in /Your Directory/TestRepo/.git/
Right now your Repository is empty. If you type git log it will say fatal: your current branch 'main' does not have any commits yet. We will now add a text file to our repository.
Create a new file called test-file.txt in the TestRepo folder. From the terminal, this can be done with the command touch test-file.txt
Once it has been created, you can type git status to check the status of your repository. You will notice it says:
`On branch main
No commits yet
Untracked files: (use "git add ..." to include in what will be committed) test-file.txt
nothing added to commit but untracked files present (use "git add" to track)`
This shows there are now files in your repository but they are not being tracked. In order to start tracking them you must add them and then commit. To do this type:
git add test-file.txt
Then you can type:
git commit -m "First Commit"
If you type git log you will see your commit.
Now lets say we want to add a feature to our text file. We can open up the text file through the terminal or an editor and add some text.
If we want to add text but it's a group project, we would probably want to create a new branch to work on.
In order to do this, type git branch myBranch in your terminal. This will create the new branch called "myBranch". Next you will want to type git checkout myBranch. This will switch you from the master branch to your newly created branch.
Next, open up your text file and type your name in it and save:
Baez2222
If you type git status you will notice it detected that the file changed its contents. In order to commit these changes type the same two commands as before:
git add test-file.txt
git commit -m "Added Name"
Now you have a branch that is not in your main branch since you commited while on your myBranch branch.
Now lets say you were in the middle of typing another name in the file, but now you want to switch back to your main branch. You don't want to use a commit on code/text that is not complete. What you might want to do in this situation is stash your changes. In order to see how to do this, add some other text to the end of your file:
Baez2222\n Hector Ba
In your terminal type git stash save "Started name". If you go back to your test-file.txt, you will notice the changes you made to the file are gone. They have been stashed in Git. Now you can safely switch to the main branch using git checkout main without losing your work.
Now let us go back to our myBranch branch using git checkout myBranch
If we want to restore our stashed work, type:
git stash pop
You will notice our incomplete name is back. We can finish the text and save the file. Now let us add and commit our final changes to our myBranch branch.
git add test-file.txt
git commit -m "Added another name"
Now that we have finished adding the functions we wanted to in our myBranch branch, we want to combine our additional file back to our main branch. We can do this by typing the following commands:
git checkout main
then
git merge myBranch
You have successfully merged your branches and are back in your main branch. The last step you might want to take is deleting the myBranch branch since you have no use for it anymore. You can do this using the following command:
git branch -d addedFunctions


