Repository for a bot in python for automating the creation of posts in Blogger.
Artificial intelligence is a topic that, in recent times, is on the rise in technology-related topics. After testing tools like ChatGPT, the project emerged as a way to automatically create posts to be published on Blogger.
I'm already quite familiar using Puppeteer, but Google blocks the use of automated in-browser tools to access their products online, so I had to look for another way. Hence the choice of PyAutoGUI.
PyAutoGUI is a Python library that allows you to programmatically control the mouse and keyboard. With PyAutoGUI, you can simulate mouse movements, clicks, and scrolling. You can also simulate keyboard key presses, key releases, and combinations of keys.
As google blocks tools like puppeteer, one way I managed to get around this was to use PyAutoGUI to simulate the action of ordinary users.
- Python 3.x installed
- Clone the repository:
git clone https://github.com/hennanlewis/blogger-post-creator.gitNavigate to the project directory:
cd blogger-post-creatorSet up a virtual environment (optional but recommended):
python -m venv environmentname
source environmentname/bin/activate
On windows:
python -m venv environmentname
environmentname\Scripts\activate
Install the required dependencies:
pip install -r requirements.txtRun the bot script:
python app.pyThe robot will display a GUI to configure some parameters. These are the steps to run the bot:
-
This is the main screen:
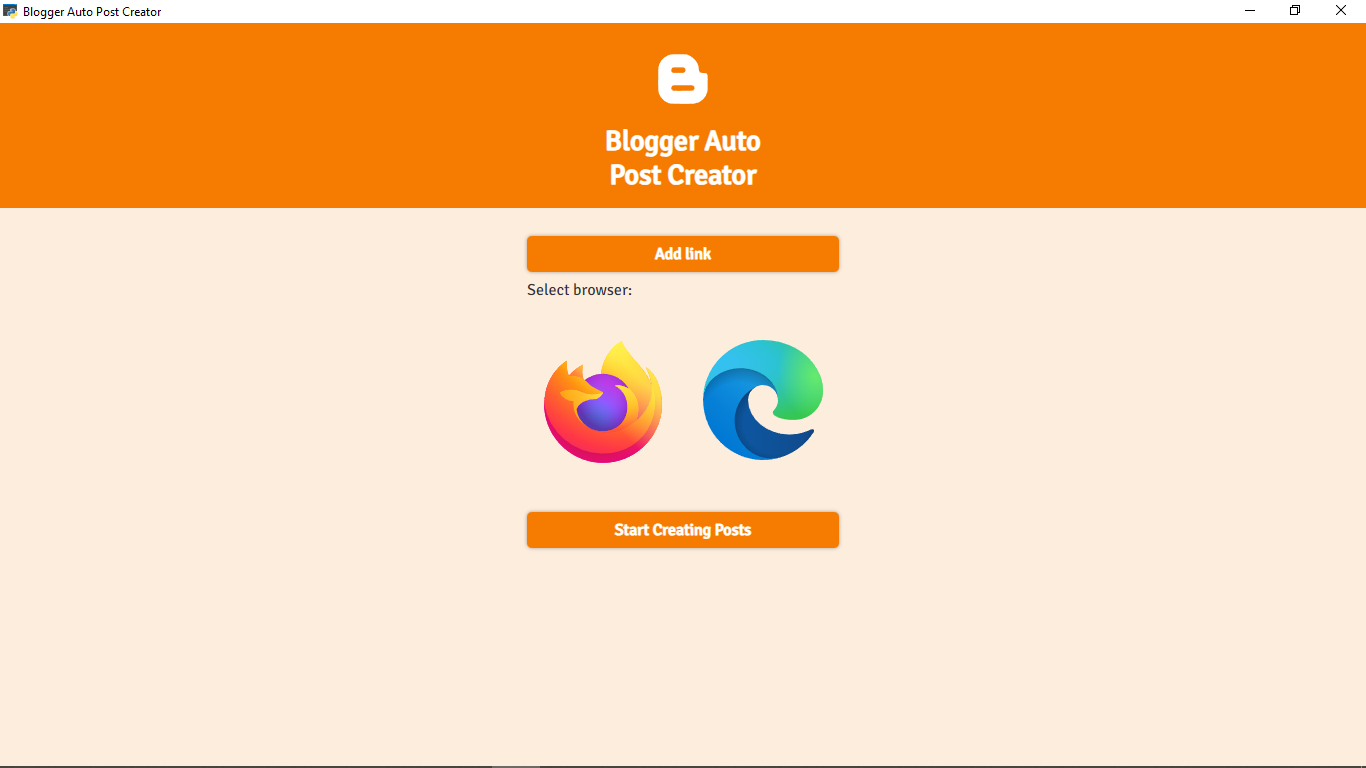
-
Click on
Add linkto insert the necessary data. The following inputs will appear on the screen: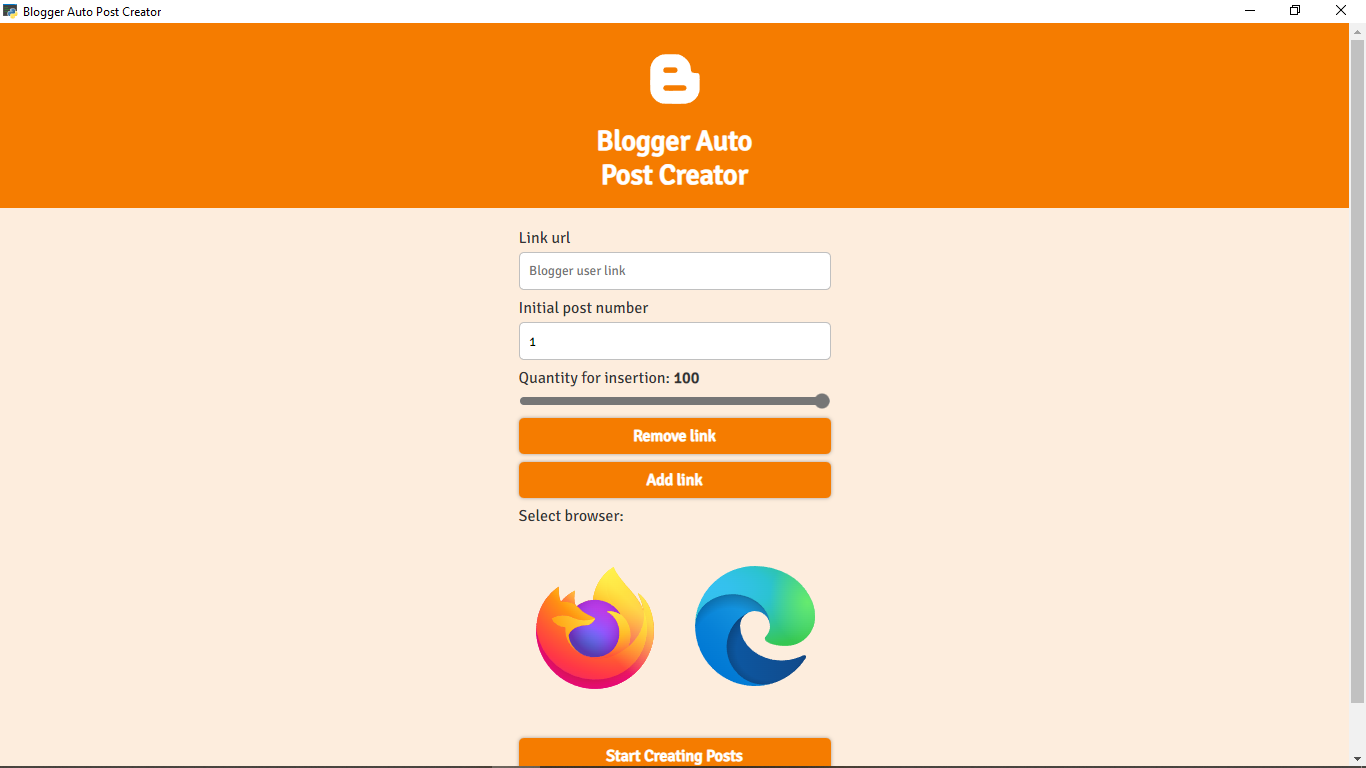
-
After inputting the data, select the browser to start the functions:
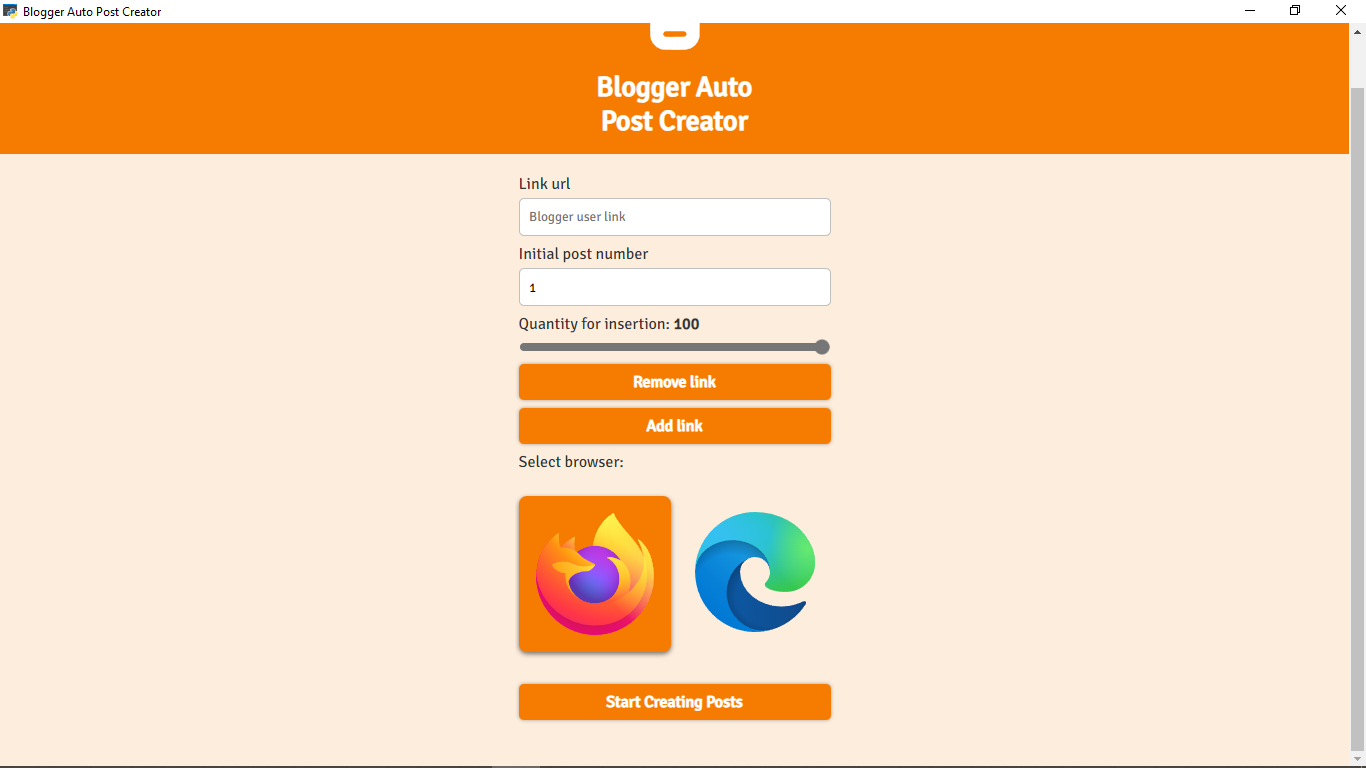
-
If the data is valid, the last button will change to
Stop Creating Posts: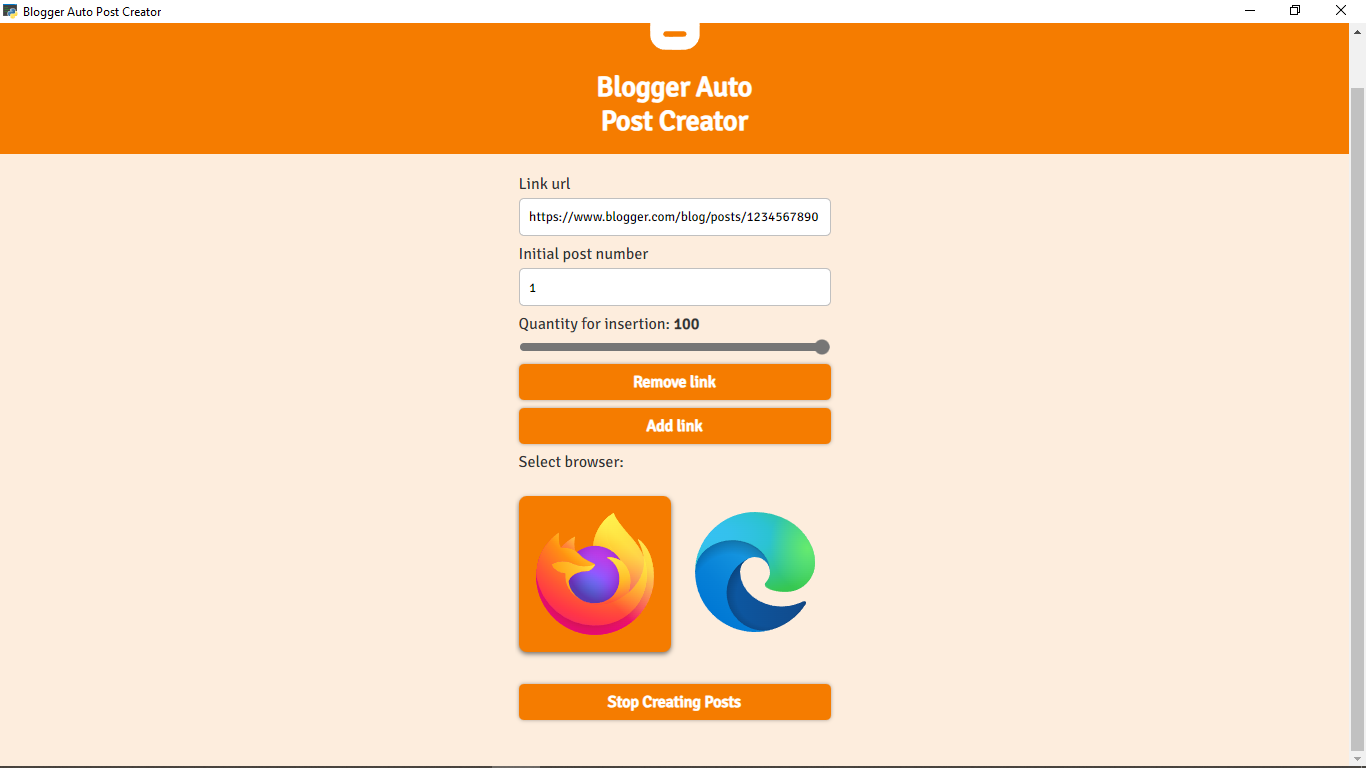


If you want to add more links, simply click on "Add link." After inserting all the posts in the first input of set inputs, the bot will start inserting all the posts in the second link, and so on for all the inserted links.
Note 1: the maximum daily number of posts allowed by Blogger for creation is 101
Based on this initial information, when the bot starts the action, it:
- Opens the start menu;
- Searches for the selected browser;
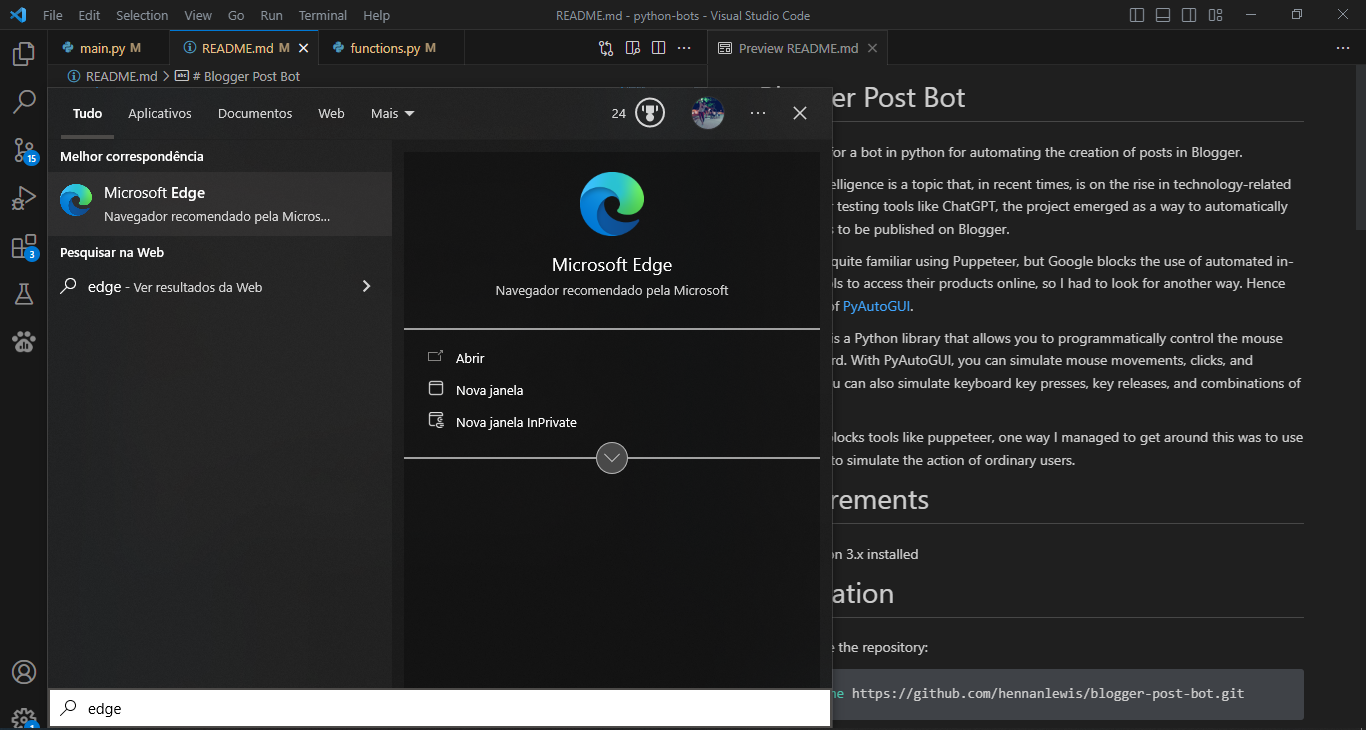
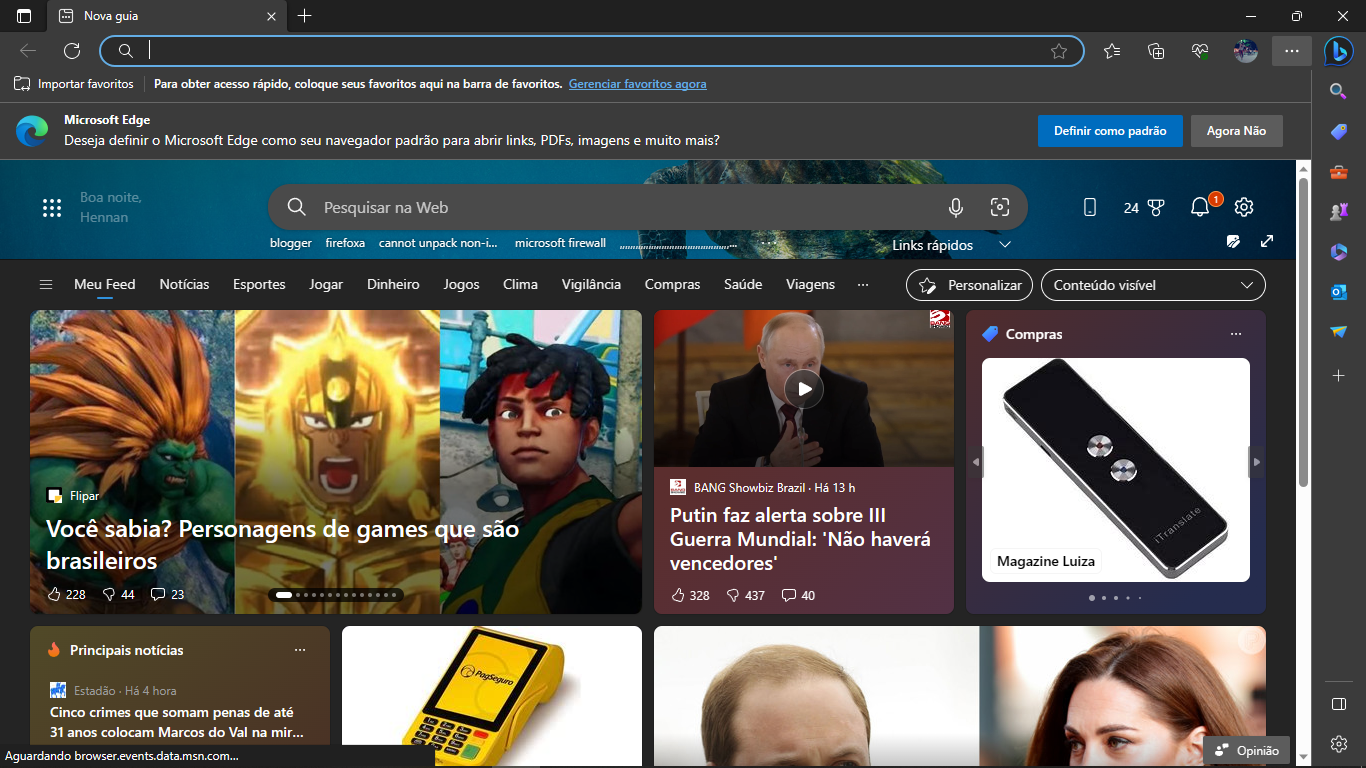
- Waits for the window to load;
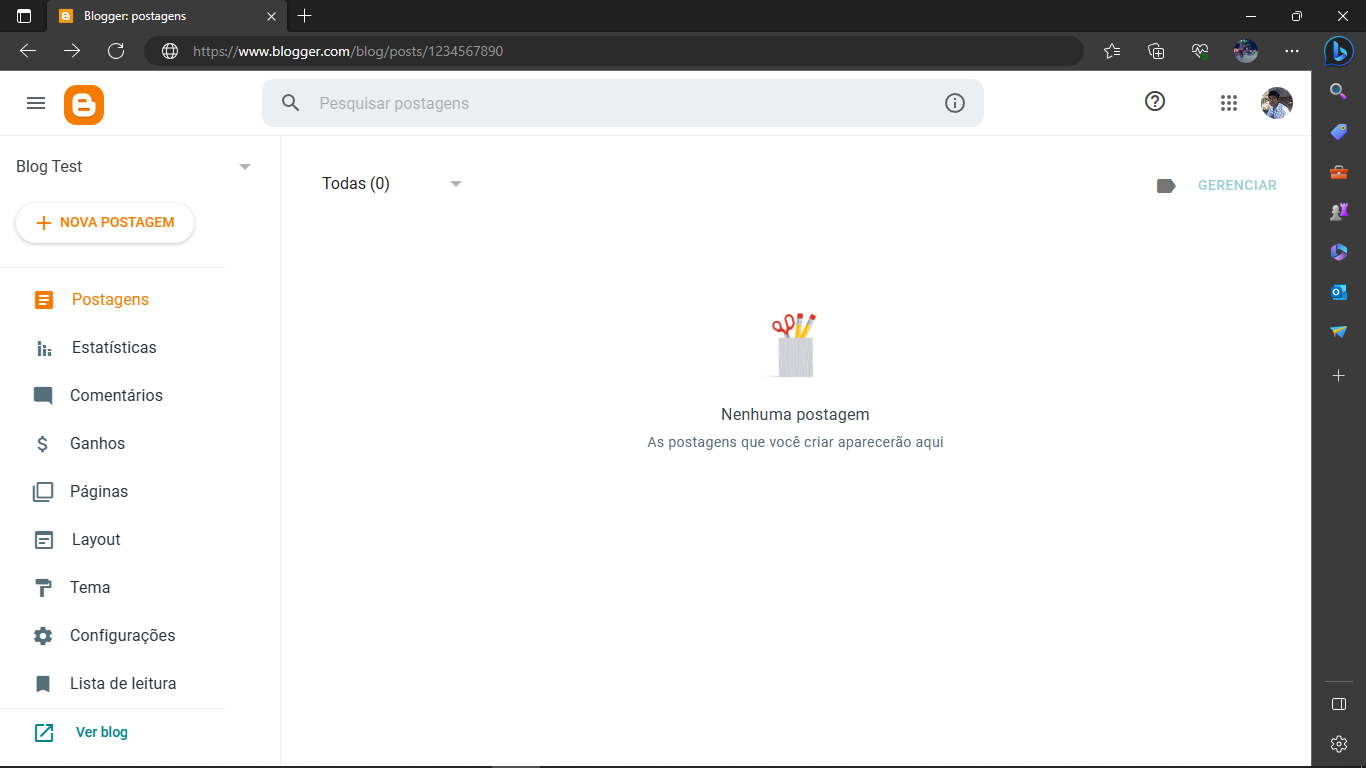
- Opens the selected link;
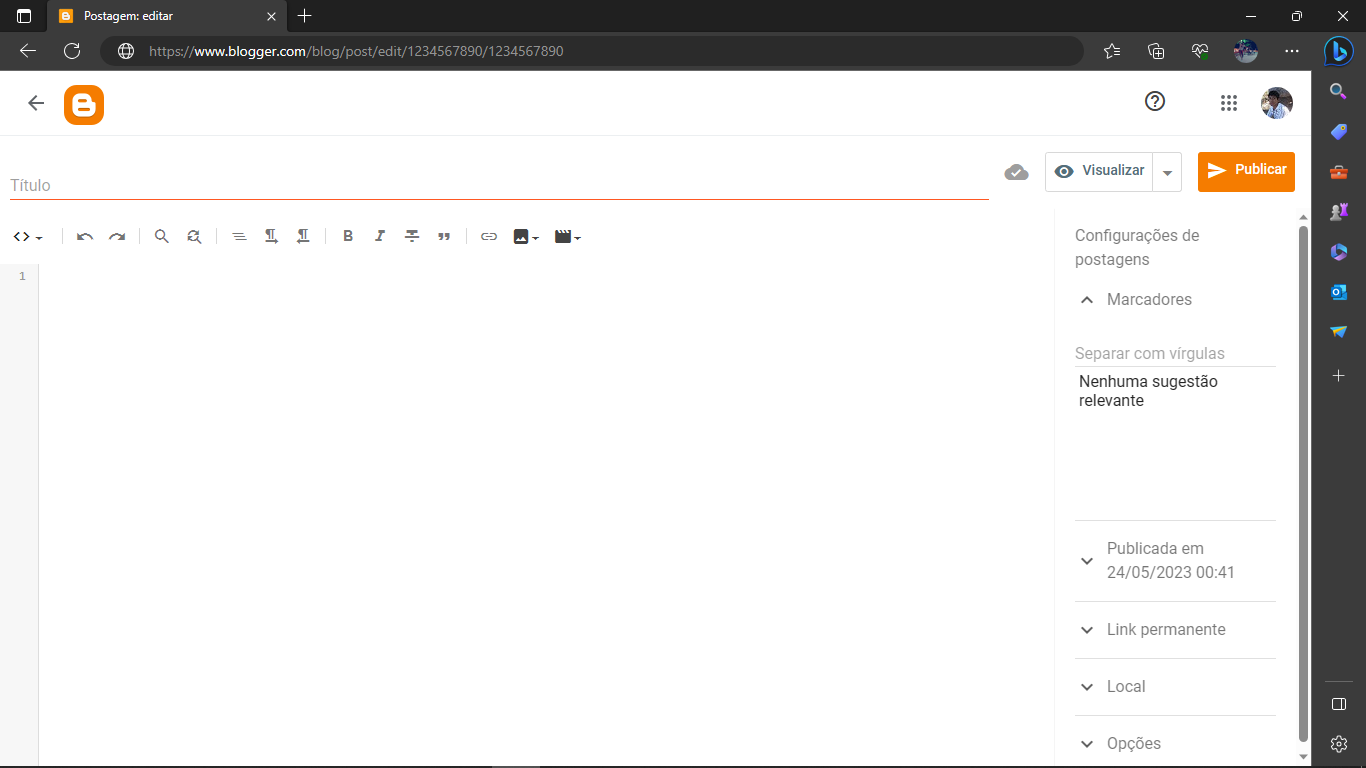
- Initiates the process of creating chapters sequentially according to the inserted range.


Trying to interact with the mouse or keyboard during the bot's operation will be like a tug-of-war, as the bot will continuously attempt to execute its function while the Blogger page is open. So, just let the bot do its job.
If for any reason you need to use your computer while the bot is running, you can execute the code within a virtual machine. On Windows, you can convert your code into an executable using the PyInstaller library and run it within the Windows Sandbox.
For more information on creating an executable from a Python code, refer to this link.
For more information on using the Windows Sandbox, refer to this vídeo.
Remember that when doing this, the images folder should be at the same level as the generated binary file.
Note 2: My monitor has a resolution of 1366x768 and is 19 inches. I'm 99% sure that your monitor has different settings, so before reporting any errors or malfunctions, please modify the images in the
imagesfolder to match what appears on your monitor. Don't be lazy, there are only 6 images to adjust for each browser.
After each execution or code crash, a log of actions is created in the log folder.
Contributions are welcome! If you would like to contribute to this project, please follow these steps:
- Fork the repository
- Create a new branch
- Make your changes
- Submit a pull request
This project is licensed under the MIT License.