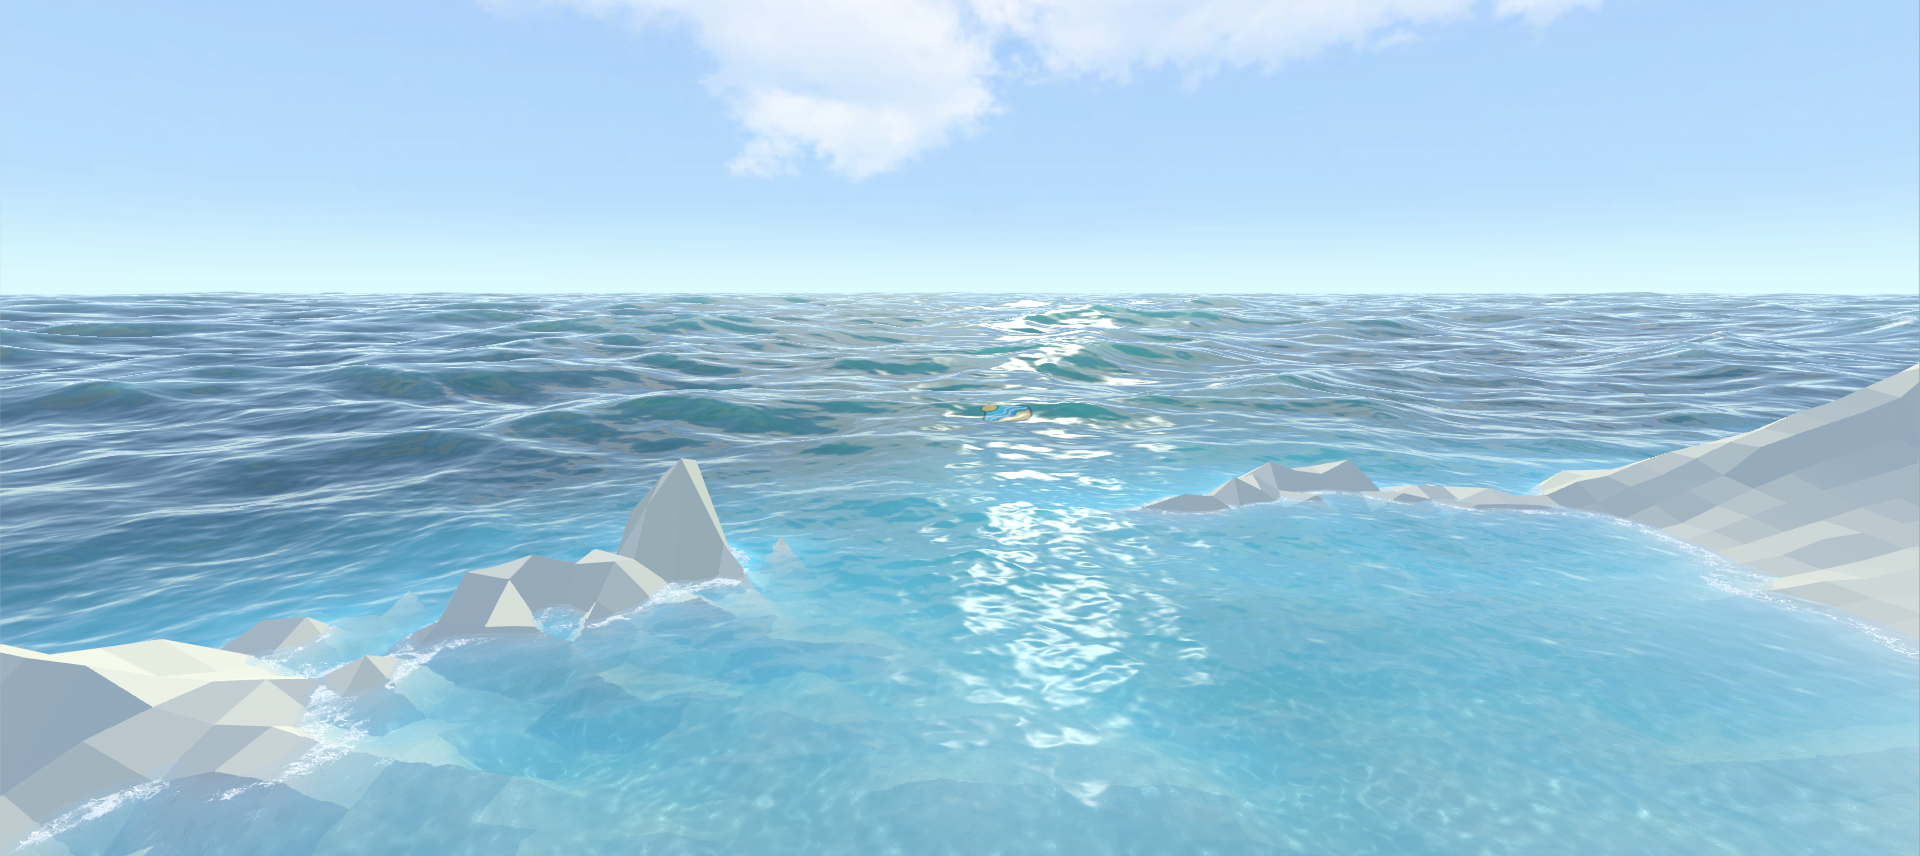
Crest is a technically advanced ocean renderer implemented in Unity3D 2018.2+.
Releases are published semi-regularly and posted on the Releases page. Unity packages are uploaded with each release. Since development stability has historically been good, an option would be to grab the latest version from the master branch instead of waiting for releases. Be aware though that we actively refactor/cleanup/change the code to pay technical debt and fight complexity so integrations may require some fixup.
Crest exercises semantic versioning and follows the branching strategy outlined here, although there is no develop branch used yet - development occurs on feature branches that are merged directly into master.
The steps to set up Crest in a new or existing project currently look as follows. There is an example of all this running in Crest-Examples/Scenes/main.
- Switch your project to Linear space rendering under Edit > Project Settings > Player > Other Settings. If your platform(s) require Gamma space, the material settings will need to be adjusted to compensate.
- The Crest files are separated into the core files to import in any project and the example content. If you are getting started for the first time you may want to import both and then remove what you don't need from the example content. You can do this by either:
- Picking a release from the Releases page and importing the desired packages
- Getting latest by either cloning this repos or downloading it as a zip, and copying the Crest folder and the desired content from the Crest-Examples folders into your project. Be sure to always copy the .meta files.
- Create a new game object for the ocean
- Assign the OceanRenderer component to it. On startup this component will generate the ocean geometry and do all required initialisation.
- Set the Y coordinate of the position to the desired sea level.
- Tag a primary camera as MainCamera if one is not tagged already, or provide the viewpoint transform to the OceanRenderer script.
- To add waves, create a new GameObject and add the Shape Gerster Batched component.
- On startup this script creates a default ocean shape. To edit the shape, create an asset of type Crest/Ocean Wave Spectrum and provide it to this script.
- Smooth blending of ocean shapes can be achieved by adding multiple Shape Gerstner Batched scripts and crossfading them using the Weight parameter.
- For geometry that should influence the ocean (attenuate waves, generate foam):
- Static geometry should render ocean depth just once on startup into an Ocean Depth Cache - the island in the main scene in the example content demonstrates this.
- Dynamic objects that need to render depth every frame should have a Register Sea Floor Depth Input component attached.
- Be sure to generate lighting from the Lighting window - the ocean lighting takes the ambient intensity from the baked spherical harmonics.
Enjoy!
- Ocean material / shading: The default ocean materials contain many tweakable variables to control appearance. Turn off unnecessary features to maximize performance.
- Animated waves / ocean shape: Configured on the ShapeGerstnerBatched script by providing an Ocean Wave Spectrum asset. This asset has an equalizer-style interface for tweaking different scales of waves, and also has some parametric wave spectra from the literature for comparison.
- Ocean foam: Configured on the OceanRenderer script by providing a Sim Settings Foam asset.
- Dynamic wave simulation: Configured on the OceanRenderer script by providing a Sim Settings Wave asset.
- A big strength of Crest is that you can add whatever contributions you like into the system. You could add your own shape or deposit foam onto the surface where desired. Inputs are generally tagged with the Register scripts and examples can be found in the example content scenes.
All settings can be live authored. When tweaking ocean shape it can be useful to freeze time (set Time.timeScale to 0) to clearly see the effect of each octave of waves.
There are just two parameters that control the construction of the ocean shape and geometry:
- Base Vert density - the base vert/shape texel density of an ocean patch. If you set the scale of a LOD to 1, this density would be the world space verts/m. More means more verts/shape, at the cost of more processing.
- Lod Count - the number of levels of detail / scales of ocean geometry to generate. More means more dynamic range of usable shape/mesh at the cost of more processing.
- Wind direction angle - this global wind direction affects the ocean shape
- Max Scale - the ocean is scaled horizontally with viewer height, to keep the meshing suitable for elevated viewpoints. This sets the maximum the ocean will be scaled if set to a positive value.
- Min Scale - this clamps the scale from below, to prevent the ocean scaling down to 0 when the camera approaches the sea level. Low values give lots of detail, but will limit the horizontal extents of the ocean detail.
See the dedicated TECHNOLOGY.md doc.
The foundation of Crest is architected for performance from the ground up with an innovative LOD system. However, out of the box it is configured for quality and flexibility rather than maximum efficiency.
There are a number of directions for optimising the basic vanilla Crest that would make sense to explore in production scenarios to squeeze the maximum performance out of the system. See the dedicated OPTIMISATION.md doc.
If you encounter an issue, please search the Issues page to see if there is already a resolution, and if you don't find one then please report it as a new issue.
There are a few known issues worth calling out:
- Crest currently only works with the out of the box render pipelines in Unity (forward or deferred). It does not currently support LWRP or HDRP. If you would find such support useful, please feel free to comment in issue #49.
- Azure[Sky] requires some code to be added to the ocean shader for the fogging/scattering to work. This is a requirement of this product and apparently comes with instructions for what needs to be added. See issue #62.
Moved to LINKS.md.

